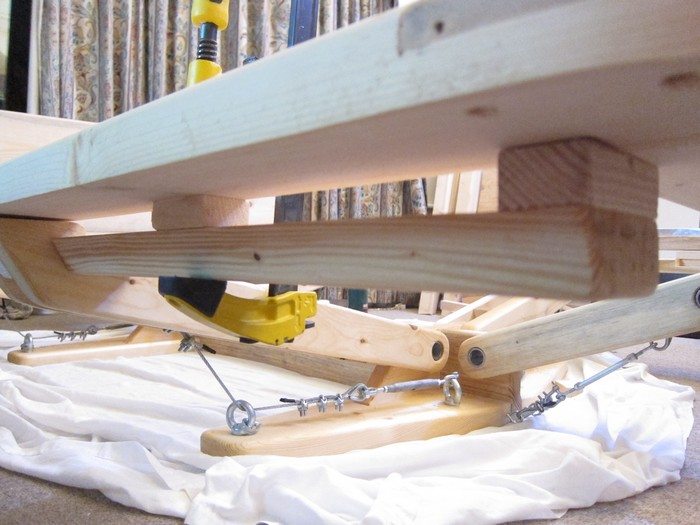
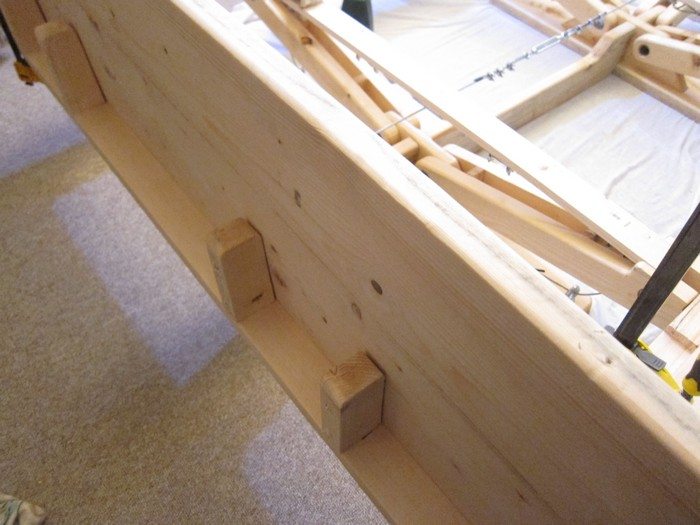
The Slat Mounts and now joined to the floating bed Surround. Wooden blocks are glued and screwed between the slat mounts and surround. I did this when they were assembled on the arms rather than before to ensure alignment.
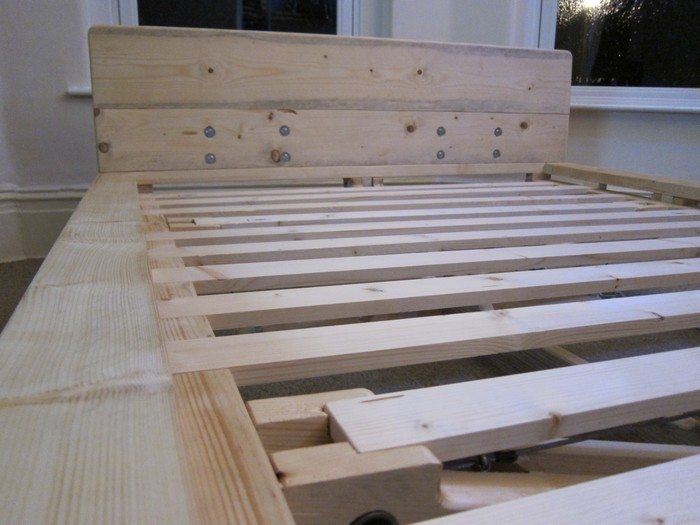
The floating bed headboard is placed onto the surround and holes drilled through it and the headboard supports.
The headboard can then be bolted in place.
The ‘attachment’ parts need to be cut-out and glued/screwed to the surround. Again, done when assembled to ensure they were in the right place between the arms.
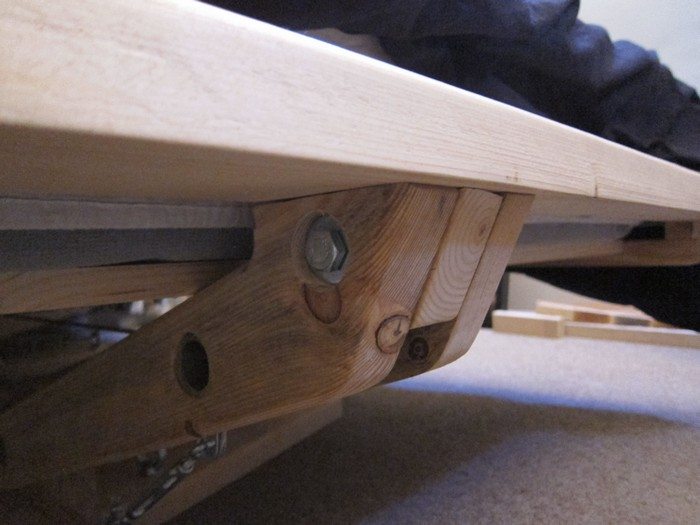
Holes are now drilled through the arms and attachments. A bolt is pushed through and nut tightened… the bed frame is now secured together.
The final step was to just fine-tune the tension on the cables to level the whole bed frame out.
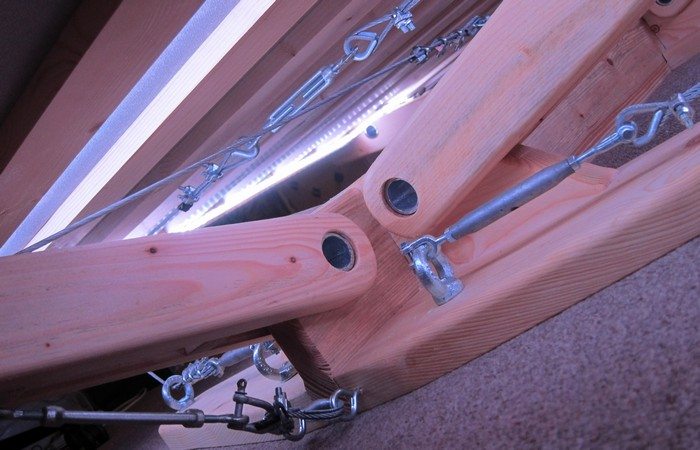
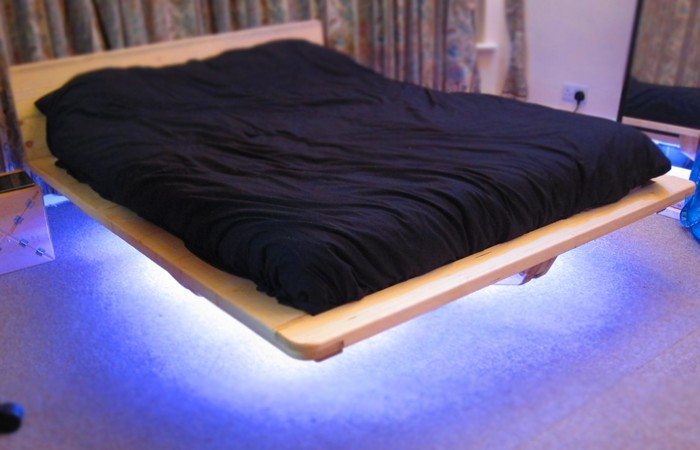
After multiple suggestions to, I added some LED strips lights around the parameter of the underneath.
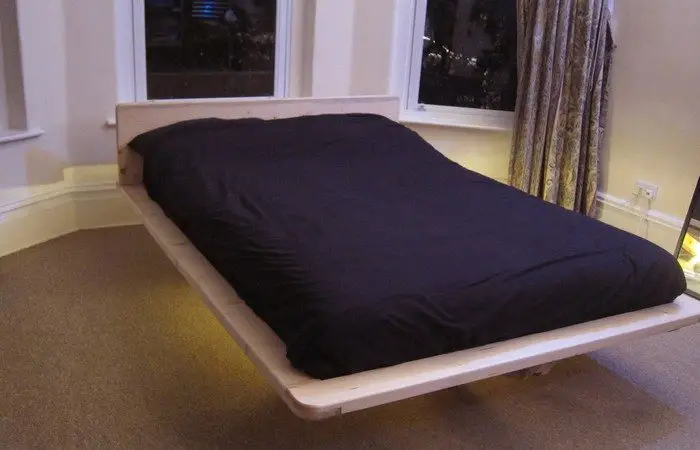
Conclusion
The bed frame is now complete!! I’ve slept in it the last few nights and not woken up in a pile of splintered wood yet, so all good!
Being a prototype design there are obviously a few things I would do differently if I made another. While you can sit right on one edge without the other side lifting, there is a small amount of flex – extending the base supports out further would improve this but then you’d compromise the ‘floating effect.’ Again, while you can happily sit right on the quite unsupported corners, I’d maybe change the design so that arms came out to the corner of the frame instead of front/back, middle.
Other than those points, I’m really happy with the way the design worked out!
Thanks to barclay5426 for this amazing project!
Are you still looking for the best bed for your room? Check out our guide next!

