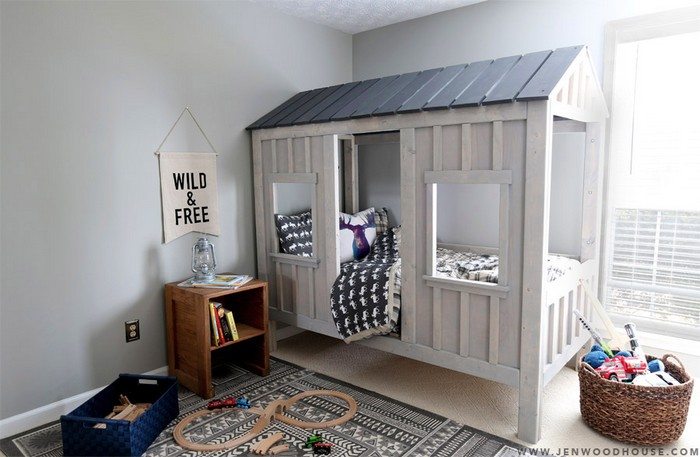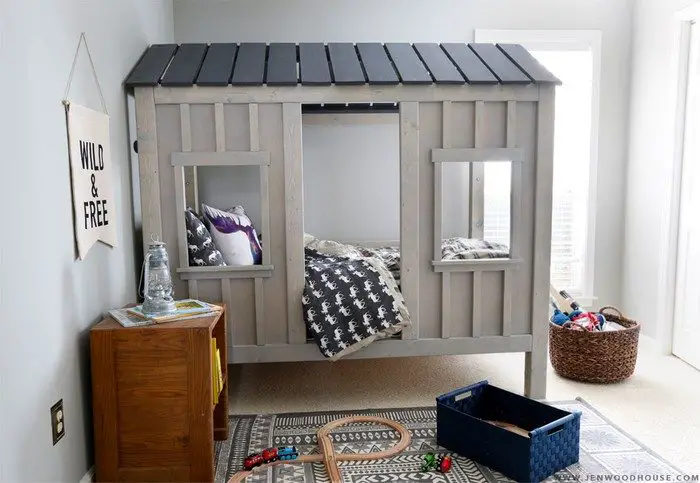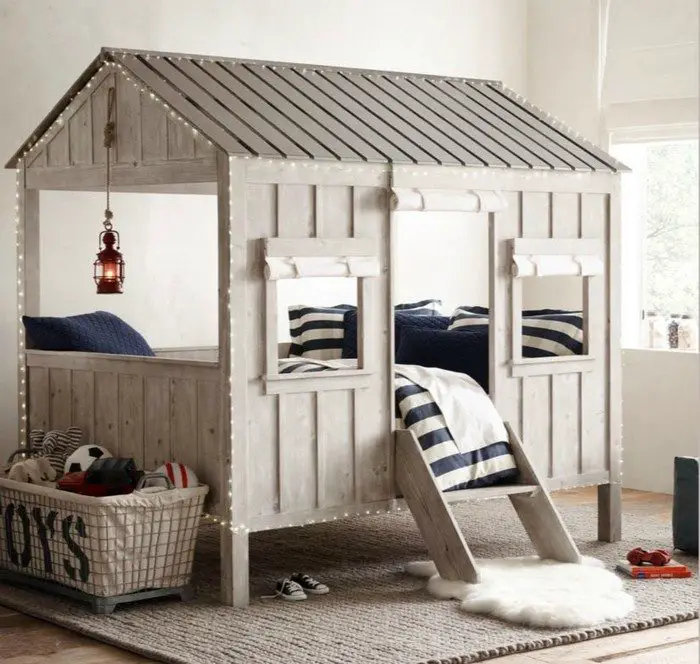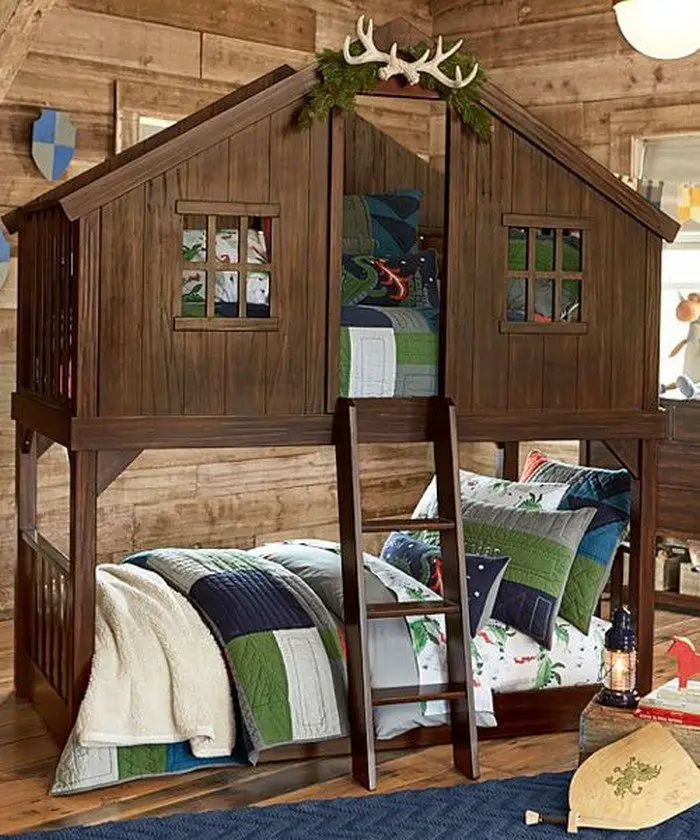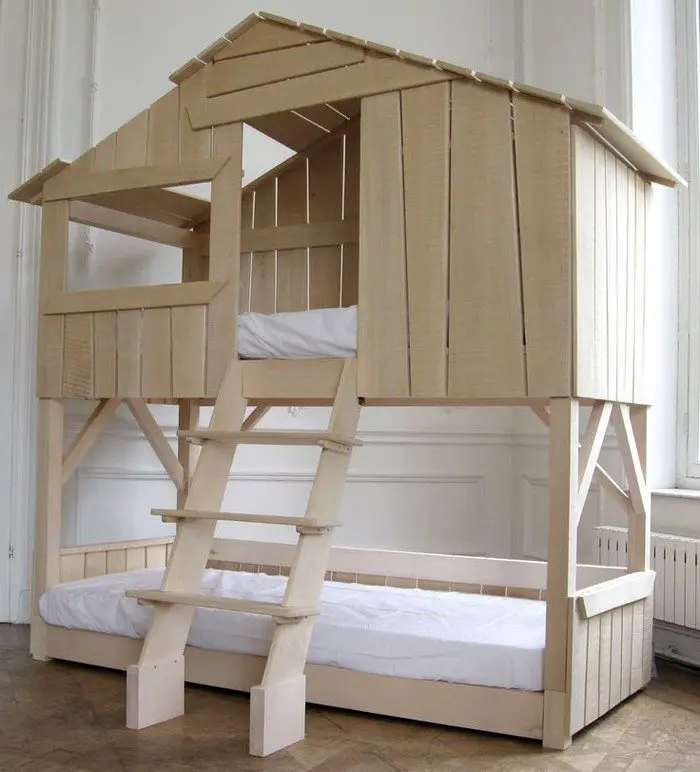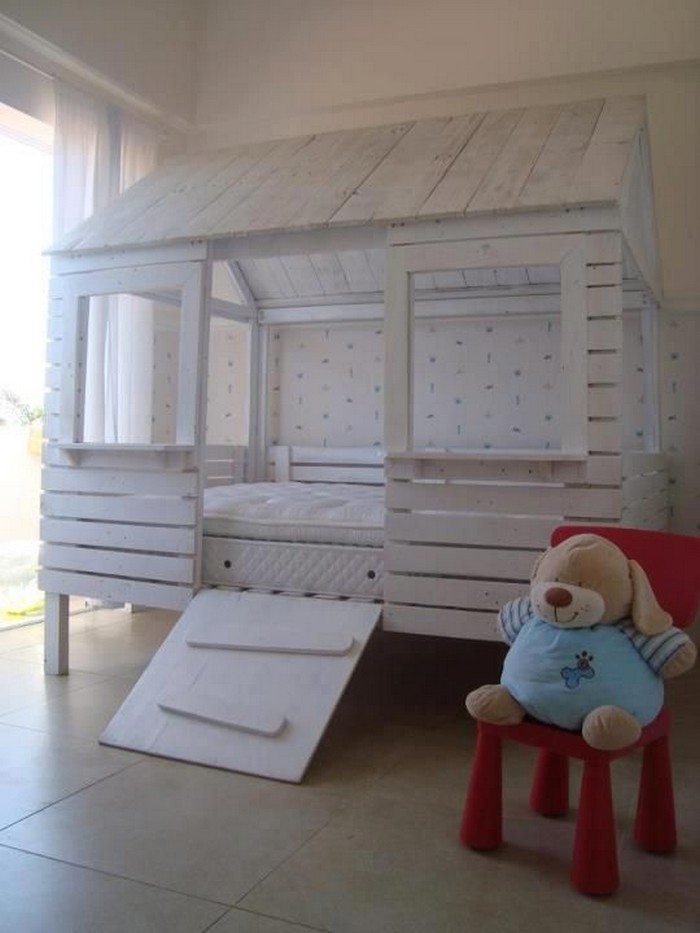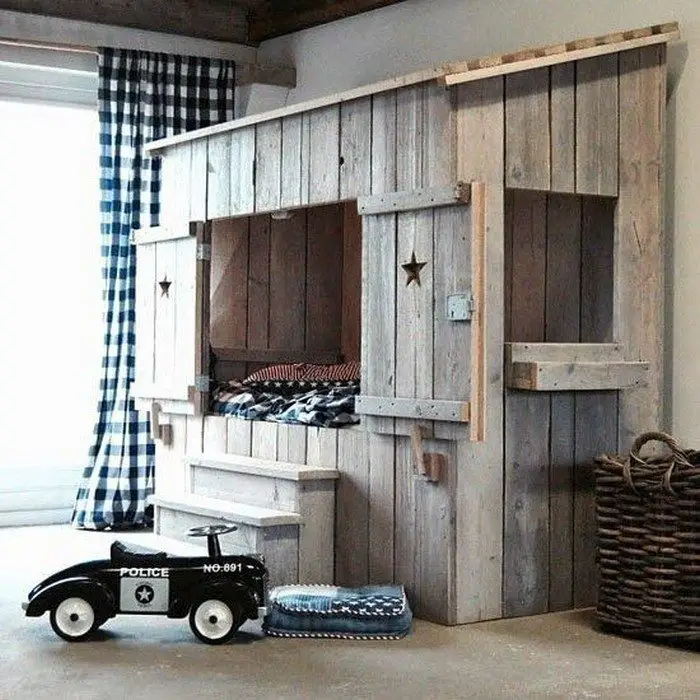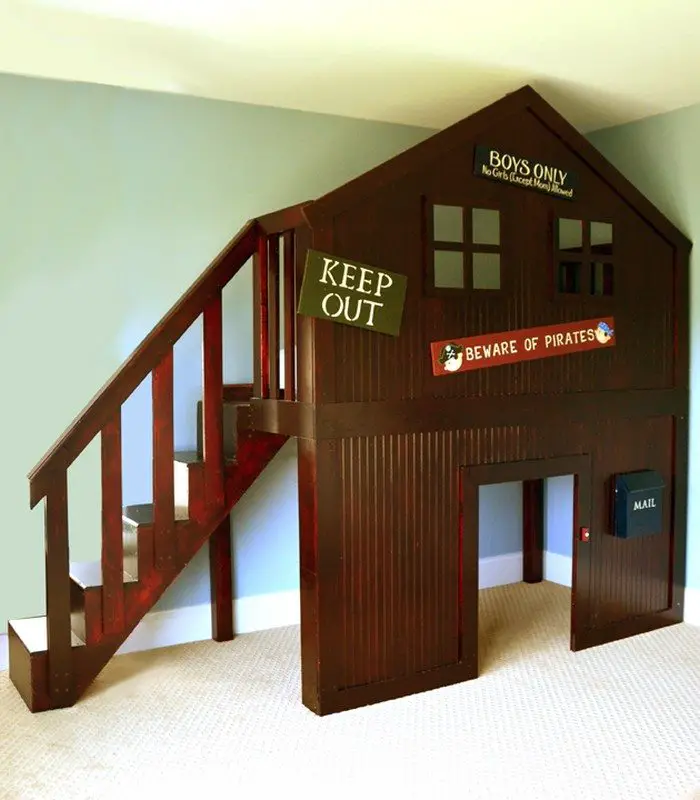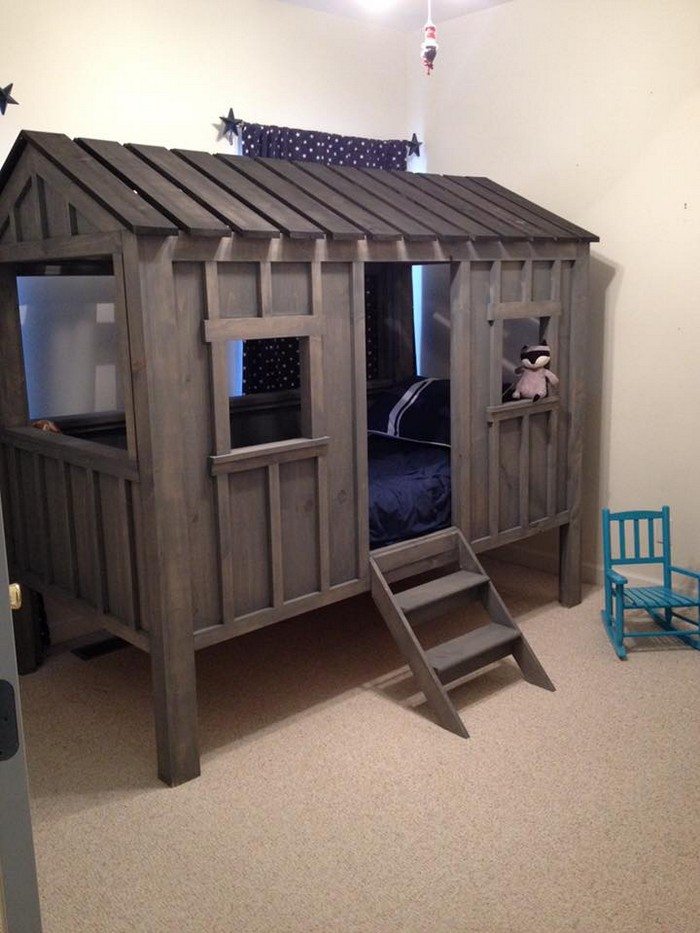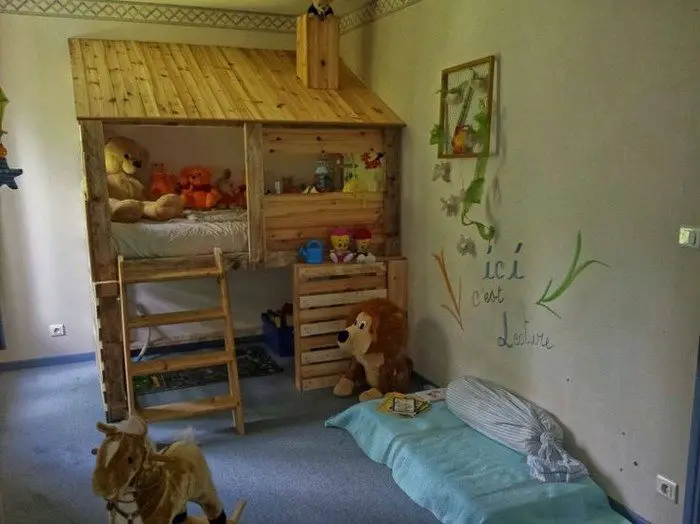
Want to give your little kids a unique bed? Here’s a DIY project you can do that they might just like!
Build your kids a cute little cabin bed! This DIY bed, though requiring a number of woodworking tools, is a simple structure anyone can definitely create. It is installed using metal threaded inserts for easy disassembly in the future.
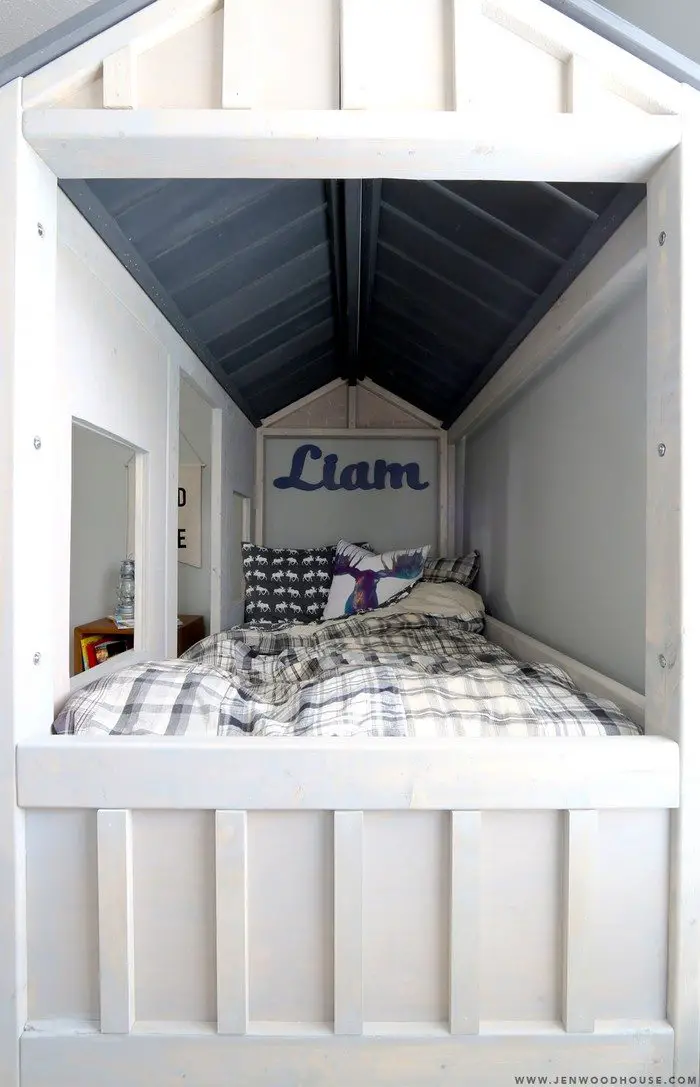
What about changing the sheets on this bed, you say? The nice thing about this design is that its three sides are open. This makes it possible for parents to fix the bed sheet from the outside. But if you want to make it even easier, you can adjust the dimensions of the bed so that it is just slightly bigger than your mattress. This should give you some space for putting clean sheets!
Another solution you can do is to make the front panels openable by installing hinges. It would require a little bit of tweaking from the original plans/drawing, but we’re confident you can do it. :)
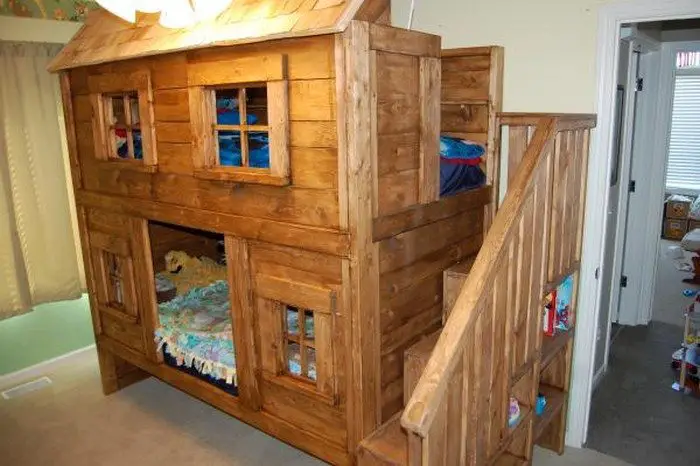
Think the kids would love to have a cabin bed? Get your inspiration from our album of DIY cabin beds below and head over to the step-by-step tutorial to build one!
Contents
Building a Cabin Bed
Materials
- 1 sheet – 8′ long 3/4″ Plywood
- 17 pcs – 8′ long 2×4 Timber
- 6 pcs – 8′ long 2×2 Timber
- 2 pcs – 8′ long 1×2 Timber
- 1 pc – 4′ long 1×3 Timber
- 6 pcs – 10′ long 1×6 Timber
- 3/4″ Self-tapping Screws
- 1/4″ Finish Nails (or Screws)
- 2″ Screws
- 1 1/4″ Pocket Hole Screws
- 2 1/2″ Pocket Hole Screws
- Wood Glue
- Wood Filler
Tools
- Measuring Tape
- Speed Square
- Pencil
- Kreg Jig
- Cordless Drill
- Jigsaw
- Miter Saw
- Table Saw
- Brad Nailer
- Sander
- Safety Glasses and Ear Protection
Instructions
Step 1: Design and Planning
- Sketch your cabin bed design, including dimensions tailored to your mattress size. Determine the height, width, and depth based on your available space and materials.
- Use your measurements to create a cutting list for your wood pieces.
Step 2: Cutting the Materials
- Using a table saw and miter saw, cut the 2×4 timber to form the bed frame and supports.
- Cut the plywood and 1×6 timber to size for the bed platform and side panels.
- Use the 2×2 timber for additional framing and support beams.
Step 3: Assemble the Bed Frame
- Lay out the 2x4s to form the rectangular base of the bed frame.
- Drill pocket holes at each end of the horizontal beams and connect them to the vertical posts using 2 1/2″ pocket hole screws.
- Ensure everything is squared with a speed square and secure with wood glue.
Step 4: Add the Bed Platform
- Place the cut plywood on top of the frame as the mattress support. Attach it using 3/4″ self-tapping screws, ensuring it’s centered and flush with the frame edges.
Step 5: Construct and Attach Side Panels
- Build side panels using 1×6 timber for a decorative touch and additional support.
- Install the panels by screwing them into the frame with 2″ screws and wood glue for a secure fit.
Step 6: Install Railings
- For safety, especially if the bed is for children, use 2×2 timber to create railings around the top perimeter of the bed.
- Attach the railings with wood glue and 1 1/4″ pocket hole screws, ensuring they are sturdy and have no sharp edges.
Step 7: Sanding and Finishing
- Sand all surfaces with a sander to remove any splinters and rough edges, preparing the wood for painting or staining.
- Wipe down the bed with a damp cloth to remove sawdust.
Step 8: Painting or Staining
- Apply your choice of paint or stain to match your room decor. Let it dry according to the product instructions.
- For added durability, consider applying a clear coat finish.
Step 9: Final Assembly
- If the bed design includes detachable panels or additional features like under-bed storage or openable front panels, attach these elements using hinges and screws.
- Fill any visible screw holes with wood filler, sand smooth once dry, and touch up the paint or stain.
Step 10: Setting Up
- Move the bed into its designated space. Due to its size and weight, you might need assistance.
- Install the mattress and make the bed with fresh sheets.
Click on any image to start the lightbox display. Use your Esc key to close the lightbox.
Thanks to Jen Woodhouse for this great project. You can get step-by-step instructions here…
Safety Features for Cabin Beds
When designing a cabin bed, especially for children, prioritizing safety is crucial. A cabin bed isn’t just a place to sleep; it’s often a play area, a space for creativity, and a centerpiece of a child’s room. Ensuring it is safe for daily use involves careful planning and construction. Here’s a detailed look at essential safety features that should be incorporated into any cabin bed design.
Sturdy Construction
- Reliable Framework: The frame of the cabin bed should be constructed using high-quality materials that can withstand the regular activities of children. Using strong, durable timber and ensuring all joints are securely connected can prevent the structure from wobbling or collapsing.
- Quality Fasteners: Utilize appropriate screws and joints for assembling the bed. Pocket hole screws, which create strong hidden joints, are ideal for putting together a sturdy frame that doesn’t loosen easily.
Guardrails
- Height and Placement: For beds raised off the floor, install guardrails on all open sides. The rails should be high enough to prevent children from rolling out of bed, typically at least 5 inches above the mattress level.
- Secure Installation: Attach guardrails directly to the frame with bolts and screws to ensure they are immovable and can withstand weight without bending or breaking.
Smooth Edges and Corner Protectors
- Rounded Corners: Soften all sharp edges and corners on the bed frame to prevent injuries from bumps and falls. Using a router can help round out the edges, or you can add corner protectors as an additional safety measure.
- Non-toxic Finishes: When painting or sealing the bed, use non-toxic, child-safe paints and varnishes. These should be lead-free and have a low VOC (Volatile Organic Compounds) level to ensure the indoor air quality remains safe.
Secure Ladder
- Stable Access: If the cabin bed includes a ladder for climbing up to a loft or bunk, ensure the ladder is fixed securely to the bed. It should feature wide steps and comfortable handrails to assist with safe climbing.
- Slip-resistant Steps: Apply anti-slip pads or strips to the ladder’s steps to prevent slipping, especially if the ladder is used frequently or if children are likely to use it with socks on.
Appropriate Mattress Fit
- Tight Mattress Placement: Ensure the mattress fits snugly within the bed frame. There should be no large gaps between the mattress and the frame where a child could potentially get stuck or injure themselves.
Fire Safety
- Materials and Escape Plans: Use materials that are fire-resistant, or treat wood surfaces with a fire-retardant coating. It’s also wise to plan an easy escape route for loft or elevated beds, ensuring children understand how to exit safely in case of an emergency.
Regular Maintenance
- Check-ups and Repairs: Regularly inspect the cabin bed for any loose screws, weakened wood, or other potential hazards. Tighten connections and make repairs as needed to keep the bed safe and functional.
Safe Load Limits
- Weight Considerations: Always adhere to the recommended weight limits for the bed. This includes considering the weight of the mattress and ensuring the bed’s design can support the weight of one or more children, depending on its size and intended use.
Incorporating these safety features will not only make a cabin bed secure but will also provide peace of mind to parents. A well-built and safely designed cabin bed can be a delightful and enduring addition to any child’s room.
Cabin Bed Maintenance Tips
Maintaining a cabin bed is essential to ensure it remains a safe and comfortable space for rest and play. Regular upkeep not only extends the life of the bed but also ensures that it continues to be a secure haven for your child. Here are practical maintenance tips to keep your cabin bed in top condition.
Regular Inspections
- Check for Wear and Tear: Periodically inspect the cabin bed for any signs of wear or damage. Look for loose screws, weakened joints, or cracks in the wood. Early detection of these issues can prevent accidents and extend the furniture’s lifespan.
- Stability Checks: Make sure the cabin bed remains stable and doesn’t wobble. Tighten any loose bolts and screws during your inspection. If the bed is designed to be disassembled, ensure that reassembling is done tightly and correctly.
Cleaning Procedures
- Dust and Clean Regularly: Use a soft cloth or a mild wood cleaner to remove dust and debris from the cabin bed. Avoid harsh chemicals that could damage the wood’s finish or compromise the structural integrity of the bed.
- Protective Coatings: If the cabin bed is painted or stained, check the condition of the finish. Apply a fresh coat of non-toxic finish or paint when necessary to prevent the wood from drying out or splitting.
Ventilation and Humidity Control
- Ensure Good Airflow: Place the cabin bed in an area of the room with good ventilation to prevent mold and mildew growth, especially if the bed includes enclosed spaces or storage units.
- Manage Room Humidity: Maintain a moderate humidity level in the room to keep the wood from warping or swelling. Using a dehumidifier or humidifier can help balance the room’s climate based on seasonal changes.
Periodic Tightening and Adjustments
- Routine Tightening: As part of the cabin bed’s maintenance routine, periodically tighten all hardware. This includes screws, bolts, and other fastening elements that may loosen over time due to regular use.
- Adjust Components as Needed: If your cabin bed has adjustable components or movable parts, check their function regularly to ensure they operate smoothly. Lubricate hinges or sliders if necessary to prevent squeaking or sticking.
By following these maintenance tips, you can keep your cabin bed in excellent condition, ensuring it remains a safe, cozy, and appealing piece of furniture in your child’s room. Regular care will help preserve the bed’s quality and functionality for years to come.
Conclusion
Building a cabin bed presents a special mix of comfort, usefulness, and elegance to a kid’s bedroom. Careful design combined with attention to detail and safety will help you to produce a unique environment that will last. Along with improving your woodworking abilities, this project produces a unique piece of furniture your child will treasure.