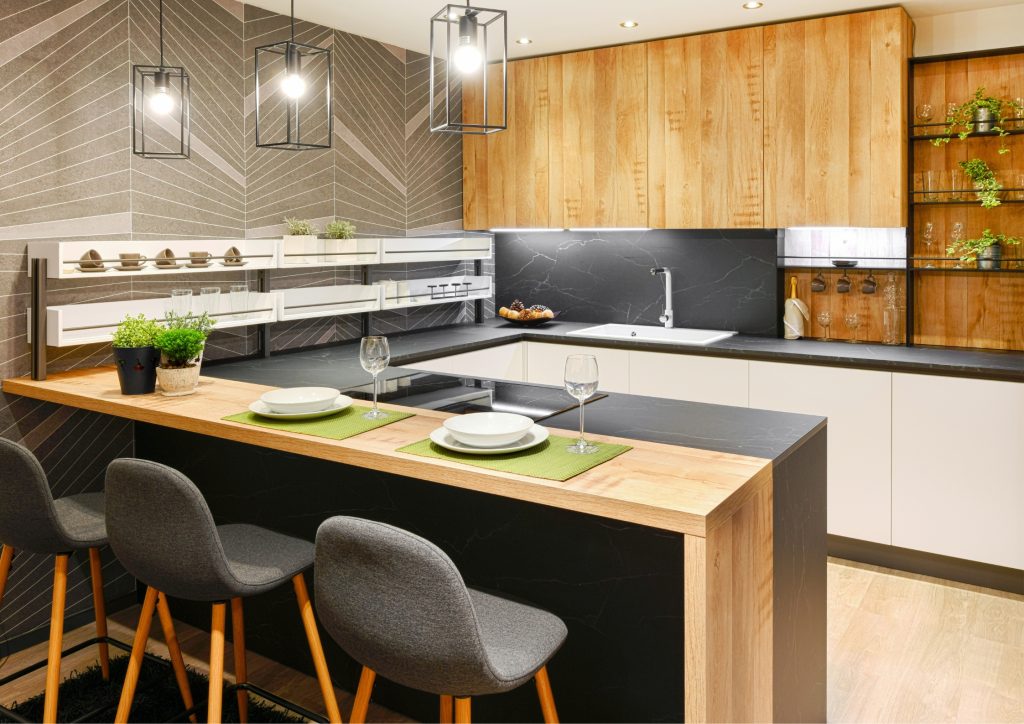
Designing the perfect home bar is a thrilling endeavor that brings sophistication and enjoyment to your abode. Not only does it elevate your living area, but it also creates an inviting space for hosting friends and relatives.
Contents
How to Create the Perfect Home Bar For You?
Adhere to these comprehensive instructions to construct the perfect home bar that complements your personal taste and available space.
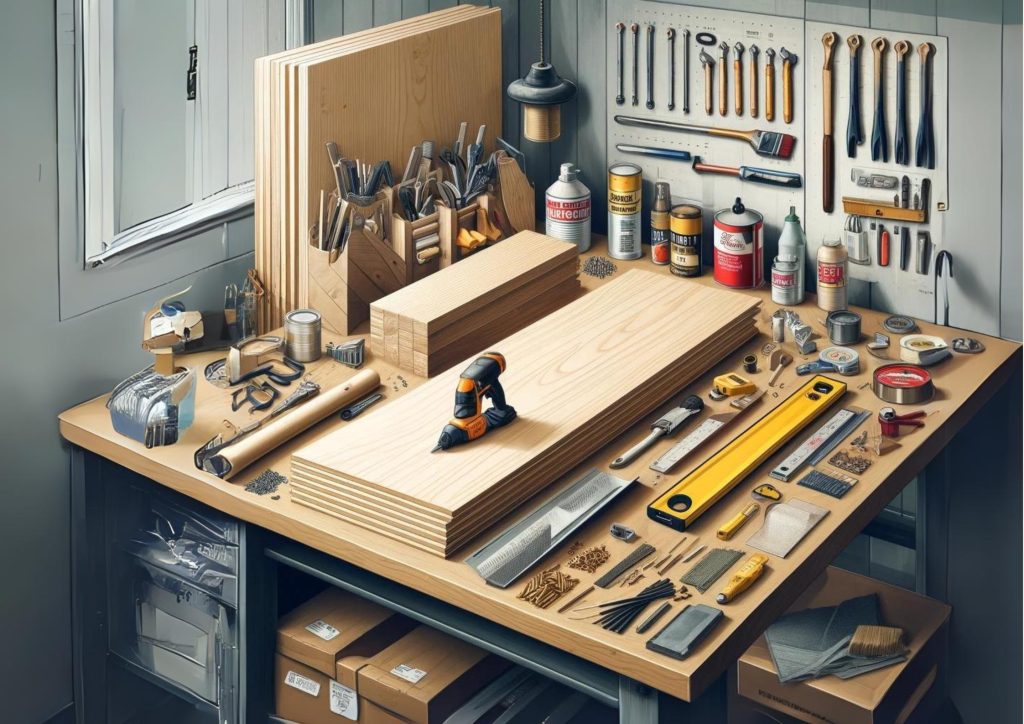
Materials Needed
1. Plywood Sheets (for bar top and shelves)
- Purpose: Plywood sheets are used to create the bar top and shelves. They provide a sturdy and smooth surface for mixing drinks and storing items.
- Selection Tips: Choose high-quality plywood, such as birch or oak, for durability and a fine finish. Ensure the sheets are thick enough (at least 3/4 inch) to support weight without bending.
2. 2×4 Lumber (for frame)
- Purpose: 2×4 lumber forms the skeleton of your bar, providing the essential support structure.
- Selection Tips: Select straight, dry lumber free from knots and warping. This will ensure a sturdy and reliable frame for your bar.
3. Screws and Nails
- Purpose: Screws and nails are used to fasten the plywood and lumber together, securing the structure.
- Selection Tips: Use wood screws of varying lengths (1 1/2 to 3 inches) for different parts of the bar. Galvanized nails are ideal for added strength and resistance to rust.
4. Wood Glue
- Purpose: Wood glue provides additional bonding strength between wooden parts, enhancing the durability of the structure.
- Selection Tips: Choose a strong, water-resistant wood glue. Brands like Titebond or Gorilla Wood Glue are popular choices.
5. Sandpaper
- Purpose: Sandpaper is used to smooth the surfaces of the plywood and lumber, preparing them for finishing.
- Selection Tips: Use a range of grits, starting with a coarse grit (80) to remove roughness and finishing with a fine grit (220) for a smooth surface.
6. Paint or Wood Stain
- Purpose: Paint or wood stain adds color and protection to the wood, enhancing the bar’s appearance and longevity.
- Selection Tips: Choose a high-quality paint or stain that matches your decor. Oil-based stains penetrate deeper for a richer color, while water-based paints offer easy cleanup and low odor.
7. Paintbrushes or Rollers
- Purpose: Paintbrushes or rollers are used to apply paint or stain evenly across the wood surfaces.
- Selection Tips: Select brushes with natural bristles for oil-based products and synthetic bristles for water-based products. Rollers are ideal for larger surfaces.
8. Level
- Purpose: A level ensures all parts of the bar are straight and even, which is crucial for both stability and aesthetics.
- Selection Tips: A standard 24-inch level is versatile and effective for most tasks. Digital levels offer added precision.
9. Measuring Tape
- Purpose: A measuring tape is essential for accurate measurements, ensuring all parts fit together correctly.
- Selection Tips: Choose a tape measure with clear markings and a locking mechanism for convenience.
10. Saw
- Purpose: A saw is used to cut the plywood and lumber to the required dimensions.
- Selection Tips: A circular saw is versatile and ideal for straight cuts, while a jigsaw is useful for more intricate cuts.
11. Drill
- Purpose: A drill is used to make holes for screws and to drive screws into the wood.
- Selection Tips: A cordless drill with variable speed settings and a selection of drill bits is highly recommended.
12. Clamps
- Purpose: Clamps hold pieces of wood together while the glue dries, ensuring a strong bond.
- Selection Tips: Bar clamps or pipe clamps are ideal for their strong holding capacity and adjustable length.
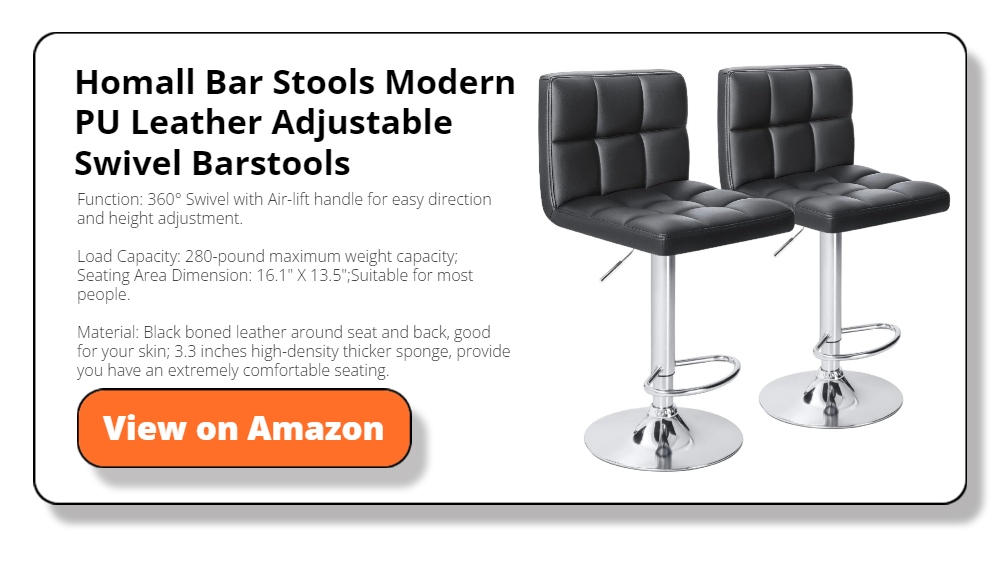
13. Bar Stools (optional)
- Purpose: Bar stools provide seating for guests, enhancing the functionality and comfort of your home bar.
- Selection Tips: Choose stools that match the height of your bar and complement its style. Consider features like swivel seats or cushioned tops for added comfort.
14. Decorative Elements (lights, mirrors, etc.)
- Purpose: Decorative elements add personality and style to your bar, making it a focal point of your home.
- Selection Tips: LED strip lights are energy-efficient and easy to install. Mirrors can make the space feel larger and more inviting. Other options include artwork, plants, or themed decorations.
Measure Your Space
Planning is the cornerstone of creating the perfect home bar. Begin by selecting a suitable location in your home. This could be a corner of your living room, a section of your basement, or even a dedicated space in your kitchen.
The location should be convenient and spacious enough to accommodate guests and allow easy movement around the bar.
- Measure the Area:
- Width: Determine how wide you want your bar to be. A standard home bar is typically 4 to 6 feet wide, but this can vary based on your available space and needs.
- Depth: The depth of the bar is crucial for comfort and functionality. A typical bar depth is around 24 to 30 inches, providing enough space for the bar top and storage.
- Height: The standard height for a home bar is about 42 inches, which is comfortable for standing guests and matches the height of most bar stools. However, you can adjust this based on your preference and the height of your stools.
- Consider Clearance:
- Ensure there is enough clearance behind the bar for you or the bartender to move comfortably. A minimum of 3 feet is recommended.
- Also, consider the space in front of the bar. There should be enough room for guests to sit or stand comfortably, typically around 4 to 5 feet of open space.
- Account for Existing Fixtures:
- Take note of any windows, doors, or electrical outlets in the chosen area. Ensure your bar design accommodates these elements without obstructing them.
- Plan for Lighting and Plumbing:
- If you plan to include a sink, ensure the location has access to plumbing or can be easily connected.
- Plan for adequate lighting, either by placing your bar near existing light sources or incorporating new lighting fixtures.
Sketch a Design
Once you have measured your space, the next step is to sketch a detailed design of your perfect home bar. This visual representation will guide you through the construction process and help you stay organized.
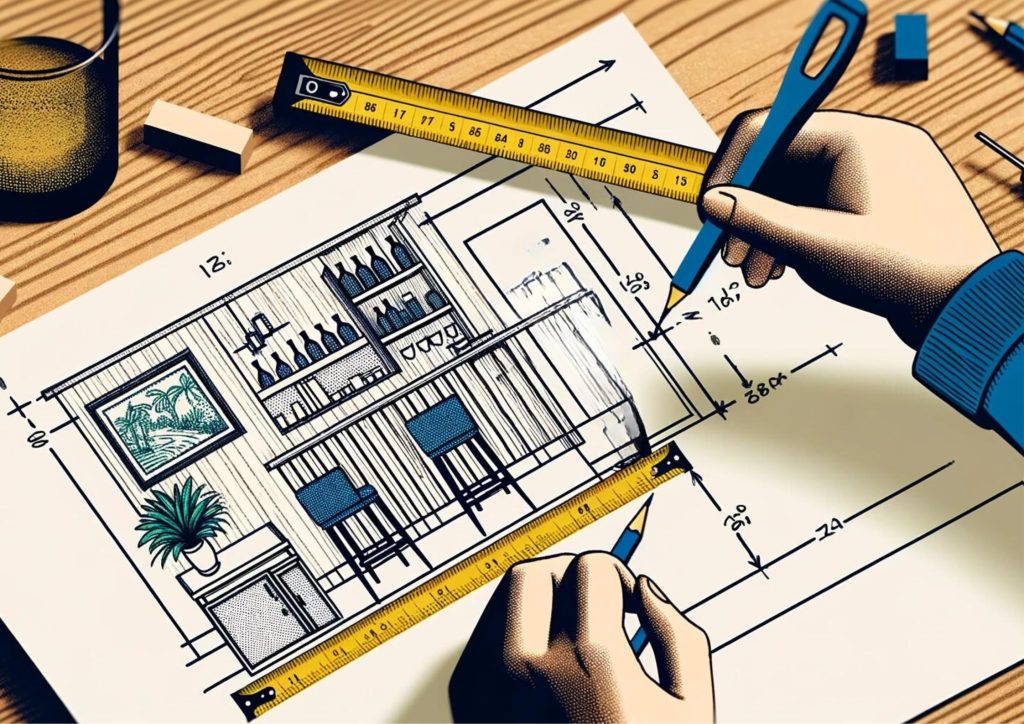
- Draw your Perfect Home Bar’s Outline:
- Start by drawing the basic shape of your bar. This could be a straight line for a linear bar, an L-shape for a corner bar, or a U-shape for a more encompassing design.
- Indicate the dimensions clearly on your sketch, including the width, depth, and height.
- Include Key Elements:
- Bar Top: Draw the bar top, showing any overhangs. A 12-inch overhang is standard to allow guests to sit comfortably.
- Shelves: Plan for shelves behind the bar for storing bottles, glasses, and bar tools. Indicate their positions and dimensions.
- Special Features: If you plan to include a mini-fridge, wine rack, or sink, mark these on your sketch. Consider adding a footrest for guest comfort.
- Style and Theme:
- Think about the overall style and theme of your home. Your bar should complement this aesthetic. For example, a modern home might benefit from a sleek, minimalist bar design, while a rustic home might suit a bar with natural wood finishes and earthy tones.
- Choose materials and colours that match your existing decor. Dark wood and leather stools create a classic look, while metal and glass elements give a contemporary feel.
- Functional Considerations:
- Plan for storage and organization. Include enough shelves and compartments to keep your bar area tidy and functional.
- Ensure easy access to frequently used items, such as glassware, bottles, and bar tools.
- Lighting and Ambiance:
- Decide on the type of lighting you want. Overhead pendant lights, LED strip lights under shelves, or ambient lighting can enhance the bar’s atmosphere.
- Plan the placement of light fixtures to ensure your bar is well-lit and inviting.
By meticulously measuring your space and sketching a detailed design, you set a strong foundation for building the perfect home bar.
This planning phase ensures your bar will be both functional and aesthetically pleasing, perfectly tailored to your home and entertaining needs.
Gather Materials
Once you have a plan, gather all the necessary materials. For the bar top and shelves, choose high-quality plywood that is sturdy and durable.
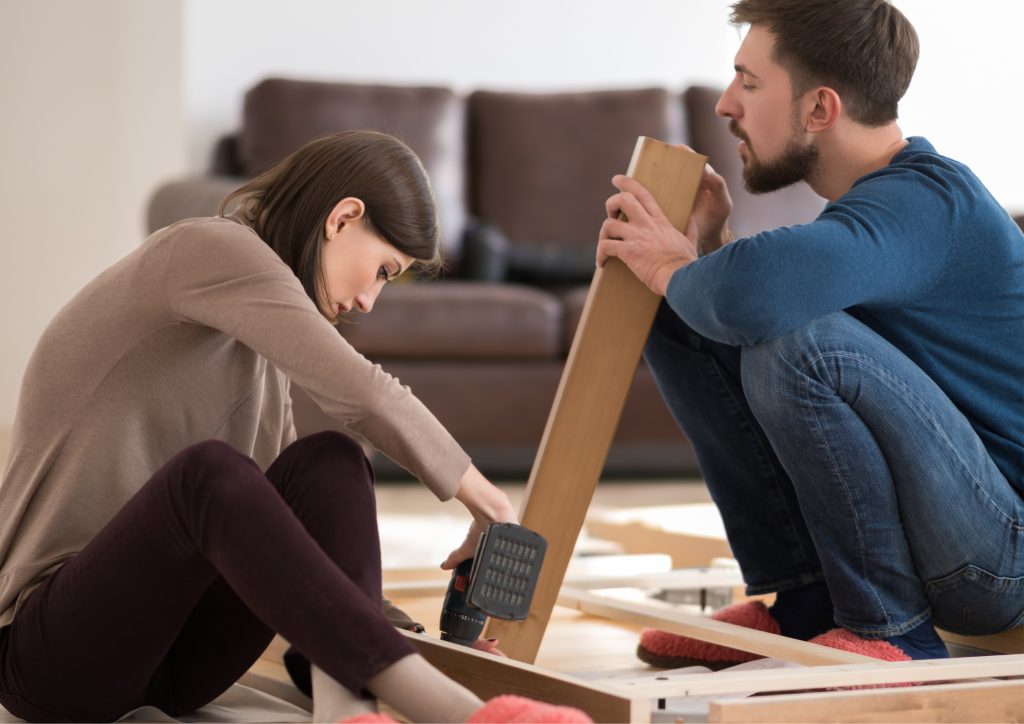
Build the Frame (Expanded)
Building the frame is a critical step in constructing your perfect home bar. The frame serves as the foundation, providing the necessary support and structure for the bar top and shelves.
Follow these detailed steps to build a strong and stable frame for your perfect home bar.
Cutting the Lumber
- Measure and Mark:
- Use a measuring tape to measure the lengths needed for your frame. For a standard rectangular bar, you will typically need:
- Four Vertical Posts: These will determine the height of your bar, usually around 42 inches.
- Horizontal Beams: These will form the base and top of your frame, as well as any middle supports. Measure the width and depth of your bar to determine the lengths of these beams.
- Mark the cutting lines on the 2×4 lumber with a pencil, ensuring accuracy for a precise fit.
- Use a measuring tape to measure the lengths needed for your frame. For a standard rectangular bar, you will typically need:
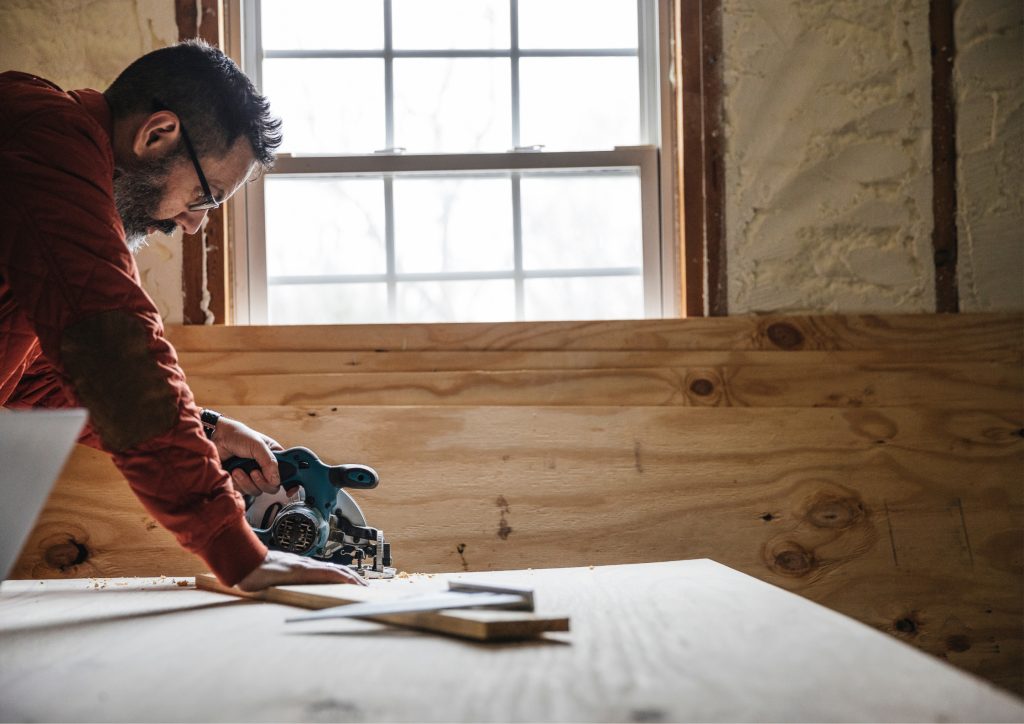
- Cut the Lumber: Remember measure twice, cut once.
- Use a circular saw or miter saw to cut the lumber along the marked lines. Make sure to cut slowly and steadily to ensure clean, straight edges.
- Safety Tip: Wear safety goggles and gloves to protect yourself from sawdust and sharp edges.

Laying Out the Frame
- Arrange the Pieces:
- Lay out the cut pieces of lumber on the ground in the shape of your frame. Start by positioning the horizontal beams to form a rectangle or square base.
- Place the vertical posts at each corner of the base, ensuring they are evenly spaced and aligned.
- Dry Fit:
- Before attaching the pieces, do a dry fit to ensure all parts of your perfect home bar fit together correctly. Adjust any pieces as needed for a snug fit.
Assembling the Base
- Join the Horizontal Beams:
- Apply wood glue to the ends of the horizontal beams where they will join together. This adds extra strength to the joints.
- Use screws to secure the beams together, driving them in at an angle for a strong joint. Use at least two screws per joint to ensure stability.
- Secure the Base:
- Check the base with a level to ensure it is flat and even. Adjust as necessary to achieve a level surface.
Attaching the Vertical Posts
- Position the Vertical Posts:
- Apply wood glue to the ends of the vertical posts where they will meet the base.
- Position the posts at each corner of the base, ensuring they are upright and aligned with the edges of the base.
- Secure the Vertical Posts:
- Use screws to attach the vertical posts to the base. Drive screws through the base into the posts at an angle for added stability.
- Tip: Use at least three screws per post to ensure a secure connection.
- Check Alignment:
- Use a level to check that each post is perfectly vertical. Adjust the posts as necessary to achieve a straight and even frame.
- Clamp the Posts: Use clamps to hold the posts in place while the wood glue dries. This will ensure the posts remain in position and the joints are strong.
Adding Horizontal Support Beams
- Position the Top Beams:
- Apply wood glue to the ends of the horizontal beams that will form the top of your frame.
- Position these beams on top of the vertical posts, aligning them with the edges of the base.
- Secure the Top Beams:
- Use screws to attach the top beams to the vertical posts. Drive screws through the beams into the posts at an angle for a strong joint.
- Tip: Use at least two screws per joint for added stability.
- Add Middle Support Beams:
- Depending on the size of your bar, add horizontal beams in the middle of the frame for additional support. These beams should be positioned between the base and top beams.
- Apply wood glue and secure these beams with screws, ensuring they are level and evenly spaced.
Final Checks and Reinforcement
- Check for Level and Alignment:
- Use a level to check the entire frame, ensuring all parts are straight and even. Adjust as necessary to achieve a level and stable structure.
- Reinforce Joints:
- Check all joints and connections to ensure they are secure. Add extra screws or wood glue as needed to reinforce weak spots.
- Clamp and Let Dry:
- Use clamps to hold the entire frame together while the wood glue dries. This will ensure the frame remains stable and the joints are strong.
By following these detailed steps, you will build a sturdy and reliable frame for your perfect home bar. This strong foundation will support the bar top and shelves, ensuring your bar is stable and secure.

Add the Bar Top
The bar top is a crucial element of your perfect home bar, serving as the primary surface for mixing drinks, serving guests, and adding aesthetic appeal. Follow these detailed steps to add a bar top that is both functional and attractive.
Measuring and Cutting the Plywood
- Measure the Frame:
- Use a measuring tape to determine the exact dimensions of your perfect home bar frame’s top. Measure the width and length of the frame carefully to ensure an accurate fit for the bar top.
- Determine Overhang:
- Decide on the desired overhang for your bar top. A standard overhang is about 12 inches, providing ample space for guests to sit or lean comfortably. Adjust this measurement based on your preferences and the space available.
- Tip: Ensure the overhang is consistent on all sides for a balanced look.
- Mark the Plywood:
- Lay the plywood sheet flat on a stable surface. Use a pencil and a straightedge to mark the dimensions of the bar top, including the overhang. Double-check all measurements to ensure accuracy.
- Cut the Plywood:
- Use a circular saw or a jigsaw to cut the plywood along the marked lines. Cut slowly and steadily to achieve clean, straight edges.
- Safety Tip: Wear safety goggles and a dust mask to protect yourself from sawdust.
Preparing the Bar Top
- Sand the Edges:
- Use sandpaper or a sanding block to smooth the edges of the cut plywood. Start with a coarse grit (80) to remove roughness, then switch to a finer grit (220) for a smooth finish.
- Tip: Sand the surface of the plywood lightly to prepare it for finishing.
- Check Fit and Alignment:
- Place the cut plywood on top of the frame to check the fit. Ensure the overhang is even on all sides and the bar top is centered on the frame.
Securing the Bar Top
- Apply Wood Glue:
- Lift the plywood and apply a generous amount of wood glue to the top edges of the frame. Spread the glue evenly to ensure a strong bond.
- Tip: Use a brush or a spreader to distribute the glue evenly.
- Position the Bar Top:
- Carefully place the plywood back on the frame, aligning it with the edges and ensuring the overhang is consistent. Press down firmly to set the glue.
- Secure with Screws:
- Use a drill to drive screws through the plywood into the frame. Place screws approximately every 6-8 inches along the edges and across the middle to secure the bar top firmly.
- Tip: Countersink the screws slightly to create a smooth surface.
- Check Levelness:
- Use a level to check that the bar top is perfectly flat. Adjust as necessary to achieve a level surface.
- Clamp for Stability: If needed, use clamps to hold the bar top in place while the glue dries, ensuring a strong and stable connection.
Finishing Touches
- Fill Screw Holes:
- Use wood filler to fill any visible screw holes or gaps. Allow the filler to dry completely, then sand it smooth for a seamless finish.
- Final Sanding:
- Sand the entire surface of the bar top with fine-grit sandpaper (220) to achieve a smooth finish, ready for staining or painting.
- Apply Finish:
- Choose a paint or wood stain that matches your decor. Apply it evenly with a brush or roller, following the wood grain. Allow the first coat to dry completely before applying additional coats if necessary.
- Seal for Protection: Apply a clear sealer to protect the wood and enhance its appearance.
By following these detailed steps, you will create a sturdy and attractive bar top that serves as the focal point of your perfect home bar, providing a smooth and durable surface for all your entertaining needs.
Install Shelves
Plywood shelves are crucial for a tidy and perfect home bar. Customize them to fit your storage requirements for glassware, bottles, and tools. Secure shelves with screws and glue, ensuring they are level and sturdy. This enhances both function and aesthetics of your bar.
Add Decorative Elements
Adding decorative elements personalizes your perfect home bar. Install LED strip lights under the shelves for a modern and stylish touch. These lights can highlight your glassware and create a cozy ambiance.
Hang a mirror behind the bar to create a sense of space and reflect light, making the area appear larger. Arrange bar stools around the bar for seating. Choose stools that match the style of your bar and are comfortable for guests.
Stock Your Bar
The final step in creating your perfect home bar is stocking it with drinks and accessories. Add your favourite spirits, mixers, and glassware to the shelves. Organize your bar tools, such as shakers, strainers, and jiggers, in an easily accessible spot.
Consider adding a small fridge for chilled beverages. Arrange everything neatly to create a welcoming and functional space. Your perfect home bar is now ready for entertaining guests and enjoying your favourite drinks.
By following these detailed steps, you’ll have a perfect home bar ready for hosting gatherings and enjoying a relaxing drink at home. Enjoy your new space and the satisfaction of having built your very own perfect home bar!
Conclusion
Crafting the perfect home bar is a rewarding project that transforms any space into a hub of entertainment and style.
By following these detailed steps—from planning and gathering materials to building the frame and adding the bar top—you’ll create a personalized bar that reflects your taste and meets your needs. Whether you’re hosting a lively party or enjoying a quiet evening drink, your new perfect home bar will be the perfect setting.
So gather your tools, unleash your creativity, and start building your perfect home bar of your dreams. Cheers to your new favourite spot at home!


