Are you thinking about adding a stylish yet practical touch to your living space? Floating shelves are an excellent choice! These shelves create a sleek, minimalistic look because they don’t have visible supports and appear to “float” on the wall.
They’re perfect for displaying everything from books to plants to personal treasures, and installing one is a fun DIY project that you can proudly showcase.
Contents
- 1 Floating Shelves 101: Installing for Impact in Modern Home Design
- 2 Conclusion
Floating Shelves 101: Installing for Impact in Modern Home Design
This guide will walk you through the process step-by-step, to ensure that your new floating shelves are both beautiful and sturdy. Let’s dive in and transform your wall into a functional piece of art!
Achieving a modern aesthetic in your space can be as simple as installing floating shelves. Follow these steps to easily add a touch of contemporary style to your home:
What You’ll Need to Get Started?
Tools:
- Drill: This is essential for making holes in your wall for screws. A power drill is preferable for ease and efficiency.
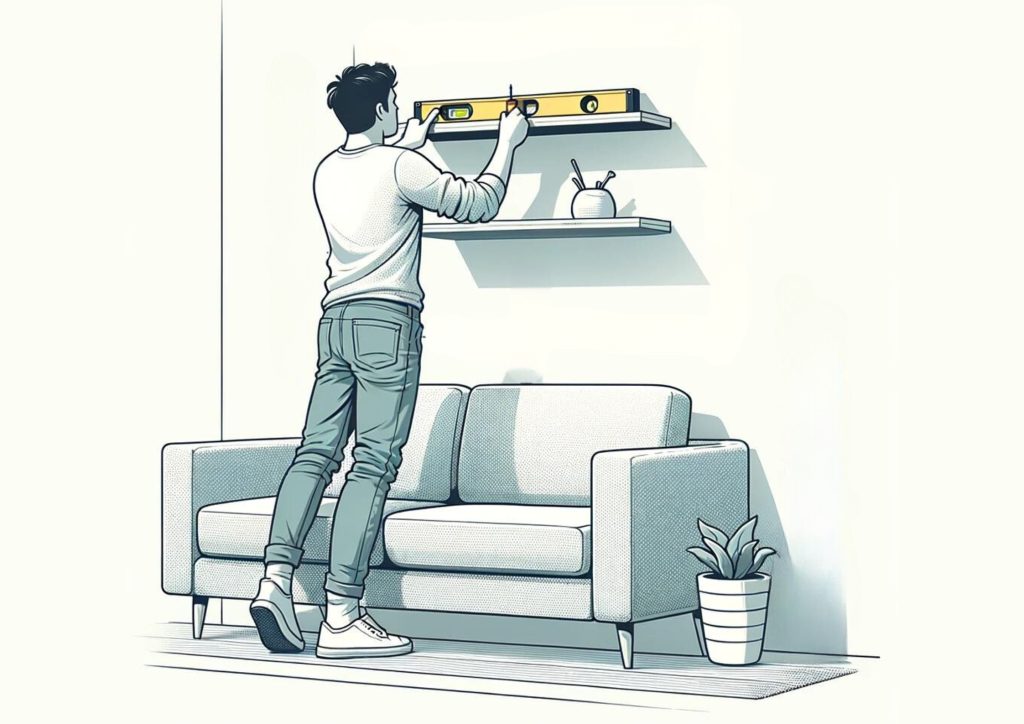
- Level: This tool ensures that your floating shelves will be perfectly horizontal. A crooked shelf could lead to objects sliding off or an unpleasing appearance.
- Tape Measure: Necessary for precise measurements, the tape measure will help you place the shelf at the correct height and ensure it’s centered.
- Stud Finder: This tool is optional but highly recommended. It helps locate studs behind the drywall, which are the most secure places to mount your shelf.
- Pencil: You’ll use a pencil to mark where you’ll drill holes for the mounting bracket.
- Screwdriver: Needed for driving screws into the wall and bracket. You can use a manual screwdriver, but a power screwdriver or drill with a screwdriver bit can make the job faster and easier.
Materials:
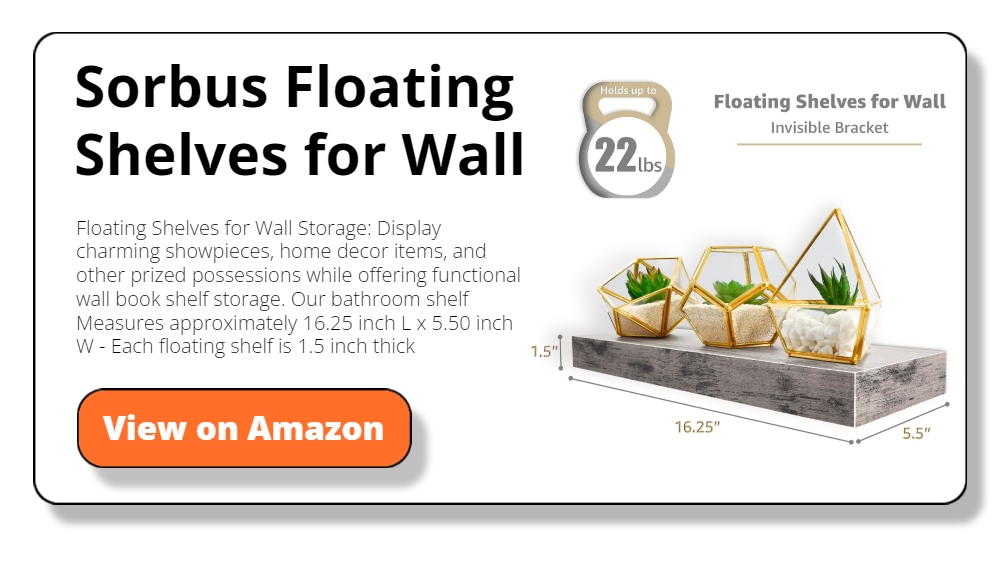
- Floating Shelf Kit: These kits typically include the shelf itself and the necessary mounting bracket. Kits vary, so make sure yours has all the needed components.
- Screws: Generally included in the shelf kit, these are used to secure the bracket to the wall and the shelf to the bracket.
- Drywall Anchors: If you are unable to mount the shelf into a stud, drywall anchors will provide the necessary support in just drywall. They expand behind the drywall to help bear the weight of the shelf.
Step-by-Step Guide
Step 1: Pick the Perfect Spot
Choosing the right spot to install your floating shelves might seem simple, but it requires thoughtful consideration to ensure both functionality and aesthetics.
The location of your floating shelves can significantly impact both the look of a room and how practical the shelf will be in daily use. Here’s how to select the ideal spot for your shelf:
Consider Room Layout and Traffic
First, assess the layout of the room where you plan to install the shelf. You’ll want to choose a location that complements the existing setup without disrupting the flow of the space.
Avoid areas that are prone to frequent bumps or high traffic, such as directly behind doors, in narrow hallways, or in bustling areas of your kitchen. These locations could lead to your items being knocked off or the shelf getting damaged.
Evaluate the Purpose of the Shelf
Think about what you intend to display or store on your floating shelf. If it’s decorative, like a vase or framed photos, the height may vary based on aesthetic preference and viewing angles. However, if you’re using the shelf for practical items like books or kitchen supplies, accessibility becomes a priority.
Clearance and Accessibility
One of the most important aspects of choosing a location is ensuring there is enough clearance around the shelf:
- Above furniture: If placing the shelf above a piece of furniture like a sofa or a bed, maintain a minimum clearance of 15-23 inches above the highest point of the furniture. This prevents bumping and provides a visually pleasing gap.
- Walking Spaces: When designing walkways or areas where people may gather, it’s crucial to consider the placement of shelves. To prevent any accidental head bumps, shelves should be installed at a safe height.
Weight Considerations and Support
The weight of items you plan to store on the shelf is crucial in determining the right spot. Heavier objects require robust support.
- Stud location: Use a stud finder to locate studs in the wall, which provide the most support for heavy items. Floating shelves mounted on studs can typically hold more weight and are less likely to shift or fall.
- Without studs: If no studs are available in your desired location, you’ll need to use high-quality wall anchors. Be mindful of the manufacturer’s weight recommendations for the shelf and anchors.
Measuring for a Perfect Fit
Before finalizing the spot, measure the area where you plan to install the shelf. Ensure the length of the shelf does not overcrowd the wall or interfere with other elements like windows, art pieces, or furniture.
Once you have considered all these factors and measured accordingly, you will have found the perfect spot for your floating shelf. This careful planning not only ensures that the shelf will be a functional storage solution but also enhances the overall decor of your room.
Step 2: Gather Your Tools and Materials
Before you begin the installation process, gather all the necessary tools and materials listed above. Having everything within reach will streamline the installation process and minimize the frustration of having to search for tools midway through the job.
Open your floating shelf kit and double-check that all parts are included and in good condition. Familiarize yourself with the components and the mounting system, as it can vary between manufacturers.
Step 3: Mark the Wall
Using your tape measure, determine the exact height at which you want to install the shelf and lightly mark the wall with a pencil.
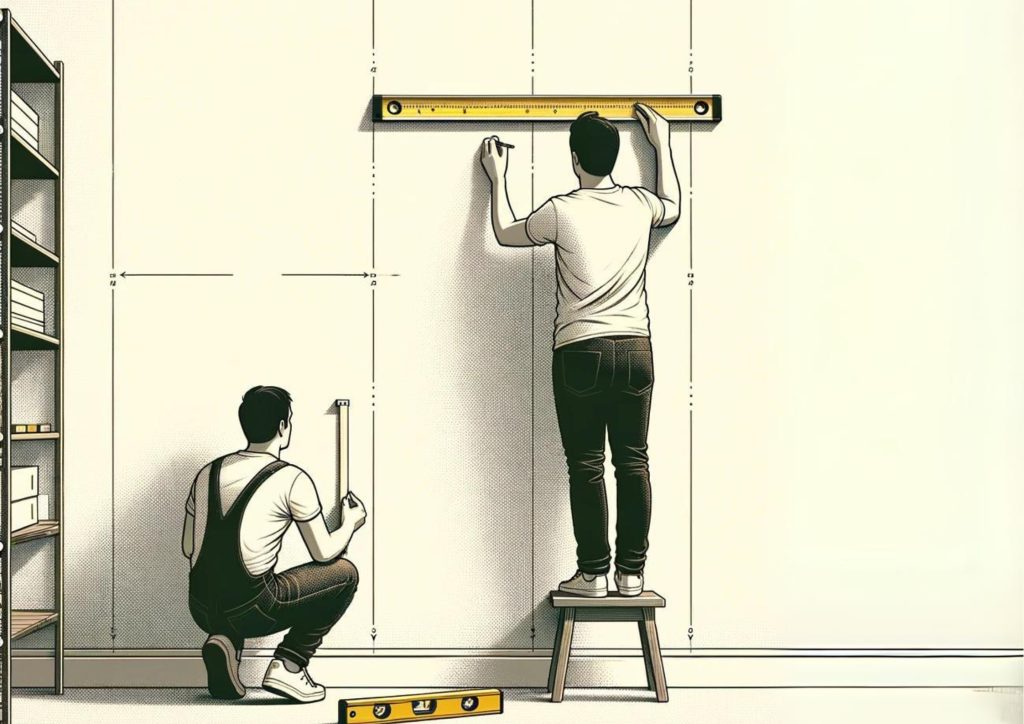
Next, use the level to draw a faint, straight horizontal line along the wall. This line will guide where you place the mounting bracket, ensuring the shelf will be perfectly level. Take your time with this step, as an uneven shelf is immediately noticeable and can detract from the aesthetics of your room.
Step 4: Locate Studs and Install Bracket
The most secure way to mount your floating shelf is to attach it to the studs within the wall. Use your stud finder to locate the studs along the horizontal line you drew.
Mark the centre of each stud with your pencil. If no studs are available in the place where you want to install your shelf, you’ll need to use drywall anchors. Place the mounting bracket against the wall, aligning it with your level line, and mark where the screws will go.
Drill holes into the marked spots. If using drywall anchors, insert them into the holes. Secure the bracket to the wall with screws, checking with the level again to ensure it hasn’t shifted during the process.
Step 5: Attach the Shelf
Now it’s time to attach the shelf to the bracket. Each model of floating shelf has a slightly different attachment method; Follow the instructions specific to your kit.
Often, you’ll slide the shelf onto the bracket and then secure it with additional screws from below or the back to prevent the shelf from moving. Ensure that everything is tight and secure before proceeding to the final step.
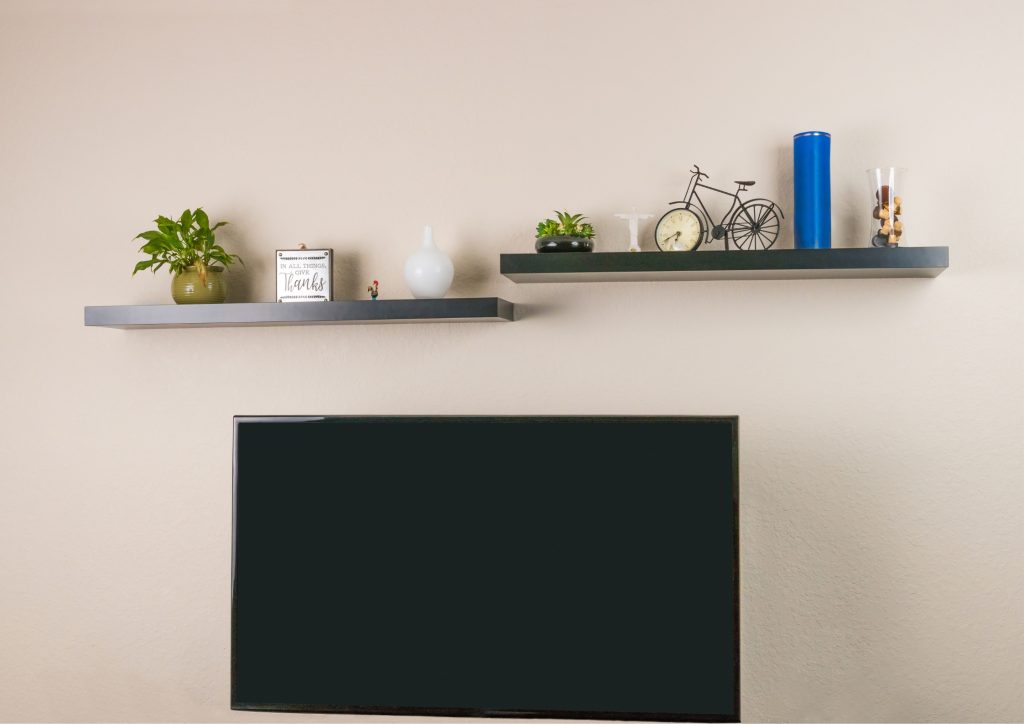
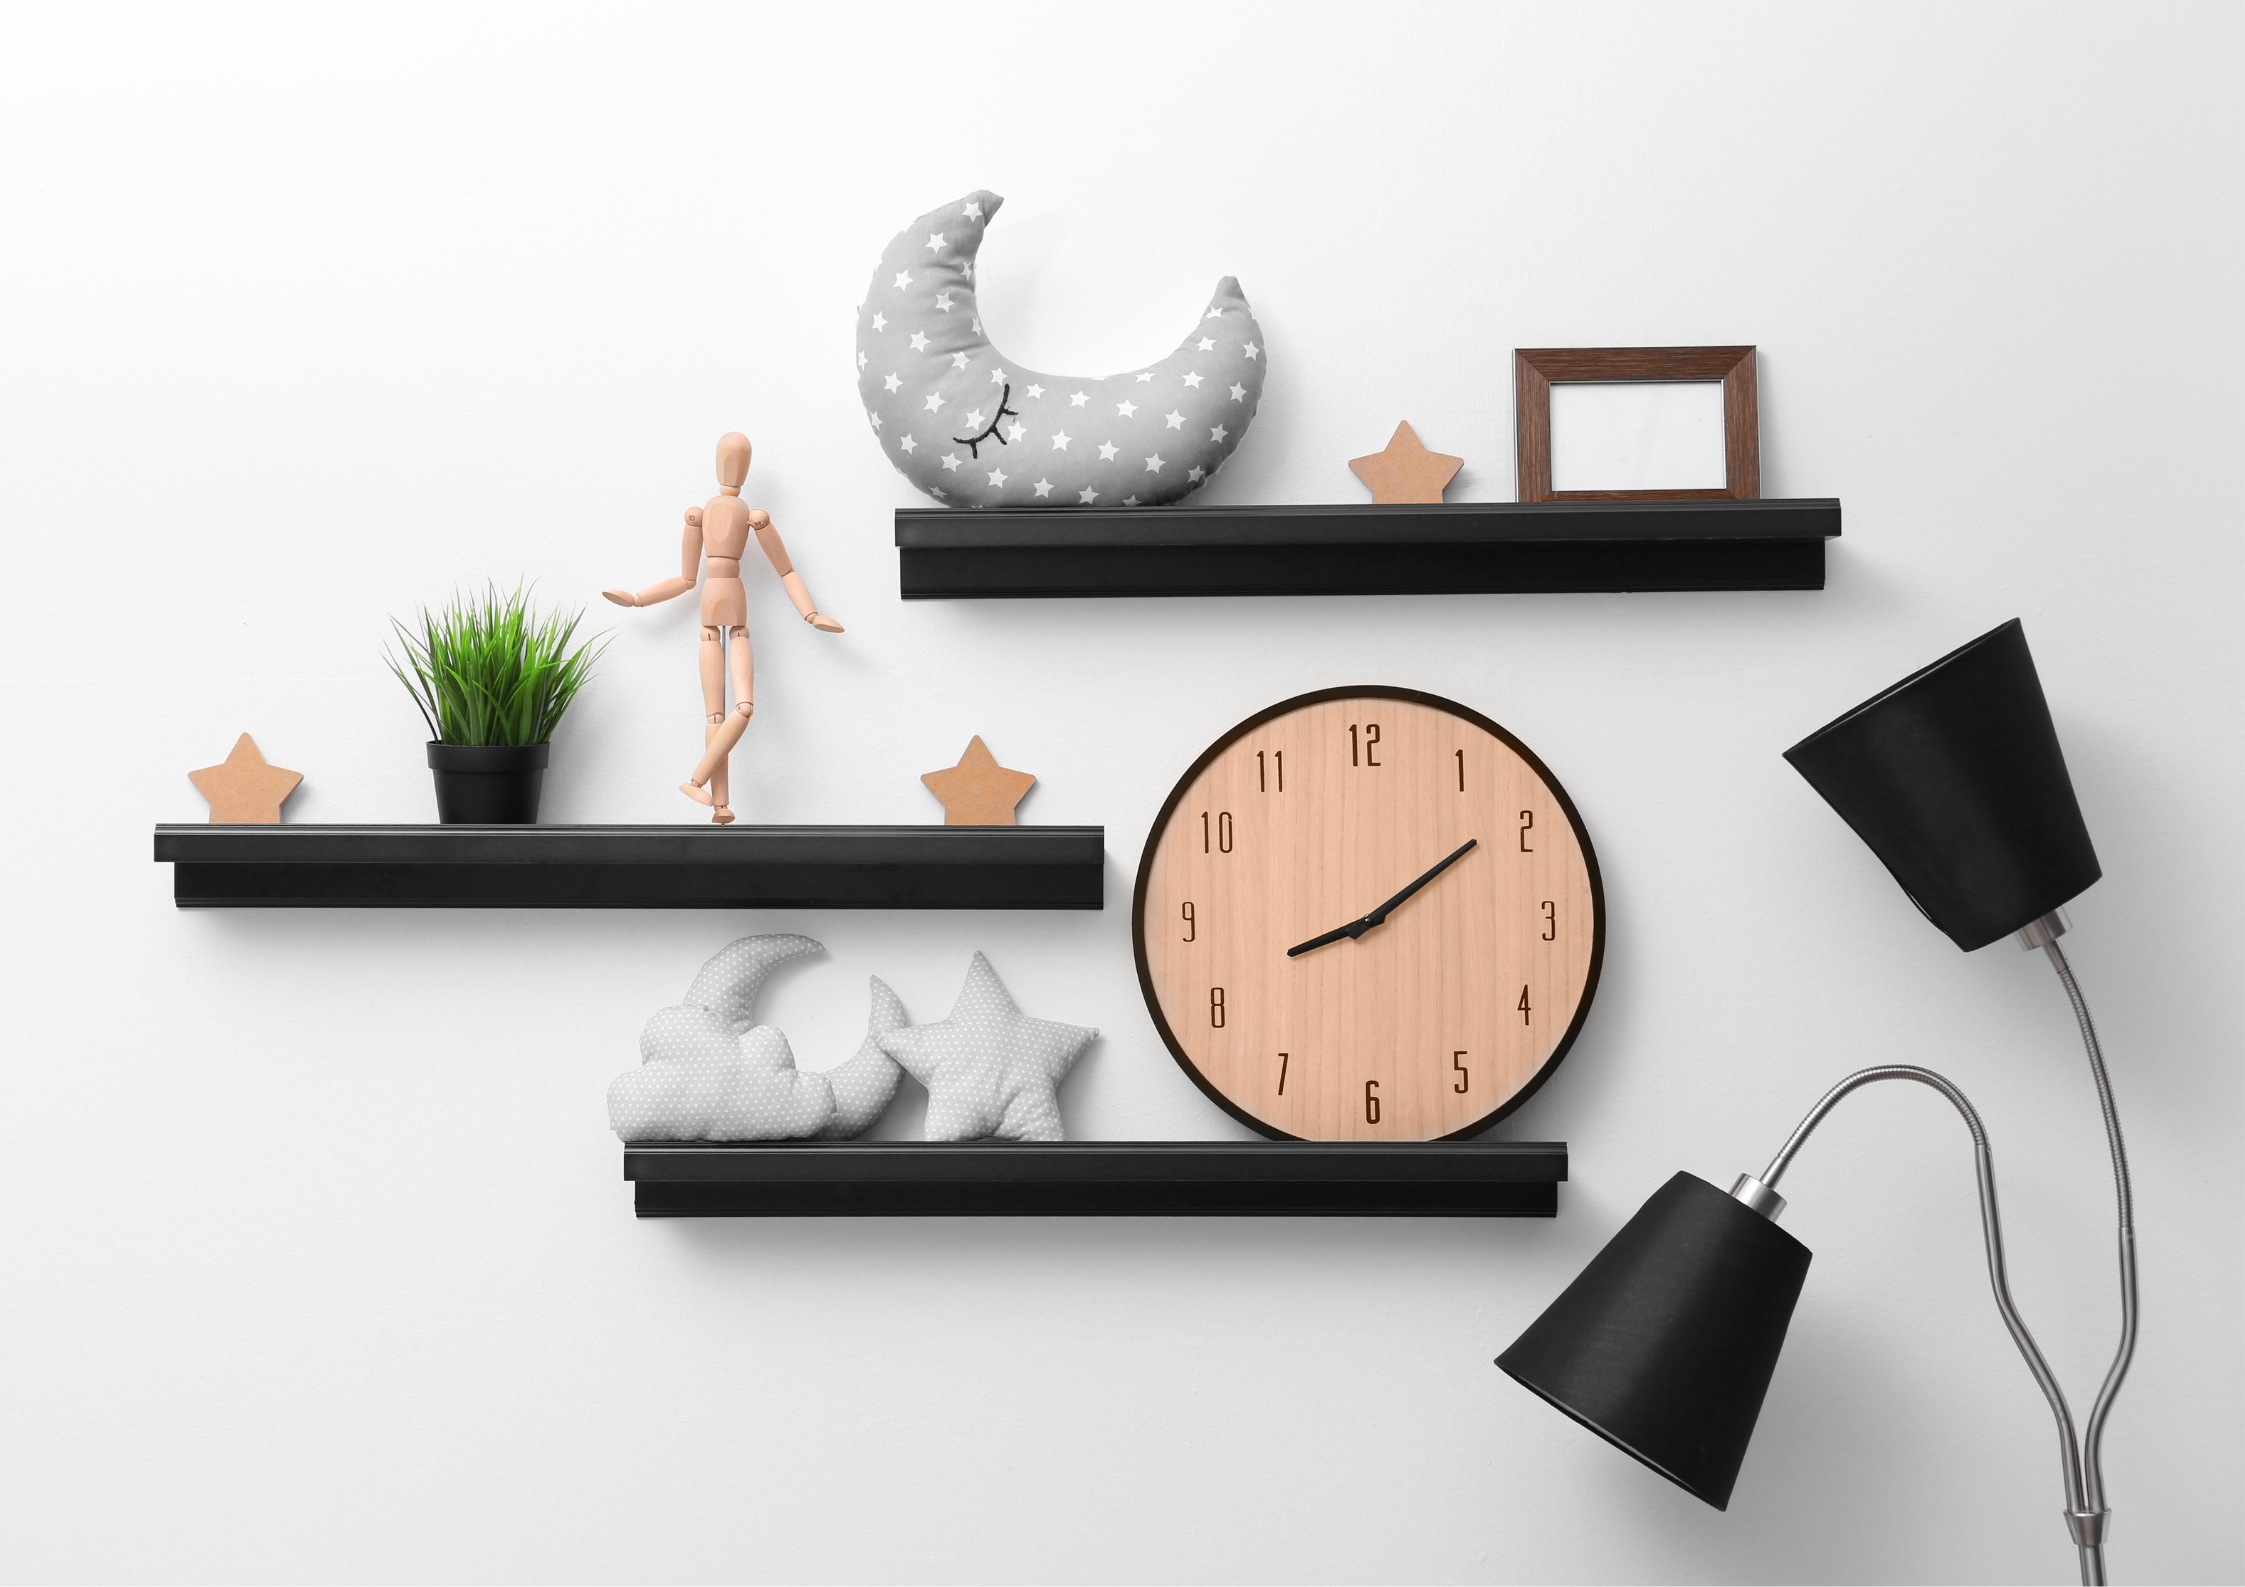
Step 6: Add Your Favourite Things
With the shelf securely in place, you can start decorating. Repeat the steps depending on how many floating shelves you want to install. Arrange your items on your floating shelves, balancing heavier items with lighter ones to maintain visual interest.
If you’re planning to display heavier objects, place them near the center or over the studs to ensure the shelf can support the weight. Lighter items, like small plants or picture frames, can be placed toward the ends of the shelf.
Remember not to overload your shelf; while floating shelves are sturdy, exceeding their weight capacity can cause them to sag or, worse, detach from the wall. It’s always a good idea to check the maximum weight your specific shelf can hold, which is typically listed in the installation instructions.
Conclusion
Installing floating shelves is a simple and effective way to add storage and enhance the aesthetics of any room. By following these detailed steps, you’ve not only added functional space to your home but also a personal touch to your displayed items.
Floating shelves are versatile, stylish, and an excellent way to showcase your personal style. Take a step back and admire your handiwork—enjoy the new addition to your room!
Additional Tips:
- Regular Check-ups: Occasionally check the floating shelves to ensure they remain secure and level, especially if they hold heavier items. Tighten any loose screws if necessary.
- Cleaning: Keep your shelf looking its best by dusting it regularly. Be careful with water or cleaning solutions, especially if your shelf is made of wood or a wood composite, as excessive moisture can damage the material.
- Decoration Ideas: Change up the items on your floating shelves seasonally or whenever you feel like refreshing your space. This keeps your decor dynamic and engaging.
Floating shelves offer a perfect blend of functionality and design flair, making them ideal for almost any space. Whether in your living room, bedroom, or kitchen, they provide a unique platform for your creativity and personal expression.
What are you waiting for? Start installing a floating shelf or two and enjoy organizing and beautifying your home with your new floating shelves!