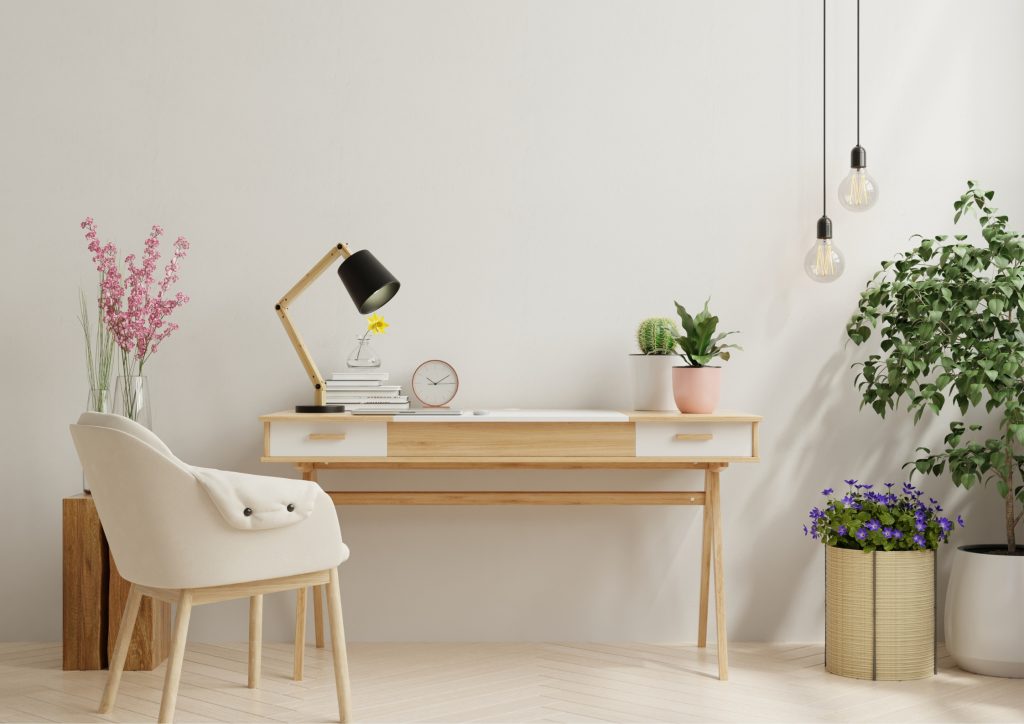
Are you looking to build your very own DIY Home Office Desk? A well-crafted desk can make your home office both functional and stylish.
From Concept to Creation: Building Your DIY Home Office Desk
Whether you need a simple desk for a laptop or a spacious surface for multiple monitors, building a DIY Home Office Desk allows you to customize it to your exact needs and space.
Plus, creating something with your own hands adds a personal touch to your workspace. Follow this easy guide to create a comfortable and practical workspace right at home. Let’s get started!
Materials Needed:
Building a DIY Home Office Desk requires a few essential materials and tools. Here’s a detailed look at what you’ll need:
- Wood Boards (Plywood or Solid Wood)
- Plywood: A versatile and cost-effective option, plywood comes in various thicknesses. It is strong and provides a smooth surface, making it ideal for a desk top.
- Solid Wood: This option offers a more traditional and sturdy feel. Hardwoods like oak, maple, or walnut are durable and add a premium look to your desk.
- Measuring Tape
- Precision Measuring: A measuring tape is crucial for ensuring all parts of your desk are cut to the correct size. Choose one with clear markings and a sturdy lock to keep the tape in place while measuring.
- Saw (Hand Saw or Electric Saw)
- Hand Saw: Ideal for smaller projects or if you prefer manual tools. It’s easy to control and great for making precise cuts.
- Electric Saw: For quicker and more accurate cuts, a circular saw or jigsaw is recommended. These tools are efficient and perfect for cutting larger pieces of wood.
- Screws
- Wood Screws: These are essential for assembling your desk. Choose screws that are the appropriate length to securely fasten the wood pieces together without protruding through the other side.
- Variety Pack: It’s useful to have a variety pack with different lengths and thicknesses to accommodate different parts of the desk.
- Screwdriver or Drill
- Screwdriver: A basic tool that’s easy to use for driving screws into the wood.
- Drill: An electric drill speeds up the process and is helpful for drilling pilot holes to prevent the wood from splitting.
- Sandpaper (Medium and Fine Grit)
- Medium Grit (60-100): Used for the initial sanding to remove rough edges and smooth out imperfections.
- Fine Grit (120-220): Used for finishing touches to achieve a smooth surface before applying paint or stain.
- Wood Glue
- Strong Adhesive: Wood glue is used to bond pieces of wood together. It adds extra strength to the joints, ensuring your desk is sturdy and durable.
- Paint or Wood Stain
- Paint: Provides a protective and decorative finish. Choose a color that matches your home office decor.
- Wood Stain: Enhances the natural grain of the wood, giving it a rich, warm appearance. Stains come in various shades, from light to dark.
- Paintbrush or Roller
- Paintbrush: Ideal for detailed work and applying paint or stain to smaller areas.
- Roller: Useful for covering larger surfaces quickly and evenly.
- Desk Legs (Metal or Wood)
- Metal Legs: These offer a modern look and are typically easy to attach. They are strong and available in various styles and finishes.
- Wood Legs: Provide a classic and cohesive appearance, especially if using a solid wood desk top. They can be custom cut to your desired height.
- Clamps
- Holding Pieces Together: Clamps are essential for holding wood pieces in place while the glue dries. This ensures a strong bond and accurate assembly.
- Variety: Having clamps of different sizes can be helpful for securing various parts of the desk.
- Protective Gear (Gloves and Safety Glasses)
- Gloves: Protect your hands from splinters, sharp edges, and chemical exposure from paint or glue.
- Safety Glasses: Essential for protecting your eyes from sawdust, wood chips, and debris when cutting or sanding wood.
With these materials and tools, you’ll be well-equipped to build a DIY Home Office Desk that is both functional and stylish. Each item plays a crucial role in ensuring the desk is sturdy, well-finished, and tailored to your needs. Happy building!
Step-by-Step Guide:
Plan Your Desk
- Measure Your Space:
- Assess Your Room: Begin by examining the room where you plan to place your DIY Home Office Desk. Consider factors such as the location of windows, doors, and existing furniture.
- Use a Measuring Tape: Accurately measure the available space. Measure the width (side to side), depth (front to back), and height (floor to ceiling) of the area where your desk will be placed.
- Consider Ergonomics: Ensure there is enough room for a comfortable chair and that the desk won’t obstruct pathways or other furniture.
- Decide Desk Size:
- Standard Desk Height: A typical desk height is about 30 inches, which is comfortable for most people when sitting. If you are taller or shorter than average, adjust the height to suit your ergonomic needs.
- Determine Width and Depth:
- Width: This is the horizontal measurement of the desk. Consider how much workspace you need. For example, if you only need space for a laptop, a width of 48 inches might be sufficient. If you require space for multiple monitors or other equipment, you might need a width of 60 inches or more.
- Depth: This is the distance from the front to the back of the desk. A depth of 24 to 30 inches is typically adequate for most home office tasks. Make sure the desk depth allows you to comfortably reach all areas of your workspace without straining.

- Consider Your Usage Needs:
- Work Activities: Think about what activities you will be doing at your DIY Home Office Desk. Will you be using a computer, writing, or spreading out documents? Your desk size should accommodate all these activities comfortably.
- Storage Requirements: If you need storage, consider incorporating shelves or drawers into your desk design. Ensure there is enough space for these additions without cluttering your workspace.
- Sketch Your Design:
- Draw a Rough Sketch: Use graph paper or a design app to draw a rough sketch of your desk. Include measurements for the width, depth, and height.
- Visualize the Layout: Imagine how the desk will look in your space. Consider the placement of desk legs and any additional features like shelves or drawers.
- Adjust as Needed: Modify your sketch based on your space and ergonomic considerations until you have a design that fits your needs.
- List Your Materials:
- Calculate Wood Requirements: Based on your sketch, calculate the amount of wood you will need for the desktop and any additional features.
- Determine Leg Requirements: Decide on the type and number of desk legs you will need.
- Gather Tools and Supplies: Ensure you have all the necessary tools and supplies listed in the materials section, including screws, glue, sandpaper, paint or stain, and protective gear.
Thorough planning of your DIY Home Office Desk is crucial for success. Ensure it fits your space and meets functional needs before moving on to the next steps confidently.
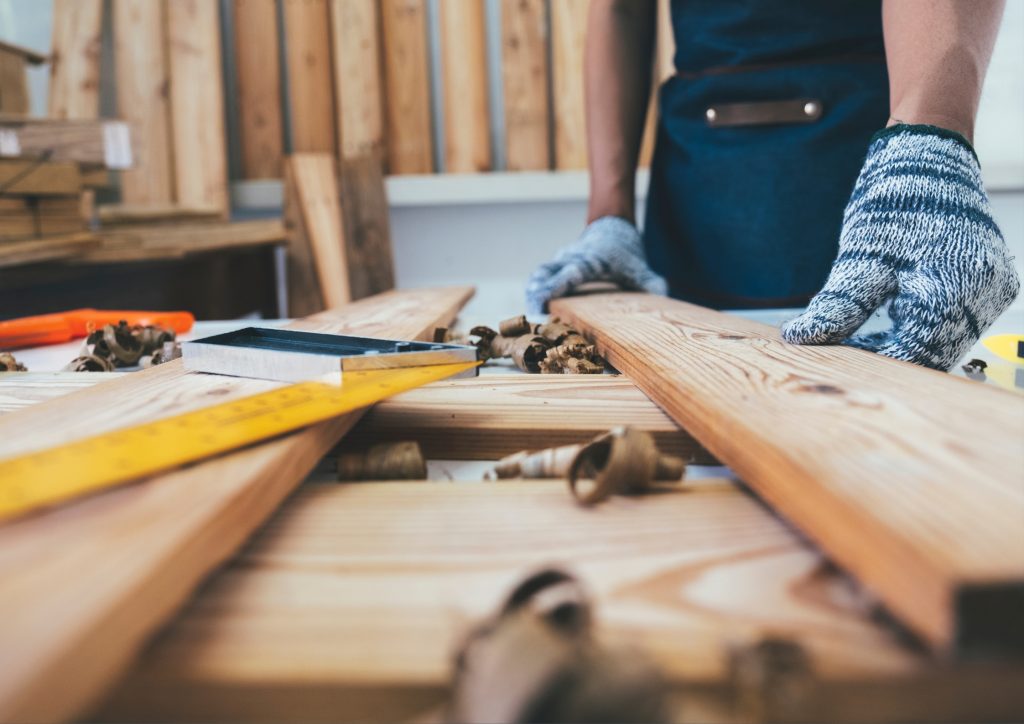
Start Cutting the Woods to Size
To help you organize and prepare all the wood pieces needed for your DIY Home Office Desk, here’s a detailed cutting list based on a standard desk design:
Desk Top
- Main Desk Top
- Dimensions: 60 inches (width) x 30 inches (depth) x 1 inch (thickness)
- Quantity: 1 piece
- Notes: This will be the main working surface of your desk. Ensure the edges are smooth for a comfortable work area.
- Desk Top Support Braces
- Dimensions: 28 inches (length) x 2 inches (width) x 1 inch (thickness)
- Quantity: 2 pieces
- Notes: These will be attached underneath the desk top to provide extra support and stability.
Legs and Supports
- Desk Legs (If using wood)
- Dimensions: 30 inches (height) x 2 inches (width) x 2 inches (thickness)
- Quantity: 4 pieces
- Notes: These will be the main vertical supports for your desk. Ensure they are cut to the same length for an even desk height.
- Leg Braces
- Dimensions: 20 inches (length) x 2 inches (width) x 1 inch (thickness)
- Quantity: 2 pieces
- Notes: These horizontal braces will connect the legs on each side for added stability.
Optional Features
- Keyboard Tray Support (Optional)
- Dimensions: 25 inches (length) x 2 inches (width) x 1 inch (thickness)
- Quantity: 1 piece
- Notes: If you want a keyboard tray, this piece will support it under the desk top.
- Shelf (Optional)
- Dimensions: 24 inches (length) x 10 inches (depth) x 1 inch (thickness)
- Quantity: 1 piece
- Notes: This can be attached under the desk top for additional storage.
Assembly and Stability
- Back Panel (Optional)
- Dimensions: 60 inches (width) x 10 inches (height) x 1 inch (thickness)
- Quantity: 1 piece
- Notes: This panel attaches to the back of the desk for added stability and can also help hide cables.
Summary of Cuts
- Main Desk Top: 1 piece (60″ x 30″ x 1″)
- Desk Top Support Braces: 2 pieces (28″ x 2″ x 1″)
- Desk Legs: 4 pieces (30″ x 2″ x 2″)
- Leg Braces: 2 pieces (20″ x 2″ x 1″)
- Optional Keyboard Tray Support: 1 piece (25″ x 2″ x 1″)
- Optional Shelf: 1 piece (24″ x 10″ x 1″)
- Optional Back Panel: 1 piece (60″ x 10″ x 1″)
Additional Tips:
- Cutting Sequence: Cut the larger pieces first (e.g., the desk top) and then use the remaining wood for smaller pieces to minimize waste.
- Label Each Piece: After cutting, label each piece with its dimensions and purpose (e.g., “Leg Brace”) to keep track of all components during assembly.
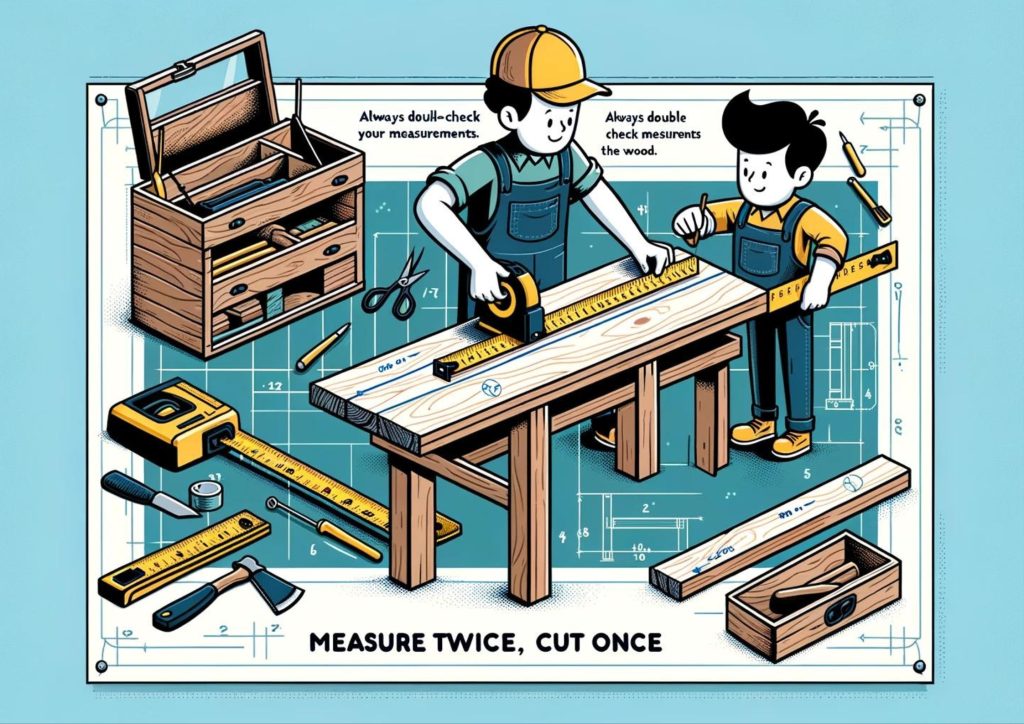
- Measure Twice, Cut Once: Always double-check your measurements before cutting the wood. Accurate measurements are key to ensuring all parts of your DIY Home Office Desk fit together perfectly.
- Safety First: Always wear gloves and safety glasses when working with tools. Safety should be your top priority throughout the project.
- Customize: Feel free to add drawers or shelves to your DIY Home Office Desk for more storage. You can also add cable management solutions to keep your workspace tidy.
This cutting list will help you prepare all the necessary wood pieces for assembling your DIY Home Office Desk efficiently and accurately.
Prepare the Wood Pieces
- Sand the Edges:
- Smooth All Surfaces: Use medium-grit sandpaper to smooth all cut edges and surfaces. Follow with fine-grit sandpaper for a polished finish.
- Wipe Clean: Use a cloth to wipe away any dust or debris from sanding.
Assemble the Desk Top
- Attach Support Braces:
- Position Braces: Place the two desk top support braces underneath the main desk top, aligning them parallel to the shorter sides (30″ sides), about 4 inches from each edge.
- Glue and Screw: Apply wood glue along the top edge of each brace. Position them under the desk top and secure with clamps. Once the glue is dry, use screws to firmly attach the braces to the desk top. Drill pilot holes first to avoid splitting the wood.
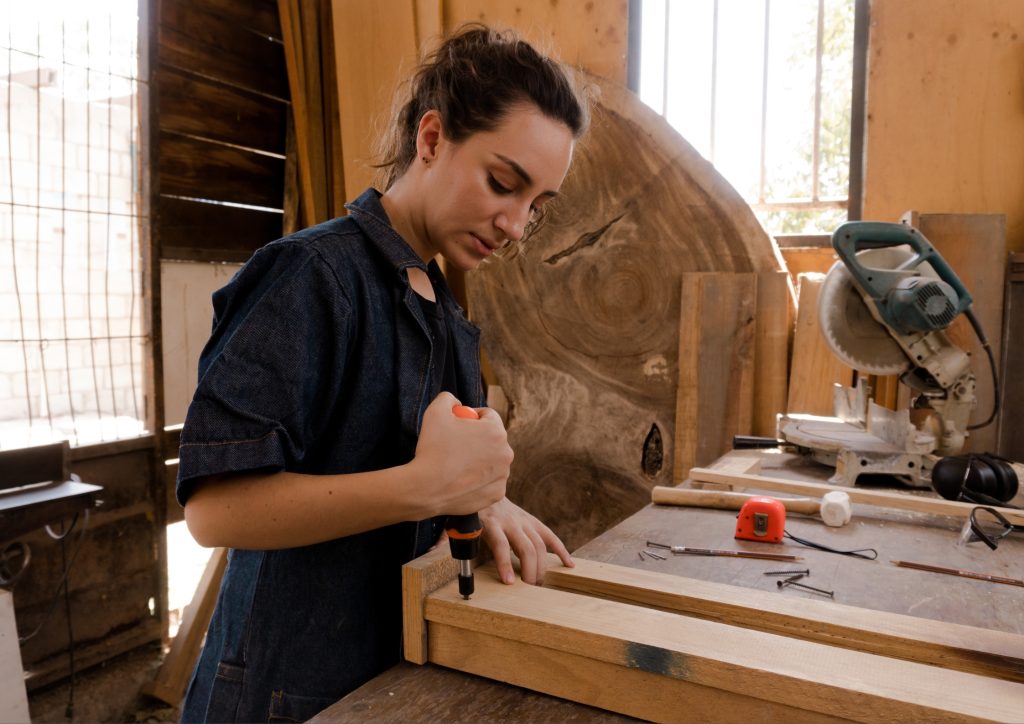
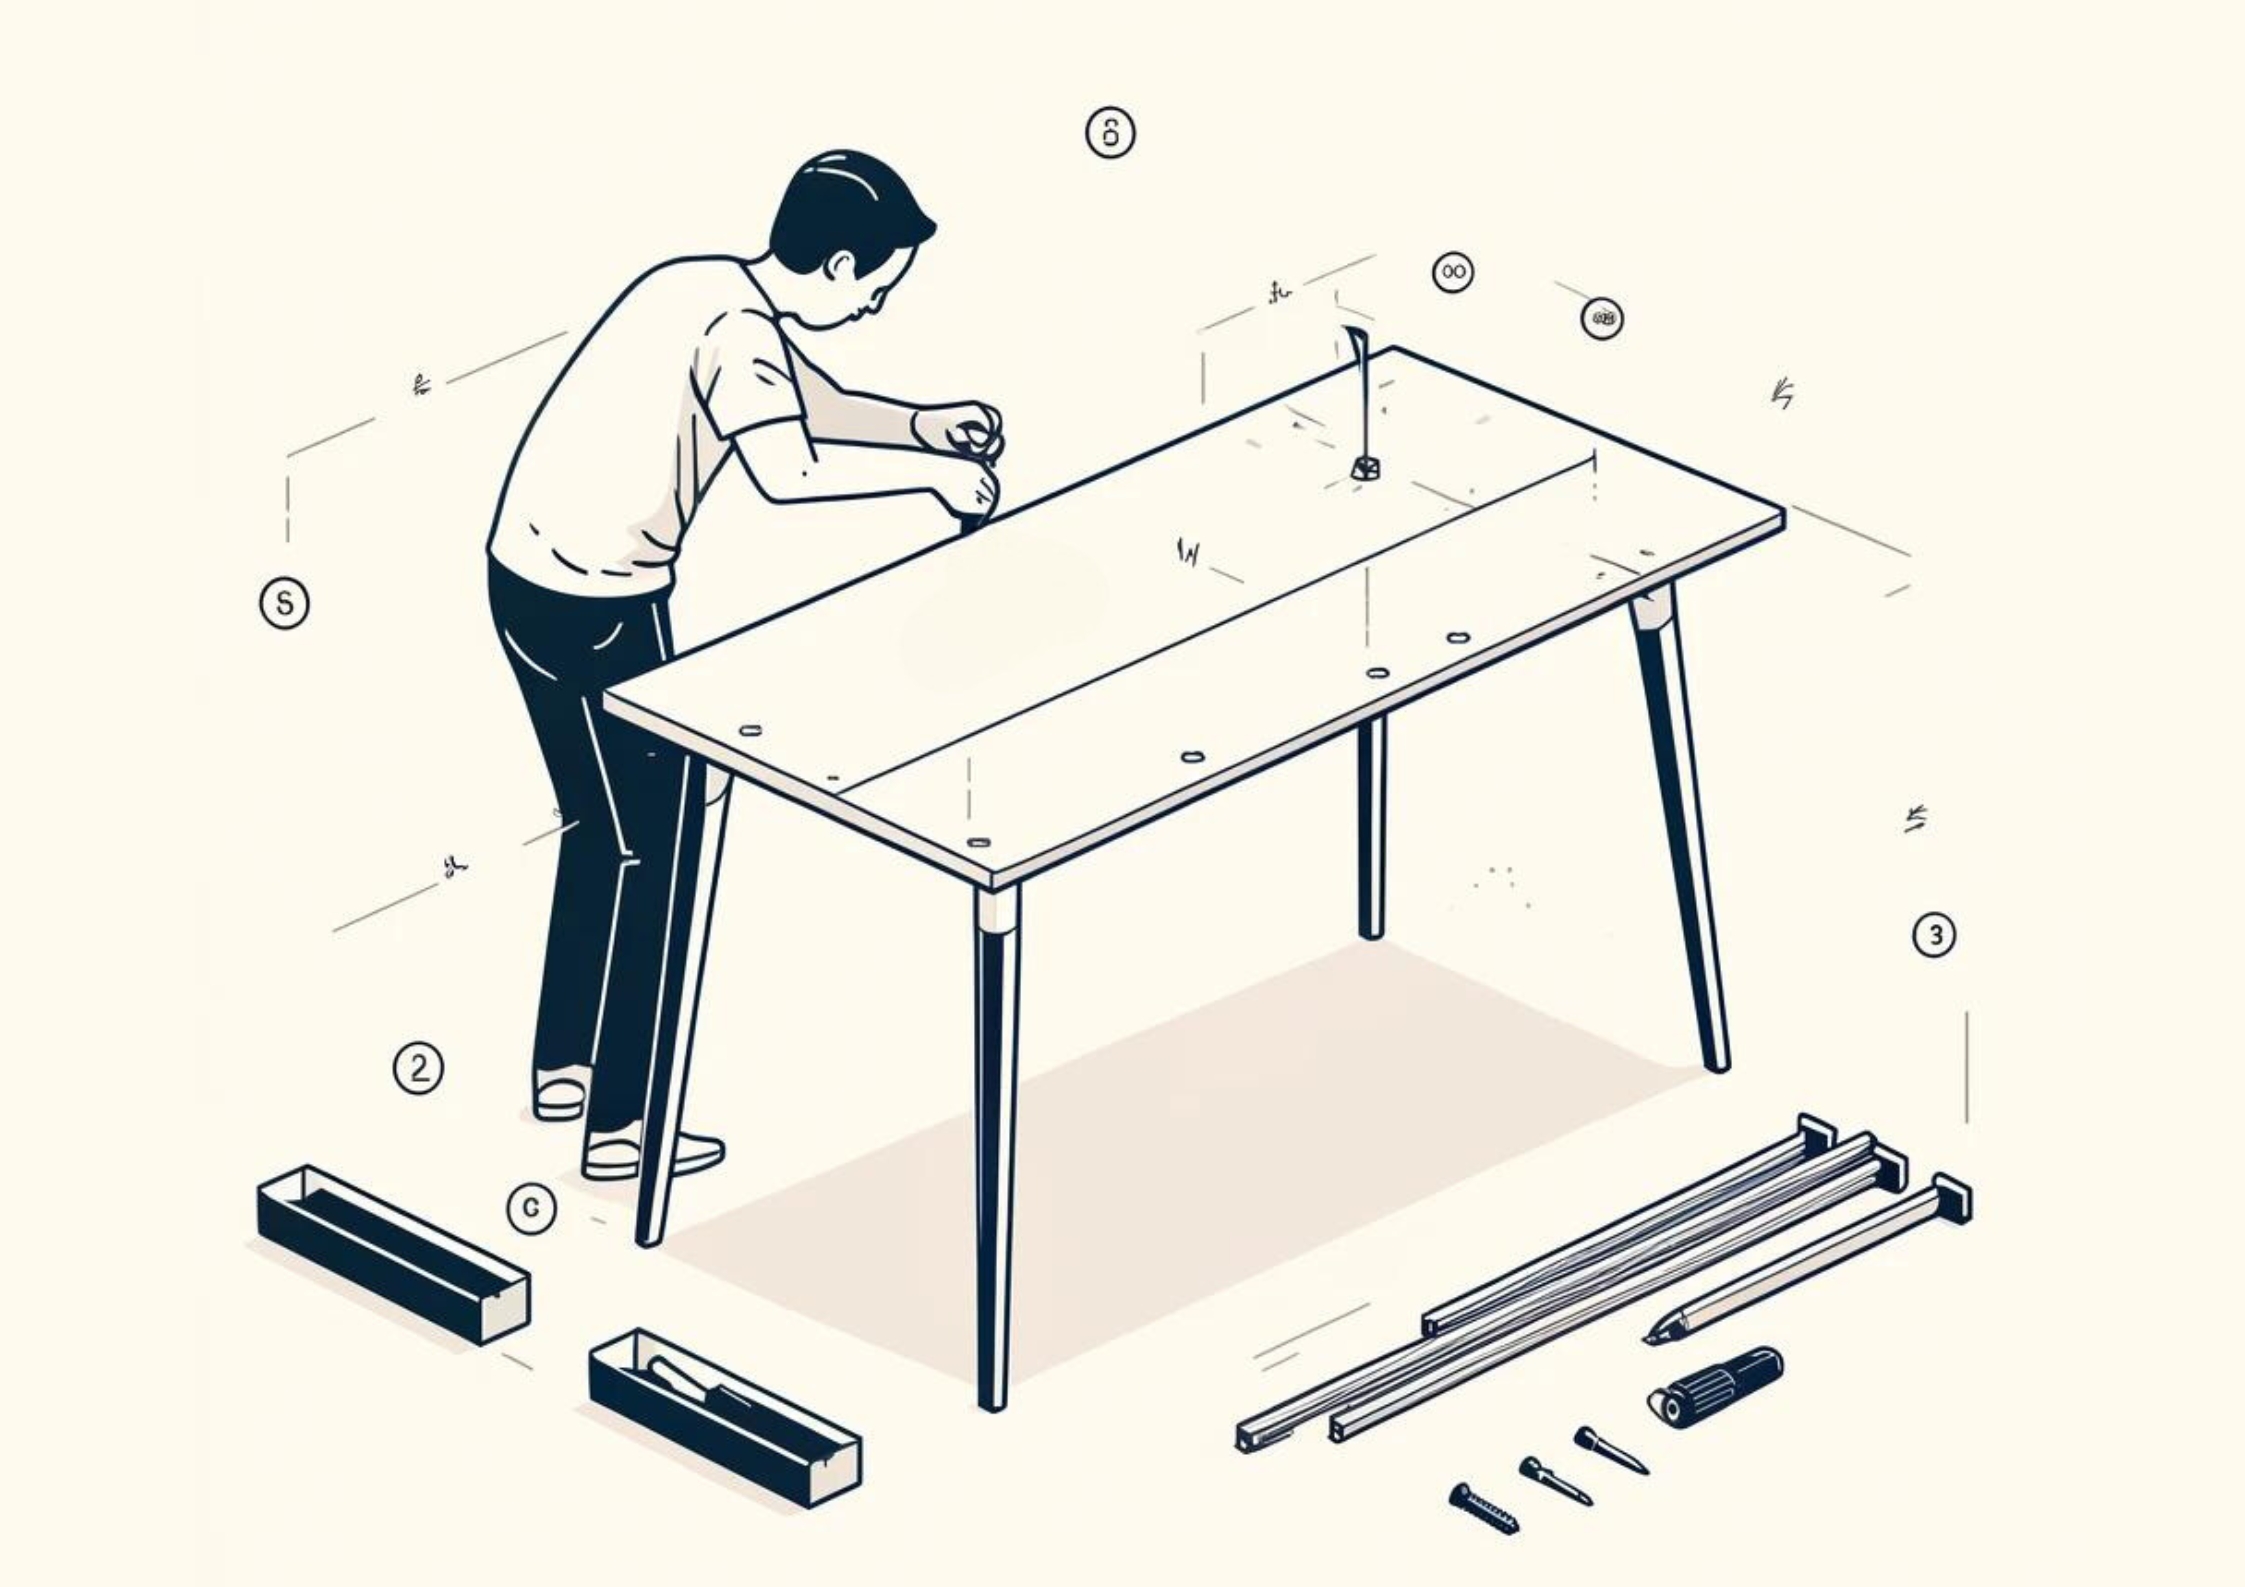
Attach the Desk Legs
- Position the Legs:
- Align Legs: Place the four desk legs at each corner of the desk top. Ensure they are flush with the edges of the desk top.
- Check Alignment: Use a square to make sure the legs are positioned at a perfect right angle to the desk top.
- Secure the Legs:
- Glue and Screw: Apply wood glue to the top of each leg where it will meet the desk top. Clamp the legs in place and let the glue dry. Then, drill pilot holes and use screws to attach each leg securely to the desk top and the support braces.
Step 4: Add Leg Braces
- Install Leg Braces:
- Position Braces: Place one leg brace horizontally between each pair of legs on the shorter sides of the desk (the 30″ sides), about halfway down from the desk top.
- Glue and Screw: Apply wood glue to the ends of each leg brace, position them between the legs, and clamp in place. Once the glue is dry, drill pilot holes and secure with screws.
Step 5: Optional Features
- Install Keyboard Tray Support (Optional):
- Position Support: If using, place the keyboard tray support under the desk top, centered between the front legs.
- Glue and Screw: Apply wood glue to the ends, position, clamp, and then secure with screws after the glue dries.
- Attach Shelf (Optional):
- Position Shelf: Place the shelf under the desk top, aligning it with the support braces or between the legs if preferred.
- Glue and Screw: Apply wood glue to the edges, clamp in place, and secure with screws once the glue is dry.
- Install Back Panel (Optional):
- Position Panel: Align the back panel with the rear edge of the desk top.
- Glue and Screw: Apply wood glue along the top edge, clamp, and secure with screws after drying.
Step 6: Finish the Desk
- Paint or Stain:
- Apply Finish: Use a paintbrush or roller to apply paint or wood stain to the desk. Follow the grain of the wood for an even finish.
- Let It Dry: Allow the first coat to dry completely. Apply a second coat if needed for a richer color or more protection.
- Final Assembly Check:
- Inspect the Desk: Check all joints and connections to ensure they are secure and the desk is stable.
- Adjustments: Make any necessary adjustments, such as tightening screws or sanding rough spots.
Well done! You have completed the assembly of your DIY Home Office Desk, designing a personalized workspace that caters to your specific requirements.

Set Up Your Desk
Place Your Desk: Move your new DIY Home Office Desk to your desired location. Make sure it is positioned in a spot with good lighting and enough space for your office supplies.
Create a workspace that sparks joy and productivity: Organize your computer, books, and office essentials on your new desk. Design a layout that not only serves your functional needs but also delights your senses and makes every work session an enjoyable experience.
Conclusion
Building a DIY Home Office Desk is not just a task; it’s an enjoyable and fulfilling project that brings numerous benefits. By crafting your own desk, you gain a unique and personalized workspace tailored exactly to your needs and preferences.
One of the greatest advantages of building a DIY Home Office Desk is the ability to customize every aspect. You can choose the exact size, style, and features that suit your workflow and aesthetic preferences. Whether you prefer a minimalist design or a desk with ample storage and accessories, your DIY desk can be designed to meet those specific needs.
Additionally, working on this DIY home office desk project allows you to select materials that match your budget and quality requirements. From selecting the type of wood to choosing the perfect paint or stain, every decision is in your hands. This control over the materials ensures that your desk is not only functional but also durable and visually appealing.
So, why wait? Make sure to gather your materials, follow the guide, and start building your DIY home office desk today. Transform your workspace into a place of comfort and creativity. Happy building!
Ready to start your DIY journey? Gather your tools and materials, follow the steps in this guide, and build your perfect DIY home office desk today.
Share your completed project with us and inspire others to create their own custom workspaces! Happy building!


