DIY deck building is a fantastic project that can transform your outdoor space while providing a perfect spot for relaxation and gatherings.
Whether you’re an experienced builder or a beginner, DIY deck building is a rewarding project that adds both beauty and functionality to your home.
Contents
- 1 Step-by-Step Guide to DIY Deck Building for Homeowners
- 2 Wrapping It Up
Step-by-Step Guide to DIY Deck Building for Homeowners
This detailed guide simplifies the process of building your own deck, ensuring an easy and satisfying experience. It delineates each phase of the project with clarity and organization, making every task manageable.
From planning and gathering materials to the final finishing touches, this guide will help you master the art of DIY deck building with confidence and ease.
Let’s get started on this exciting project and turn your backyard into a beautiful retreat!
Tools and Materials Needed
To start your DIY deck building project, gather the following materials and tools:
- Pressure-treated lumber (2×6 or 2×8 boards): These lumbers undergo a treatment process to enhance their resistance to moisture and insect damage, rendering them suitable for exterior applications.
- Concrete deck blocks or footings: These provide a stable base for your deck.
- Galvanized screws and nails: These are rust-resistant, ensuring your deck stays sturdy and safe.
- Joist hangers: These metal brackets support the deck’s joists.
- Deck boards: These are the surface boards of your deck.
- Post anchors: These secure the posts to the ground or footings.
- Measuring tape: Essential for accurate measurements.
- Level: Ensures your deck is even.
- Circular saw: Used for cutting wood to the desired lengths.
- Drill: For drilling holes and driving screws.
- Hammer: For nailing pieces together.
- Safety glasses: Protect your eyes from debris.
- Work gloves: Protect your hands from splinters and cuts.
Step-by-Step Guide:
Plan Your Deck
Planning your deck is the most important step in any DIY deck building project. A well-thought-out plan ensures your deck will be functional, safe, and visually appealing.
Let’s break down the planning process into manageable steps.
Decide on the Deck’s Location
Choosing the right location for your deck is crucial. Start by evaluating your outdoor space and considering the following factors:
- View: Select a spot that offers the best view from your deck. Whether it’s a garden, a scenic landscape, or a beautiful sunset, positioning your deck to maximize the view enhances the overall experience.
- Sunlight: Observe the sun’s path throughout the day. Decide if you want a sunny deck for sunbathing or a shaded area for cooler comfort.
- Accessibility: Ensure your deck is easily accessible from your home. Consider the flow of movement from the indoor space to the deck and whether you need to include steps or ramps.
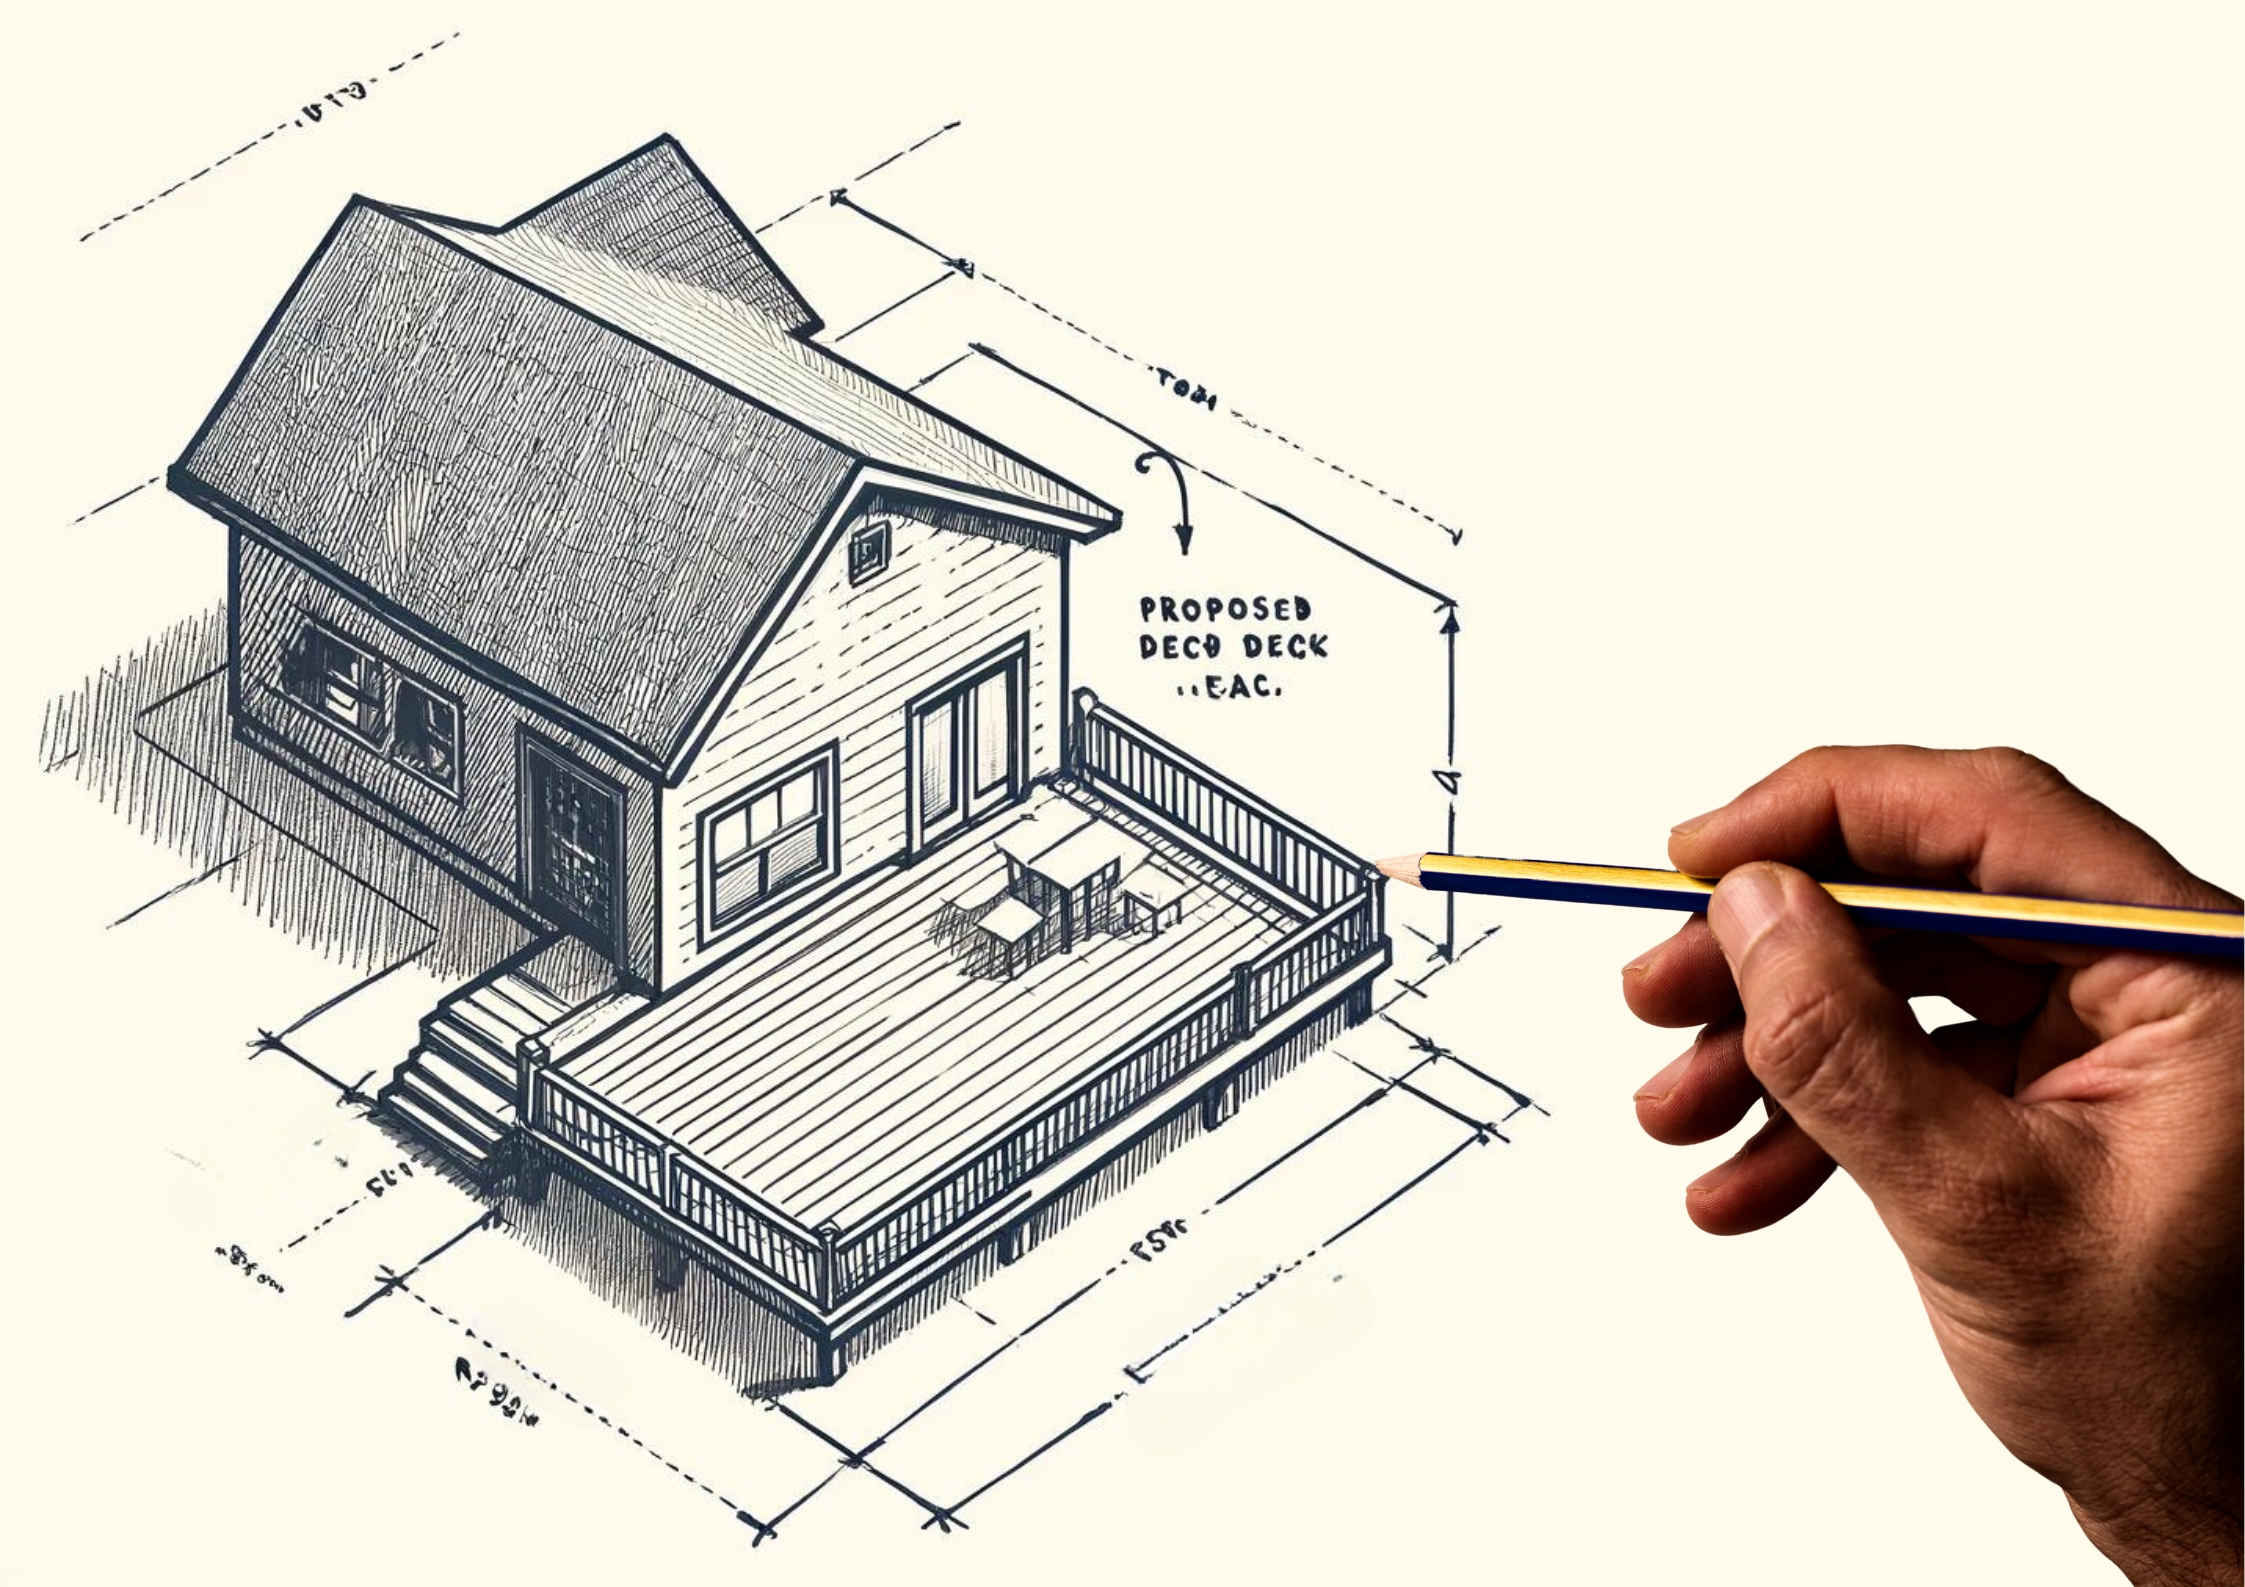
Measure the Area and Draw a Sketch
Accurate measurements are essential for a successful DIY deck building. Follow these steps:
- Measure the Length and Width: Use a measuring tape to determine the dimensions of the area where you plan to build your deck. Record these measurements carefully.
- Draw a Simple Sketch: Create a basic drawing of your deck layout on graph paper. Include the dimensions and note any existing structures like walls, windows, or trees that could affect your deck’s design.
Check Local Building Codes and Regulations
Before you start building, it’s crucial to understand local building codes and regulations. These rules ensure your deck is safe and compliant with local standards.
- Research Local Codes: Visit your local building department’s website or office to learn about specific requirements for decks, such as maximum height, railing specifications, and load-bearing capabilities.
- Obtain Necessary Permits: Depending on your location, you may need a building permit. Submit your deck plan, including dimensions and materials, to the local building department for approval.
Determine the Deck’s Purpose
Understanding the primary use of your deck will guide your design choices:
- Family Gatherings: If you plan to host family events, consider a larger deck with ample seating and space for a dining table.
- Relaxation Spot: For a cozy retreat, a smaller deck with comfortable chairs, a coffee table, and perhaps a shade structure would be ideal.
- Hot Tub Area: If you want to include a hot tub, ensure your deck’s design can support the weight and has easy access to electrical outlets.
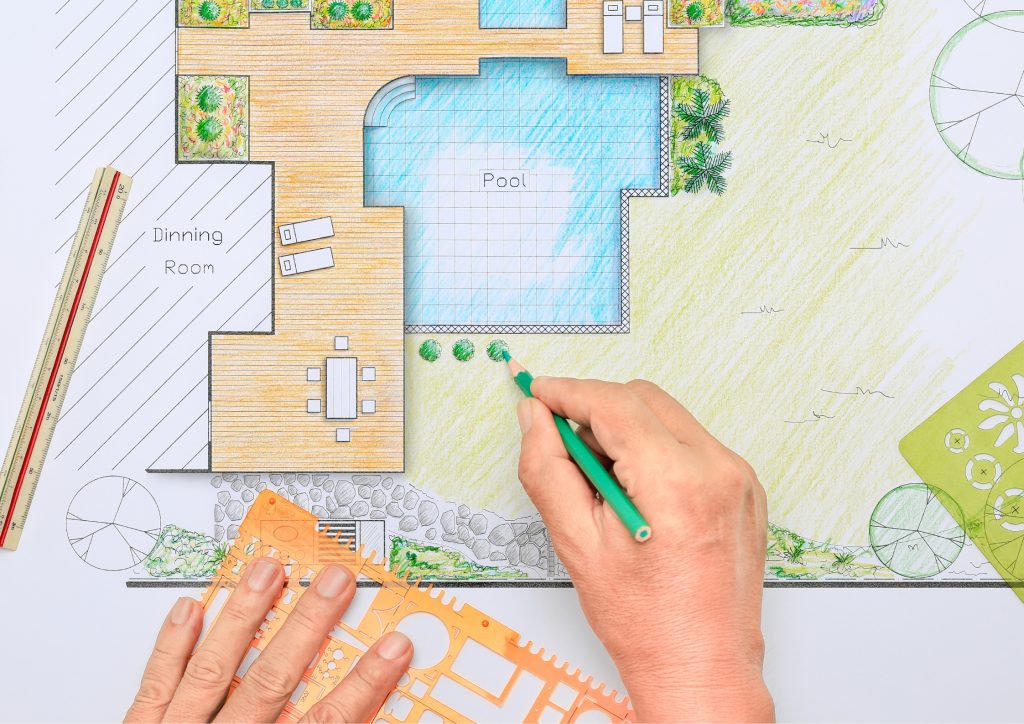
Decide on Size, Shape, and Features
Finalize your deck’s design by considering the following elements:
- Size: Based on your deck’s purpose and available space, decide on the overall size. Ensure there’s enough room for movement and furniture.
- Shape: Choose a shape that complements your house and yard. Rectangular decks are classic, but consider L-shaped or multi-level designs for added interest.
- Additional Features: Think about adding stairs, railings, built-in benches, or planters. These features can enhance functionality and aesthetics.
Proper planning is the foundation of a successful DIY deck building project.
Gather Materials
Gathering materials is a critical step in a durable and attractive DIY deck building. Proper preparation ensures that you have everything you need, reducing the risk of delays and complications during construction.
Here’s a detailed guide to help you through this crucial phase, complete with suggestions for illustrations to enhance understanding.

Selecting the Right Lumber
a. Pressure-Treated Lumber:
- Why Choose It: Pressure-treated lumber undergoes a chemical treatment process to enhance its resistance to decay and insect damage, thereby ensuring its durability.
- Where to Use It: Ideal for all structural components like posts, beams, joists, and decking boards.
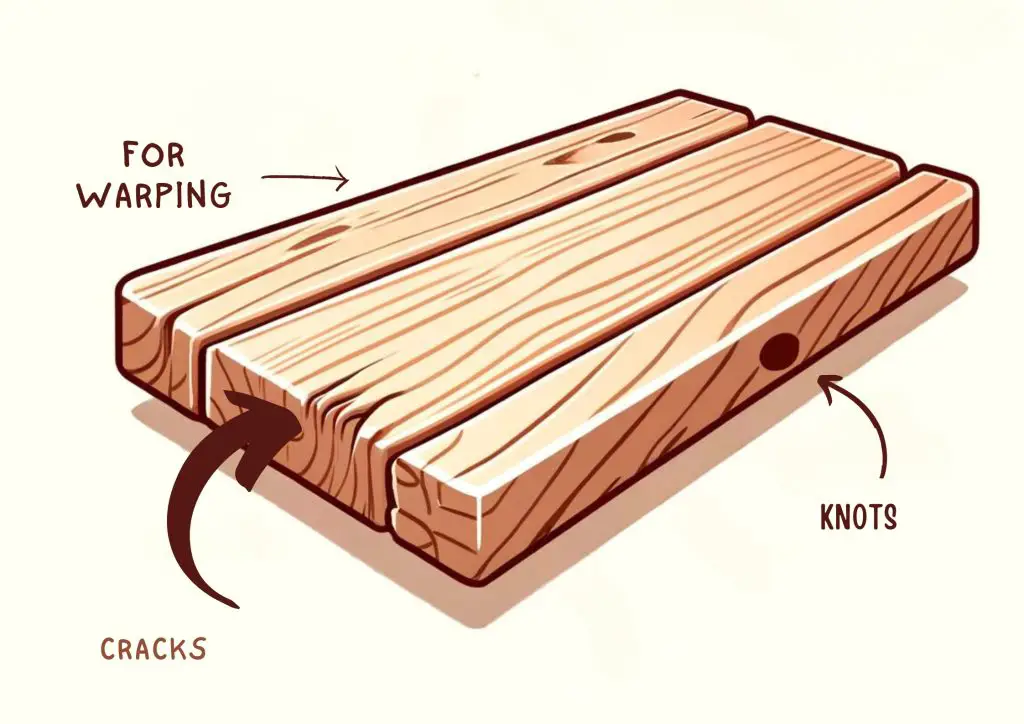
b. Inspection Tips:
- Check for Warping: Lay the board flat and look down its length to check for any bends or twists.
- Inspect for Knots: Knots can weaken the wood; ensure they are minimal and not in critical structural areas.
- Avoid Cracks: Cracked wood can split further under stress, so select boards without significant cracks.
Calculating Material Needs
a. Measure Twice, Buy Once:
- Plan for Extra: Purchase 10-15% more lumber than your calculated need to account for errors, offcuts, and future repairs.
b. List Components:
- Deck Boards: Measure the total area and determine the number of boards needed.
- Joists and Beams: Calculate based on your deck’s design, ensuring proper spacing.
- Posts: Determine the number and height based on the deck’s elevation.
Choosing the Right Hardware
a. Galvanized Screws and Nails:
- Why Galvanized: Coated to prevent rust, which is essential for outdoor durability.
- Screw Types: Use decking screws for deck boards and structural screws for beams and joists.
b. Joist Hangers:
- Purpose: Provide strong connections between joists and beams.
- Selection Tip: Ensure they match the size of your joists for a snug fit.
c. Fastener Length and Quantity:
- Deck Screws: Typically 2.5 to 3 inches for deck boards.
- Joist Screws: Around 3.5 to 4 inches for structural connections.
- Joist Hangers: Include nails or screws designed for the specific hanger type.
Additional Supplies
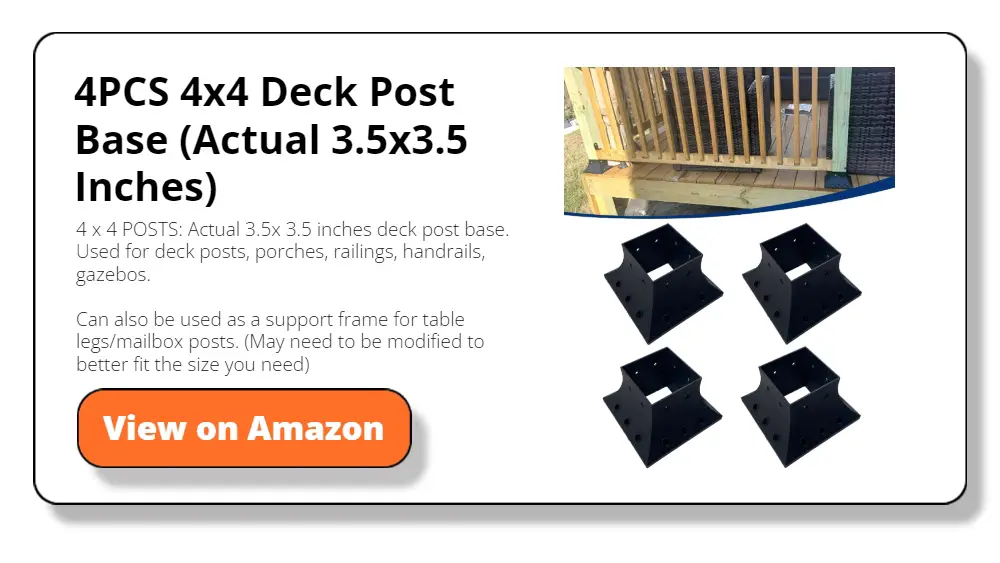
a. Post Anchors and Bases:
- Function: Secure posts to the ground or concrete footings.
- Selection Tip: Choose anchors that fit the dimensions of your posts.
b. Sealants and Stains:
- Why Use Them: Protect wood from moisture and UV damage.
- Selection Tip: Choose products designed for exterior wood and compatible with pressure-treated lumber.
c. Tools and Safety Gear:
- Essential Tools: Drill, saw, level, tape measure, and protective gear like gloves and safety glasses.
- Safety First: Ensure you have proper safety equipment to protect against dust and debris.
Preparing for a DIY deck building involves more than shopping. Choose quality lumber, calculate materials, select hardware, and organize efficiently for a successful project.
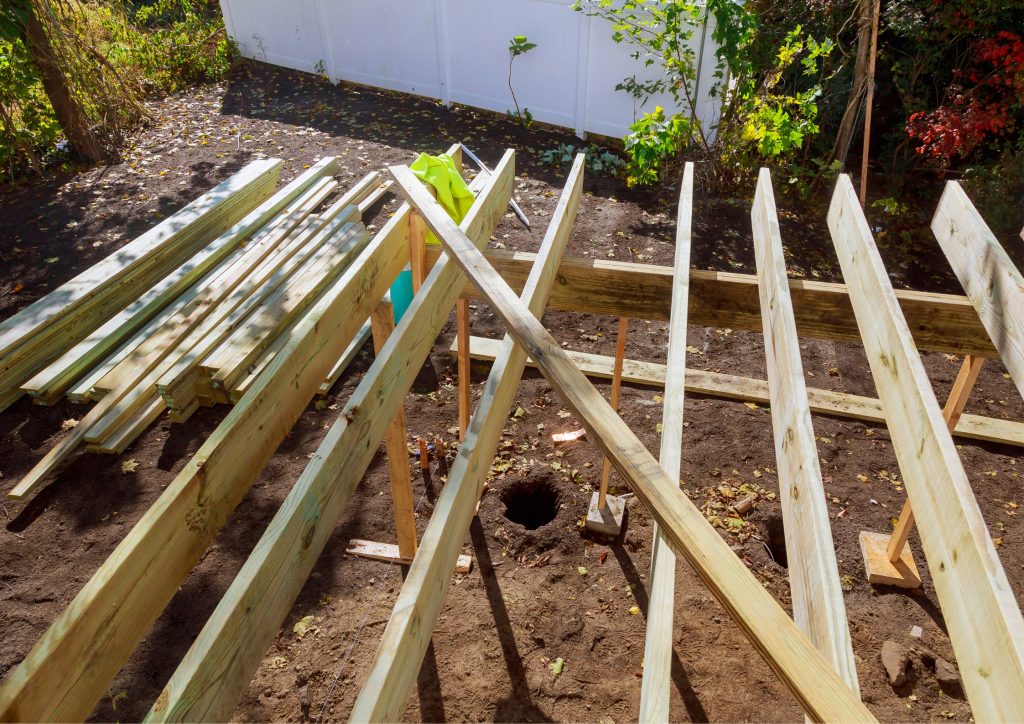
Prepare the Site
Preparing the site is a critical step in DIY deck building. Start by marking the deck’s outline with stakes and string. This outline will serve as a guide when placing footings and framing.
Next, clear the area of any grass, rocks, or debris. Use a shovel to dig down a few inches to create a level base. If your ground is uneven, you may need to add or remove soil to achieve a flat surface.
Once the area is clear and level, place concrete deck blocks or footings at the corners and along the edges of your deck’s outline.
These footings provide a stable base for your deck’s frame. Use a level to ensure each footing is even with the others. Adjust as necessary by adding or removing soil or gravel under the footings.
Lay the Foundation
With the site prepared, you can lay the foundation for your DIY deck building project. Start by laying out the deck’s perimeter beams on top of the footings. These beams form the outer frame of your deck.
Use a measuring tape to ensure the beams are the correct length and a level to check that they are even. If necessary, trim the beams with a circular saw. Once the perimeter beams are in place, secure them to the footings using post anchors or brackets. This step ensures your deck’s frame is stable and secure.
Next, install the joists, which are the horizontal supports that run between the perimeter beams. Space the joists evenly, typically 16 inches apart, to provide adequate support for the deck boards. Use joist hangers to attach the joists to the beams, securing them with galvanized screws or nails.
Check the spacing and level of each joist as you work to ensure a uniform and sturdy frame. This careful attention to detail will make laying the deck boards easier and result in a smoother, more attractive surface.
Build the Frame
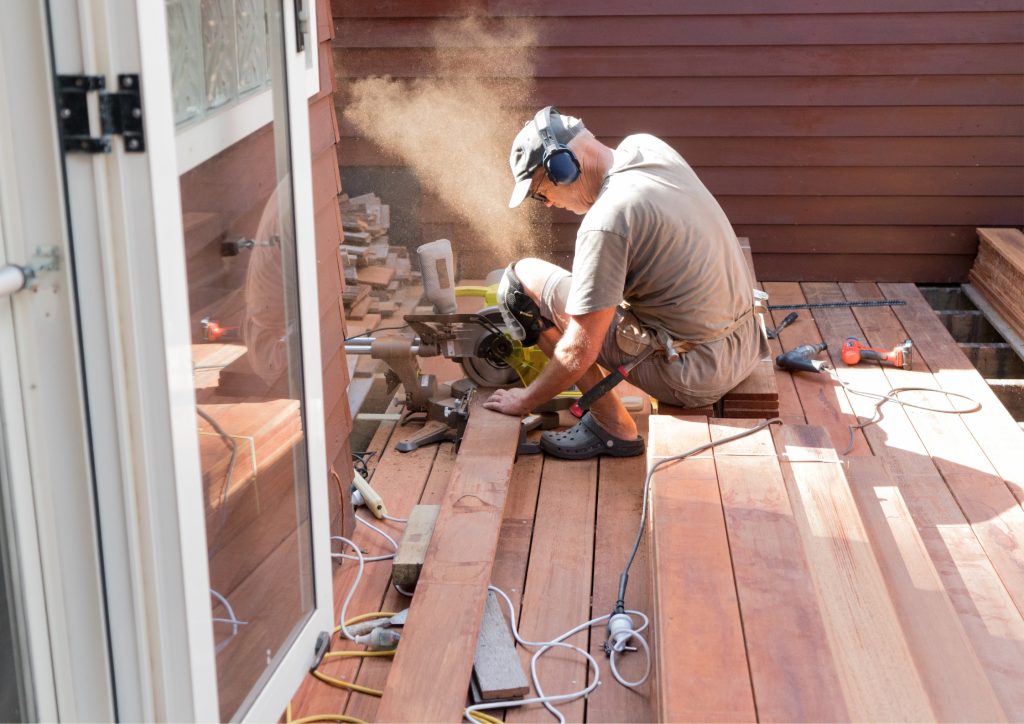
Building the frame is the backbone of your DIY deck building project. Start by cutting the lumber to the lengths specified in your plan. Use a circular saw for precise cuts and always measure twice before cutting to avoid mistakes.
Assemble the outer frame first, connecting the perimeter beams to create a rectangle or square. Use galvanized screws or nails to fasten the beams together. Ensure the corners are square by measuring diagonally from corner to corner. The measurements should be equal for a square frame.
Once the outer frame is complete, add the inner joists. Space the joists evenly, using the marks you made earlier as a guide. Attach the joists to the frame with joist hangers, securing each one with screws or nails. This step adds strength and stability to your deck.
After all the joists are in place, double-check the level and spacing. Make any necessary adjustments to ensure a flat, even surface. A well-built frame is essential for a sturdy, long-lasting deck.
Install the Deck Boards
Installing the deck boards is where your DIY deck building project starts to take shape. Begin by laying the first board along the edge of the frame. Leave a small gap, about 1/8 inch, between the board and the frame to allow for expansion and drainage.
Secure the board to the joists with galvanized screws, placing screws at each joist intersection. Continue laying the boards, maintaining an even gap between each one. This gap is important for water drainage and wood expansion.

Use a spacer, such as a nail or a piece of wood, to ensure consistent gaps between the boards. This attention to detail will give your deck a professional appearance.
As you work, periodically check the alignment and level of the boards. Adjust as necessary to keep the surface even and straight. When you reach the end of the deck, you may need to trim the last board to fit. Use a circular saw for a clean cut.
Add Railings (Optional)
Adding railings to your DIY deck building project provides safety and can enhance the deck’s appearance. If you choose to install railings, start by determining the height and spacing according to local building codes.
Begin by cutting the railing posts to the desired height. Attach the posts to the outer frame of the deck using post anchors or brackets. Ensure the posts are level and evenly spaced.
Next, cut and install the horizontal railing boards. Attach these boards to the posts using galvanized screws. You may want to add vertical balusters or spindles between the railing boards for added safety and style.
Ensure all parts are securely fastened and check for stability. The railings should be strong enough to withstand pressure and provide a safe barrier around the deck.
Finishing Touches
The finishing touches are the final step in your DIY deck building project. Start by sanding any rough edges on the deck boards and railings. This step removes splinters and creates a smooth, safe surface.
Next, apply a sealant or stain to the wood. A sealant protects the wood from moisture and UV damage, while a stain enhances the wood’s natural beauty. Choose a product suitable for outdoor use and apply it according to the manufacturer’s instructions.
Allow the sealant or stain to dry completely before using the deck. This drying time ensures the wood is fully protected and ready for use.
Finally, add any decorative elements you desire, such as outdoor furniture, potted plants, or lighting. These additions make your deck a comfortable and inviting space.
Tips for Success:
- Safety First: Always wear safety glasses and work gloves to protect yourself from flying debris and splinters.
- Measure Twice, Cut Once: Double-check your measurements before cutting any wood to avoid mistakes.
- Ask for Help: DIY deck building is easier with a friend. Having an extra pair of hands can make lifting and securing heavy boards much simpler.
- Stay Organized: Keep your tools and materials organized to save time and reduce frustration.
- Take Breaks: Building a deck is hard work. Take regular breaks to rest and stay hydrated.
Follow these steps to master DIY deck building and save money while creating a beautiful and functional addition to your home. Enhance your outdoor living space with a rewarding project that offers a great place for relaxation and entertainment.
Additional Considerations:
Maintenance Tips
- Regular Cleaning: Sweep your deck regularly to remove dirt and debris. Use a garden hose or pressure washer for a deeper clean.
- Inspect for Damage: Periodically check for signs of rot, loose boards, or damaged screws. Address any issues promptly to maintain the deck’s integrity.
- Reapply Sealant: Depending on the product you used, you may need to reapply sealant or stain every few years to keep the wood protected.
Enhancements and Upgrades
- Lighting: Adding lighting can extend the use of your deck into the evening. Consider solar-powered lights for an eco-friendly option.
- Furniture: Invest in comfortable outdoor furniture to create a cozy seating area.
- Shade Solutions: Install a pergola, canopy, or umbrella to provide shade and protect against the sun’s harsh rays.
- Planters and Greenery: Add potted plants or build in-planter boxes for a touch of nature and color.
Seasonal Care
- Winter Preparation: Before winter, clean the deck thoroughly and cover or store furniture to protect it from snow and ice.
- Spring Check-Up: Inspect the deck for any damage caused by winter weather and make necessary repairs.
DIY Deck Building for Small Spaces
- If you have a smaller yard or limited space, consider building a compact or multi-level deck. These designs can maximize space and provide a unique look.
- Use built-in seating or storage solutions to save space and enhance functionality.
Incorporating Eco-Friendly Practices
- Sustainable Materials: Consider using recycled or sustainably sourced wood for an environmentally friendly option.
- Water Conservation: Install a rain barrel to collect water for your garden or plants.
- Energy-Efficient Lighting: Choose LED or solar-powered lights to reduce energy consumption.
Inspiration and Ideas
- Browse Online: Look for inspiration on websites like Pinterest or home improvement blogs to gather ideas and see what others have done.
- Visit Showrooms: Check out local home improvement stores or outdoor furniture showrooms for ideas and products.
- Talk to Experts: Consult with professionals or experienced DIYers for tips and advice on your project.
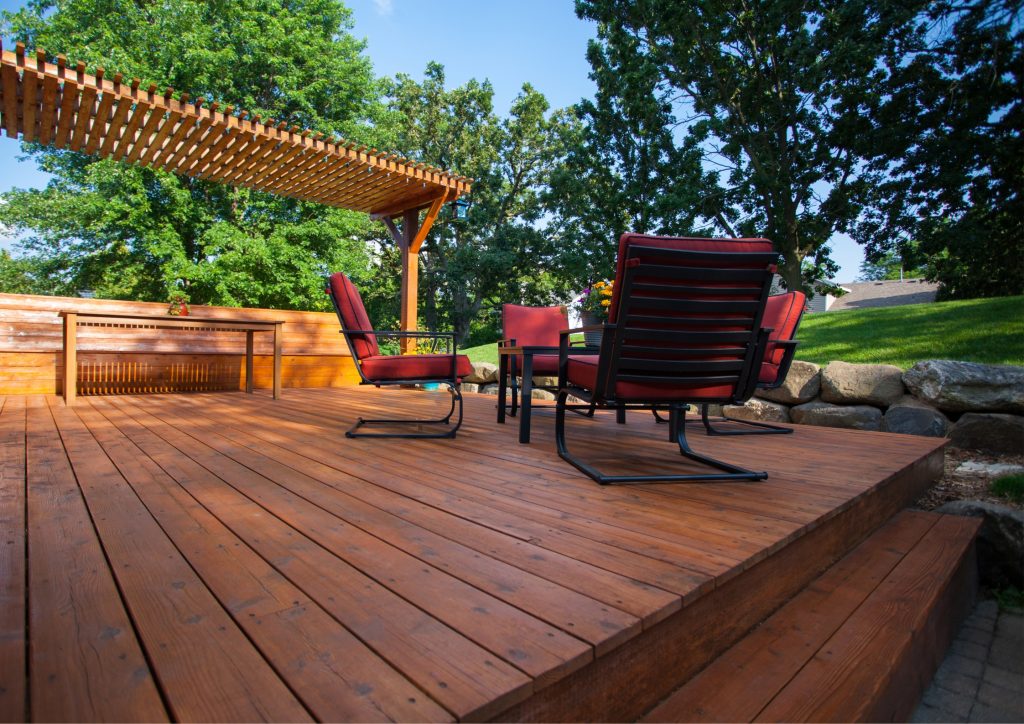
Wrapping It Up
With your DIY deck building project complete, it’s time to enjoy your new outdoor space. Arrange furniture to create a cozy seating area, add some colorful cushions, and maybe even a small table for drinks and snacks.
Invite friends and family over to enjoy your new deck. Host a barbecue, relax with a good book, or simply enjoy the fresh air and sunshine. Your DIY deck building project is not only a great addition to your home but also a testament to your hard work and creativity.