Unless you’re living at one of the poles, an outdoor entertainment area should be an integral part of family life. In our experience, the easiest and most attractive way to get that area is by building a timber deck. And remember that a nice deck does a lot more than enhance your lifestyle… it can also make your home more valuable when you come to sell it. We’ve already done a whole series of posts on how to build a deck over any sort of ground. But, to get the most pleasure from your investment, you’ll want to keep your deck looking great! Here are our tips for keeping your deck in tip-top shape :)
Hose or wet-broom it down at least once a month!
Even if your deck is roofed, dirt and dust will still build up on the surface and will then get walked into the fine crevices in the timber. Over time, this build-up becomes hard work to remove! And if your deck is open, you’re sure to also get bird and bat droppings on it, both of which are very corrosive.
A wet broom is ideal as the combination of water and stiff bristles make the job easy and effective. You can get one at any hardware store.
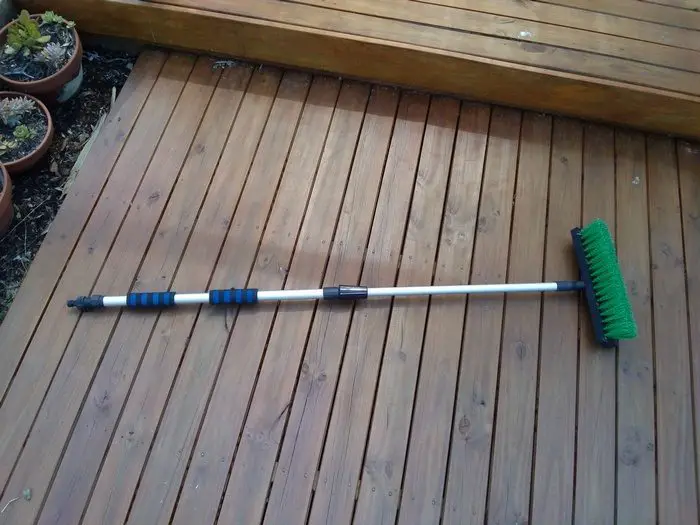
If you live in a high rainfall area, mildew or moss buildup can also occur. The stiff bristles are ideal for loosening both and the water helps wash the residue away.
Depending on the size of your deck/s, this task is unlikely to take more than 30 minutes once a month but will double the life of your deck and also extend the intervals between the need to re-oil your deck.
Refinishing your deck:
Your deck is probably exposed to the elements. Timber breathes. It shrinks and expands. Any finish you added is subject to UV breakdown. Depending on your local climate, it’s probable that you will need to refinish your deck every 9 – 15 months. If you’ve washed your deck once a month, refinishing won’t take long.
Cleaning
The first step is to add a generous shot of dish-washing detergent to a bucket of warm water. Mop or brush the solution, section by section, onto the deck and then scrub it down with your water-broom or – hmmm… hands and knees – a scrubbing brush.
If your deck looks nice and clean when it dries, you’re ready to give it a coat of your chosen finish. But what if it’s still stained or mottled?
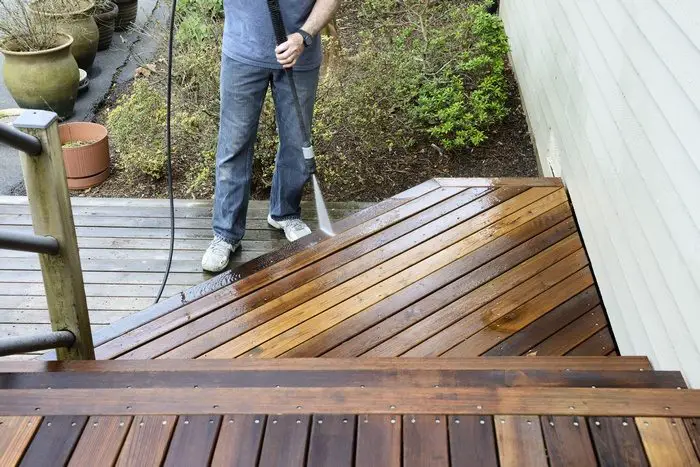
Pressure washers vs deck cleaners
Both will cut through just about anything. However, if you choose to use a pressure washer, you will need to take care of your timber is showing any signs of damage. The pressure can exacerbate that damage. Use a fan spray setting instead of concentrating all the pressure on one spot. The advantage of the pressure washer over deck cleaner is that the former will not bleach the timber.

If you decide to use a deck cleaner, you can make your own by adding a cup of bleach to a bucket of water. Apply in the same manner as listed under “Cleaning’ above. Wear water-proof gloves, eye protection, and old clothes since any splashes are going to remove more than deck stains!
If you prefer to use a commercial deck cleaner, there are many brands to choose from. Commercial deck cleaners can also restore grey boards to something resembling their original color. You can then use a stain to further restore them.
Damaged boards
If your deck is old or you live in a particularly harsh climate, you could find that some boards are damaged. You may be able to sand them to restore a good appearance. Note that you should always clean the deck before sanding or else you may just drive the dirt into the boards! If you intend to sand the entire deck, hire an industrial sander or you’ll be sanding for a month!
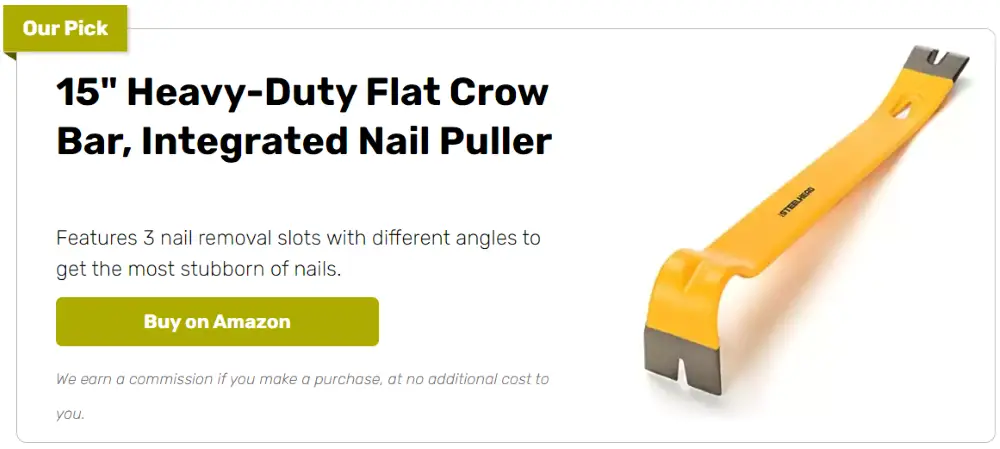
Any wood rot will need to be removed. This will involve removing the damaged board completely and replacing the damaged section or the entire board. Take care not to damage adjacent boards when removing the damaged ones. Use a scrap piece of timber behind your crowbar.
Take time to also check for loose nails, screws, or boards. If undamaged, the boards can be renailed or screwed back into position. If your deck was built with proper decking nails, they should remain fixed indefinitely.
To stain or not to stain
The best timbers combined with the best oils will not prevent color loss over time. The solution is to tint your oil. The tint won’t cover the natural beauty of the grain but will add additional protection against UV damage.
If you feel your deck surface is too marked to simply use a tint, there are stains available but they can be difficult to apply evenly. I’d prefer to use a darker tint and apply an extra coat.
If you decide to stain
Nothing can fix a badly stained deck except years of neglect! If you do decide to stain before oiling, do it one complete board at a time. This will avoid overlap where you end up with dark blotches. It will take extra time but you will regret any short-cutting at this stage.
Water-based oils
I know it sounds like a contradiction! Oil and water don’t mix, right? You learned that in high school! I don’t profess to understand the science but I really like the water based oils that are now readily available. They are easy to apply, fast-drying so that you can easily do two coats in a day – even if the timber is damp – and your brushes and pads wash out easily in water. Perfect for a lazy painter like me!
I suggest you select a brand that includes a mold and fungus inhibitor as a further safeguard.
Applying your oil
If you are restoring your deck, I strongly recommend you apply the first coat using high quality, 75mm or 100mm (3″ – 4″) brush, making sure that you work the oil well into any cracks and crevices. Don’t forget the board ends if they are exposed.
If you are simply refinishing your deck, I recommend using a lambswool oil applicator or roller. Ideally, use an extension handle so that you don’t need to bend. It literally halves the effort.

Regardless of how you are applying the oil, work with no more than four or five boards at a time, doing the complete length before moving back to a fresh set of boards. This will ensure a good, even finish.
How many coats?
Depending on how much direct sun your deck gets, you should apply two full coats. You will find the first coat requires twice the effort and oil as the second. If your deck is new, I strongly recommend a third coat now. It won’t take long and, if you invest the time now, it will pay off over the years.
Hope that helps. As always, if you have any questions or comments, I’m happy to respond. Just use the comments box below!


