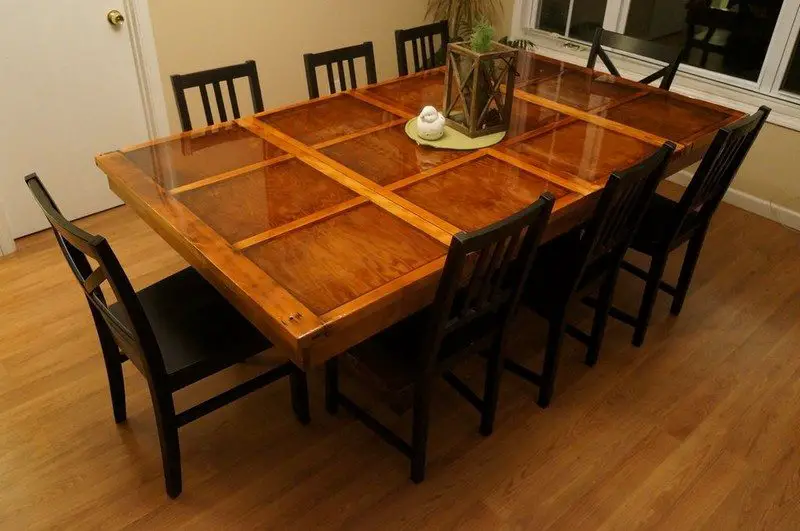
So my decision to pour epoxy into the pockets had my anxiety levels elevated! My goal was to only fill the pockets and leave the sealed wood exposed to create a nice contrast of finishes.
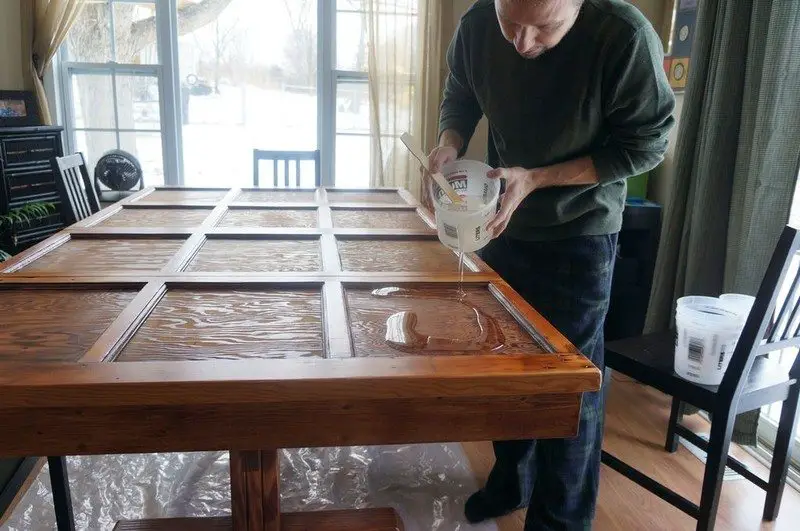
In order to pour the epoxy to 1/2″ thickness, I had to do 4 pours in each pocket. Each pocket pour required 3/4 of a gallon each of the resin and hardener! Doing the math equals 6 gallons total of resin and hardener.
Follow the directions – there’s a reason they include them with their products, and they are found on several pages on their website.
Don’t rush it.
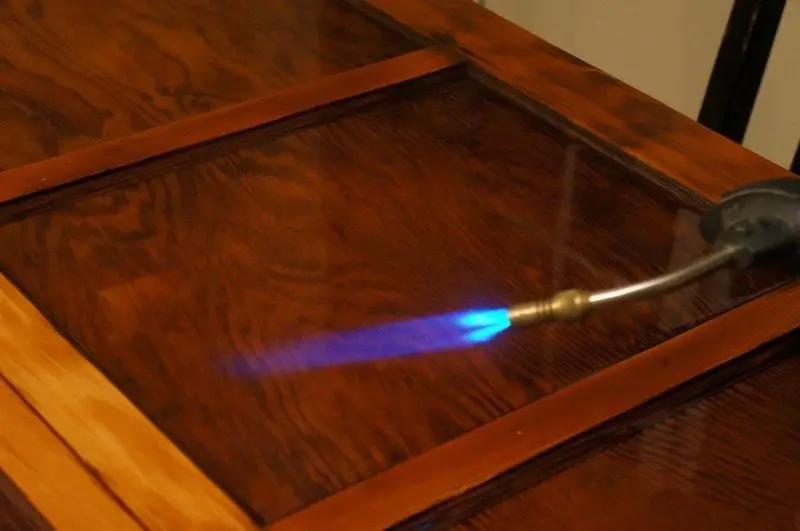
Use a blow torch to remove air bubbles and when you think you have them all removed, use your blow torch again. I wouldn’t recommend a heat gun or hair dryer since those are using forced air and can stir up a lot of dust – which you do not want in your epoxy.
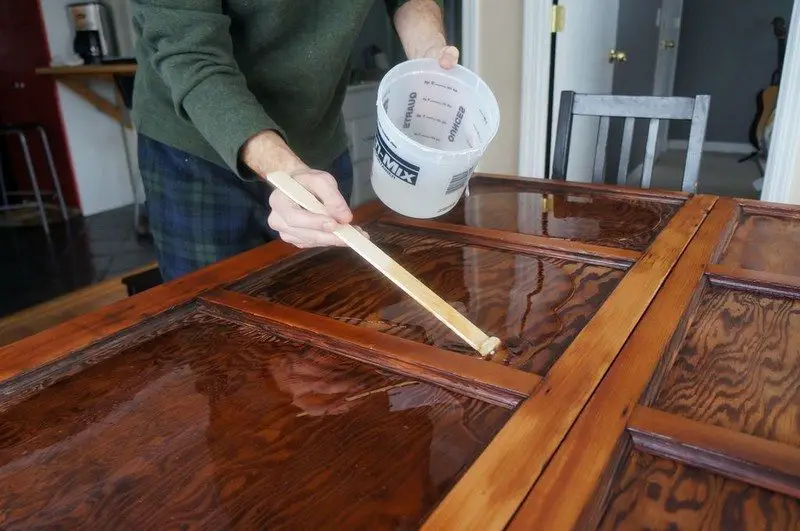
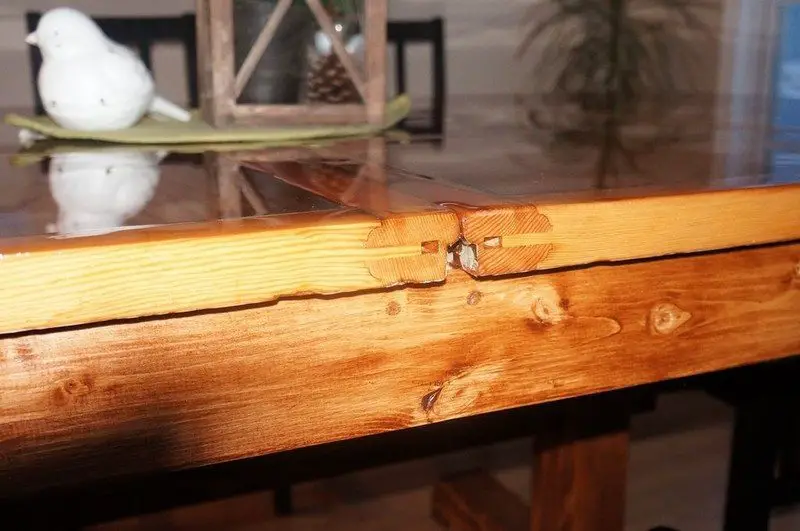
Once all pockets had been completely filled, I noticed that when I had sanded the ribs, I had dipped the belt sander a little on some of the sides and the epoxy was flowing into those low edges, thus erasing any crisp clean edges from epoxy to rib. My solution!? Pour more epoxy over the whole table top making it all one level. It worked, but it was a L O N G day and I was bordering on insanity trying to ensure all bubbles were removed and all surfaces were level.
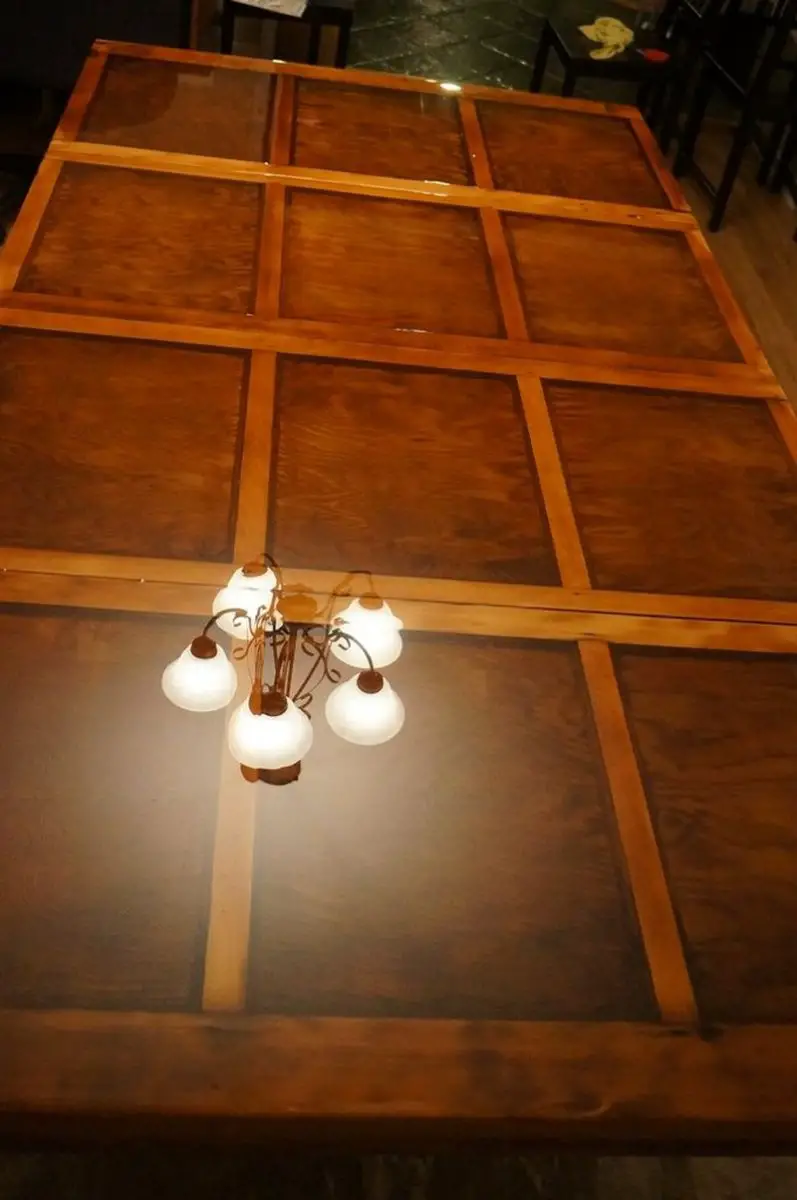
Overall it turned out beautifully in my opinion even though it didn’t have the look I was going for initially. I hope it inspired you to go out and use, reuse and upcycle items to make beautiful furniture yourself! The less we throw away the better it is for everyone!
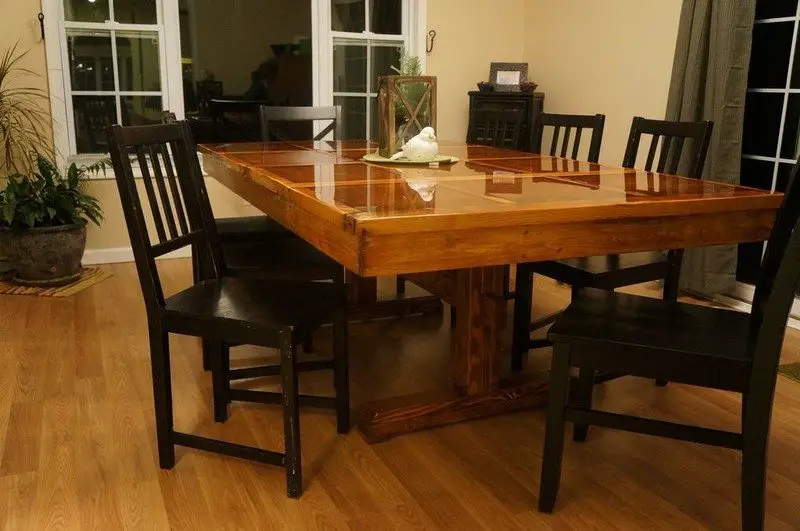
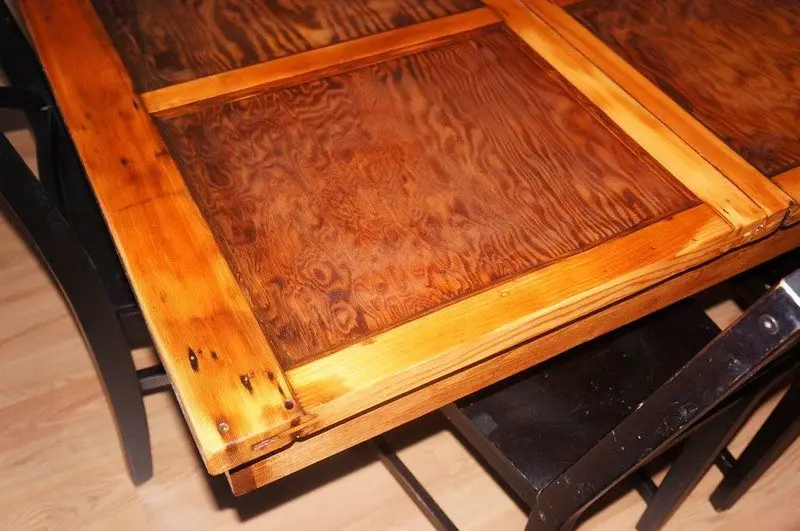
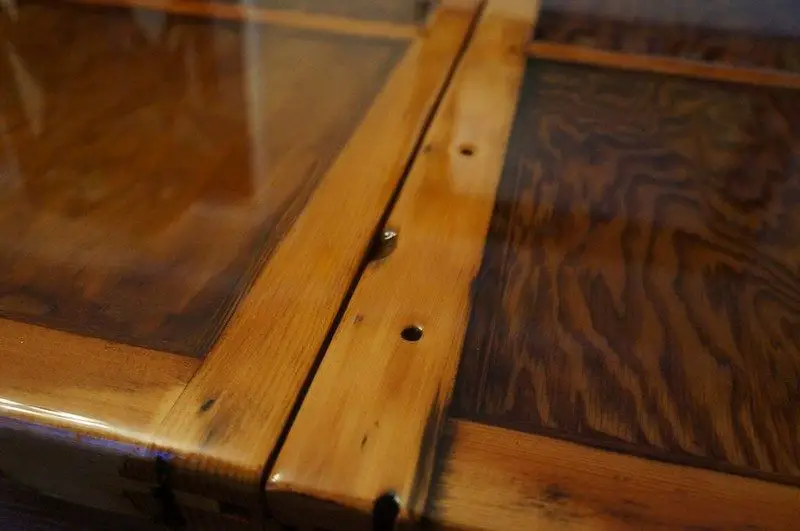
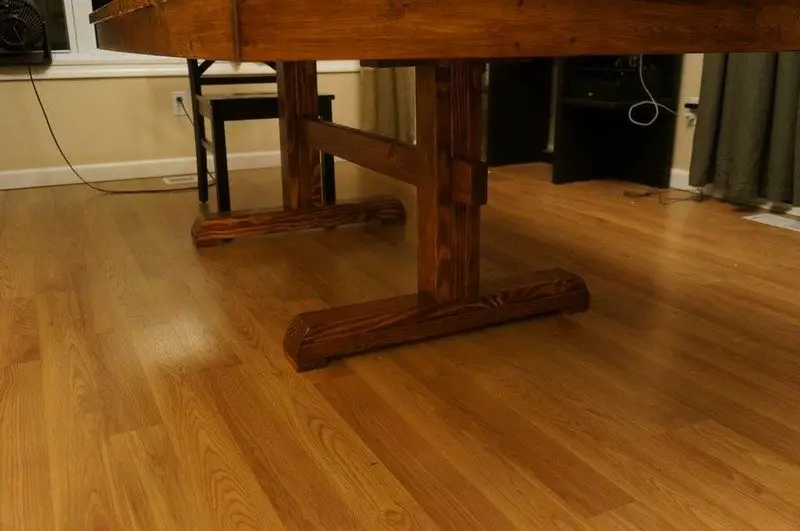
Thanks to jmitch77 for this great project.
Enhancing Your Garage Door Table with Finishing Techniques
The finishing details can make all the difference when turning a garage door into an amazing table. Good finishing not only improves the look of your garage door table but also guards it against damage from use. These are some handy methods to complete your garage door table so it looks fantastic and lasts years.
Sanding
You really should sand your garage door table before applying any finish. Remove any rough areas and old finish starting with a coarse-grit sandpaper; then, work your way up to a fine-grit paper for a smooth surface. This is a necessary stage for getting the table ready for staining or sealing.
Staining
Staining your garage door table will accentuate the natural wood patterns and provide a color complementing your décor. Select a stain whose natural grain matches the grain of the wood. Working along the grain, brush or rag the stain, then wipe off any extra residue. Let it dry entirely before applying a sealer.
Sealing
Protection of your garage door table from moisture and daily wear depends on sealing. Popular choices with their durability and clear finish are polyurethane or epoxy resin. Apply several thin layers, sanding lightly between coats to guarantee a smooth, long-lasting finish. This stage will protect the elegance of your table for many years to come.
Polishing
After the sealer has completely cured, wax or furniture polish will help your garage door table look finished. This gives extra layer of protection in addition to improving shine. To accentuate the special qualities of your repurposed table, gently polish the surface with a soft cloth.
Following these finishing methods will not only make your garage door table a useful piece of furniture but also a talking point in your house.
Conclusion
Constructing a garage door table is a creative approach to make use of existing resources and accentuate your house décor. This project lets you practice sustainable living while customizing the design to suit your style and space needs. Anyone can create a stunning and useful piece of furniture from an old garage door using the correct tools and methods.
We have more ways on turning old objects into functional furniture. Check out our bike entry table guide next!

