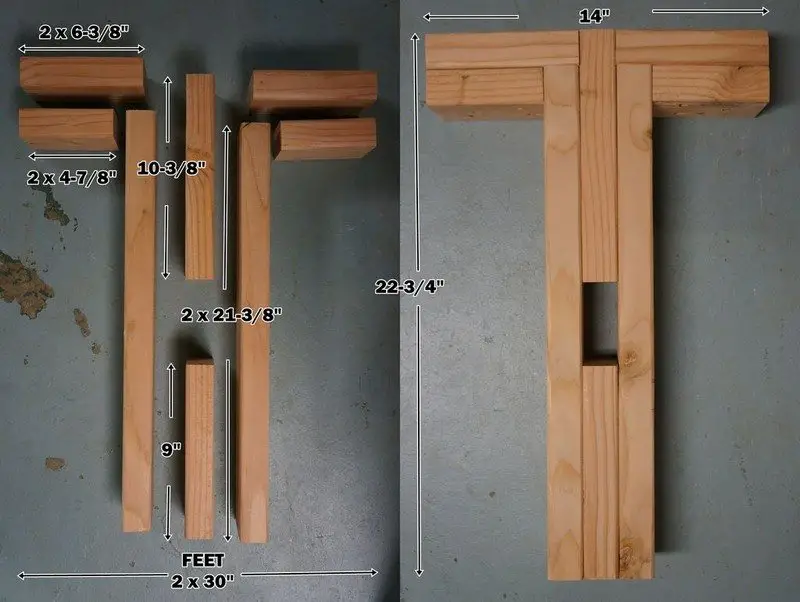
Figuring out which style of legs to make was the next step. I thought about regular post legs, angled legs, pedestal legs, even tensegrity legs. Finally my wife showed me a wonderful how-to on making a farmhouse table.
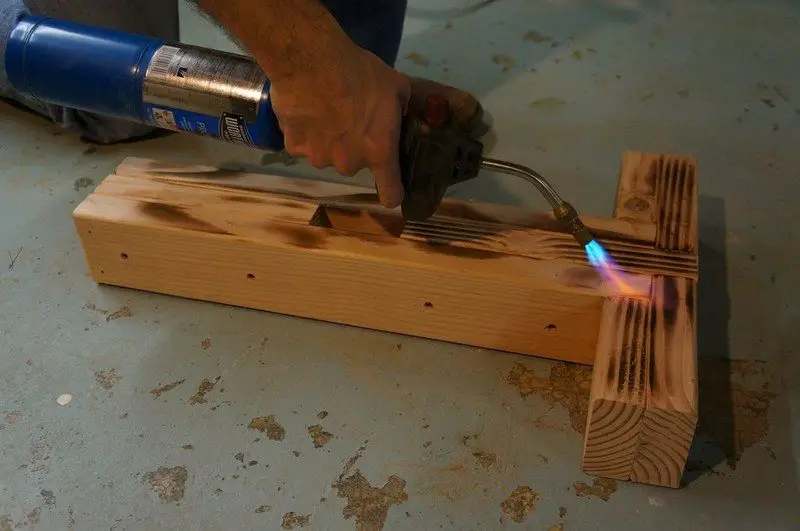
TORCH IT! NOTE: The following instructions are dangerous if proper caution is not exercised! I will not be held responsible for improper use of a blow torch!
The 2×4’s I bought were red pine so they would match the aged red pine of the garage door. I made all the cuts, and glued and screwed them together. Once they were set, I torched them!
CAREFULLY sweep a torch over the wood allowing the flame to scorch the wood. You don’t want to burn the wood to ashes, just char the outer grains to a nice dark brown/black. I varied the amount of charring over the wood to give it some variety.
Once you have a level of blackening you are happy with, take a wire brush and scour off the charred wood. The more you burn it the more material you will remove. The flame burns the softer part of the grain and hardly touches the harder parts.
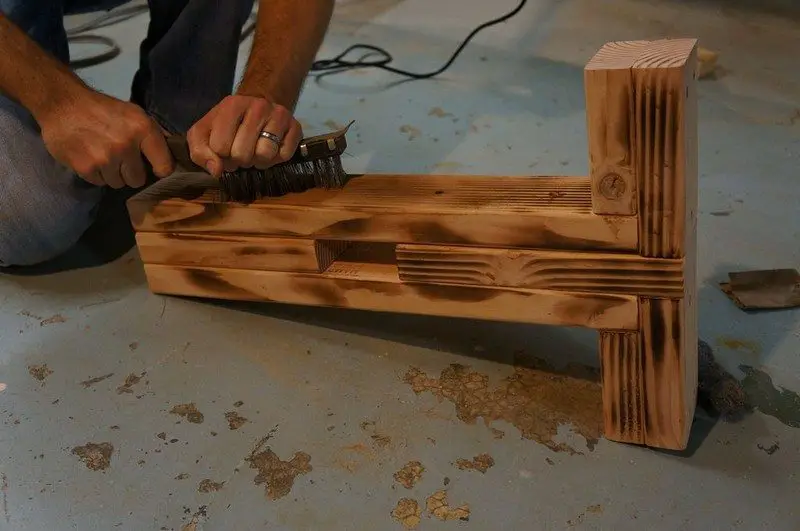
After you have removed most of the blackened grains, go over it with fine grit sandpaper to smooth out the top grains. You should end up with a very textured wood with beautiful darker color variations.
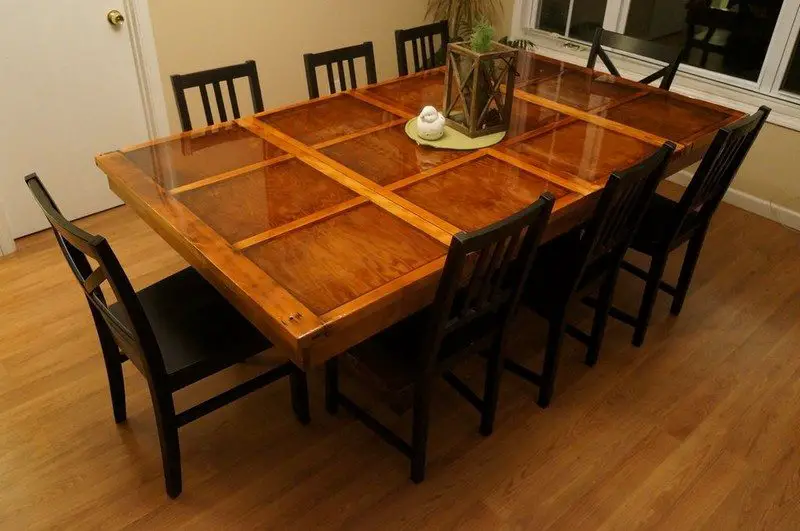
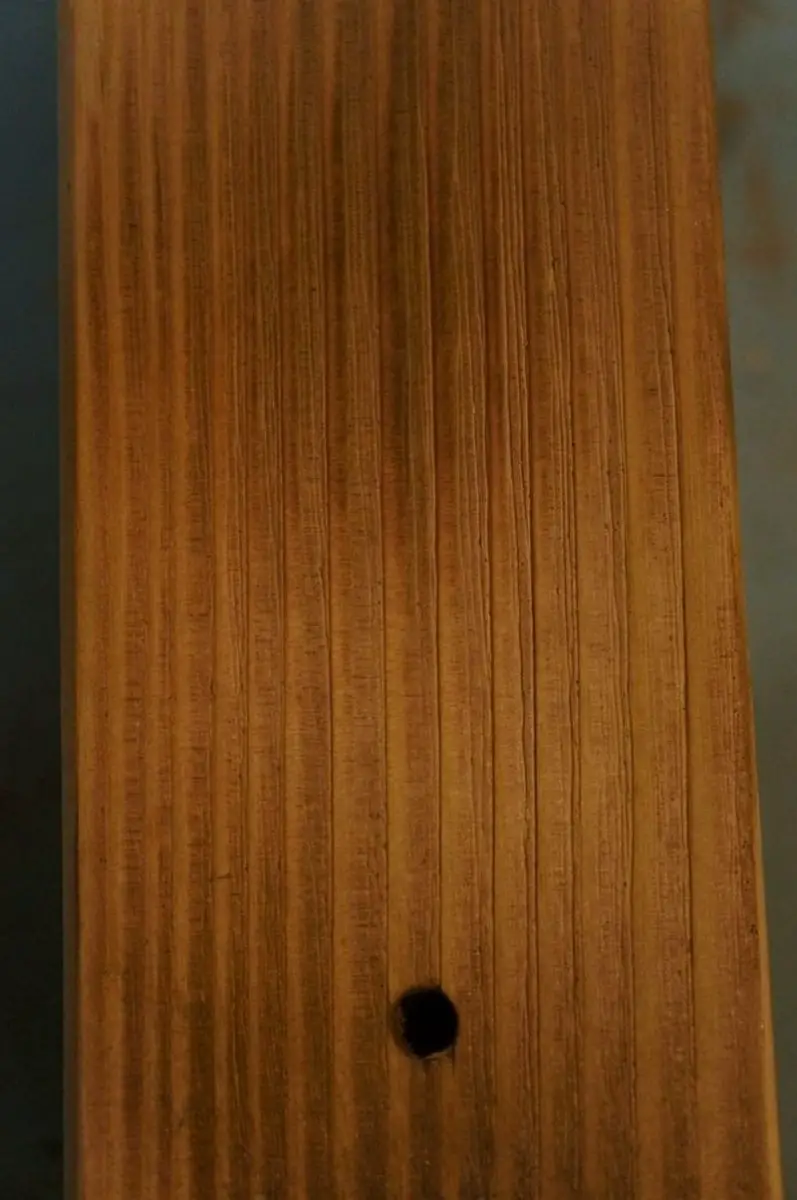
I applied stain to the wood per the manufacturers instructions, then applied 3 coats of polyurethane. This gave a wonderful look that complimented the table top. I wasn’t going for an exact match, but a complimentary look to make a pleasing flow of colors and textures.
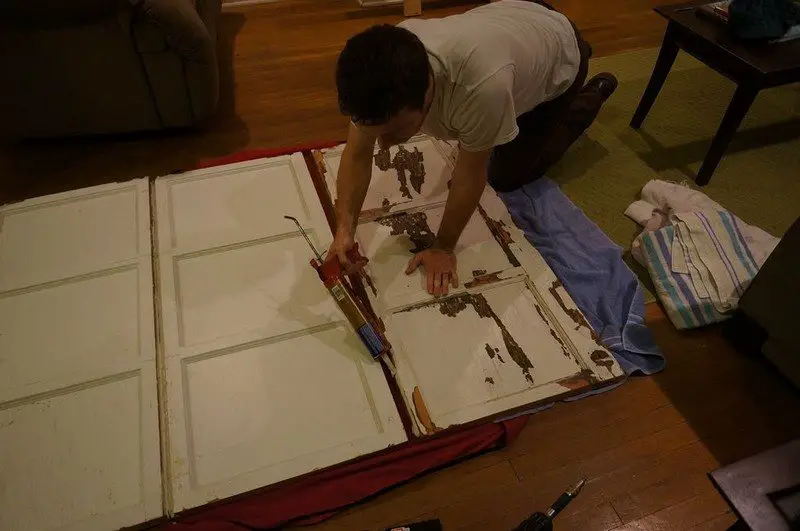
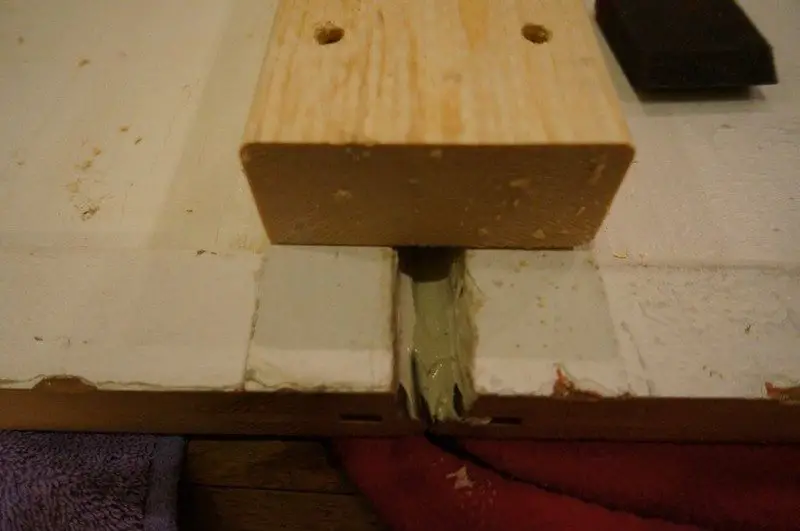
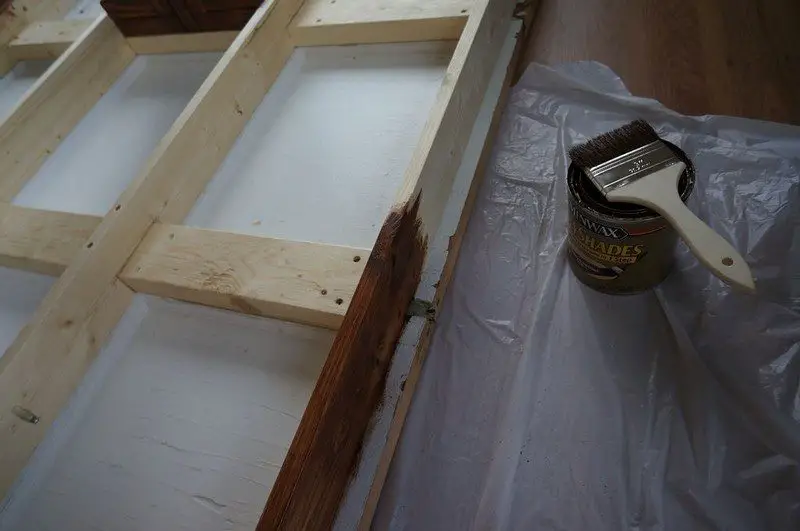
I attached all the boards to the top with screws and glue. In the seams where the door panels met and where the 2×4’s laid on the panels, I applied Liquid Nails.
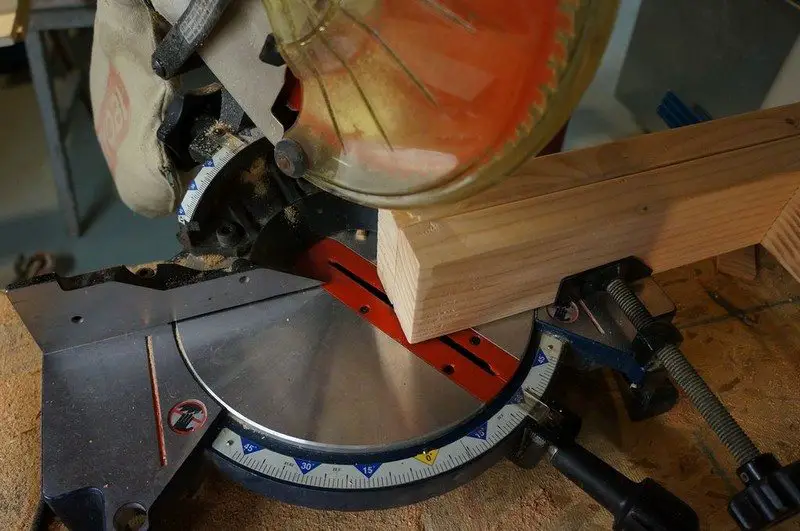
I cut the bevel AFTER I glued the pieces together so the cut is seamless.
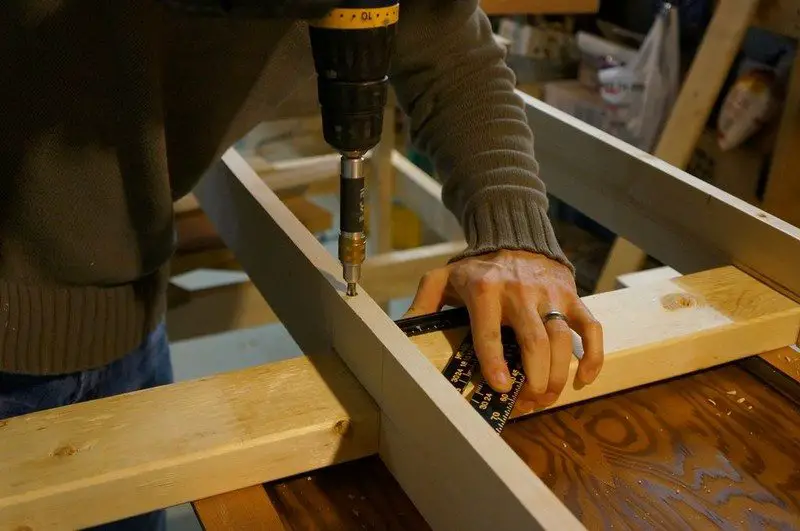
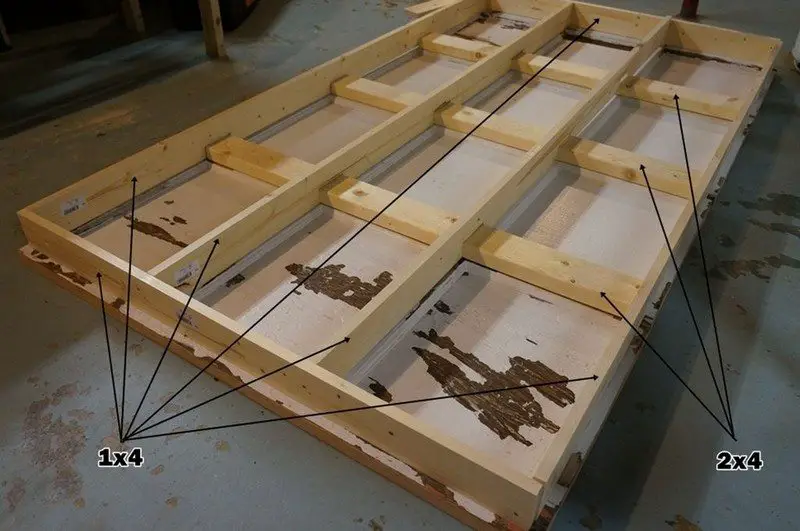
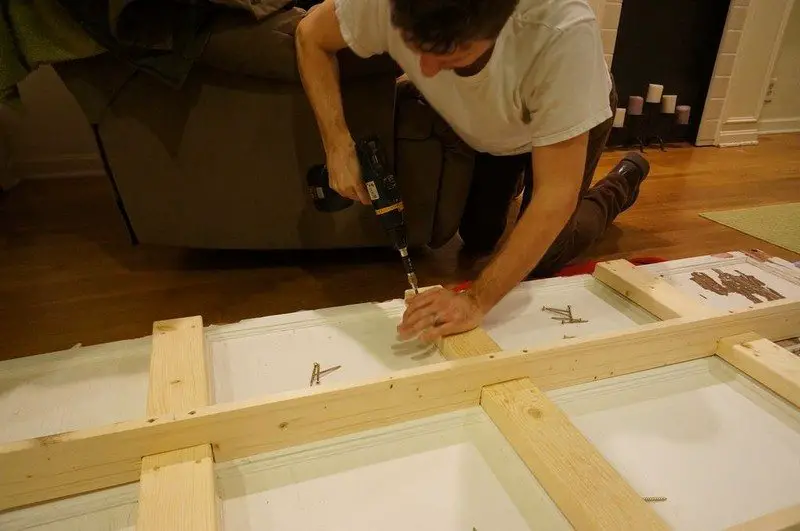
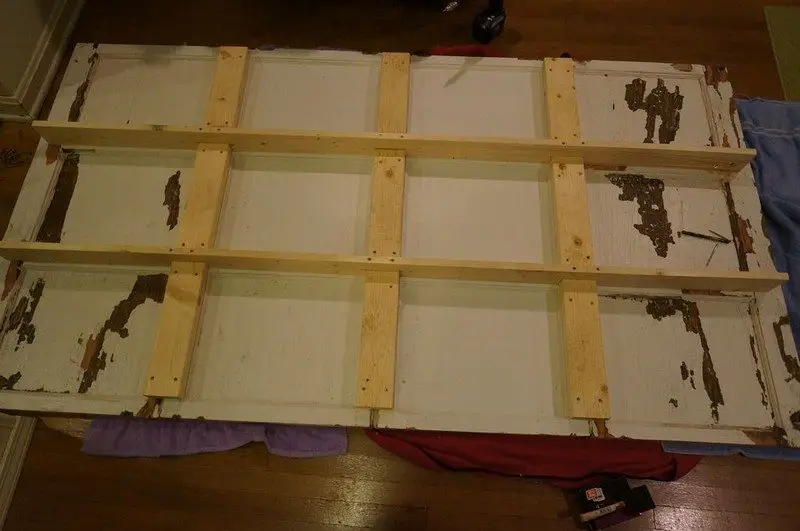
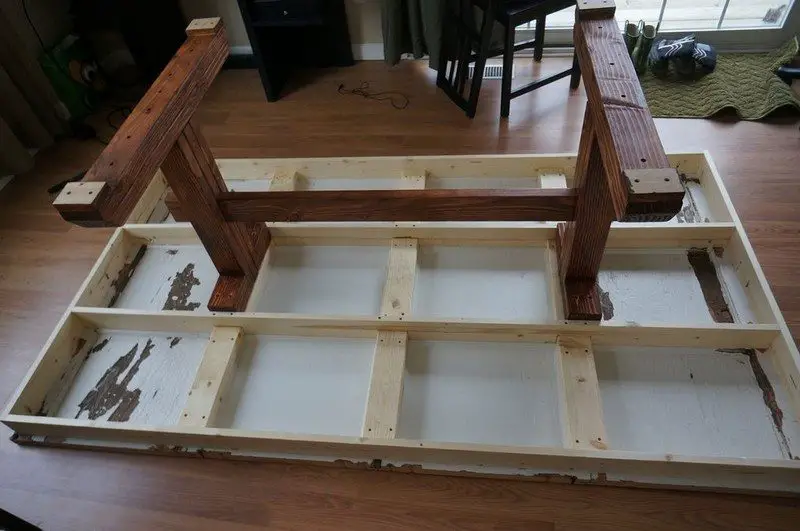
I didn’t want the slightest bit of sag, which is a problem with many tables over time. I built the frame of dimensional lumber first and then added it to the panels.
- I placed 2×4’s over each seam where the panels joined together.
- I added notched 1×4’s perpendicular to those 2×4’s. These ran along the ribs of the door.
- I then added a box of 1×4’s around the whole outside of the substructure.
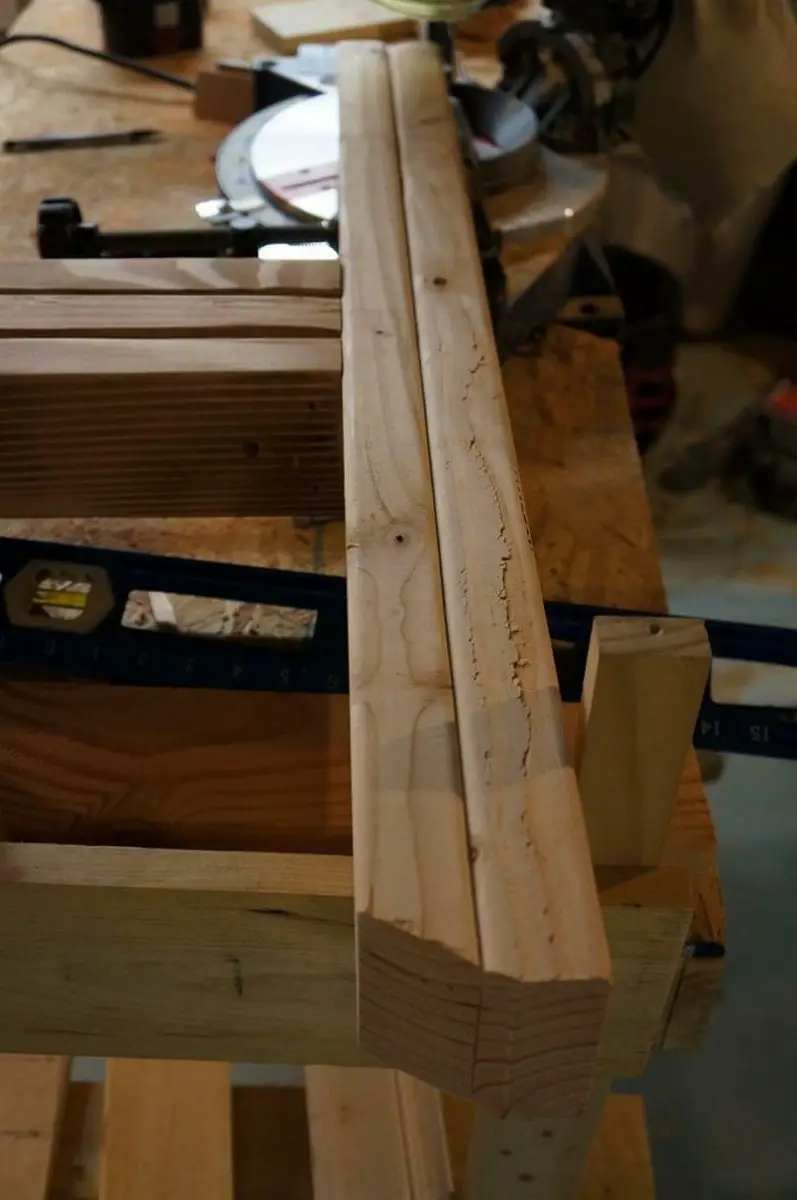
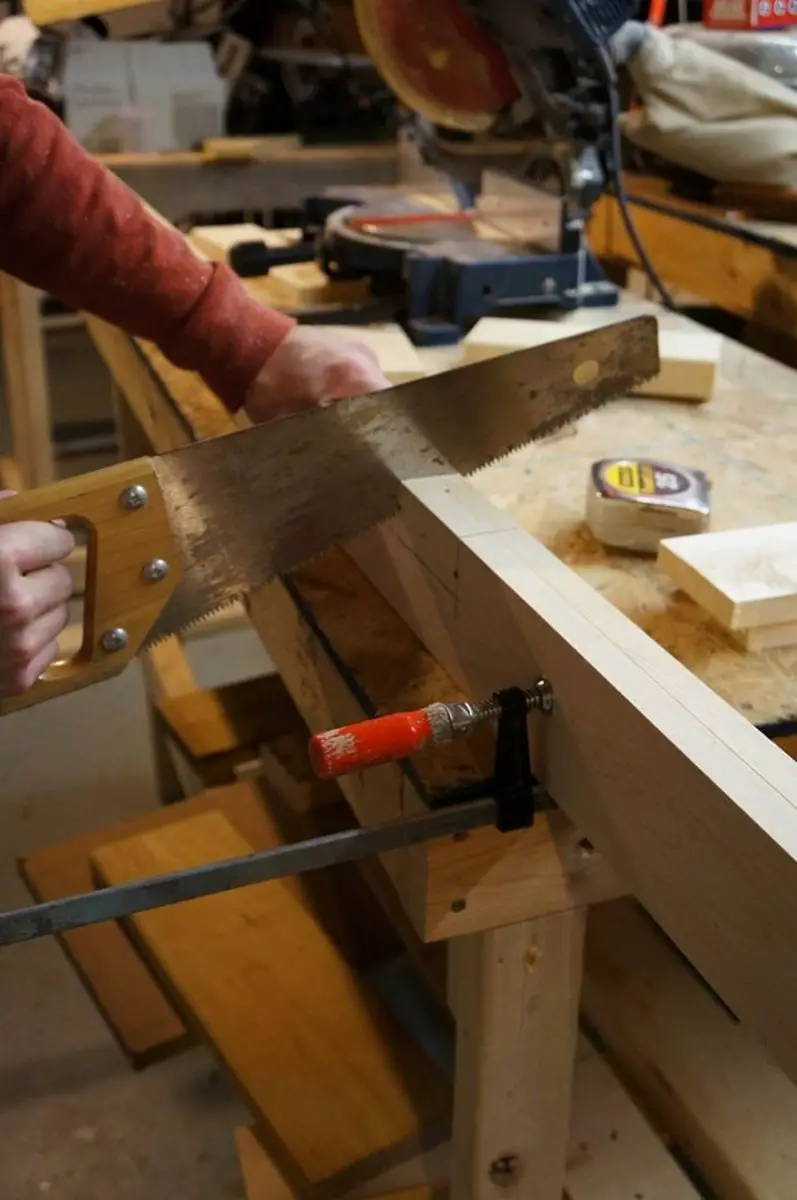
I cut both boards together so the frame would be straight and square.
Finally after the frame was attached and adhesives dried, I took the whole thing outside for a final leveling sand.
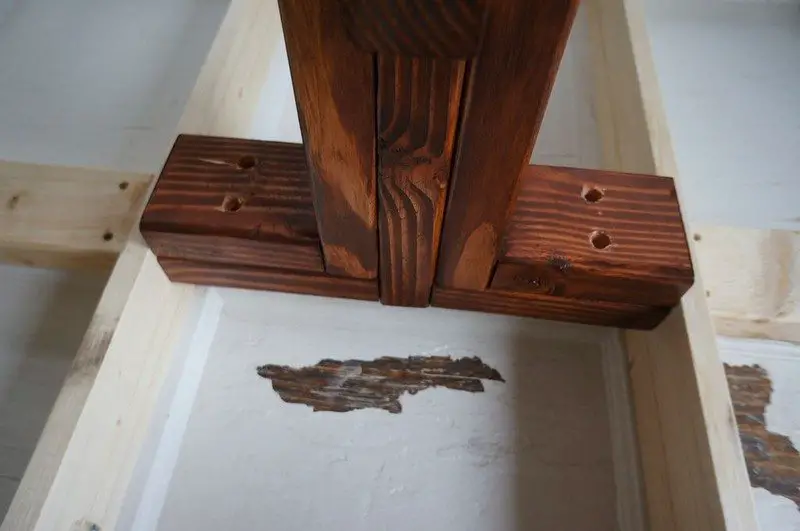
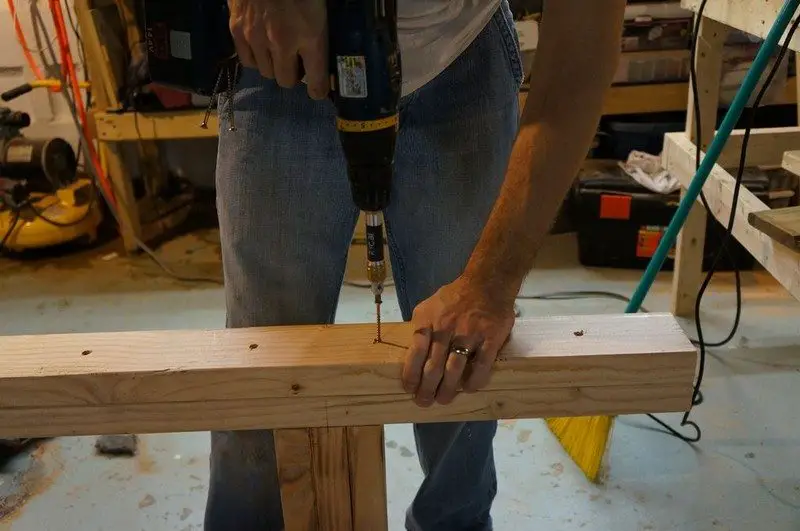
Plain and simple: Pre-drill and counterbore the holes to get a nice tight connection and screw directly into the 2×4. Use lag bolts or other strong type of fastener with a wide head or shoulder. You could also add regular washers and lock washers to prevent any loosening of the screws. I wanted the legs to be removable so the table can be disassembled for easier moving, therefore I did not use any adhesive.
The next thing I did was to apply 3 layers of Satin Polyurethane to the ribs. I also applied – what I thought was sufficient – one layer inside the pockets.