by guest blogger BricabracWizard (Michael Greensmith)
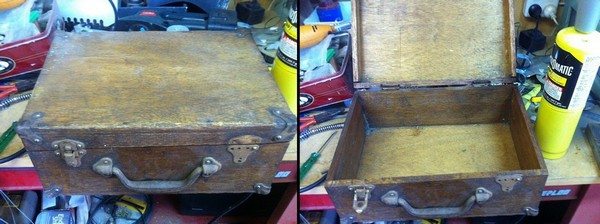
Steampunk came about in the late ’80′s. Basically coined as Victorian science fiction. With that in mind I decided to create an old fashioned music player with new fang dangled equipment. The first step was finding a box to encase the equipment in. I found this old indoor bowls case by the side of the road being thrown away. The picture does it more justice than it’s worth… the case was in very bad shape.

I dismantled the box and carefully sanded/polished all the components, stained, varnished and reassembled the case. This wasn’t a particularly well made box… ahhh the nostalgia!
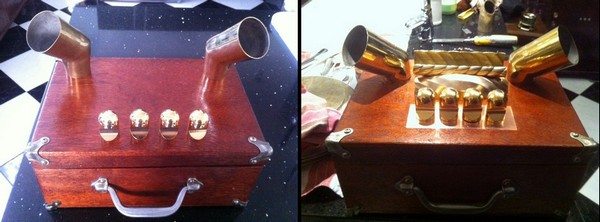
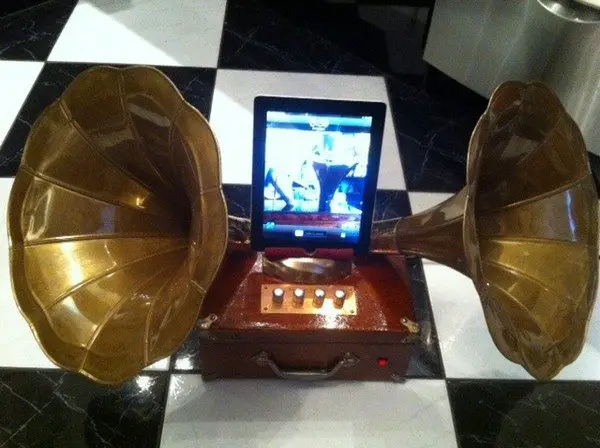
Looking good now! At this point I started playing around with a few ideas to see what would and wouldn’t work…

These are just two ideas from about 12 ideas I had, unfortunately I didn’t take pictures of all the ideas I had. One idea was to have the speakers come out of the side of the box but this made them too low and the whole thing too wide.
Next came the drilling of holes in the case to accommodate the speakers, control knobs and power socket.

Here you can see the square hole I cut for the control knobs. The wood is too thick to just drill holes for the control stems and poke them through. The copper rectangle is about 1mm thick. Using a carving tool I cut out just enough wood to lay the copper insert in so that it is level with the top of the case. The amplifier I used was from Jaycar which also has an input for a microphone. At 25 watts per channel, this is a sweet sounding amp! Of course you can use whatever amp you have on hand.

In order for the controls to be where I wanted them a lot of wires had to be extended. As you can see from the last picture, it was a bit of a nightmare! When rewiring or remounting electronics make sure everything is secured with no chance of movement. Do not do this if you are not comfortable with electronics….get someone who knows.
After extensive testing to make sure everything worked, time to create the holder for the iPhone/iPad/iPod. I managed to find an old dented brass vase. I cut off one side of the vase using a rotary drill with a metal cutting disc attached. The copper plate was cut in the same way.


