Next I managed to find an old chandelier upright brass pipe looking like entwined rope. This would hold the device upright. The connector (30 pin) can be bought off ebay with an audio out. I cut this connector in half to fit the chandelier pipe and then soldered on new wire to the two halves. To make sure the wire didn’t come off hot glue was used…..in abundance.


Then it was time to split the chandelier pipe, open it up and glue a protective cloth over it,
To attach the cradle to the case and to secure the connector to the pipe I cut some wood and hot glued it in with the connector. The picture below shows how snuggly it fits together. A half moon has been cut out of the pipe so as to be able to operate the centre button on the iPhone.
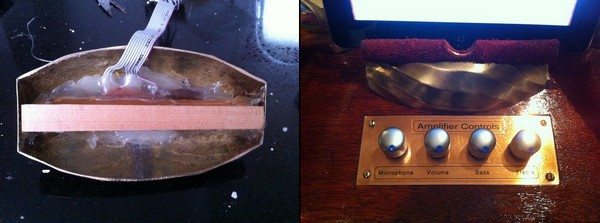
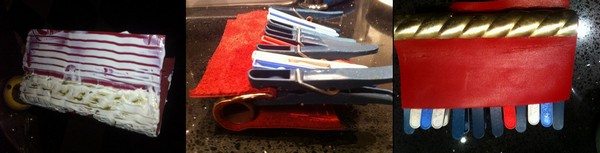
The control panel lettering was achieved with a label lettering machine using a transparent tape. The knobs I finally ended up with are guitar knobs which were purchased on ebay. Now all that is left is to create the power inlet point. Again a hole was cut in the back for the power point and a copper sheet cut to fit the hole. Unfortunately a fuzzy picture.

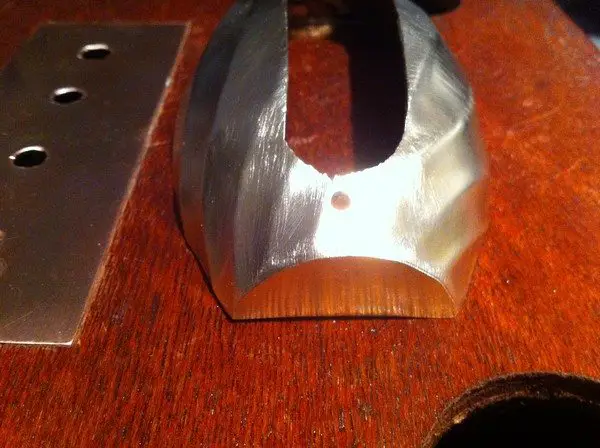
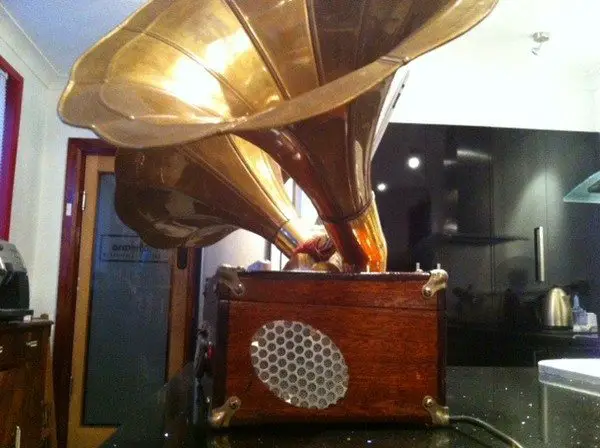
Now all we need to add are the brass horns. The ‘elbows’ were inserted into holes cut in the top of the case, glued (with 2 part epoxy) and screwed. Then the horns were epoxied into the brass elbows.
Earlier on you may remember I said that I thought of putting the speaker holes in the side
of the case….well, I did cut the holes and then decided the horns looked better coming out of the top of the case. Now I had to cover the holes in the side. This turned out to be a blessing in disguise. These holes allowed the bass notes to come out and the brass horns worked better with the treble tones. The holes were concealed with mesh and a speaker grill from another project. Cut the mesh & grid with the rotary cutter.
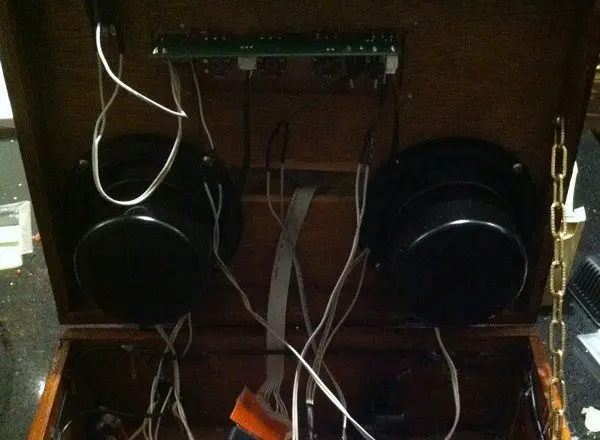
You will see in the next picture the speakers were screwed to the underside of the case lid.
Thanks for joining me. I hope I’ve inspired you to do better than buy a mass produced phone or tablet sound system. If it all gets too much I have been consigned to make them for other people. They come with a 2 year warranty and can be ordered on my blog at www.steampunkwayoflife.blogspot.com.au . You can also order our catalogue and
choose from a variety of Steampunk audio players.
Questions? Ask away. Suggestions? I’m listening. Have you ever tackled a project like this? How did it turn out?
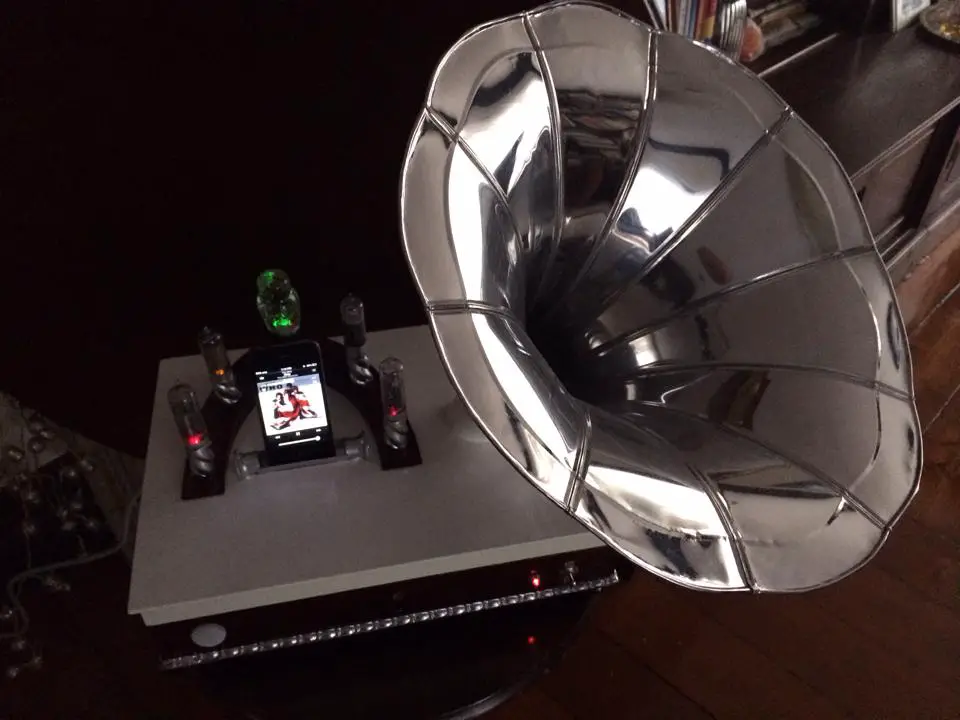
Update: 13th of january, 2014
Thought you might like to see this latest toy :)