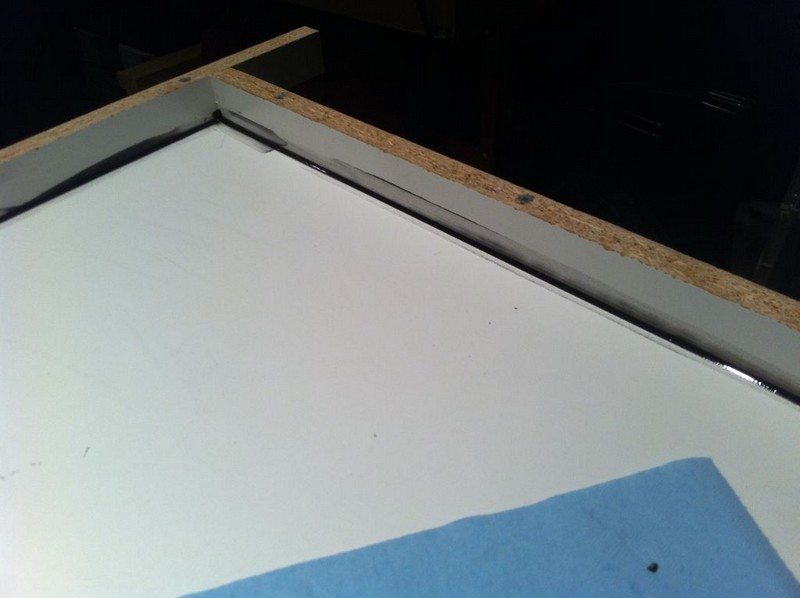
The seam where the form edges meet the large flat area of the form can be filled with a bead of silicone caulking, running a finger down the seam to create a nice radius on the counter edge. If you need any holes, it is is best to put them in now. I put in a couple of holes for lights that I wanted to mount. I used a piece of dowel, drilled a hole in the center of the dowel for a screw, and screwed them onto the bottom form. I also coated them with a little silicone so that they could be punched out easily. Putting these in now instead of drilling the countertop later eliminates the chance of drilling into some of the re-rod later.
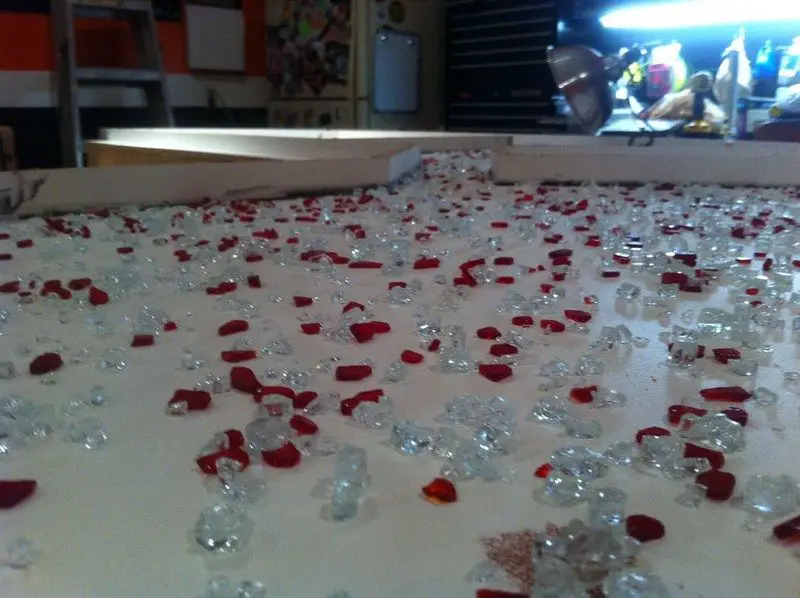
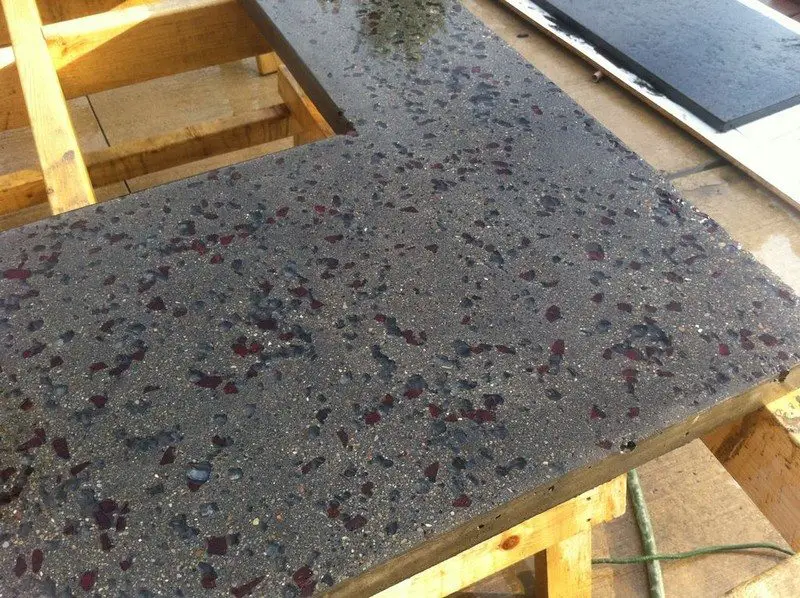
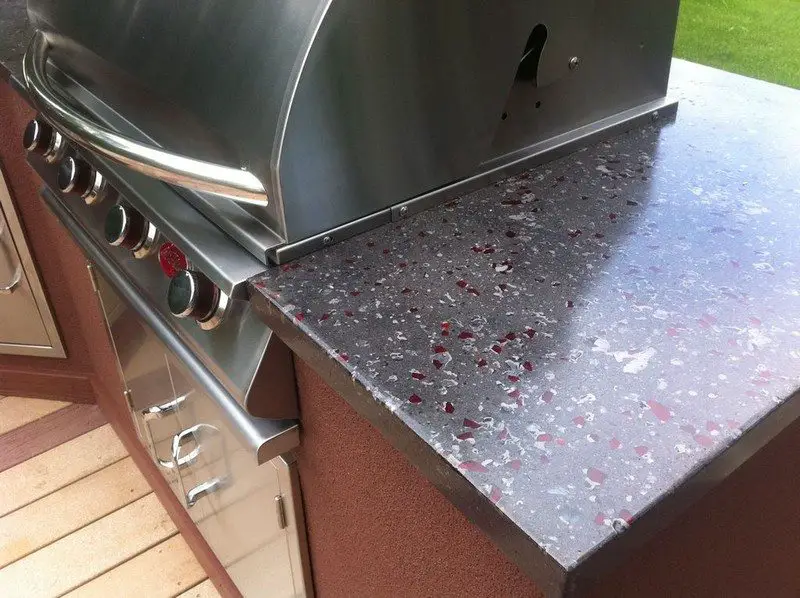
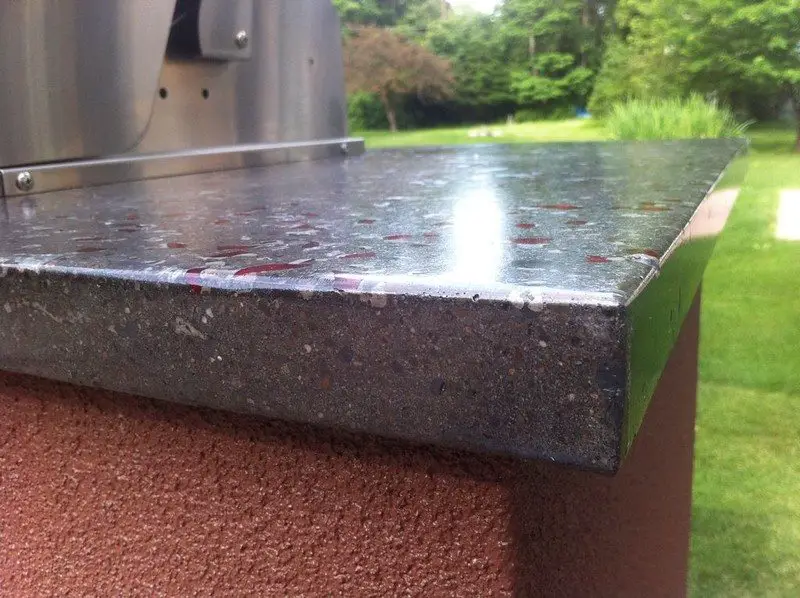
I used tempered glass pieces as an interesting inlay. These are red and clear. They were sprinkled over the form and will be exposed during the grinding/polishing process.
Not many pictures were taken during the pour. I was pretty busy :). I used Quikrete countertop mix along with liquid color. Charcoal / Black was the color of the tint. I used a large electric mixer from a neighbor, and we mixed 3 bags at a time. It was quite a process but it went very well. After allowing for a 7 day cure, the side forms were removed and the counter was flipped to begin grinding.
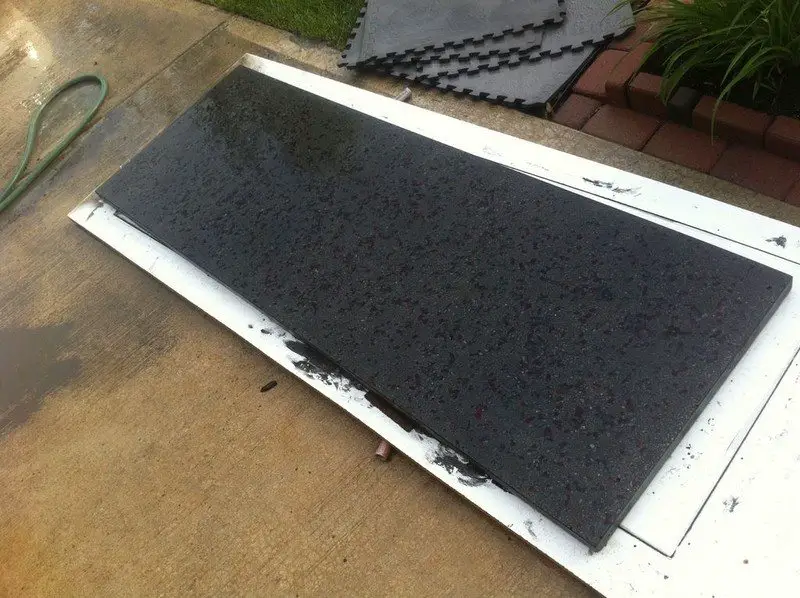
I used an angle grinder that has a water port that shoots water into the center of the grinding pad. This keeps the area flushed. I started with a rough grinding wheel for rapid material removal to expose the aggregate, and progressed up to 3000 grit with diamond pads.
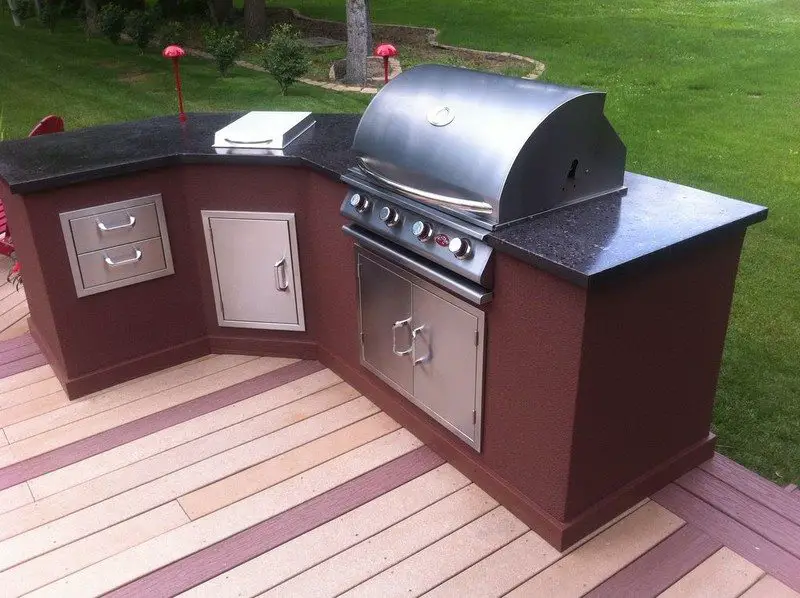
The finished product looks like glass. I found Cheng products late in the project and used Cheng spot filler, sealer and concrete wax. Their stuff is top notch, and I will be using their products in my next home adventure.
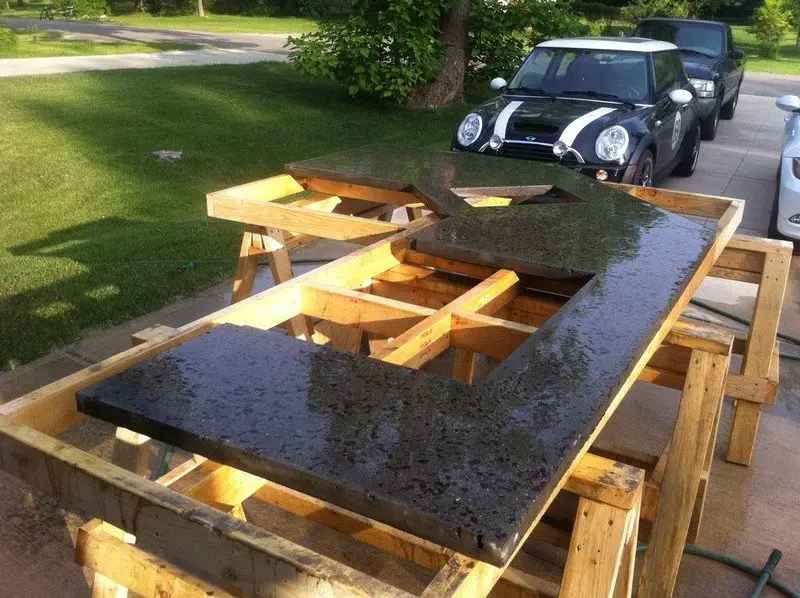
This stuff is heavy, make no mistake about that. And of course, I had to do the largest piece in one pour. I gathered up about 6 of the strongest guys in my neighborhood, and we carried the counters out to the bases, which I had previously moved onto the deck. The doors were purchased online, these are pretty easy to find.
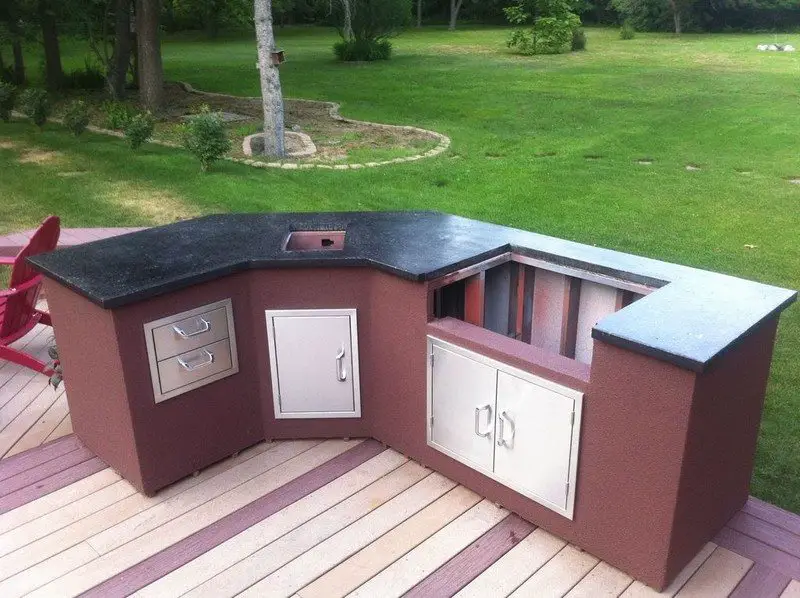
Silicone was used as the adhesive , and after the counters were put in place, I installed the remaining components. The grill and side burner are Calflame units.
The mushroom lights are low voltage, and we wanted red so I had to disassemble them and paint them. Rustoleum is a great outdoor paint.
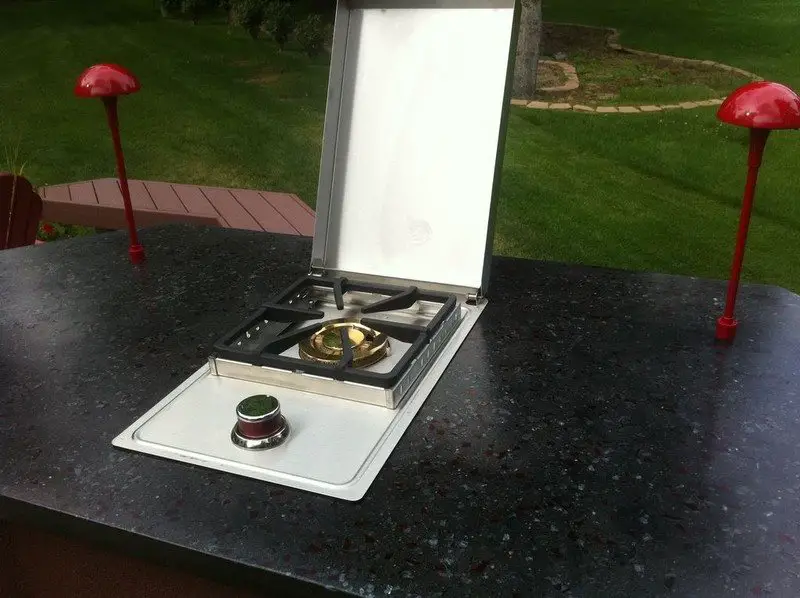
We have enjoyed this very much, and use it almost daily – even in the winter as we are in MIchigan. Concrete was pretty much our only option for survival in our climate, with the freeze that cycles. With proper care, these will last for many years.
Of course, you can always choose the finish that would fit your taste and your home. You can rearrange the countertop layout that would work best for you as you do your cooking. So how would you design your own outdoor kitchen?
Thanks to glennmaggard for this great project.

