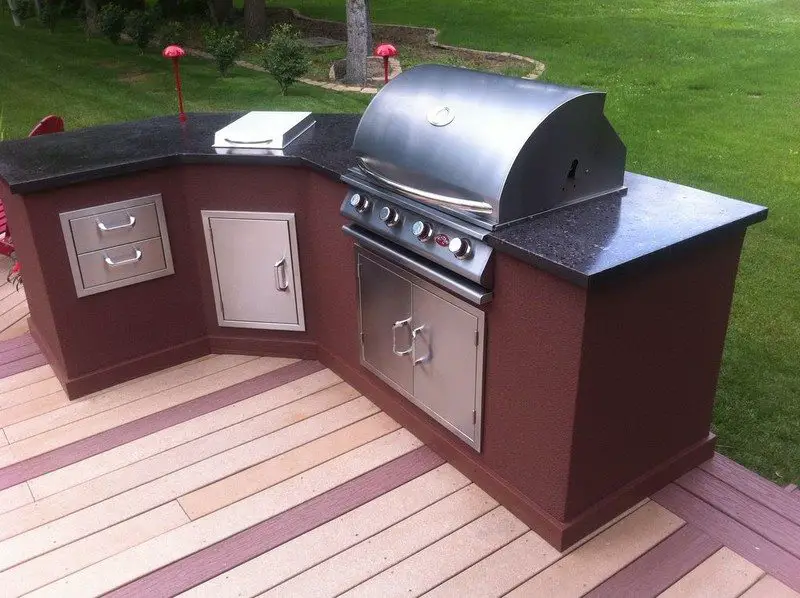
Love cooking and being outdoors close to nature? Here’s a space that combines the best of both worlds and is ideal for your lifestyle.
Have you missed entertaining and spending quality time with your friends and family because you’re so busy cooking in the kitchen? Then what you need is an outdoor kitchen setup, so that you can join them without having to leave the activity you love the most.
Here’s a great example of an outdoor kitchen project that won’t break your bank.
Would you like your own outdoor kitchen?
Materials:
- Steel Studs
- Hardipanel
- 4×8 Sheet of Luan
- 4×8 Sheets of Melamine
- Synthetic Stucco
- Bags of Countertop Mix – plus liquid colour
- Spot Filler and Sealer
- Concrete Wax
- Galvanized Primer
- Screws
- Mesh Tape
- Thinset
- DryVit – wall finish especially made to withstand temperature changes
- Sawhorse
- #3 Rod Mesh – for reinforcement
- Silicone
- Dowel
- Tempered Glass Pieces
- Lighting – such as a lamp for some night cooking
- Outdoor Paint
- Stainless Doors – easily found online
Tools:
- Table Saw
- Trowel
- Drill Set
- Screw Drivers
- Angle Grinder
- Electric Mixer
Steps:
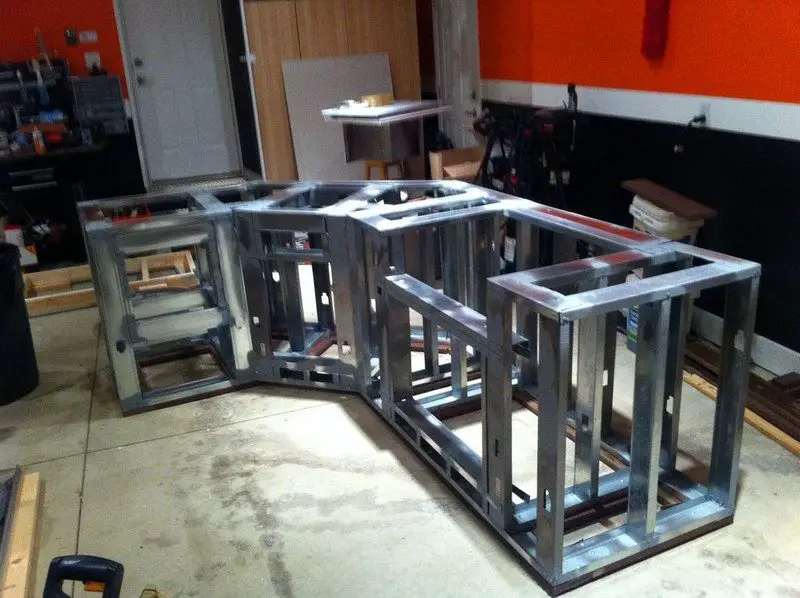
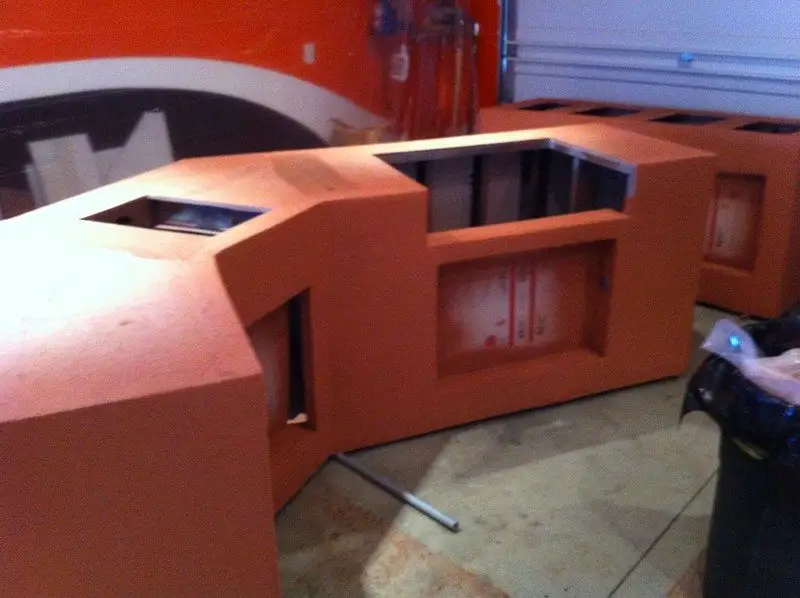
The first step in creating these were to create the frames with steel studs. You really need all of your components on site to begin this framework, as grill dimensions and door openings must be exact to have a good fit and finish. All screw penetrations and cut edges of studs were spot primed with galvanized primer to deter rust and corrosion.
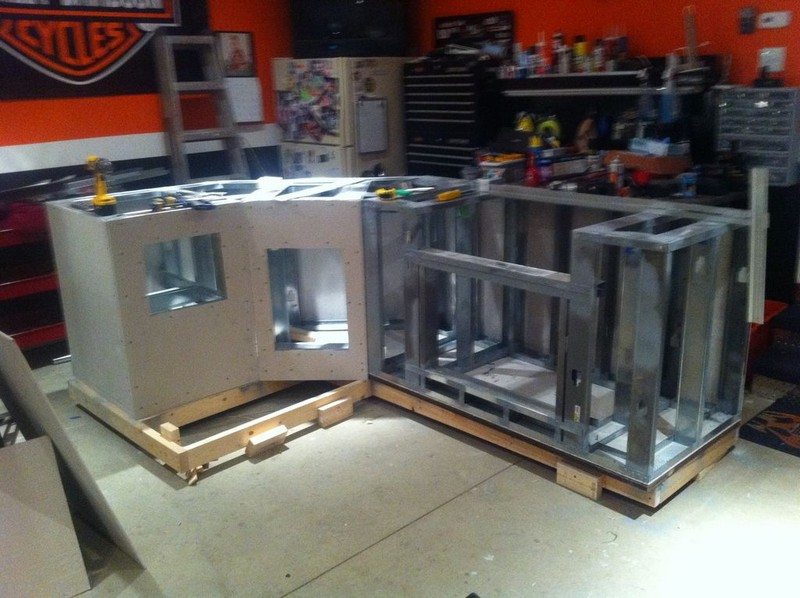
Hardipanel was selected as the substrate of the finished surface. This cuts easily and mounts with screws. Joints are taped with mesh tape and finished with thinset. I also did the bottom to help with rigidity and also to keep critters out of the finished units.
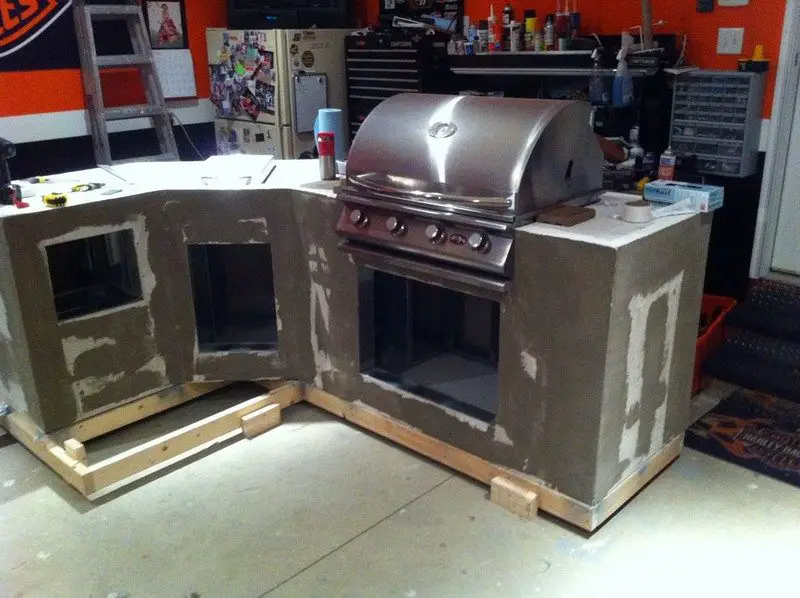
I used a product called DryVit as the finished surface. This is applied by troweling or spraying with a hopper – just like drywall texture. I sprayed this product. DryVit looks like traditional stucco, but has some elastic qualities that allow it to expand and contract with temperature changes without cracking.
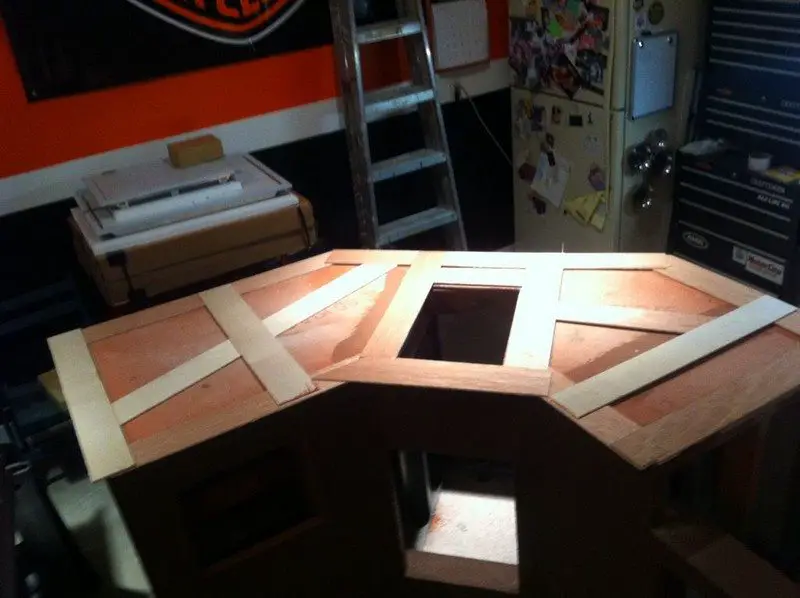
Strips of luan were cut from a 4’x8′ sheet and these were used to create the countertop template. This works pretty slick, as you can make a perfect template without really measuring anything. These are glued together during the process. This makes easy work of odd shaped counter shapes. You can get the proper overhang and perfectly placed cutouts.
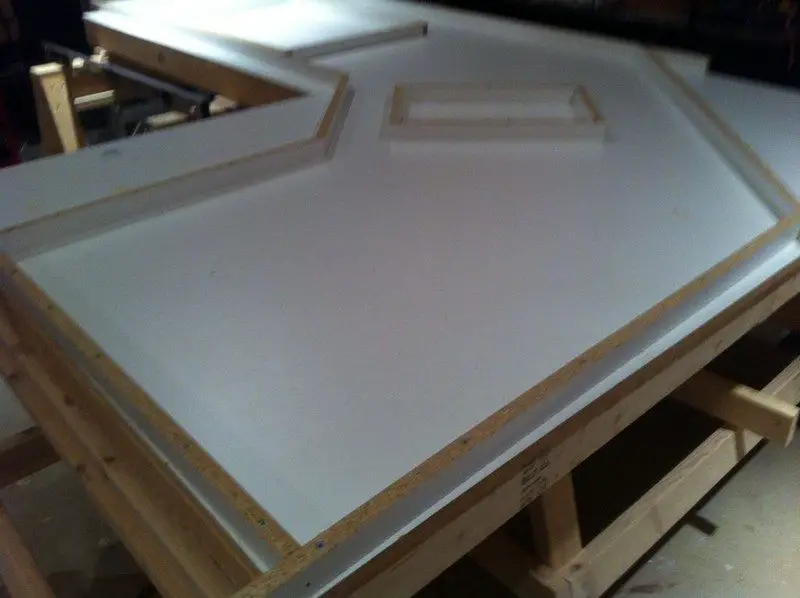
Melamine was used for the countertop forming. 4’x8′ sheets are readily available. This counter was poured upside down. The melamine is a super smooth surface which produces a very smooth concrete surface. I built some very robust saw horses to hold the main counter at a comfortable working level. Strips of melamine were cut for the edges and screwed down to the form base. One important thing here, is that you need to fill the screw heads with wax or caulking before you pour. Otherwise, the screw heads will be filled with concrete and will be not be very much fun to remove when it comes time to break down the forming.
After the initial forming is anchored into place, I assembled the reinforcing rod mesh. I used #3 rod.
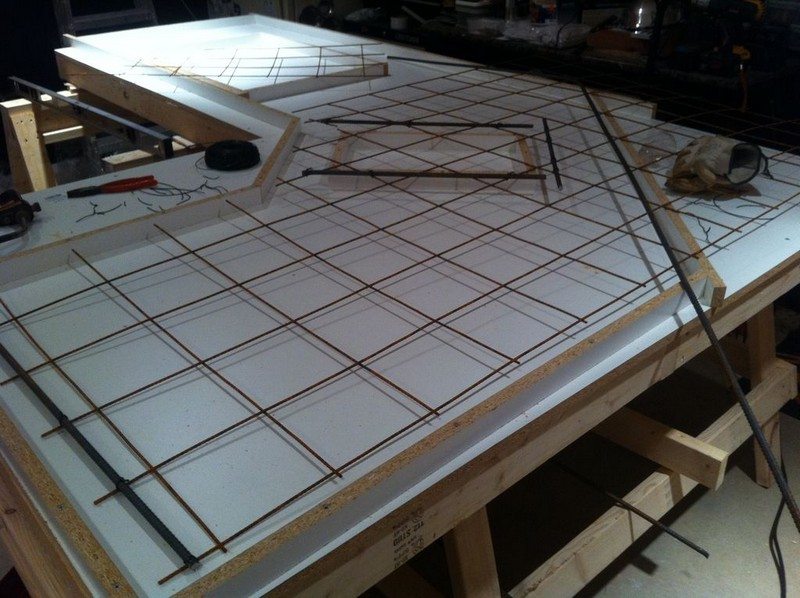
If there are any holes or seams, they can be filled with wax and scraped level.
Continued Page 2…


