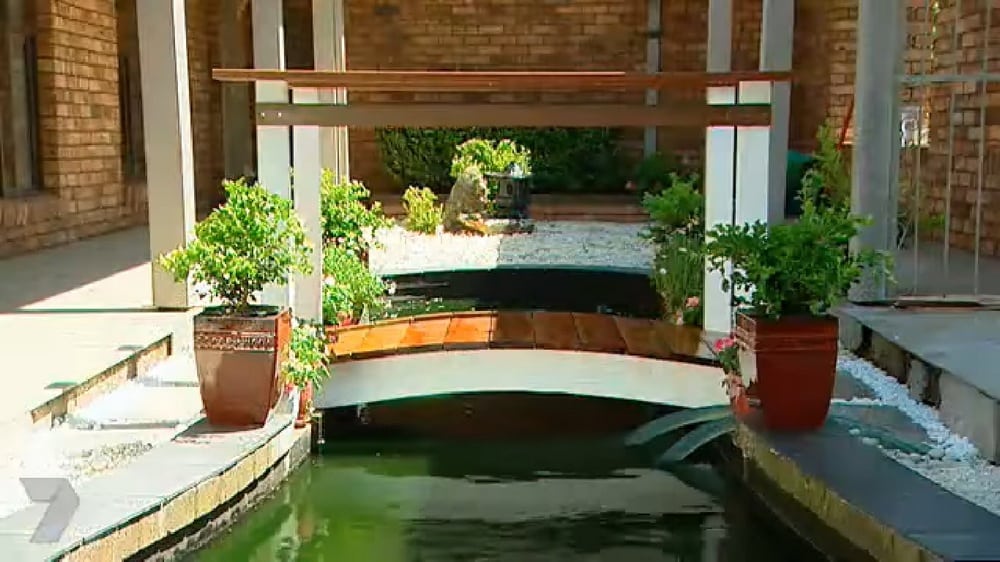
If you have a huge garden, it’s best to “fill it up” so it doesn’t look bare and empty. However, doing so can sometimes be challenging – especially if you want something unique. Fortunately, there are a lot of ideas available on the internet. If you’re passionate about garden decorating, here’s a special project for you.
Have you considered putting a garden bridge in your garden? If you haven’t yet because of budget constraints, perhaps you can reconsider. You don’t have to spend $100-250 on one. You can build your very own garden bridge for a much lower price.
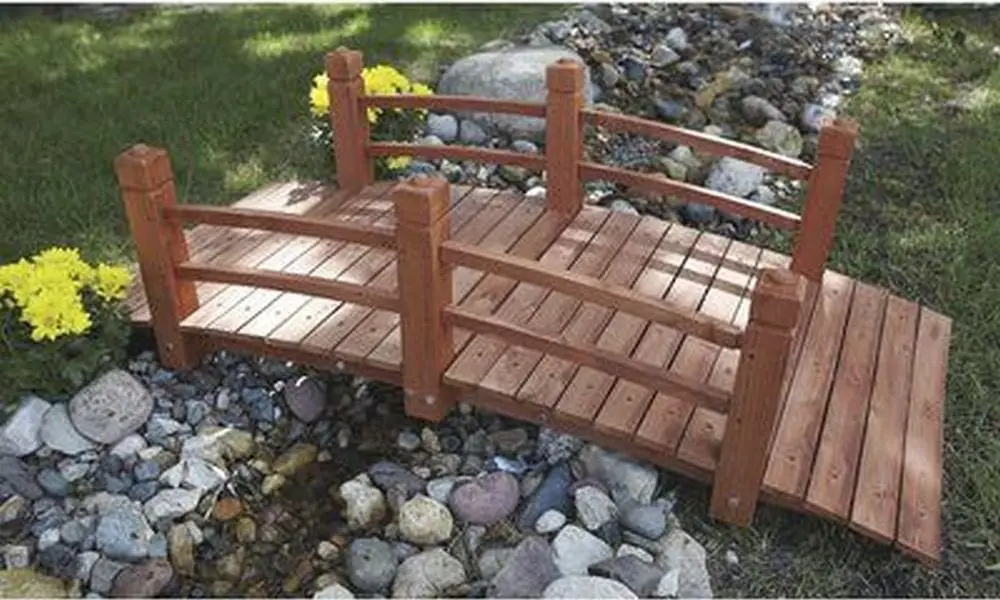
What could be more charming than a small wooden bridge to show off a water feature or help you step over an uneven slope?
Most garden bridges have elaborate railings. Kids will sometimes call them fairy-tale bridges.
This project, however, is all about natural simplicity: a small upward arc and a few deck boards. That’s it!
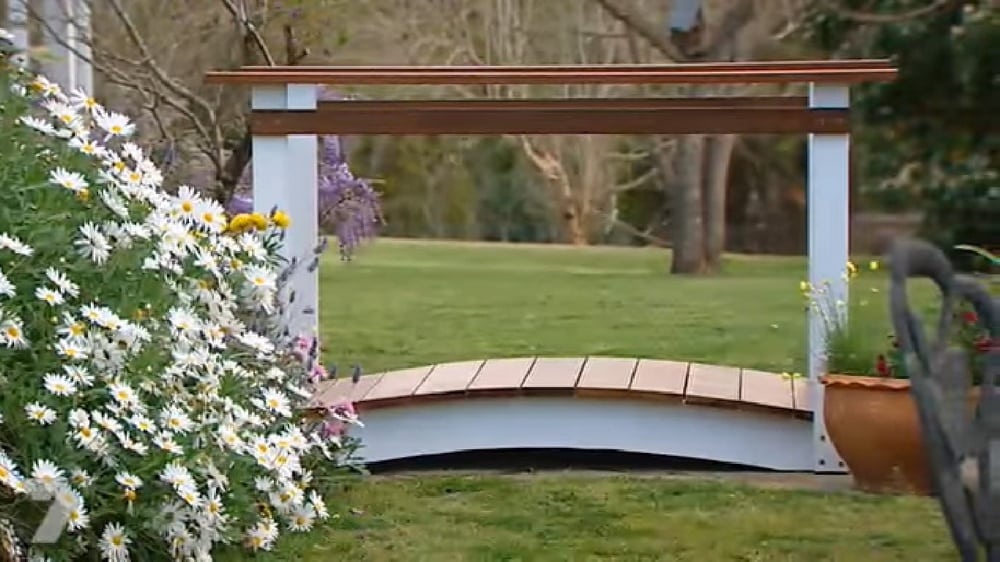
The finished project would be perfect if you have a stream or a small brook right on your property. But if not, it’ll work out just fine.
Contents
Constructing a Garden Bridge
Materials
- (2) 2x12s hardwood (for support stringers)
- (13) 2x6s hardwood (for floor planks)
- (2) 8’ 4×4 treated pine post (for handrails), cut into 6 32” posts
- 25” Length of bendable conduit (to create an arch guide on stringer)
- Benjamin-Moore Paint or stain & brushes
- Wood screws (2” stainless steel)
- Wood nails
- Pencil (for marking)
Tools
- Circular saw
- Jigsaw
- Electric screwdriver
- Drill/drill bit (1/2”)
- Hammer
- Wood planar
- Vice/wood clamps
Instructions
1. Planning and Design
- Begin by determining the length and width of the bridge you want to construct. Use these dimensions to sketch a simple design, deciding on the curvature of the bridge and the height of the handrails.
2. Preparing the Support Stringers
- Take the two 2x12s hardwood pieces. These will serve as your support stringers, the main supports that span the length of the bridge.
- Using the bendable conduit, create an arch template for the upward arc of your bridge. Trace this arch onto both of the 2x12s.
- With a circular saw and jigsaw, cut along the traced lines to shape the arch. Ensure both stringers are identical to maintain symmetry.
3. Assembling the Floor Planks
- Lay out the 13 2x6s hardwood planks side by side on a flat surface. These will form the walking surface of your bridge.
- Position your curved stringers parallel to each other on each side of the planks, ensuring they’re evenly spaced and align with the ends of the planks.
- Mark drilling points on each plank where they meet the stringers.
- Use a drill and the 1/2” drill bit to pre-drill holes at these marks to prevent the wood from splitting.
- Secure the planks to the stringers using 2” stainless steel wood screws. Use an electric screwdriver for a tight fit.

4. Crafting and Installing Handrails
- Cut the 8′ 4×4 treated pine posts into six 32″ pieces. These will be your handrail posts.
- Decide on the placement of your handrail posts along the length of the bridge. They should be evenly spaced for aesthetic appeal and structural stability.
- Pre-drill holes into the bottom of each post and secure them to the sides of the bridge, at the top of your support stringers, using wood screws.
- Use additional 2x6s or leftover hardwood to create the handrail. Measure and cut the wood to span the distance between each post.
- Secure the handrail pieces to the tops of the posts with wood screws. Ensure they are level and firmly attached.
5. Finishing Touches
- Once the bridge is assembled, use a wood planer to smooth out any rough edges or surfaces, ensuring a pleasant touch and finish.
- Sand the entire bridge, focusing on the handrails and walking surface to prevent splinters.
- Apply a coat of Benjamin-Moore paint or stain to protect the wood and give your bridge a finished look. Use brushes for detailed work and even coverage.
- Allow the paint or stain to dry completely before adding any additional coats if necessary.
6. Installation
- Place the bridge over your desired location, ensuring it is level and securely positioned. If necessary, you can anchor the bridge to the ground using metal stakes or heavy stones for added stability.
Click on any image to start the lightbox display. Use your Esc key to close the lightbox.


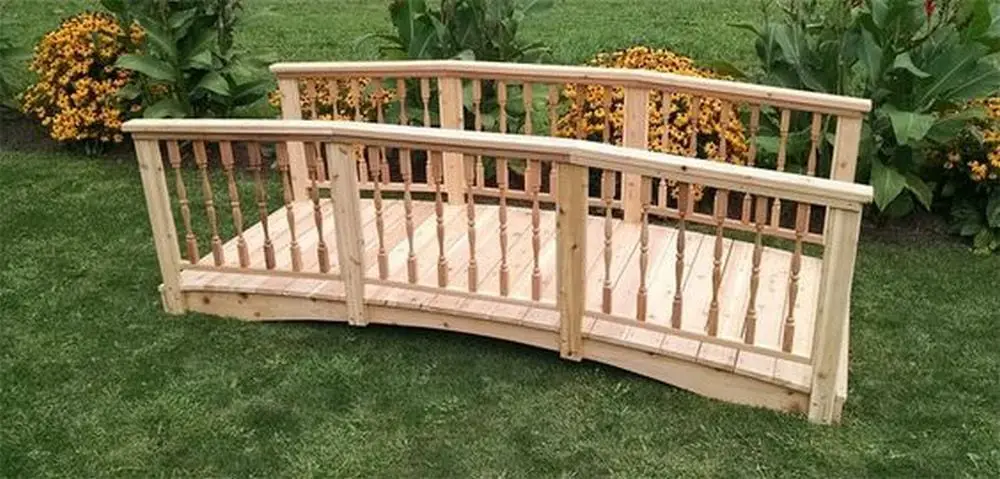
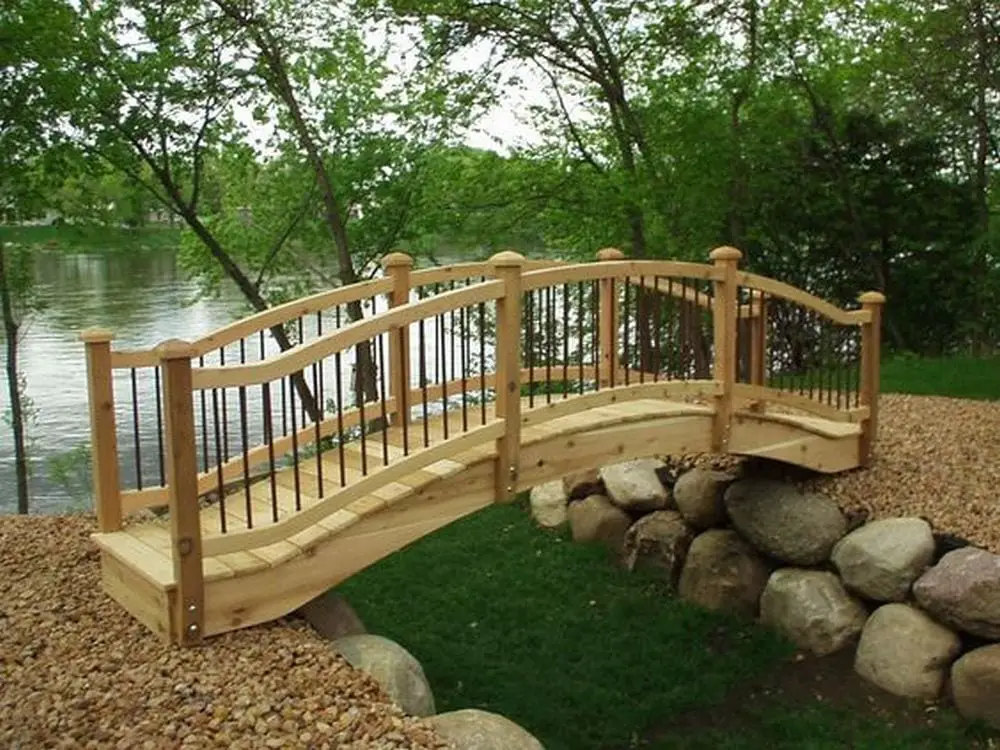
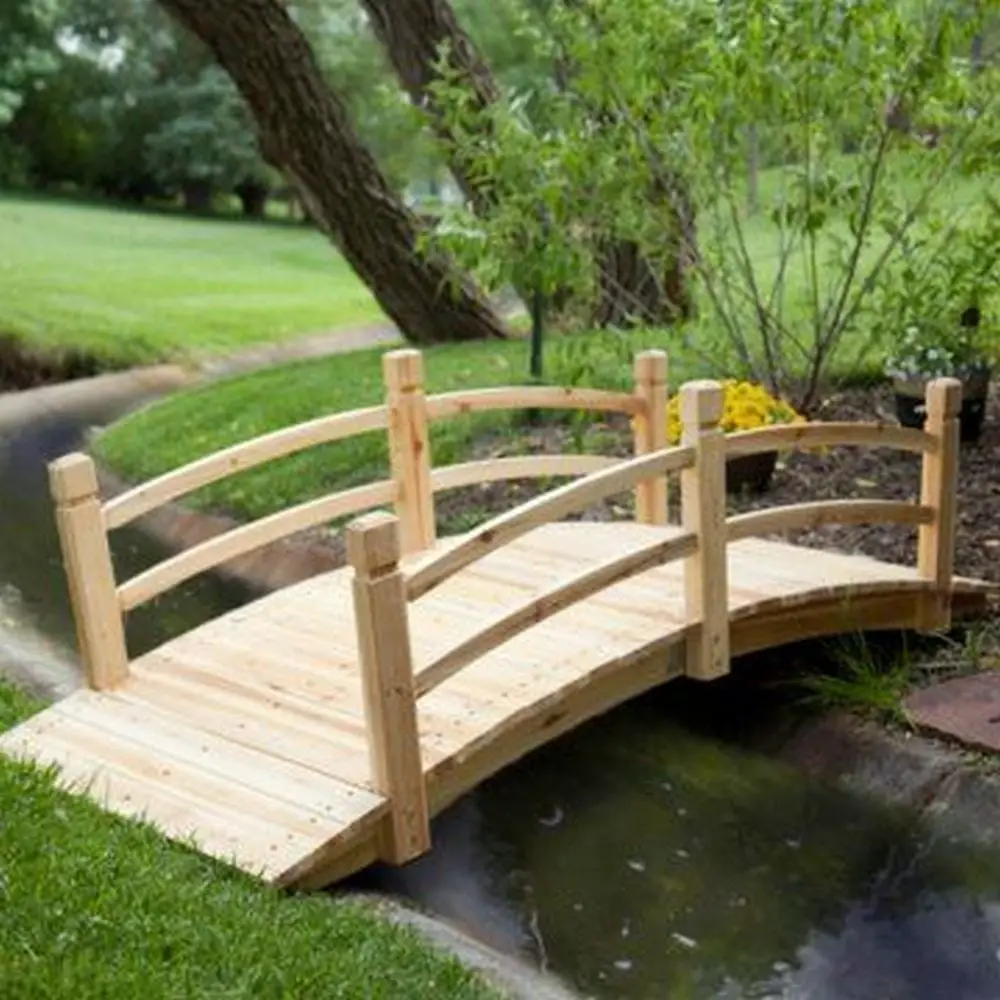
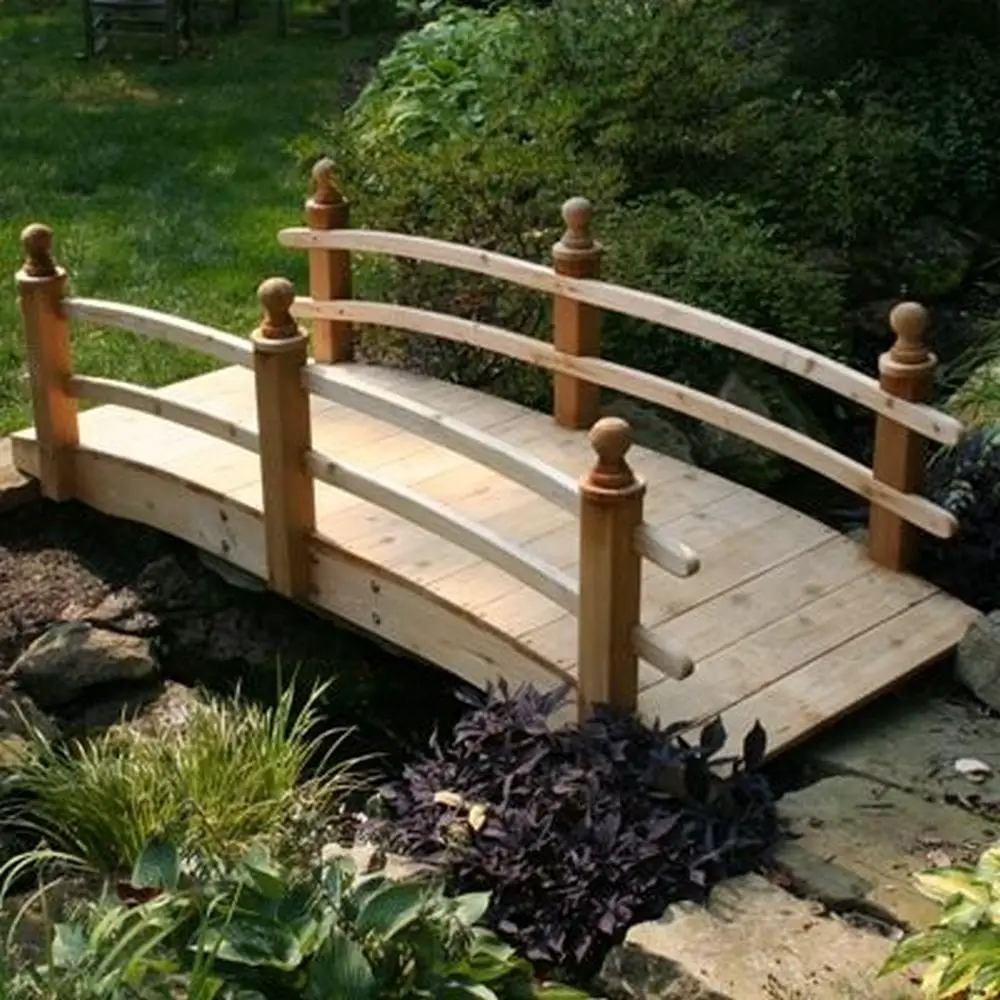
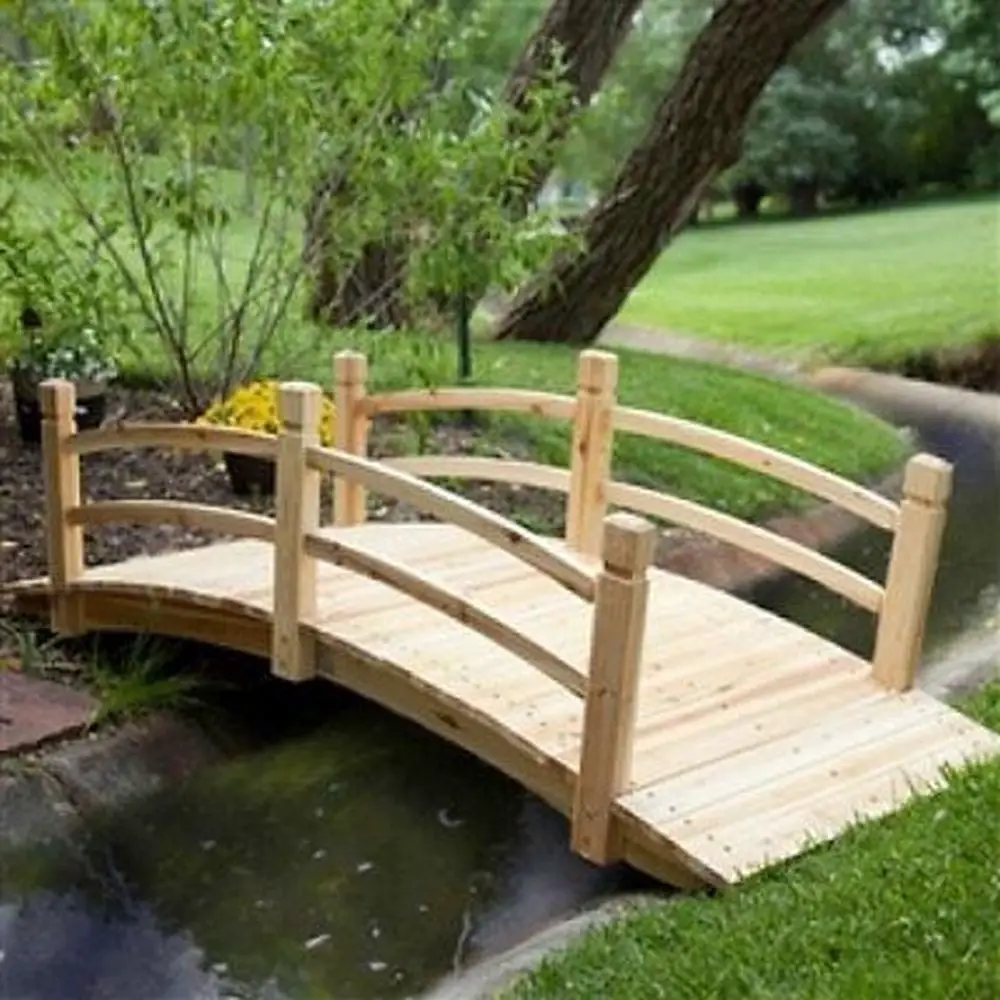
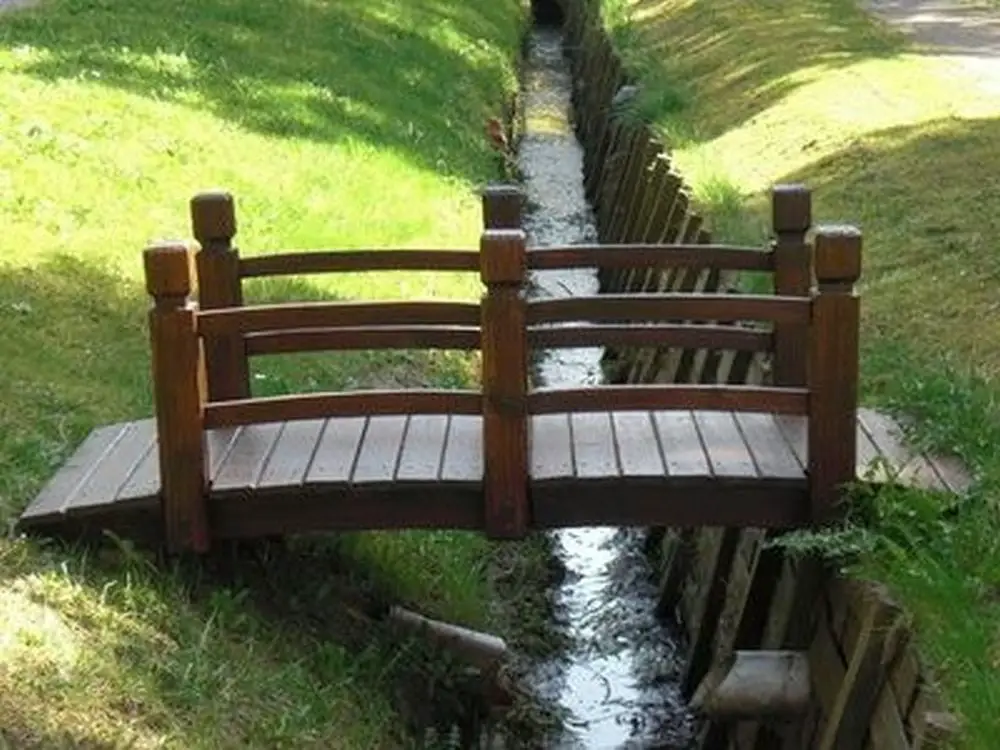
For a visual instruction, below is a video guide on making your garden bridge.
The Role of Garden Bridges in Feng Shui
Garden bridges are more than just charming additions to a landscape; they hold significant importance in Feng Shui, the ancient Chinese art of arranging living spaces to create balance with the natural world. According to Feng Shui principles, garden bridges can influence the flow of energy, or Chi, in an outdoor space, promoting harmony, prosperity, and well-being.
Here’s how garden bridges play a pivotal role in Feng Shui and how you can utilize them in your garden design.
Enhancing the Flow of Chi
Creating Pathways for Positive Energy: Garden bridges are believed to help direct the flow of Chi smoothly throughout a garden. By spanning water features like ponds or streams, which are sources of Chi, bridges facilitate the gentle and unobstructed movement of energy across the landscape, connecting different areas of your garden in a harmonious flow.
Connecting Elements
Bridging the Five Elements: In Feng Shui, balancing the five elements — wood, fire, earth, metal, and water — is essential for creating harmony. A garden bridge, especially when made from wood or metal, can serve as a physical and symbolic connection between these elements. For instance, a wooden bridge not only represents the wood element but can also bridge the gap between water features and earthy garden sections, integrating these elements seamlessly.
Symbolizing Transition and Progress
Facilitating Life Transitions: The act of crossing a bridge is rich in symbolism, representing movement from one state or phase of life to another. In your garden, a bridge can symbolize personal growth and progress, encouraging reflection and the contemplation of life’s journey. Placing a garden bridge thoughtfully within your space can remind you of the continuous flow of life and the transitions we all navigate.
Attracting Prosperity
Enhancing Wealth and Abundance: Water is a symbol of wealth in Feng Shui, and a garden bridge that elegantly spans a water feature is believed to encourage wealth to flow into your life. The bridge acts as a positive gesture, inviting prosperity while allowing Chi to circulate freely, connecting the wealth area of your garden (typically the back left corner when facing the entrance) with other sections.
Overcoming Obstacles
Symbolizing Overcoming Challenges: Just as a bridge enables one to easily cross over obstacles like rivers or ravines, a garden bridge in Feng Shui is seen as a tool for overcoming life’s challenges. It encourages resilience and adaptability, reminding us that we have the capacity to traverse difficulties with grace and emerge stronger on the other side.
Placement Considerations
Mindful Placement for Maximum Benefit: For the most effective Feng Shui, the placement of a garden bridge should be carefully considered. Avoid positioning bridges directly in line with your home’s entrance, as this can lead to Chi rushing too quickly towards or away from the home. Instead, place the bridge so that it complements the natural flow of your garden, enhancing tranquility and balance.
Incorporating a garden bridge with mindfulness to Feng Shui principles can transform your outdoor space into a sanctuary of balance, harmony, and positive energy. Beyond its functional and aesthetic appeal, a garden bridge can serve as a powerful symbol of life’s journey, enriching your garden with deeper meaning and purpose.
Incorporating Garden Bridges into Small Garden Designs
Incorporating a garden bridge into small garden designs can be a transformative move, adding depth, interest, and a touch of whimsy to limited spaces. Despite the challenge of working within a smaller footprint, a well-placed garden bridge can create the illusion of space, connect disparate garden areas, and serve as a striking focal point. Here’s how to effectively integrate garden bridges into small garden designs, enhancing both the aesthetics and functionality of your outdoor sanctuary.
Maximizing Space with a Garden Bridge
A garden bridge can introduce a new dimension to a small garden, drawing the eye across and beyond its physical boundaries. By strategically placing a bridge, even a purely decorative one, over a dry riverbed or a small gravel path, you create a sense of depth and expansiveness.
Connecting Garden Zones
Use a garden bridge to define different areas within your garden, such as separating a cozy seating area from the rest of the garden. This segmentation not only maximizes the use of space but also adds an element of discovery and surprise, encouraging exploration even in a small garden.
Enhancing Garden Themes
A garden bridge can be a key element in establishing or complementing a specific theme in your garden. For instance, a rustic wooden bridge can enhance a cottage-style garden, while a sleek, modern design might suit a contemporary garden layout. Choosing a bridge that aligns with your garden’s theme can create a cohesive and immersive outdoor experience.
Focal Point Creation
In small gardens, every element must be thoughtfully integrated to avoid a cluttered appearance. A garden bridge can serve as a central feature that draws attention, providing a visual anchor around which other elements of the garden are arranged. Pair the bridge with complementary plantings, lighting, or garden ornaments to create a captivating vista.
Practical Considerations
When adding a garden bridge to a small garden, scale is crucial. Opt for a bridge that fits comfortably within the space without overwhelming it. The style of the bridge should also complement the overall design of the garden, whether you’re aiming for a rustic charm or a minimalist elegance.
Illusion of Water Features
Even if your small garden cannot accommodate a real water feature, a garden bridge can evoke the presence of water. Positioning the bridge over a dry stream bed filled with pebbles or blue glass shards can mimic the look of water, creating a serene and picturesque scene.
Integrating with Plantings
Surround your garden bridge with lush plantings to blend seamlessly into the garden. Low-growing ground covers, ferns, or flowering perennials can soften the edges of the bridge and integrate it into the landscape. Tall plants or small trees at one or both ends of the bridge can frame it beautifully, enhancing its visual appeal.
Incorporating a garden bridge into a small garden design requires careful planning and creativity, but the results can be strikingly beautiful and impactful. A garden bridge not only serves as a charming architectural element but also enriches the garden with depth, character, and a sense of tranquility. With thoughtful integration, a garden bridge can transform a small outdoor space into a captivating and enchanting garden retreat.
Accurate arrangement is critical in enhancing the aesthetic value of a garden bridge through strategic placement of plants, as it can be used to create balance in any living space. The act of arranging living spaces to achieve a proper balance is all about achieving visual harmony and order.
Furniture placement, color palettes, and the spread of ornamental objects are some of the techniques that can be used in realizing this. Like painting plants around garden bridges, a focal point in a room can be created by where furniture is placed while other areas within large open spaces may be differentiated visually by correctly positioned area rugs or artworks.
Just like flowering perennials that brighten up gardens with their pops of colors, accent colors in the form of throw pillows or artwork can add flair to an interior design scheme that’s balanced.
By carefully considering various elements such as weight, scale, and placement, it is possible for you to have a living space that is aesthetically pleasing just like a well-designed garden bridge that blends seamlessly into a peaceful garden retreat.
Conclusion
Building a garden bridge requires thoughtful planning and a creative touch, ensuring it harmonizes with the garden’s overall design and meets functional needs. This project not only enhances the aesthetic appeal of outdoor spaces but also serves as a testament to craftsmanship and a love for gardening. Ultimately, a garden bridge stands as a captivating focal point, inviting exploration and offering a serene pathway through nature’s beauty.
Complete your garden bridge with a stone walkway. Read our guide on making your garden paths next!


