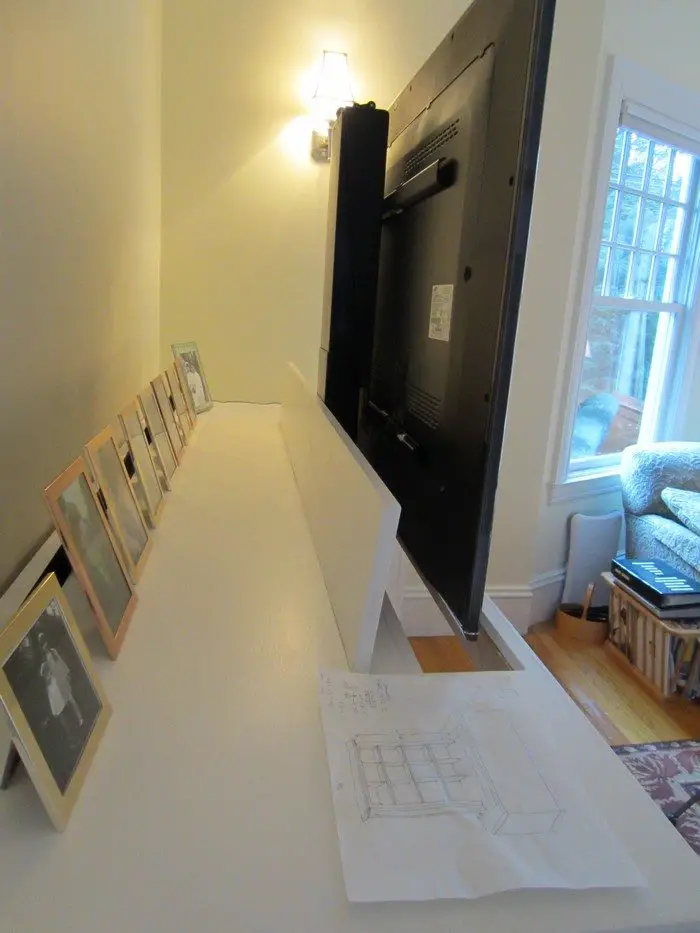
Does your living room have a huge flat-screen TV? Is it dominating the room? Wouldn’t it be nice if it was out of view when not in use?
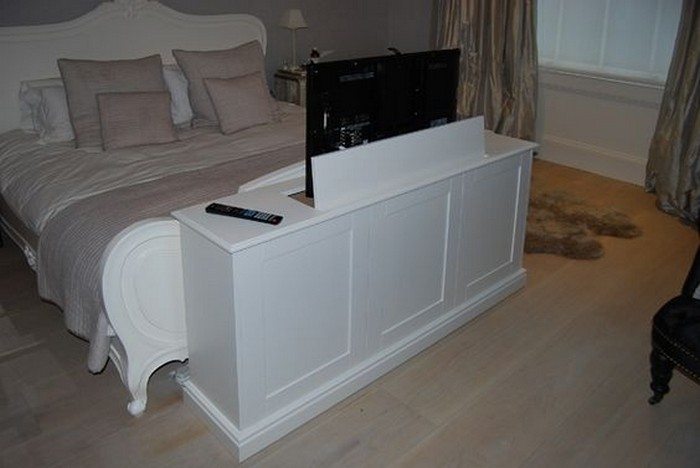
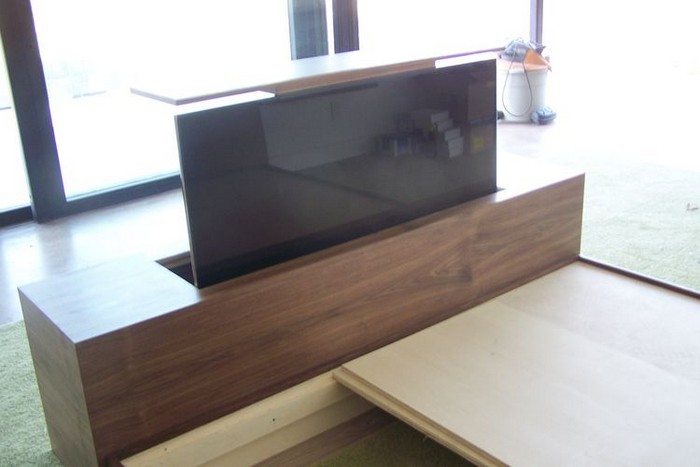
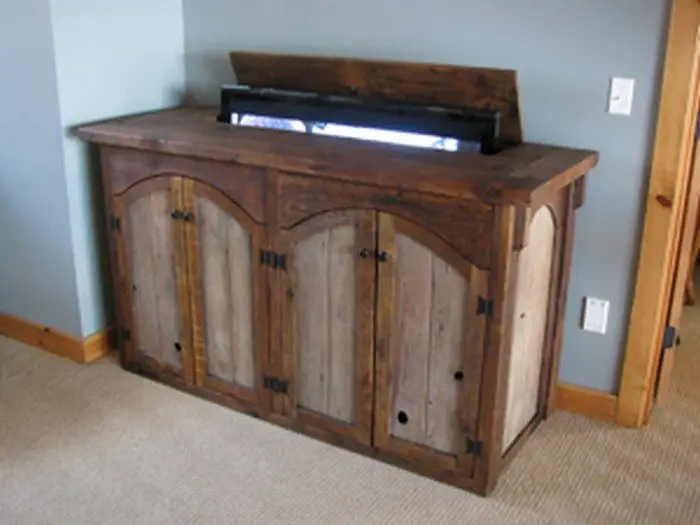
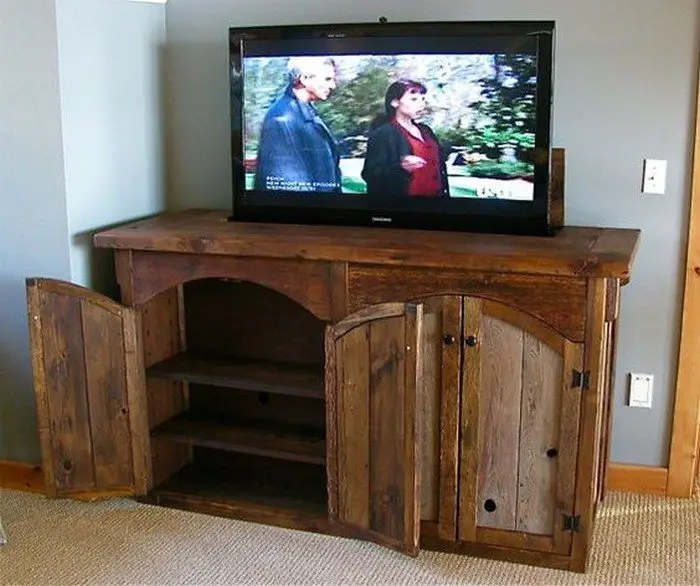
Here’s a great solution to make that flat-screen TV disappear when it’s not in use. And you can do it with the hit of a button! This great looking TV lift cabinet will hide the television using a lift mechanism and universal remote control.
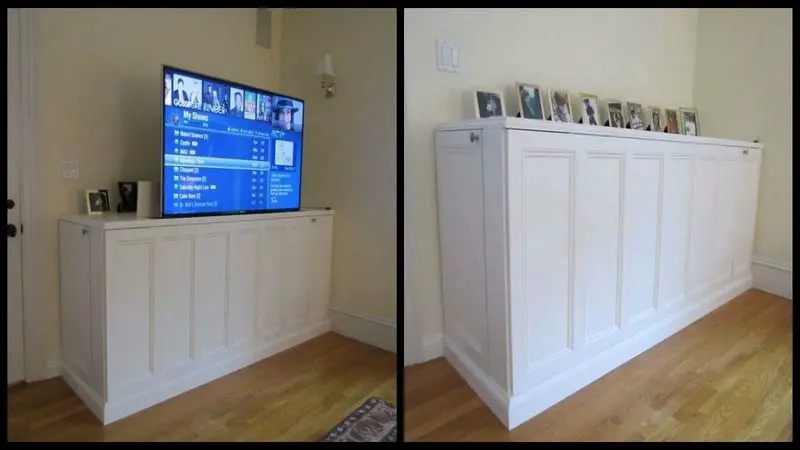
What’s great about this TV lift cabinet is that it looks so natural, you won’t even know that it hides that television unless you’re aware of its purpose. It also stores and hides your remotes, DVD players, game consoles, and other home entertainment items.
Do you want your TV to magically disappear when not in use? Then learn how to build this DIY TV lift cabinet!
Click on any image to start the lightbox display. Use your Esc key to close the lightbox. ?

Contents
How to Build Your Own DIY TV Lift Cabinet
Unlock the theatre experience within the comfort of your home with a touch of DIY ingenuity. Imagine a world where your TV rises elegantly from a concealed cabinet, turning your living room into a captivating cinematic oasis. It’s not science fiction; it’s a reality you can craft yourself.
Discover the secrets to creating your very own DIY TV Lift Cabinet. Get ready to raise the curtain on your home entertainment revolution!
Materials
- 1 Firgelli Lift FA-TVL-170-24-36 (includes IR detect and remote)
- 5 sheets of 3/4″ Birch Plywood
- 1 sheet of 1/4″ Birch Plywood
- 4 Hinges – soft close
- 4 rolls of Birch Edge Tape
- 1 bottle of Wood Glue
- 20 feet of 1.25″ x 3/4″ Wood Panel Molding
- 30 feet of 1″ x 1/4″ Wood Panel Molding
- 5 pairs Drawer Slide
- 1 Piano Hinge
- 1 IR repeater to hide components and IR receivers
- 4 Drawer Pulls
- 2 Door Pull Knobs
- 4 Bolts, Nuts, and Washers for the Firgelli Lift
- 1 pack of strong Velcro
Tools
- Table Saw
- Jig Saw
- Compound Mitre Saw – or Mitre Box
- Drill Press
- Electric Drill
- Clamps – assorted
- Tape Measure and Small Steel Ruler
- Right Angle Square
- Orbital Sander – with 60 and 100 grit Sand Paper
- Sanding Block and loose 60 and 100 grit Sand Paper
- Iron – for applying edge tape
- Sharp Box Cutter – for edge tape trimming
- Drill Bits and Forstner Drill Bits
- Countersink Drill Bit – for drywall screws
- ¼” – ½” Dowel Center Transfer Plugs and a few 1/4″ Dowels
- Nail Gun and Compressor – to hold the wood while the glue dries.
- Putty Knife – for spackling
- Socket Set
- Screwdriver
- Hammer
Steps
How the TV Lift Cabinet Works
This is a video showing the TV lift cabinet in action.
This video shows how to remove the front panel for access to the inside of the TV Lift Cabinet.
You can find detailed images of the TV lift cabinet’s top, front, and side perspectives, accompanied by a comprehensive inventory of the wood elements requiring cutting. This inventory encompasses 3/4″ plywood, 1/4″ plywood, and a variety of trim moulding components. You can review these details here.
There is also a plywood cut sheet with recommended cuts from each sheet of plywood to provide the maximal efficiency of your plywood panels. The sheets can be pre-ripped in your lumberyard or home centre for easier carrying in your car. Of course, all measurements should be double-checked for your application and may be converted to metric.
When selecting plywood sheets for your TV lift cabinet, ensure they are free from warping or bending. Align each sheet and visually inspect for any distortions. Discard any plywood sheets that exhibit warping.
Tips for Cutting Oversized Plywood Sheets
Cutting large sheets of plywood can be tricky. If you have access to a panel saw with a good plywood blade, you are good to go. If not, there are some tricks.
- The first is somewhat dangerous and you need a helper. Set up your table saw outside with the fence and guards removed. Mark your lines on the wood and pass the large sheet of plywood through the table saw blade with you pushing and your helper catching. Go slowly and accurately.
- The second method is to lay some 2 x 6 pieces on a smooth floor. Lay your marked plywood on the floor and slowly cut your lines with a skilled saw with a plywood blade installed.
- Please double check ALL the measurements and dry-fit your parts before drilling, nailing, or gluing.
- You may find it useful to cut parts from the larger plywood sheets as the project progresses. It gives you a better ability to check for errors. The downside is that you have to set up the table saw each time.
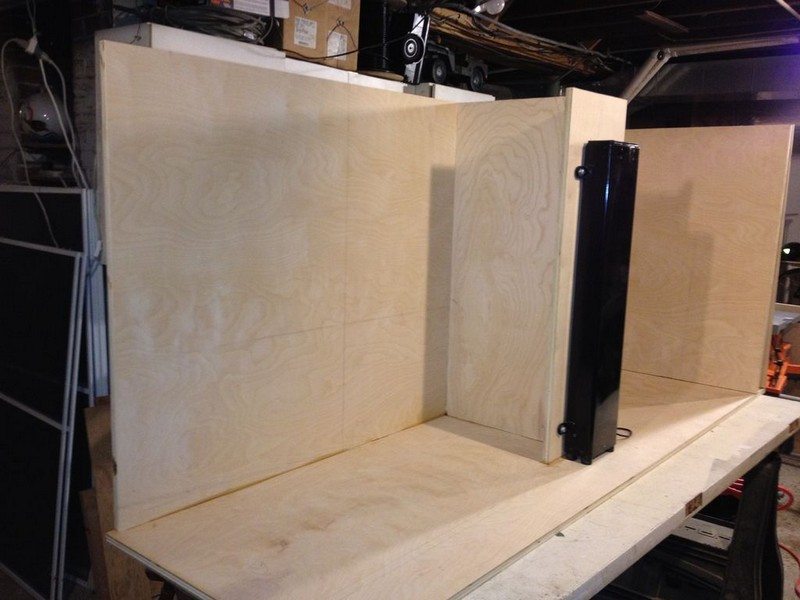
Assembling Your DIY TV Lift Cabinet
For this initial assembly step, it’s advisable to have an assistant. However, you can manage most of the subsequent steps independently. For reference, please see the top view of the TV lift cabinet drawing.
Before you start assembling the carcass of your TV lift cabinet, make sure that you have enough room and a plan to get it to its final location. It is 26″ wide which should fit through any doors BUT it is 87″ long so it may be tough to get around corners.
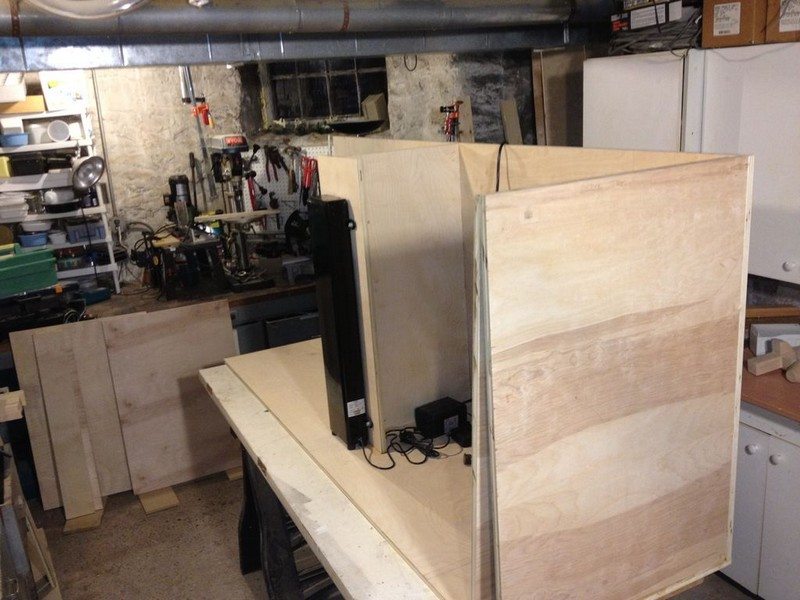
- Lay the Bottom piece “G” on a flat work surface. I use an old door on adjustable sawhorses. Set it up so the back and right sides are hanging over the edge of the work table. You will be shooting nails up into this area.
- Put Glue on the bottom of the back piece “Back” and get your helper to hold it in place.
- Put Glue on the right side of the “Back” where piece “E” will connect to it.
- Put Glue on the bottom of the right side piece “E” and get your helper to hold it in place against the back piece.
- Shoot 3″ framer nails to secure the right piece “E” to the “Back” piece. Shoot nails from underneath into the bottom to secure the Back and piece “E” to the bottom. Your helper is done!
- On the back of the carcass, mark 42.75″ from the right edge and draw a vertical nailing line on the back. Drill a few small holes through this line to carry through your vertical nailing line to the inside.
- Put glue on the back and bottom of “C2” and centre it on these nailing holes you just drilled. Check with a square that “C2” is 90 degrees square to the back and the bottom. Nail through the back to secure “C2”.
- Put Glue on the front of “C2” and the bottom of “C1”. Centre “C1” on the front of “C2” and nail through “C1″ into C2”.
Continued Page 2…


