Here’s where you apply the edge tape to the doors and front panel of the TV lift cabinet. Since you already have some experience with this, it should go quickly.
- Iron on the edge tape to both door edges and the panel edge.
- Remove the excess tape by laying it flat and sanding it with 100-grit sandpaper. DO NOT use 60-grit sandpaper. It will scratch the doors/panels of your TV lift cabinet.
- While you are edge taping, apply edge tape to the carcass at all points that will be exposed in the final TV lift cabinet. This should be obvious at this point. Sand edges with the sander or a sanding block with 100-grit sandpaper.
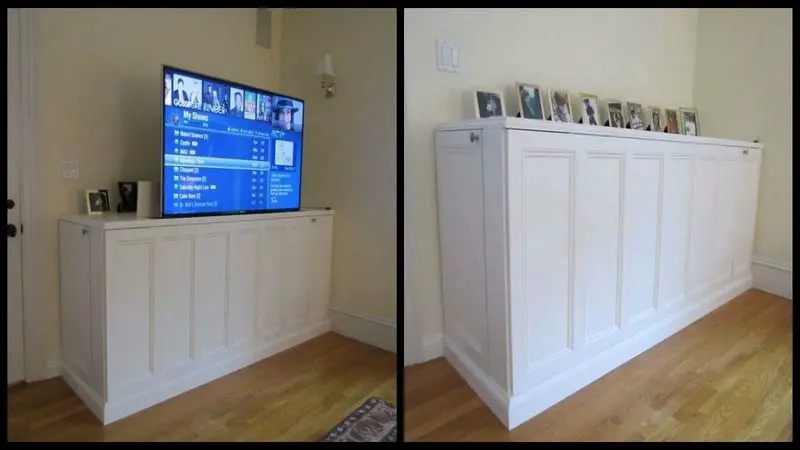
This is where the beauty of this DIY TV lift cabinet really comes out.
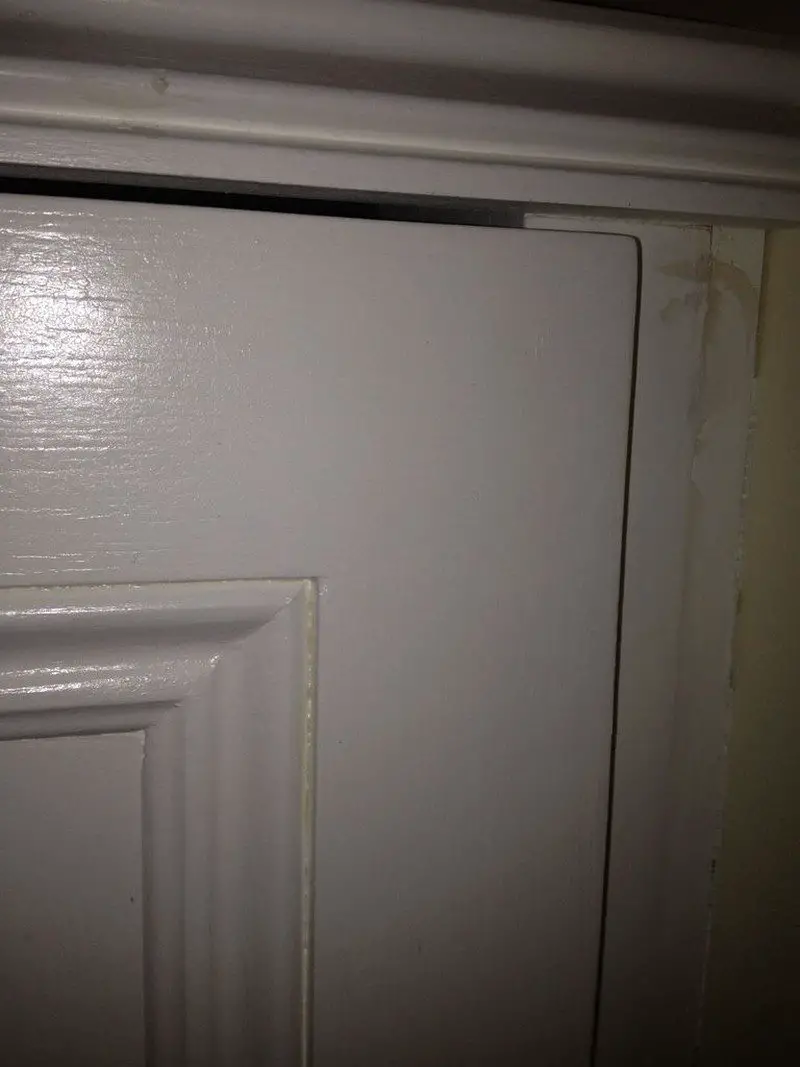
- Watch the video clip on the moulding installation. Look at the picture below.
- Take the T5 molding pieces. Practice with a few small pieces on your compound miter saw cutting the inside angles. You should make accurate and fine cuts to “walk-in” on your measurement. All 4 pieces in each panel should dry fit tightly together.
- Apply a little glue at the mitred joints dab in the centre of each piece and let it dry.
- Do this for each panel. You will end up with 9 panels x 4 sides = 36 pieces as you work.
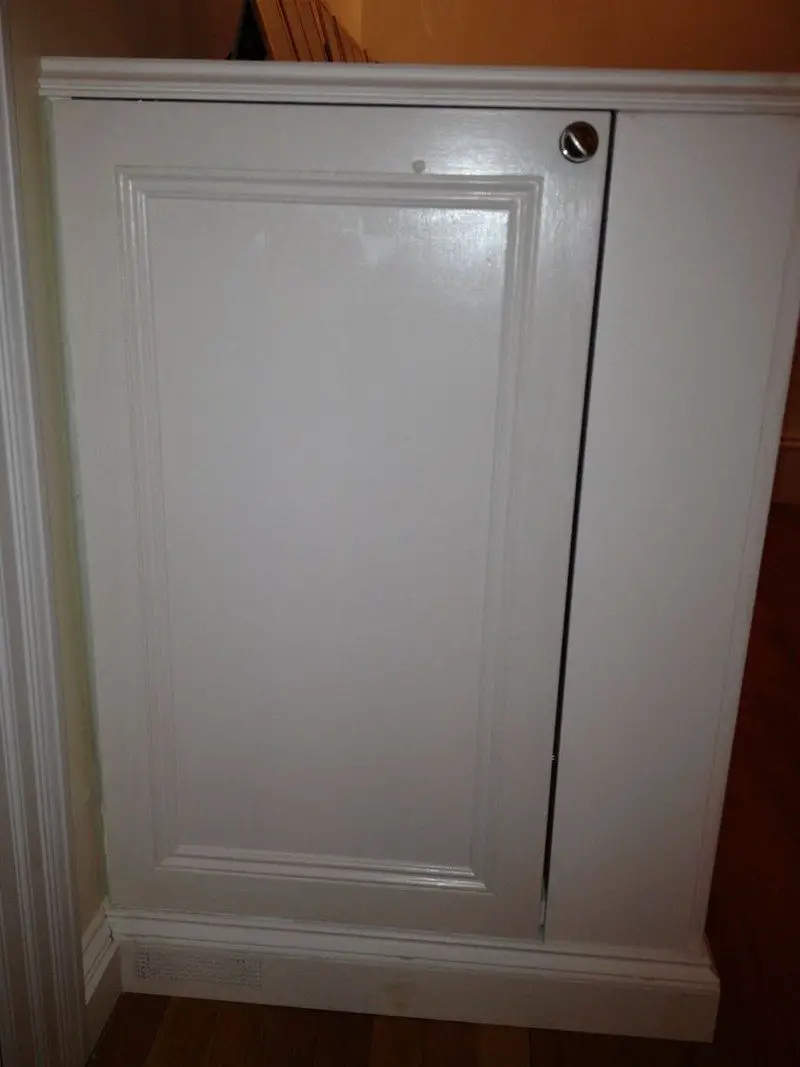
- Referencing the picture, drill, and attach the door pulls to the doors of the TV lift cabinet.
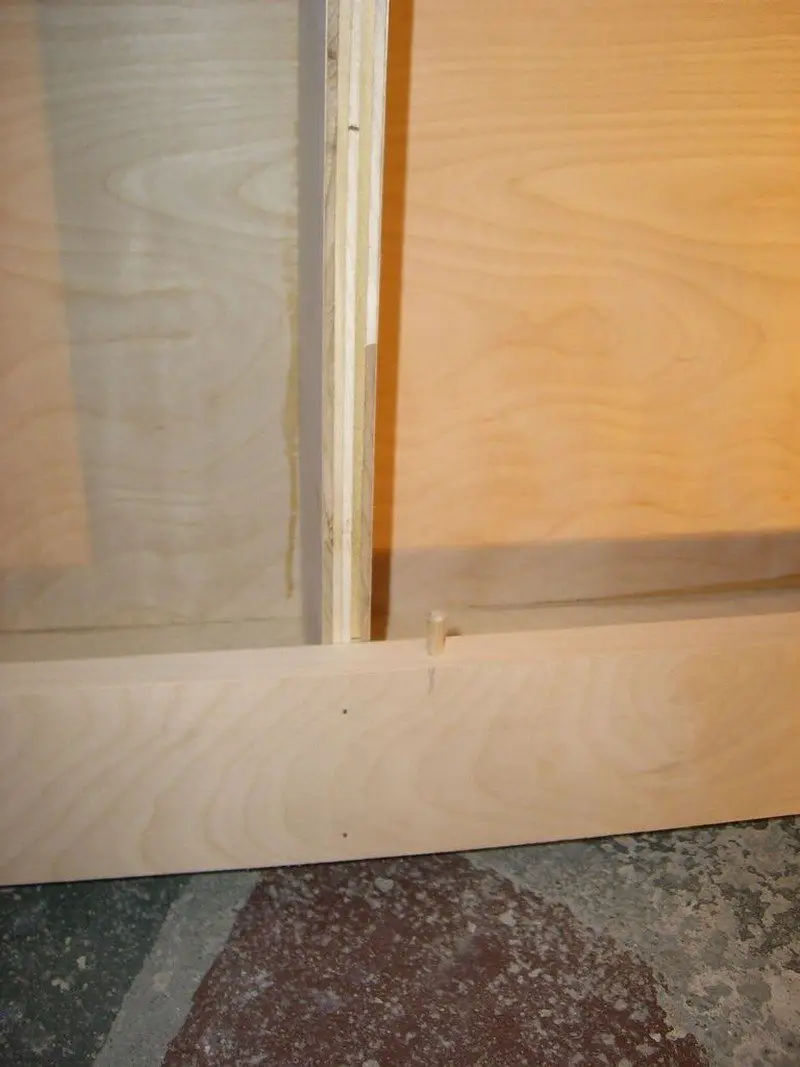
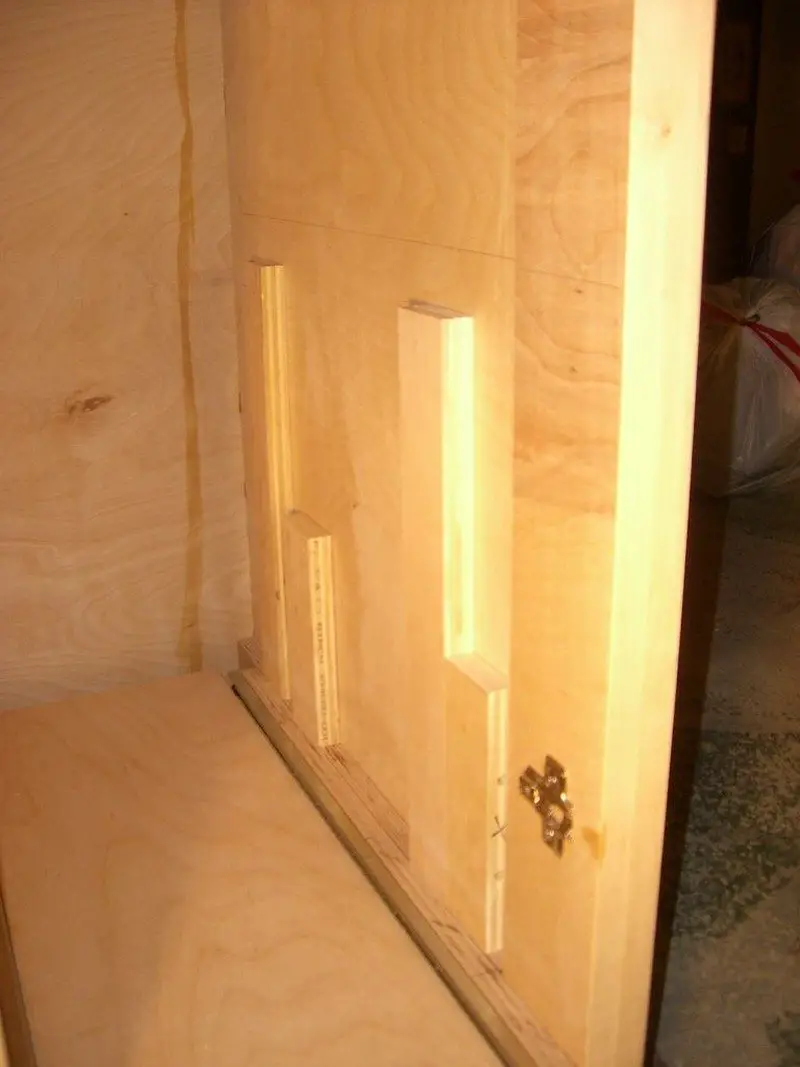
Install the Front Panel Assembly so it can be easily removed from the TV lift cabinet so you can get to the inside for service, get access to cables, and show it off to your drooling buddies.. :-) Use the dowel points to align 2 holes so that a pair of small dowels can hold the bottom.
- Rest the Front Panel assembly on the carcass piece “BB1”. Mark a small vertical line with a straight edge 2 feet from each edge of the assembly.
- Practice with the dowel points first on a test piece. Drill a 1/4″ hole in the edge of the Front Panel Assembly along the line you just drew. Repeat at the other location. Insert the 1/4″ dowel point into the holes. Put the Front panel assembly into place exactly where you want it. Press down hard and 2 impressions will be made at the top of “BB1”.
- Drill 1/4″ holes in these 2 impressions. Insert 1/4″ dowels into the 2 holes. Fit the Front Panel Assembly and ensure that it mounts into “BB1” securely.
- Apply 3 pieces of good quality stick-on Velcro onto the top inside of the Front Panel Assembly and the “FS” bar.
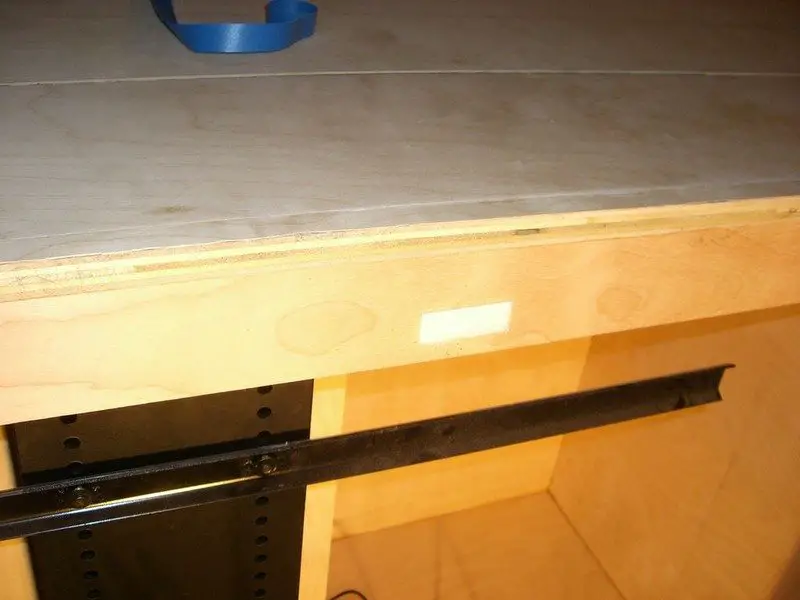
Choose extra heavy-duty drawer glides for your TV lift cabinet. You can probably find lighter-duty drawer glides that will work for your DVD/CDs. For the components, you should stick with the heavy-duty stuff. Because the hinge and open door will be in the way when the drawers pull out, we need to pad out the glides on that side. Do this with a 3/4″ wood cut to the width of the glides.
Two guide support pieces are needed on the right side because you have a piece of wall moulding on the right side of my application that must be cleared. You may have a different application and can modify your glide mounts.
4 RGS1 Right guide support 20 ½ x 1 ½
4 RGS2 Right guide support 24 ¼ x 1 ½
1 LGS Left guide support 24 x 1 ½
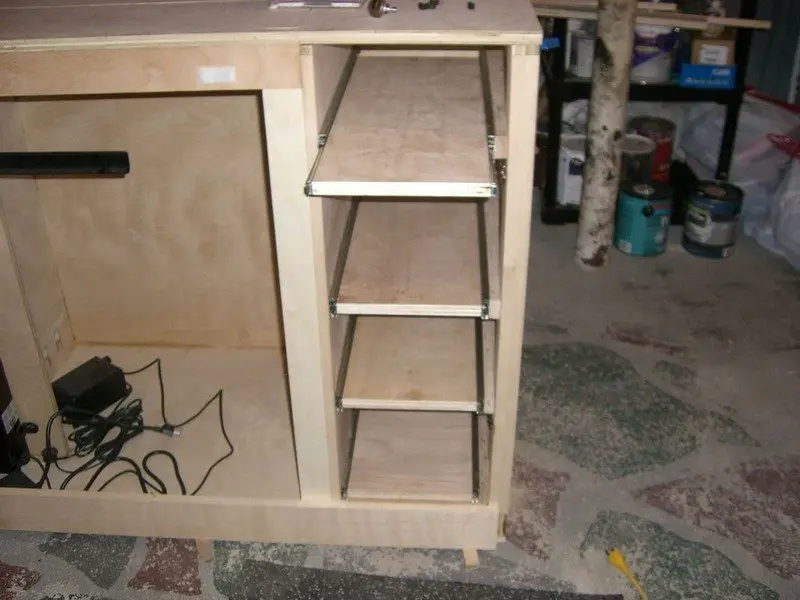
- Starting on the left side component opening, cut 2 template blocks at the height that you want the bottom of your component shelf to be, as shown in the picture below. Starting on the left side, rest the “LGS” piece on the template blocks and mark a line along the top of the “LGS” piece to hold your position. With a raw glide, do the same on the right of the component opening to mark a line at the top of the glide. The 2 glide heights should be at the same height now as the component opening bottom.
- On the drill press or workbench, drill countersunk holes through the “LGS” piece to attach to the left side component space. Attach the drawer guide to the “LGS”. Remove the drawer glide. Attach the “LGS” to the inside left cabinet below your line. Attach drawer glide again.
- Attach the drawer glide to the inside right edge below your line. Slide-in inside parts of both drawers glide. Measure the inside width to check that the drawer bottom measurement is good.
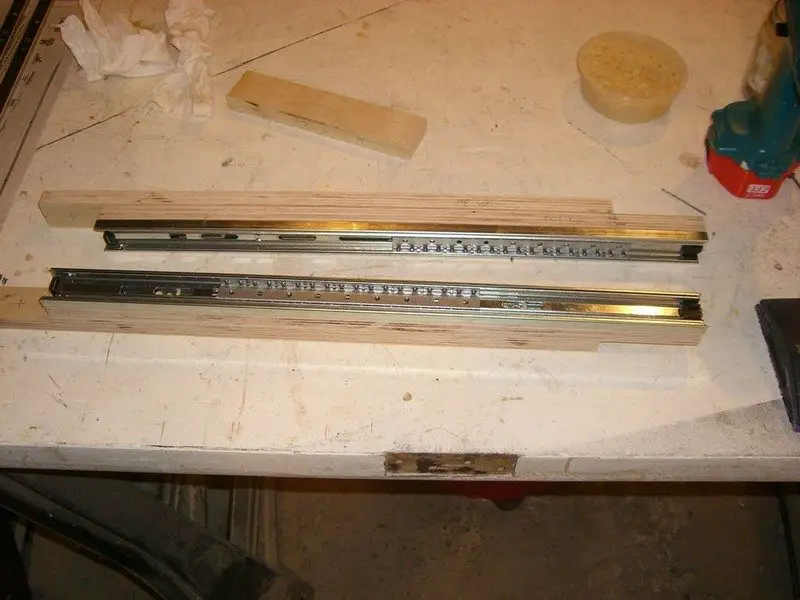
- For the right door drawers, the right side will use the “RGS1” and “RGS2” pieces. Set up those two pieces as shown in the top drawing. Mark the pieces where they meet so they will line up together. The idea is that the 2 pieces are needed to get around the “HSB” piece. Build up an assembly with the “RGS1” and “RGS2″ pieces and the drawer glide. Attach the assembly to the TV lift cabinet from the rightmost OUTSIDE. This makes it easier to get the piece on without having to work in the narrow 11” space…
– On the drill press or workbench:
a) Drill holes to attach the drawer glide to “RGS2”.
b) Remove drawer glide from “RGS2” and drill countersunk holes through the “RGS2” piece to attach to the “RGS1” piece.
- Repeat a) through b) for the other 3 pieces.
- Make 2 template pieces for each height as shown in the picture below. With the right drawer glide assembly altogether, rest each one on top of the template pieces at the exact height you want. Mark a line inside the TV lift cabinet. Drill a few small holes through the right cabinet wall below the lines. Go to the OUTSIDE right of the TV lift cabinet and drill countersunk holes.
- Rest drawer glide assembly on the template guides. Secure them with screws from the OUTSIDE.
- Repeat for all 3 remaining drawer glide assemblies.
- When this looks good, remove all 4 drawer glide assemblies.
- Set up the templates on the left side and mark the top of the glides. Attach the drawer glide to the inside right edge below your line.
- Reattach the right drawer glide assemblies. Slide-in inside parts of both drawers glide to all 8 glides. Measure the inside width to check that drawer measurements are good.

Continued Page 5…


