Have you ever wanted to take your smoker with you on road trips or outdoor camping activities? Or maybe you live in an apartment where a full size smoker is just too big for the available space. Well, you can have a portable mini smoker by making it yourself!
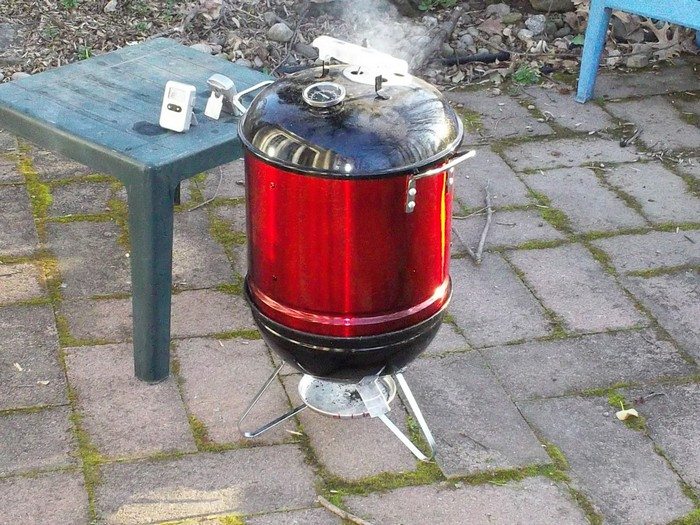
You don’t need any special tools to build this DIY mini smoker. Essentially you just need to put together a Weber Smokey Joe and a few other cooking/grilling equipment. Yes, it is quite that simple and the video tutorial provided below will show you how simple it is to make your own mini smoker!
It works great and is easy to use that even owners of a standard smoker will probably want to have this, too. ;)
How about you? Is this the smoker you need?
Contents
Building a Mini Smoker
Materials
- Weber Smokey Joe
- 32 Quart Steamer Pot
- Extra 14” Weber Grate
- 12” Terracotta Planter Tray
- Thermometer Gauge
- ¼” 20 Stainless Steel All Thread
- 5-6″ Carriage Bolt
- Handle Material (wine bottle cork)
- Lock Washers
- Nuts
- Cap Nuts
- High Temp Spray Paint
Tools
- Drill
- Wrenches
- Center Punch and Hammer
- Measuring Tape
- Sharpie
Instructions
Step 1: Preparing the Smokey Joe
- Begin by removing any components from the Weber Smokey Joe that will not be needed, such as the charcoal grate and any internal racks, leaving just the base and lid.
Step 2: Drilling Ventilation Holes
- Use the center punch and hammer to make starter indents around the bottom of the steamer pot.
- Drill holes in these indents using the drill. These holes will allow for airflow and smoke circulation.
Step 3: Installing the Thermometer
- Choose a spot on the lid of the steamer pot for the thermometer gauge.
- Mark the spot with a Sharpie and then drill a hole to fit the gauge.
- Secure the thermometer in place using nuts and lock washers.
Step 4: Assembling the Support Structure
- Cut the stainless steel all thread to the required length with a hacksaw (if necessary).
- Thread the all thread through the drilled holes at the bottom of the steamer pot, using nuts to secure it in place.
- Attach the 14” Weber Grate on top of the all thread, adjusting the height as needed with nuts.
Step 5: Adding the Handle
- Drill holes on the lid of the steamer pot for attaching the handle.
- Use the carriage bolt to fix the handle material (wine bottle cork) onto the lid.
- Secure the handle in place with cap nuts for a polished look and safety.
Step 6: Painting
- Apply high temp spray paint to the exterior of the steamer pot to protect it from rust and to give it a finished look. Ensure the paint is appropriate for high-temperature applications.
Step 7: Final Assembly
- Place the terracotta planter tray inside the bottom of the Smokey Joe to catch ashes and debris.
- Position the modified steamer pot on top of the Smokey Joe base.
- Place the extra Weber grate inside the steamer pot if additional cooking space is needed.
Step 8: Testing Your Mini Smoker
- Test your smoker by lighting a small amount of charcoal in the base of the Smokey Joe and letting it heat up.
- Adjust the ventilation by modifying the number of holes or their sizes in the steamer pot to control the temperature.
Click on any image to start lightbox display. Use your Esc key to close the lightbox. ![]()
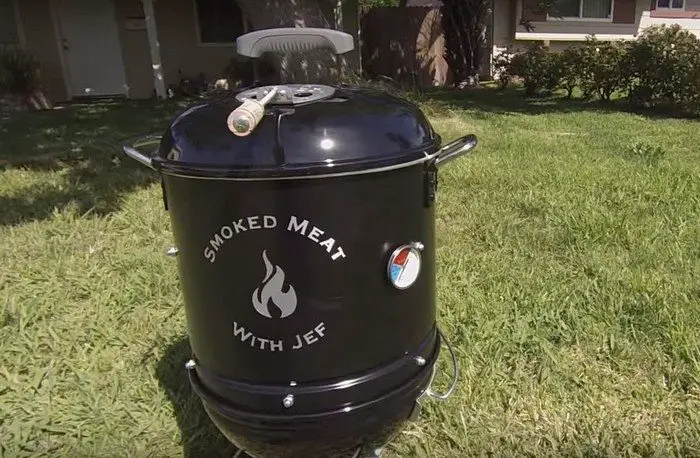
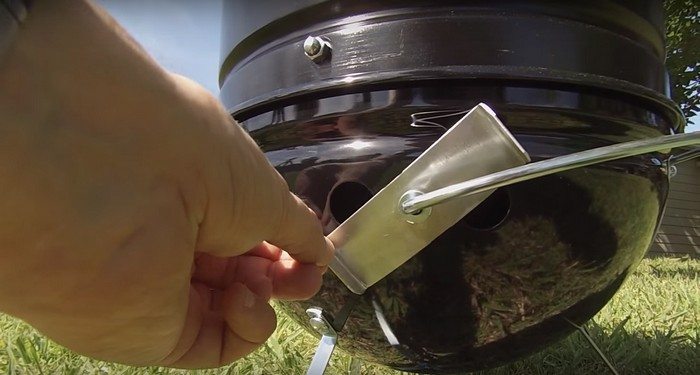
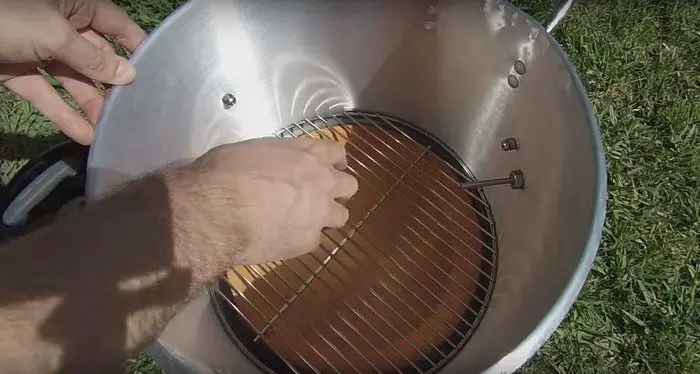
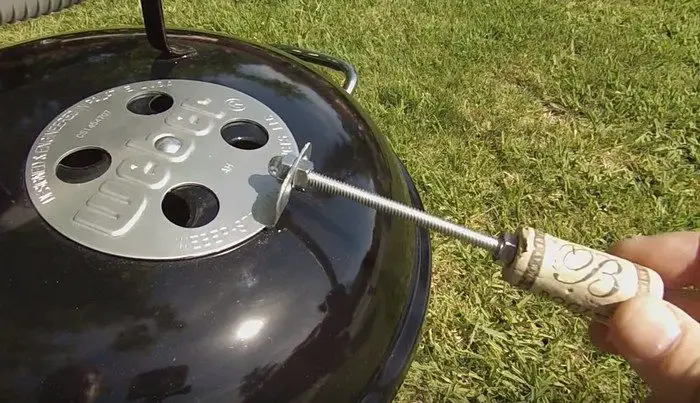
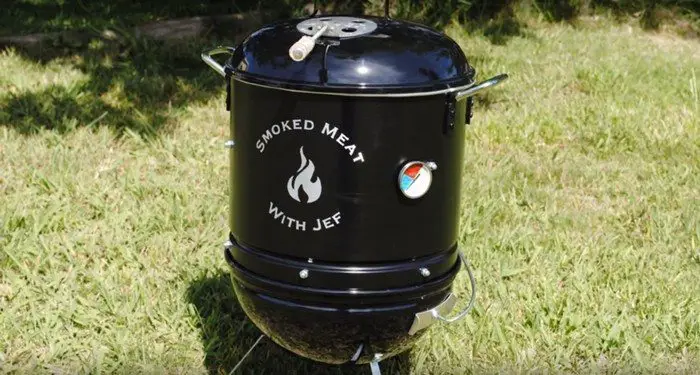
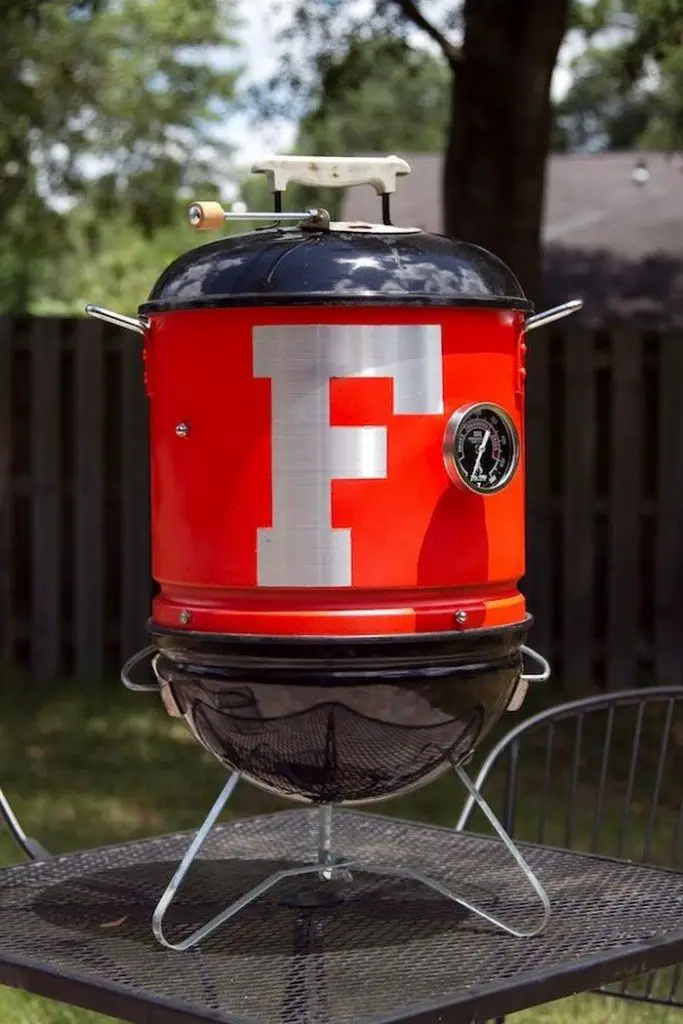
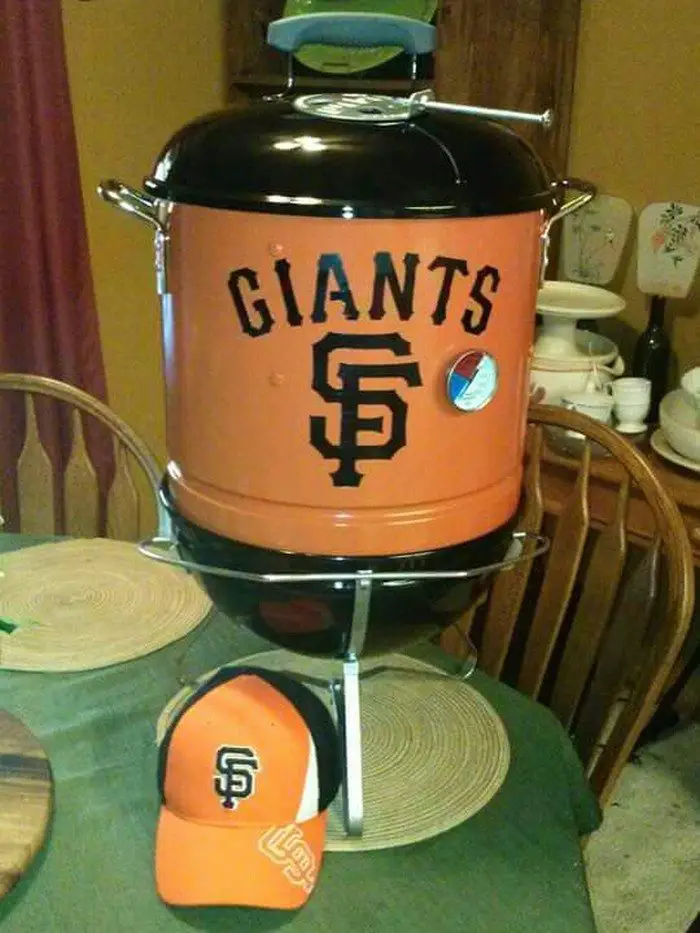
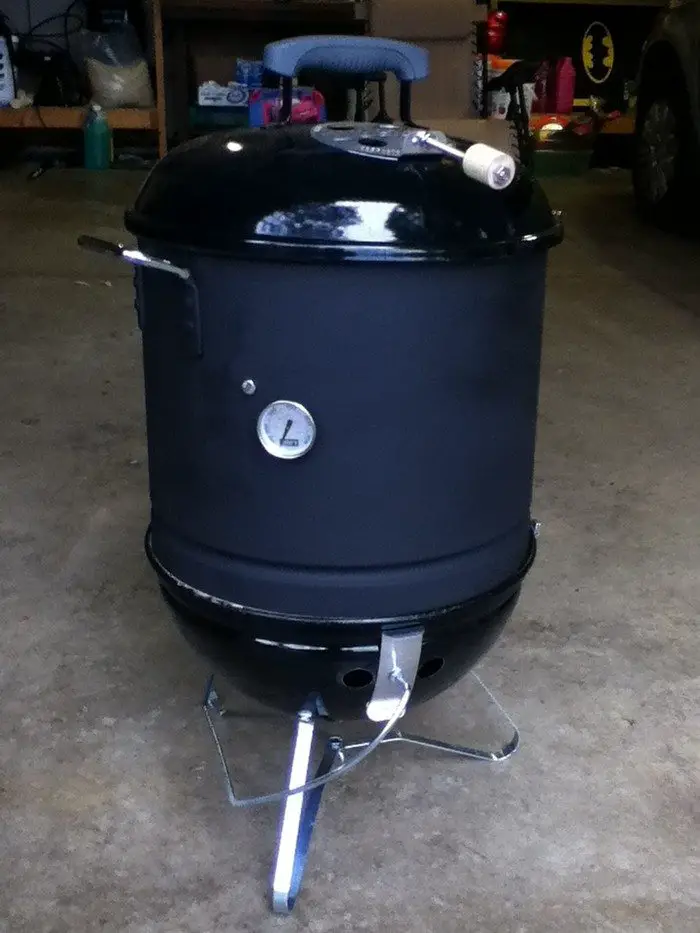

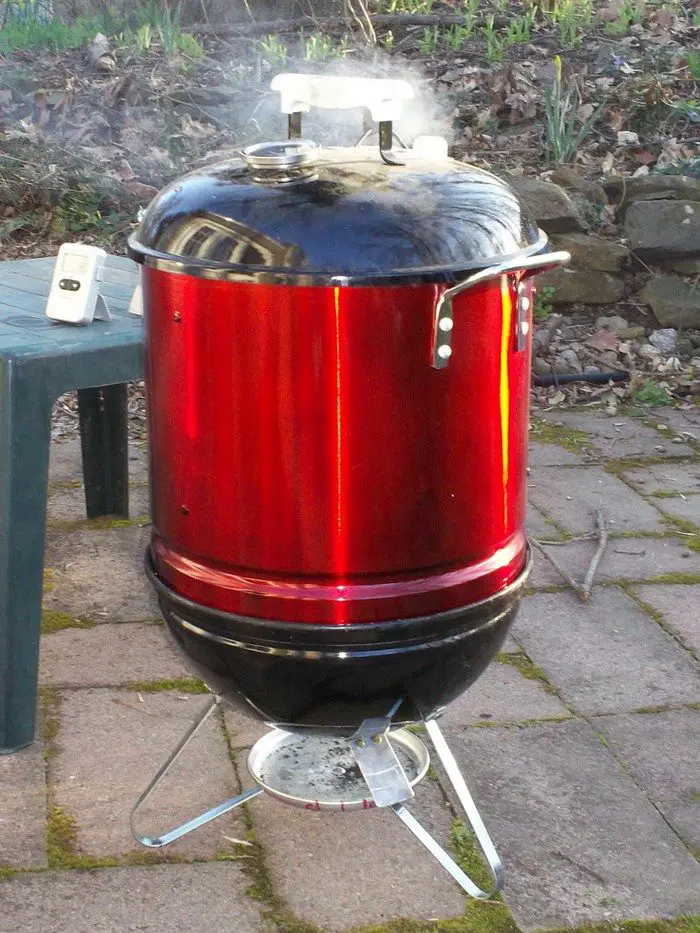
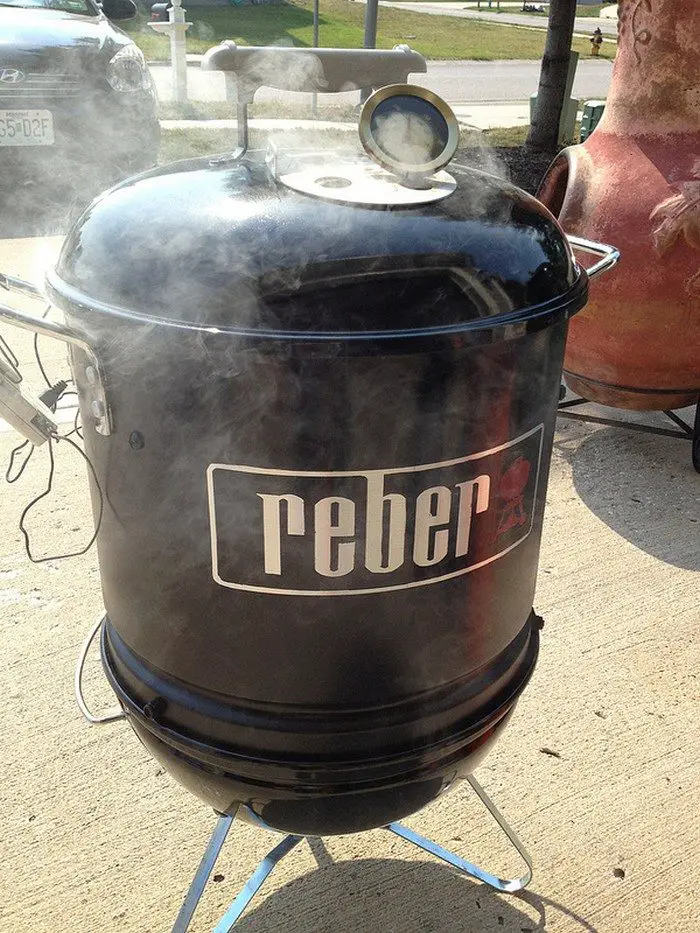
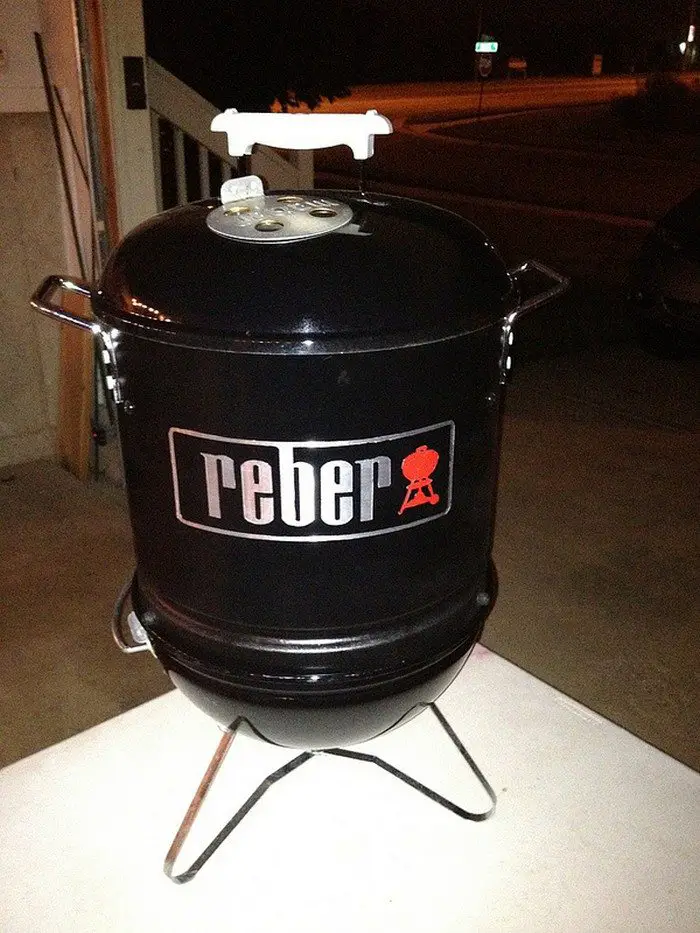
Thanks to Smoked Meat with Jef. You can watch the video tutorial here:
Safety Tips for Using a Mini Smoker
Using a mini smoker offers a fantastic way to enjoy smoked meats and other delicacies, even if you have limited space or enjoy mobile cooking during camping trips. However, safety is paramount when using any type of smoker. Here are essential safety tips to ensure you enjoy your mini smoker without any mishaps.
Location is Key
Always place your mini smoker in a well-ventilated area, free from overhead obstructions like tree branches or awnings. The mini smoker should be on a stable, heat-resistant surface to prevent tipping. Avoid using your mini smoker on wooden decks or near any flammable materials to minimize fire risks.
Check for Leaks
Before using your mini smoker, especially if it’s a model that uses gas or propane, check for leaks. Apply a soapy water solution to the connections and hoses. If bubbles form when you turn on the gas, there is a leak. Fix any leaks before igniting your mini smoker to prevent fires or explosions.
Proper Ventilation
Effective ventilation is crucial when using a mini smoker. Always ensure that the smoker’s vents are open according to the manufacturer’s instructions to maintain proper airflow. This will not only control the temperature inside the mini smoker but also prevent the buildup of harmful carbon monoxide, especially if used in a semi-enclosed space.
Use the Right Fuel
Select the appropriate fuel for your mini smoker. If it’s designed for charcoal, avoid using woods that can flare up or emit harmful toxins. Always use charcoal or wood chunks recommended by the manufacturer. For electric or gas mini smokers, ensure you’re using the correct type of gas and that all electrical components are intact and dry.
Regular Maintenance
Keep your mini smoker in top condition through regular maintenance. This involves cleaning the grates after each use, removing ash and grease, and checking for any wear and tear. A well-maintained mini smoker is less likely to present safety issues and will perform better over time.
Temperature Management
Managing the temperature within your mini smoker is crucial to prevent overheating, which can lead to fires. Always use a thermometer to monitor the internal temperature. Never leave your mini smoker unattended while in use, as sudden temperature spikes can occur.
Handling and Accessibility
When operating your mini smoker, use heat-resistant gloves to handle hot components like the lid, grates, or trays. Ensure that your mini smoker is always accessible and not blocked by other items that could delay your access in case you need to quickly shut it off or adjust it.
Be Prepared for Emergencies
Have a fire extinguisher or sand bucket nearby whenever you use your mini smoker. Knowing how to cut off fuel supply in gas smokers or how to smother flames safely in charcoal smokers can prevent major accidents.
Mind the Weather
Be cautious of weather conditions when using your mini smoker. High winds can increase the risk of sparks or embers escaping from charcoal mini smokers, potentially starting fires. Rain can cause electrical failures in electric models, so consider these factors when planning your smoking session.
By following these safety tips, you can enjoy the benefits of your mini smoker while minimizing the risks associated with its use. Always prioritize safety to ensure every smoking session is not only enjoyable but also secure.
Recipes to Try
1. Smoked Baby Back Ribs
Ingredients:
- Baby back ribs (1 rack)
- Dry rub (paprika, brown sugar, garlic powder, salt, pepper)
- Barbecue sauce for glazing
Instructions:
- Prep the ribs by removing the membrane and applying a generous amount of dry rub.
- Preheat your mini smoker to 225 degrees Fahrenheit.
- Place the ribs in the smoker, using indirect heat.
- Smoke for about 4 hours, or until the meat is tender and pulls away from the bone.
- In the last 30 minutes, glaze with barbecue sauce.
- Serve with coleslaw and cornbread.
2. Smoked Salmon
Ingredients:
- Salmon fillets (1-2 lbs)
- Salt, sugar (for brining)
- Herbs and spices (dill, lemon slices)
Instructions:
- Brine the salmon in a mixture of salt, sugar, and water for at least 4 hours.
- Preheat your mini smoker to 225 degrees Fahrenheit.
- Place the seasoned salmon in the smoker with apple wood chips for a milder flavor.
- Smoke for about 2 hours, or until the salmon is opaque and flakes easily.
- Serve with a drizzle of olive oil and fresh lemon.
3. Smoked Vegetables
Ingredients:
- Assorted vegetables (bell peppers, zucchini, mushrooms)
- Olive oil
- Salt and pepper
Instructions:
- Toss the vegetables in olive oil, salt, and pepper.
- Preheat your mini smoker to 225 degrees Fahrenheit.
- Place vegetables in a perforated smoking basket.
- Smoke for about 1-1.5 hours, or until they are tender and have a smoky flavor.
- Serve as a side dish or integrate into salads and pasta.
4. Smoked Whole Chicken
Ingredients:
- Whole chicken (4-5 lbs)
- Olive oil
- Dry rub (paprika, thyme, garlic powder, onion powder, salt, pepper)
Instructions:
- Pat the chicken dry and rub olive oil all over the skin.
- Apply the dry rub generously inside and out.
- Preheat your mini smoker to 250 degrees Fahrenheit.
- Place the chicken in the smoker using indirect heat.
- Smoke for about 3-4 hours, or until the internal temperature reaches 165 degrees Fahrenheit.
- Let the chicken rest for 10 minutes before carving.
- Serve with roasted potatoes and grilled vegetables.
5. Smoked Beef Brisket
Ingredients:
- Beef brisket (3-4 lbs)
- Beef rub (brown sugar, chili powder, salt, black pepper, garlic powder, onion powder, cumin)
Instructions:
- Trim the brisket, leaving about ¼ inch of fat.
- Coat the brisket thoroughly with the beef rub.
- Preheat your mini smoker to 225 degrees Fahrenheit.
- Smoke the brisket, fat side up, for about 6-8 hours, or until it reaches an internal temperature of 195 degrees Fahrenheit.
- Wrap the brisket in butcher paper and let it rest for an hour before slicing.
- Serve with barbecue sauce and a side of coleslaw.
6. Smoked Cheese
Ingredients:
- Blocks of cheese (Cheddar, Gouda, Mozzarella)
- Ice (to prevent melting)
Instructions:
- Freeze the cheese blocks for a few hours before smoking.
- Fill a tray with ice beneath the grate to keep the temperature low.
- Preheat your mini smoker to 90 degrees Fahrenheit.
- Place cheese on the grate above the ice.
- Smoke for 2-3 hours, checking periodically to ensure it’s not melting.
- Wrap the smoked cheese in parchment paper and refrigerate for at least 24 hours before consuming.
- Serve with crackers and wine.
7. Smoked Pork Tenderloin
Ingredients:
- Pork tenderloin (2 lbs)
- Marinade (olive oil, soy sauce, honey, garlic, mustard, salt, pepper)
Instructions:
- Marinate the pork tenderloin overnight in the refrigerator.
- Preheat your mini smoker to 225 degrees Fahrenheit.
- Place the tenderloin in the smoker and cook for about 2-3 hours, or until the internal temperature reaches 145 degrees Fahrenheit.
- Let it rest for 10 minutes, then slice thinly.
- Serve with apple sauce or a balsamic reduction.
Conclusion
Those with limited space or who value portability for outdoor activities would find great satisfaction in mini smokers. They enable you to get the deep, smoky tastes customarily attained with bigger units in a more compact, effective form in a more sensible volume. Accepting a smoker’s adaptability opens a world of gastronomic opportunities independent of the location of your cooking.


