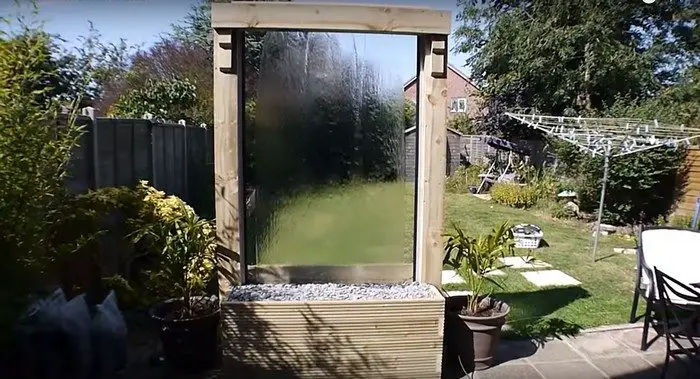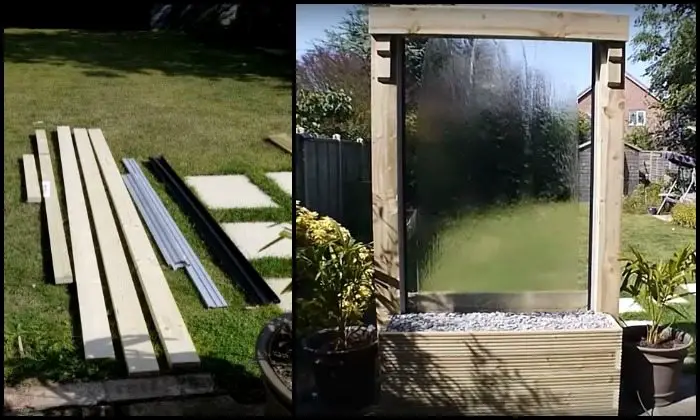
A glass waterfall can take your garden from ‘nice’ to ‘splendid’. But do you also have to shell out a splendid amount to install a water feature in your yard? The answer is not always as proven in this DIY project. And yes — you can DIY your waterfall!
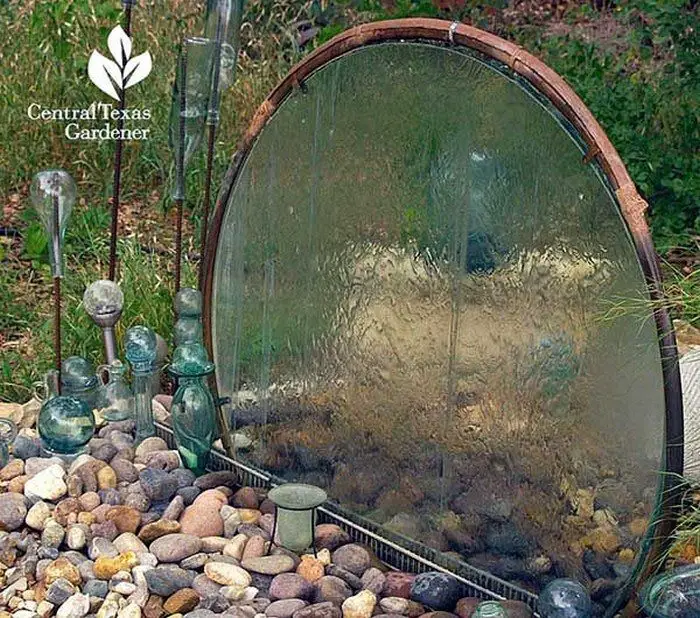
Building your own waterfall may not necessarily mean cheap or inexpensive but you can relatively save a good amount or, in other words, avoid unnecessary spending. By doing it yourself, you are assured of the quality of your materials while keeping those costs at a minimum. You can also forget about labour costs! ;)
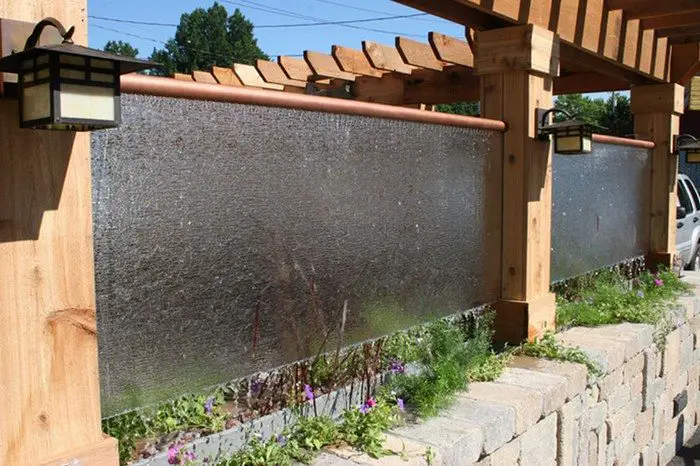
The owner-builder of this glass waterfall lowered his expenses by being able to get his glass material for free. It came with an aluminum frame with rubber strips for securing the glass. Now a lot of us may not be as lucky, but by being resourceful, one can also build this water feature without breaking the bank!
If you doubt you can build this water feature all on your own, you can ask a knowledgeable friend to help you out or give you some advice. But even if you’ve got someone who can help, it’s always most important to do all the research that you can before proceeding with the building process.
Contents
Constructing a Glass Waterfall
Creating a glass waterfall is the perfect project for you if you want to add a touch of elegance and tranquillity to your outdoor space. So, take on this guide, and walk through the step-by-step process of bringing the beauty of flowing water and shimmering glass to your backyard oasis.
Whether you’re a seasoned DIY enthusiast or just starting your creative journey, get ready to immerse yourself in the art of crafting a mesmerizing glass waterfall that will leave you and your guests in awe.
Materials
- Toughened Glass
- 4×2 Timber
- Timber Decking (for the base)
- 8×1 Treated Gravel Board (Cladding)
- Builders Mixing Bath (Water Tank)
- 75 watt Water Pump
- Valve
- 2″ Waste Pipe
- Y or T Junctions (for water outlet)
- Polyethene
- Slate
- Silicone Caulking
Tools
- Measuring Tape
- Cordless Drill
- Circular Saw
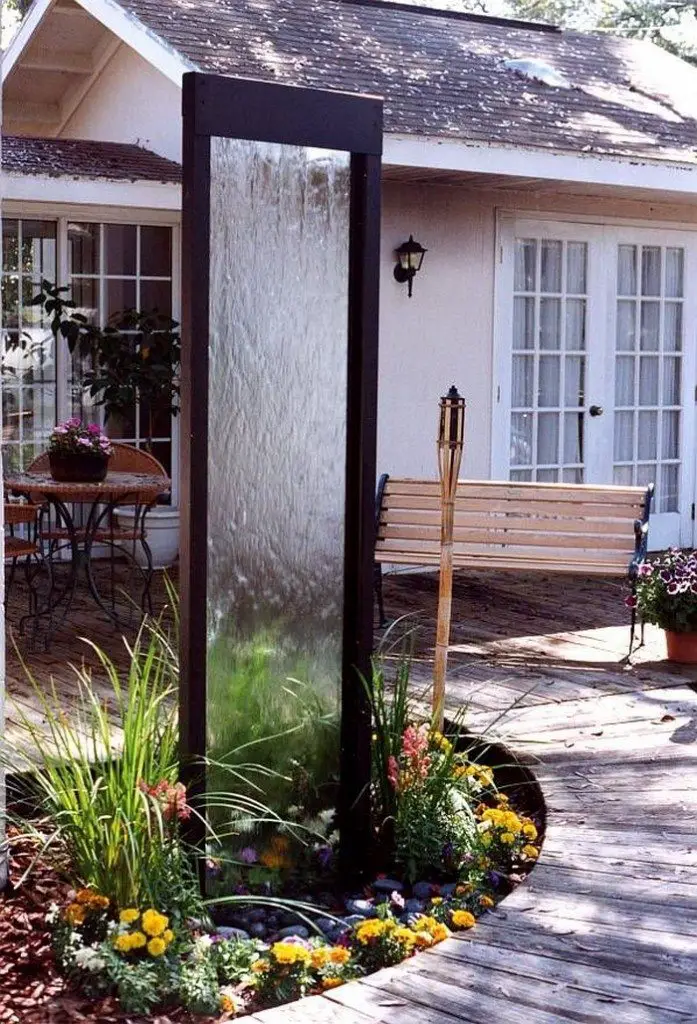
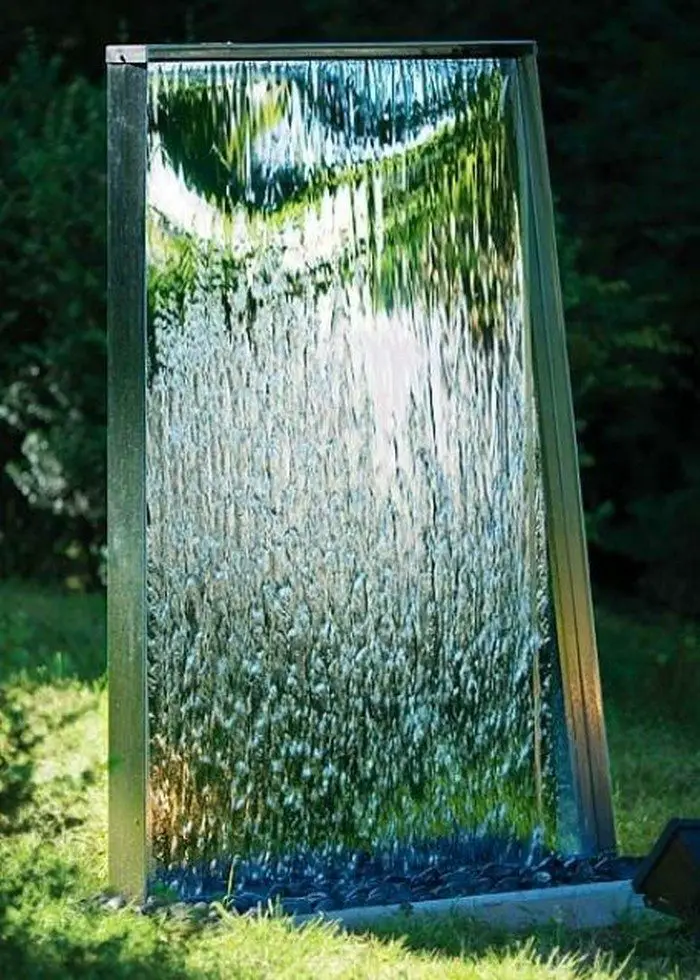
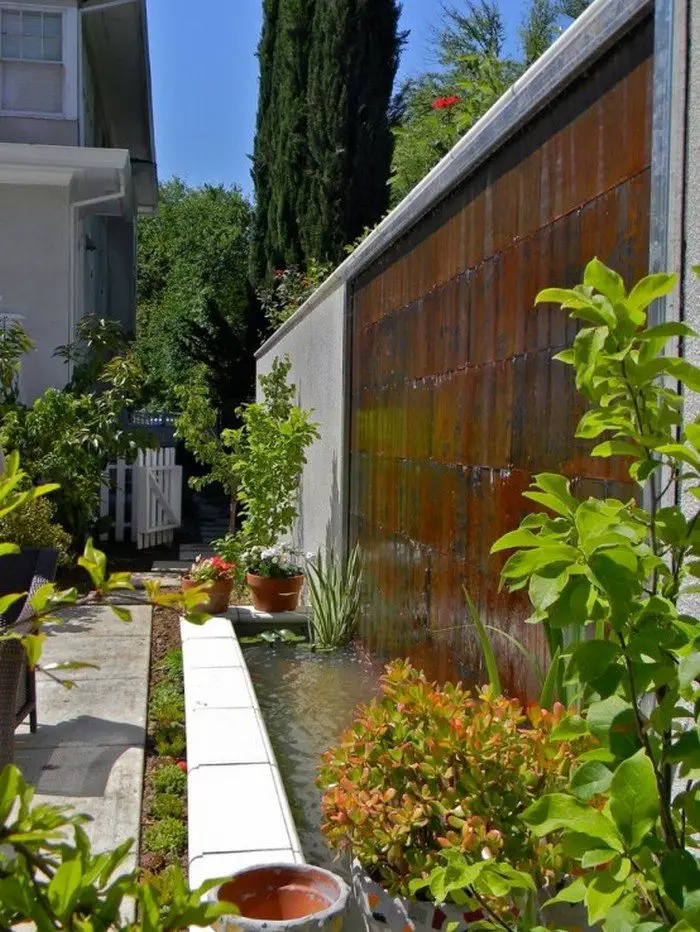
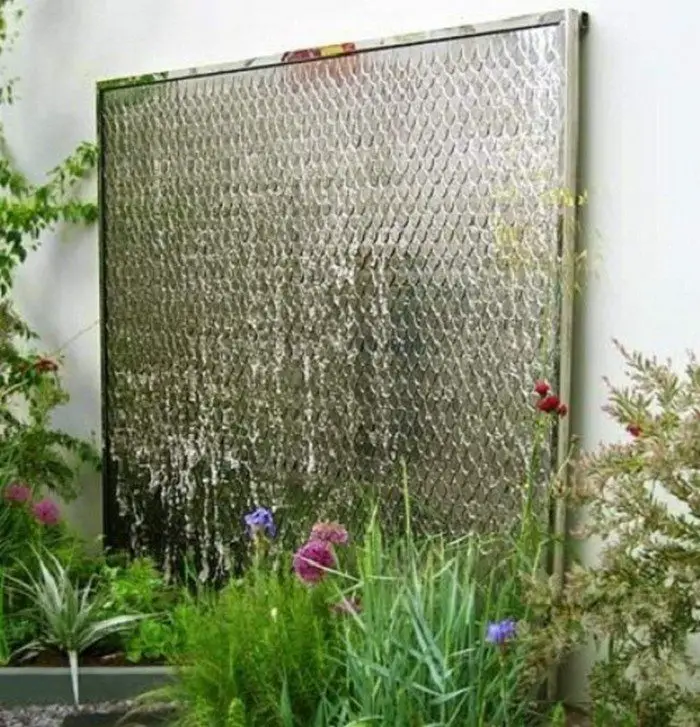
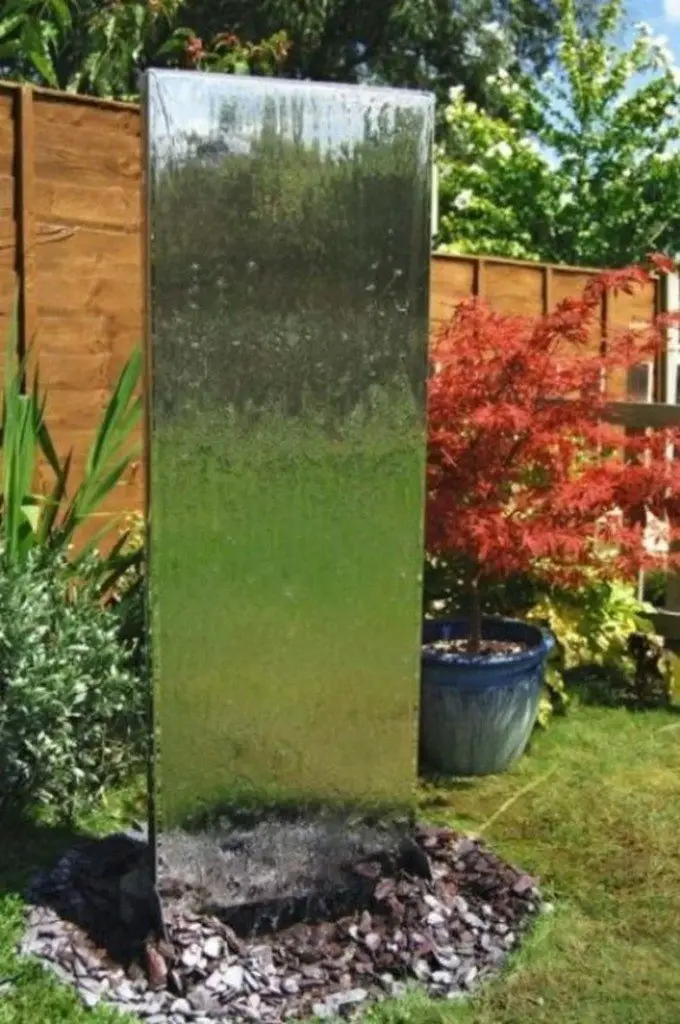
Get ideas from the album of water walls and be inspired to DIY by watching the quick guide below! Click on any image to start the lightbox display. Use your Esc key to close the lightbox. ![]()
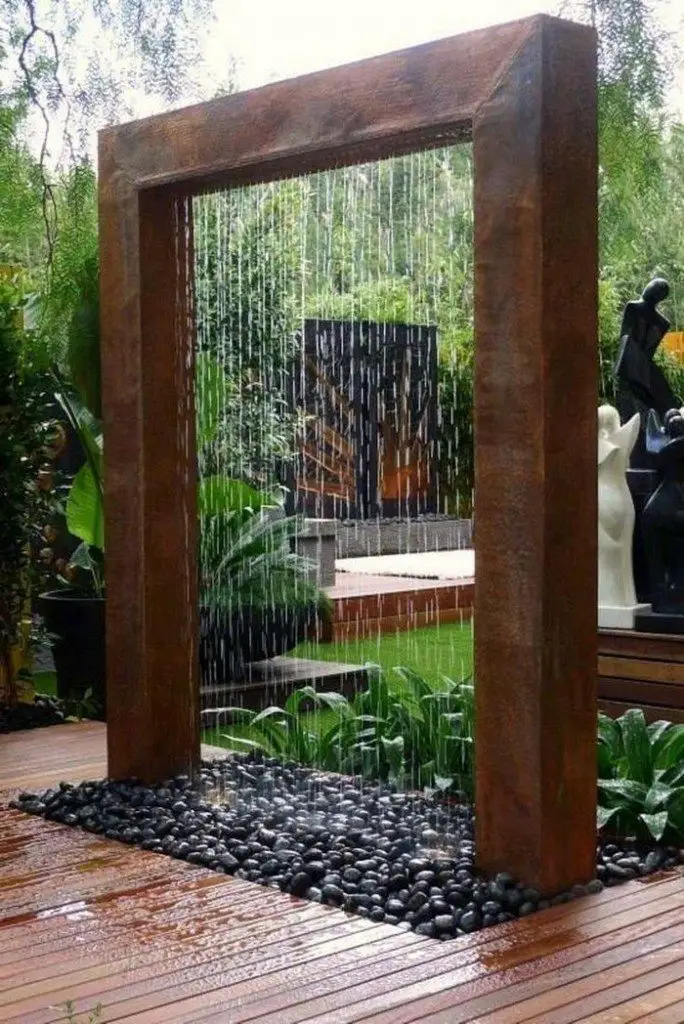
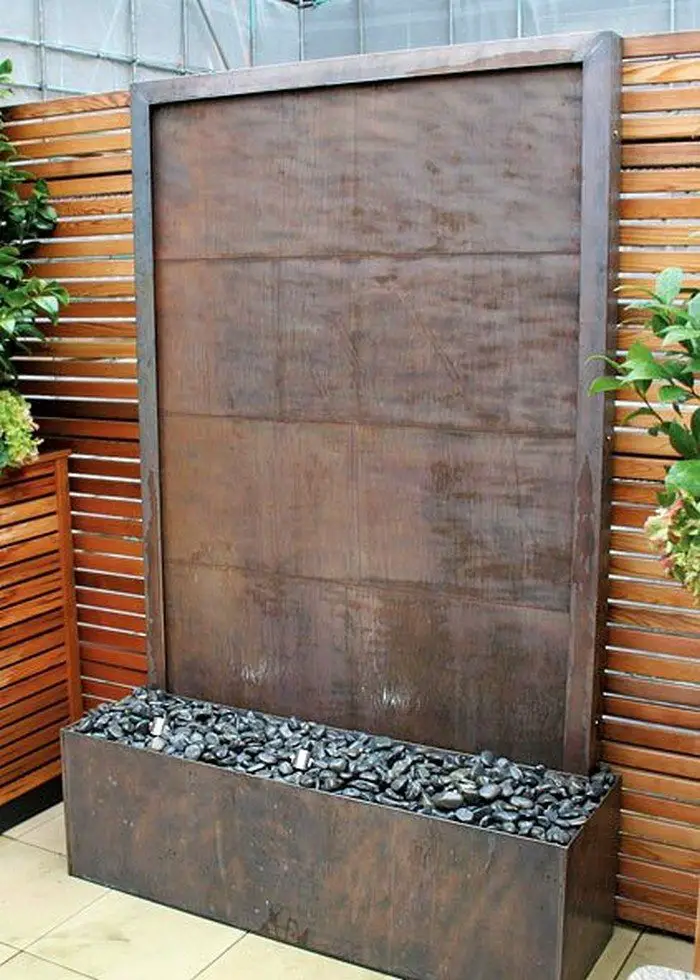

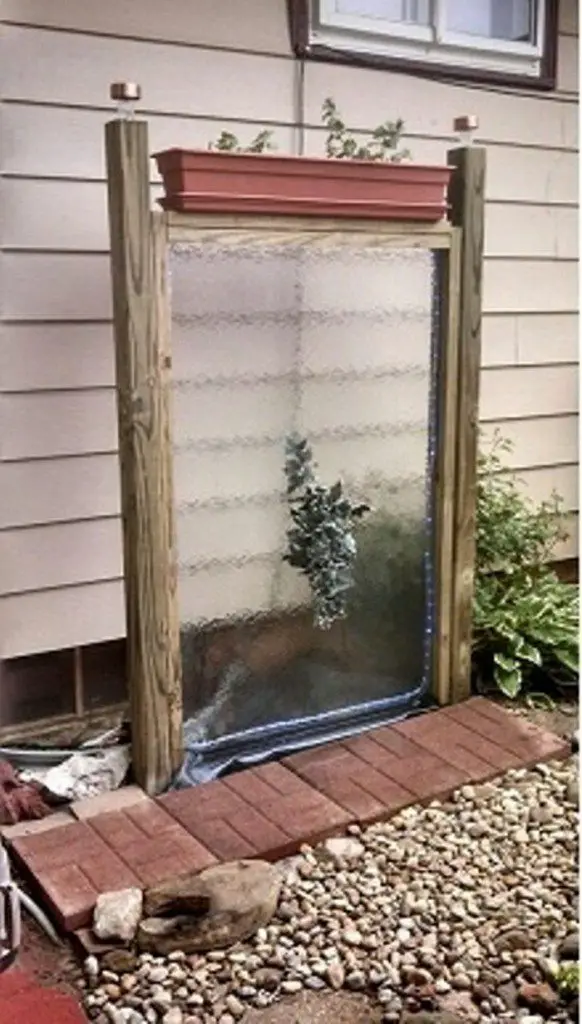
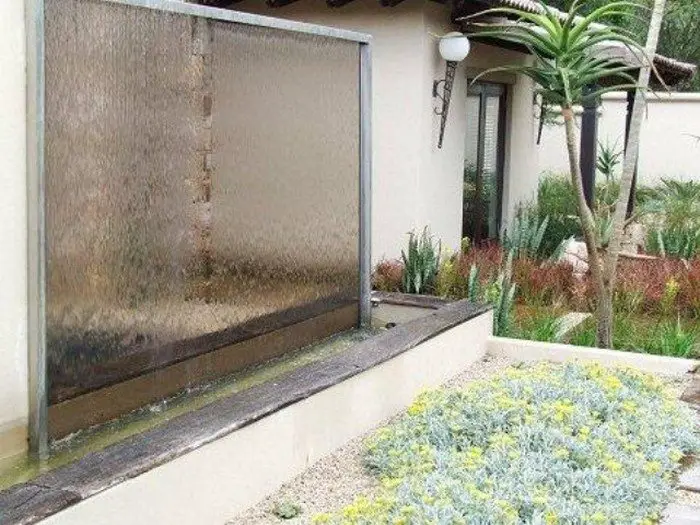

Steps
Step 1: Design and Planning
- Determine the size and design of your waterfall. Consider the glass size and the waterfall structure’s overall dimensions.
- Sketch a rough design, including the water tank, pump, and water path placement.
Step 2: Prepare the Base
- Use the timber decking to construct a sturdy base for your waterfall. Ensure it’s level and secure.
- Place the builders mixing bath on the base. This will serve as the water tank.
Step 3: Construct the Frame
- Cut the 4×2 timber to create a frame supporting the toughened glass panels. Use the circular saw for cutting and the cordless drill to assemble the frame with screws.
- Ensure the frame is sturdy and securely attached to the base.
Step 4: Install the Glass
- Position the toughened glass panels within the frame. Use silicone caulking to secure the panels in place, ensuring there are no leaks.
- Allow the silicone to dry according to the manufacturer’s instructions.
Step 5: Add Water Flow Components
- Install the 75 watt water pump in the builders mixing bath (water tank). Ensure the pump is suitable for the volume of water and the height of your waterfall.
- Connect the valve and 2″ waste pipe to the pump. Use Y or T junctions as needed to create an even water distribution across the top of the glass waterfall.
- Arrange the waste pipe so it runs to the top of the glass panels, where the water will flow down the glass.
Step 6: Cladding and Decoration
- Use the 8×1 treated gravel board to clad the timber frame, enhancing the aesthetic appeal and protecting the structure.
- Place polyethene behind the cladding as a moisture barrier.
- Decorate the base and surrounding area with slate or other decorative stones for a natural look.
Step 7: Test and Adjust
- Fill the water tank with water. Turn on the pump and observe the water flow over the glass. Adjust the valve as necessary to achieve the desired flow rate.
- Check for any leaks and ensure the water is recirculating properly.
Step 8: Finishing Touches
- Seal any gaps or joints with silicone caulking to prevent leaks.
- Consider adding additional decorations, such as plants or lights, to enhance the ambiance of your glass waterfall.
Step 9: Enjoy Your Glass Waterfall
- Once everything is set up and working as desired, take a moment to enjoy the tranquil atmosphere created by your new glass waterfall.
Tips For Building a Glass Waterfall
Building a glass waterfall in your backyard is a truly enchanting project that can transform your outdoor space into a serene oasis. You are done with the basic steps to begin this exciting journey, and now, it’s time to explore some extra tips that will elevate your glass waterfall creation to new heights.

1. Location is Key
Selecting the ideal location for your glass waterfall is paramount in ensuring it not only becomes a visually stunning feature but also integrates seamlessly with the surrounding environment of your backyard. Considering sunlight exposure is crucial, the right amount of natural light can accentuate the cascading water’s reflective qualities, creating mesmerizing light patterns and enhancing the glass waterfall’s ethereal beauty. However, too much direct sunlight may lead to algae growth, so balancing light exposure is key.
Accessibility is another important factor. Your glass waterfall should be easily reachable for maintenance and cleaning purposes, ensuring its continuous operation and pristine appearance. It should also be situated in a safe spot that does not obstruct pathways or create potential hazards for those enjoying the outdoor space.
Visibility plays a critical role in the placement of your glass waterfall. Position it where it can be admired from multiple vantage points, whether you’re inside your home or wandering through your garden. A well-placed glass waterfall is a dynamic piece of living art, drawing the eye and inviting people to pause and appreciate its soothing presence.
Moreover, consider the sound of the waterfall and how it will blend with the natural ambiance of your backyard. The gentle sound of water flowing down the glass can create a serene atmosphere, aiding in relaxation and stress relief. Placement near seating areas or dining spaces can enhance gatherings or quiet moments spent outdoors, making the glass waterfall a visual delight and an auditory one.
2. Enhance With Lighting
Integrating lighting elements into your glass waterfall design can transform it into a breathtaking spectacle, especially as dusk falls and the landscape takes on a magical quality. Strategically placed LED lights highlight the graceful flow of water across the glass panels and elevate the entire structure into a radiant focal point within your outdoor sanctuary.
When considering lighting for your glass waterfall, consider the ambiance you wish to create. Soft, warm lights can add a cozy, inviting glow, enhancing the tranquil and soothing nature of the water feature. Alternatively, cooler, white LEDs can bring a crisp, clear illumination, accentuating the purity and sleekness of the glass, and the dynamic movement of the water.
The placement of lights is key to achieving the desired effect. Underwater lighting can illuminate the glass from below, creating a deep, immersive glow that emanates from the waterfall’s heart. Backlighting, however, can cast a silhouette around the glass edges, outlining the waterfall’s shape and enhancing its presence against the night sky. Side lighting can throw shadows and highlights across the cascading water, adding depth and texture to the visual spectacle.
Imagine your glass waterfall becoming a mesmerizing light show, where water and light dance in harmony. As evening turns to night, your backyard transforms into an ethereal realm, with the glass waterfall as its glowing centerpiece. The play of light through the moving water can create various visual effects, from sparkling reflections to gentle, rippling shadows, making every moment spent near it uniquely captivating.
3. Personalize the Surroundings
Enhancing the area around your glass waterfall is essential for creating a cohesive and inviting outdoor environment. By incorporating decorative elements that resonate with your style, you can transform the space into a unique and harmonious oasis.
Consider adding various plants that thrive in your climate, from lush greenery that provides a vivid backdrop to colorful flowers that add a splash of brightness around the waterfall. Rocks and stones can introduce a natural, earthy element, while sculptures or garden art bring creativity and personal expression to the space.
Think of the surroundings as a canvas, with your glass waterfall as the masterpiece at its center. Every element you add should complement and enhance the beauty of the waterfall, creating a seamless integration between nature and design.
By personalizing the space, you invite a sense of tranquility and enchantment, making it the perfect retreat for relaxation and reflection. The goal is to craft an atmosphere that showcases the glass waterfall and reflects your personal aesthetic, creating an outdoor area that beckons you to unwind and immerse yourself in the serene beauty of your backyard oasis.
4. Maintain Regularly
Ensuring the longevity and beauty of your glass waterfall requires regular maintenance. This involves more than just occasional cleaning; it’s about keeping every component in optimal condition to preserve the waterfall’s stunning visual appeal and functionality. Start by cleaning the glass panels regularly to maintain their clarity and brilliance, removing any buildup of dirt, algae, or debris that can detract from the waterfall’s appearance.
The water pump, the heart of your glass waterfall, needs periodic checks to ensure it’s functioning efficiently, and circulating water smoothly without any hindrance. Inspecting and cleaning the pump, along with the water circulation system, helps prevent blockages and wear, ensuring a continuous, soothing flow of water. Additionally, checking for leaks or damage in the pipes and connections can prevent water loss and potential damage to the surrounding area.
Remember, building a glass waterfall for your backyard is a rewarding project that requires patience and attention to detail. But being equipped with these additional tips, you’ll be fully prepared to craft an enthralling attraction that infuses beauty and tranquillity into your outdoor space. Embrace the process wholeheartedly, and let your creativity radiate like never before.
Interactive Elements for Glass Waterfalls: Enhancing Your Experience
Glass waterfalls are stunning visual features and can become interactive elements that enrich the sensory experience of your outdoor or indoor spaces. By integrating interactive components, you can transform a static water feature into a dynamic focal point that engages and delights. Here are several ways to incorporate interactive elements into your glass waterfall, making it a more engaging and personalized feature.
Water Flow Control
Allow visitors or users to adjust the water flow through manual controls or interactive panels. This customization can alter the sound and movement of the waterfall, ranging from a gentle trickle to a robust cascade. The ability to control the water flow invites users to interact directly with the waterfall, creating a personal connection to the space.
Tactile Surfaces
Incorporate surfaces around the waterfall that respond to touch, such as stones or tiles that activate different sounds or light sequences when pressed. This tactile interaction adds a playful element, encouraging visitors to explore and intimately engage with the waterfall.
Responsive Lighting
Embed LED lights within or around the glass waterfall that change colors or patterns based on movement or sound. This responsive lighting can create a mesmerizing effect in the evening, transforming the waterfall into a living art piece that reacts to its environment or to the presence of people.
Projected Images
Utilize projection technology to display images or patterns on the cascading water. This could include natural scenes that change with the seasons, abstract art that evolves throughout the day, or interactive games that invite participation. Projected images can turn the waterfall into a dynamic canvas, offering a unique visual experience.
Interactive Displays
Set up informational panels or digital screens that detail the water cycle, water conservation’s importance, or the glass waterfall’s architectural design. These educational elements can engage visitors intellectually, adding depth to the sensory experience of the waterfall.
QR Codes
Place QR codes around the waterfall that, when scanned with a smartphone, offer augmented reality experiences or more detailed information about the waterfall’s design, the surrounding landscape, or conservation tips. This layer of interactivity merges technology with nature, offering an informative and engaging way to learn more about the environment.
Weather-Based Effects
Integrate sensors that detect changes in the weather, adjusting the waterfall’s features accordingly. For example, the water could flow more vigorously during windy conditions or the lighting could change colors with temperature shifts. This connection between the waterfall and the natural environment fosters a dynamic interaction that reflects the changing seasons and weather patterns.
Solar-Powered Features
Incorporate solar-powered elements that activate or change based on sunlight exposure. During the day, solar energy could power different aspects of the waterfall, such as water pumps for increased flow or solar lights that charge and illuminate the feature at night. This promotes sustainability and creates a living system that interacts with the day-night cycle.
Mobile App Control
Develop a mobile application allowing users to remotely control various aspects of the glass waterfall. Through the app, they could adjust lighting colors, water flow rates, or even set schedules for different effects. This level of customization puts the control directly in the user’s hands, allowing for a personalized experience.
Interactive Soundscapes
Incorporate a sound system that plays ambient music or nature sounds, which visitors can select or adjust. This auditory layer adds depth to the visual spectacle of the waterfall, creating a fully immersive environment. Users could choose sounds that complement their mood or the occasion, from the soothing sound of rain to uplifting melodies.
Integrating interactive elements into glass waterfalls enhances their aesthetic appeal and transforms them into engaging multisensory experiences. Whether through tactile interaction, visual changes, or educational content, these features invite users to connect with the waterfall personally and meaningfully, elevating the overall experience of the space they inhabit.
Unleash Tranquillity in Your Backyard Oasis!
Transform your backyard into an enchanting oasis with a stunning glass waterfall. In this comprehensive guide, you delved into the necessary materials and tools, as well as the step-by-step instructions and additional insights to fashion an enchanting water feature that will bring a serene ambience to your senses and elevate the overall atmosphere of your outdoor space.
With these 3 essentials, you can rightfully pick the materials, design a harmonious water flow, and incorporate decorative elements to enhance the beauty of your glass waterfall. Whether you’re seeking a peaceful retreat or a focal point for entertaining, you are provided with the knowledge and inspiration to create your own soothing oasis.
So, are you ready to embark on a journey of creativity and relaxation as you build your own glass waterfall? Witness the transformation of your backyard into a haven of exquisite beauty and serenity!
Best of luck with your project!
Likewise, if you found this project enjoyable, you can also explore how to build a rain shower fountain. This captivating water feature adds a touch of extraordinary elegance to your outdoor space, replicating the refreshing sensation of a gentle rain shower.

