
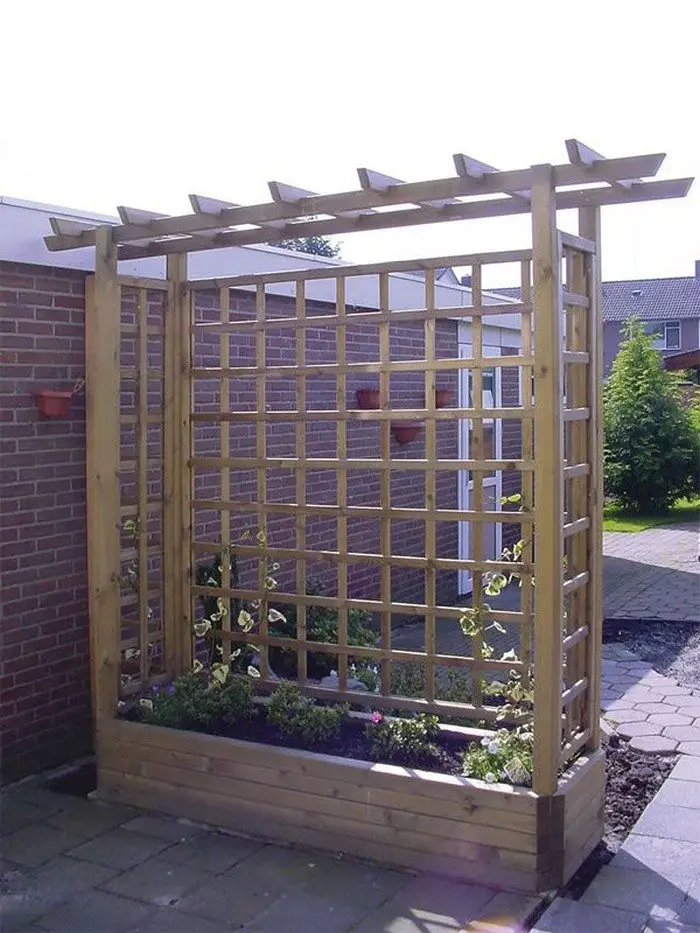
Sitting in your backyard would be so pleasant if you didn’t have to stare at your neighbors’ garbage cans – or have your neighbor stare at you. The fact is, with growing populations and smaller lot sizes, many of us live closer to each other than we’d prefer. Fences sometimes do the job but they’re not always practical and can cost you more than you’d like to spend.
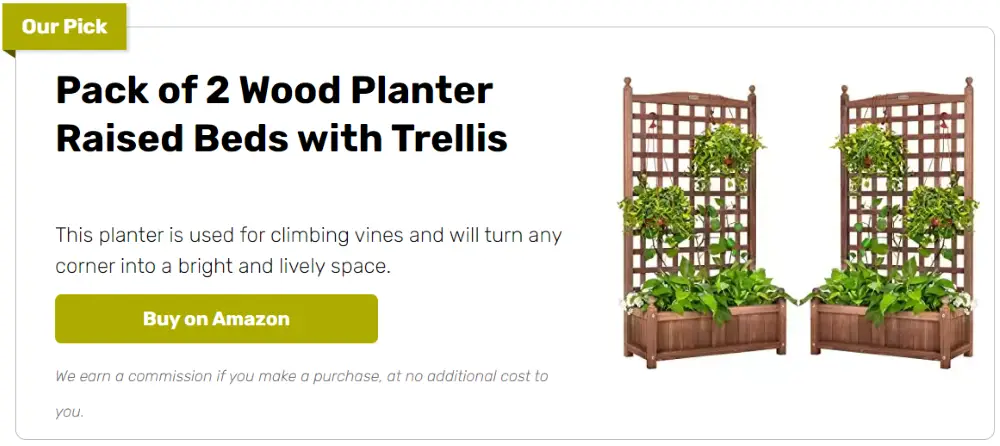
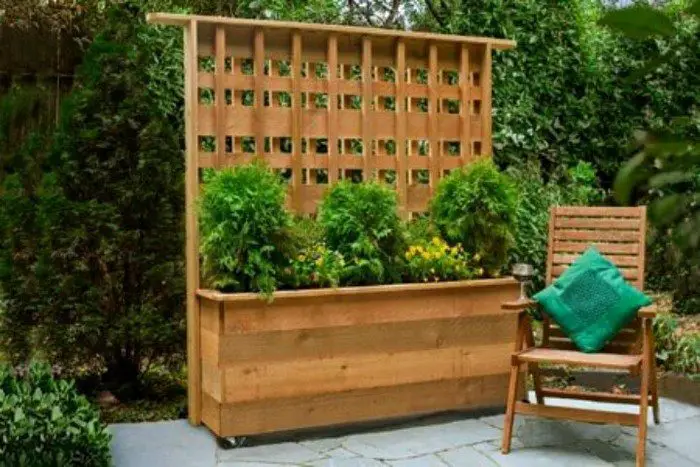
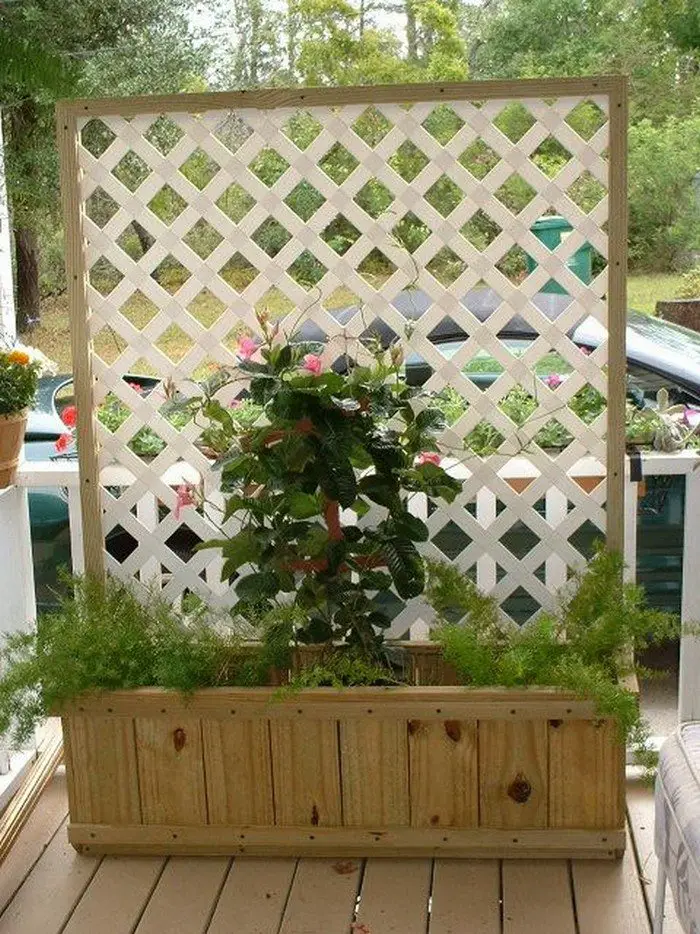
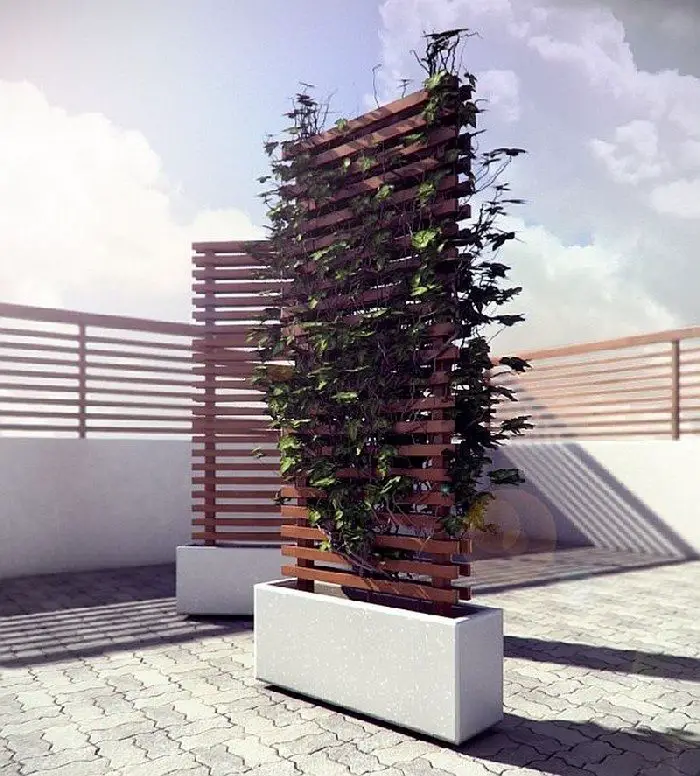
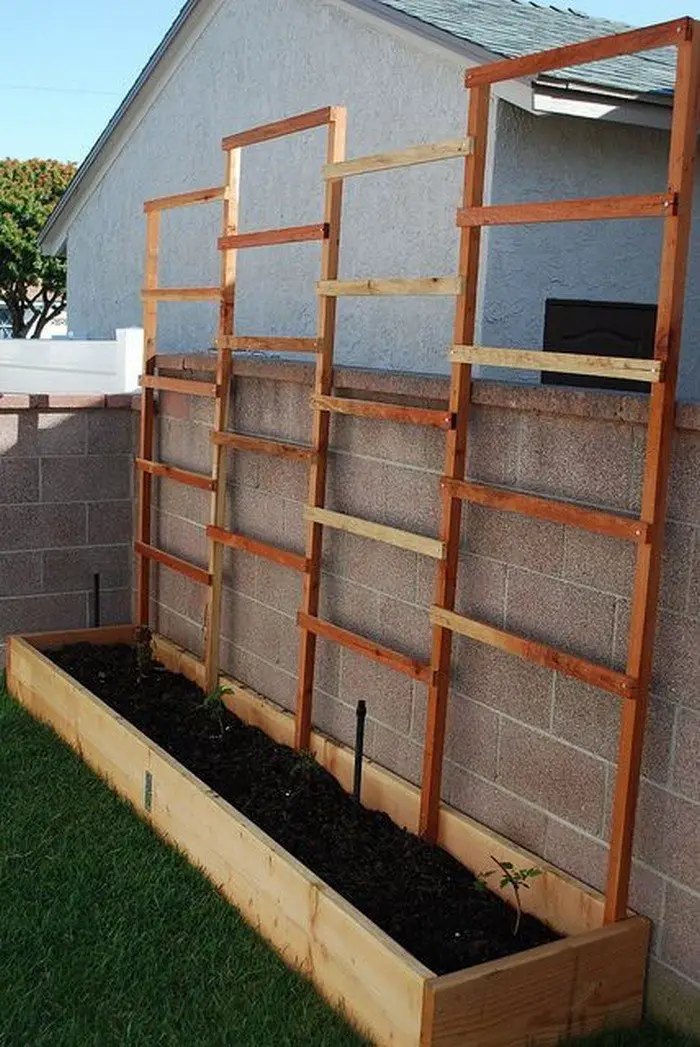
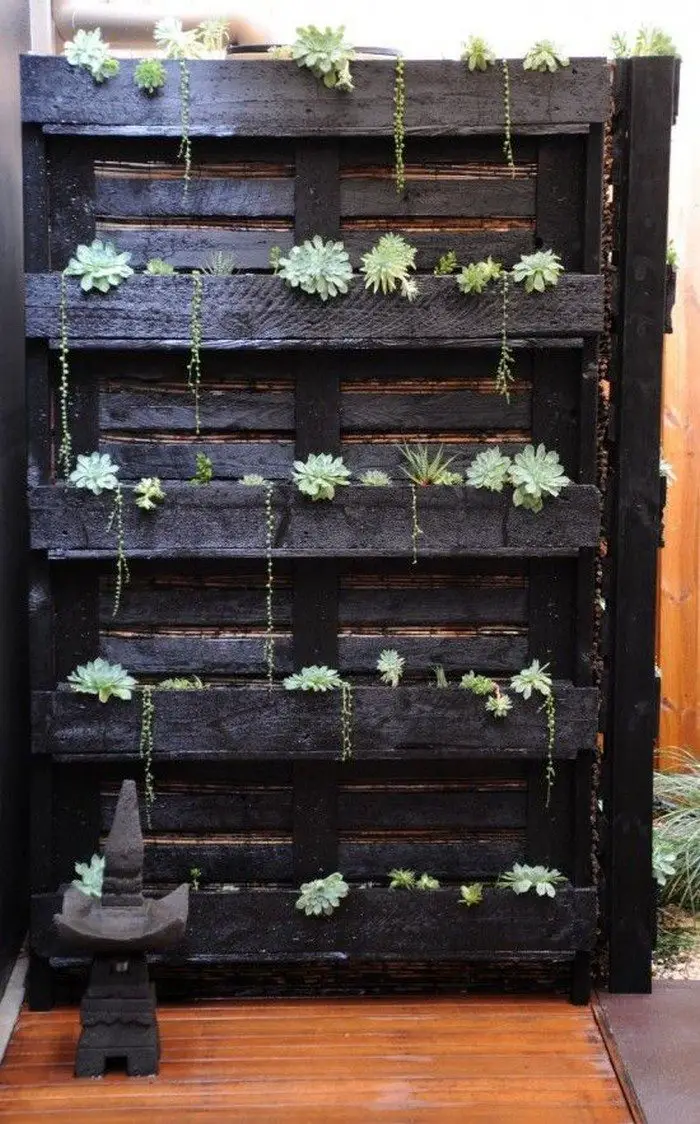
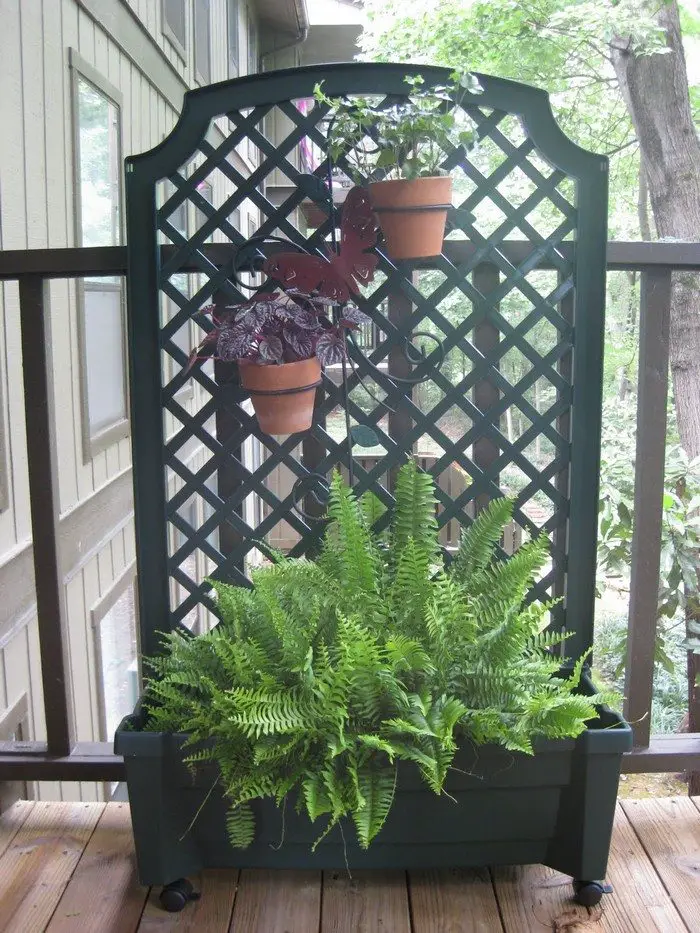
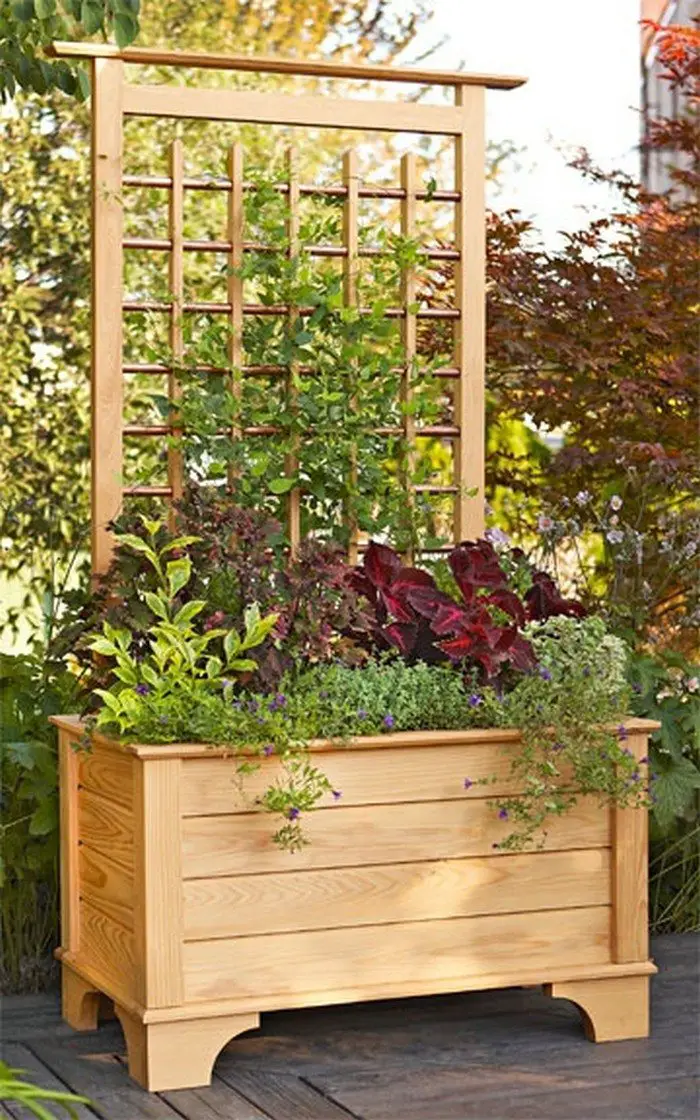
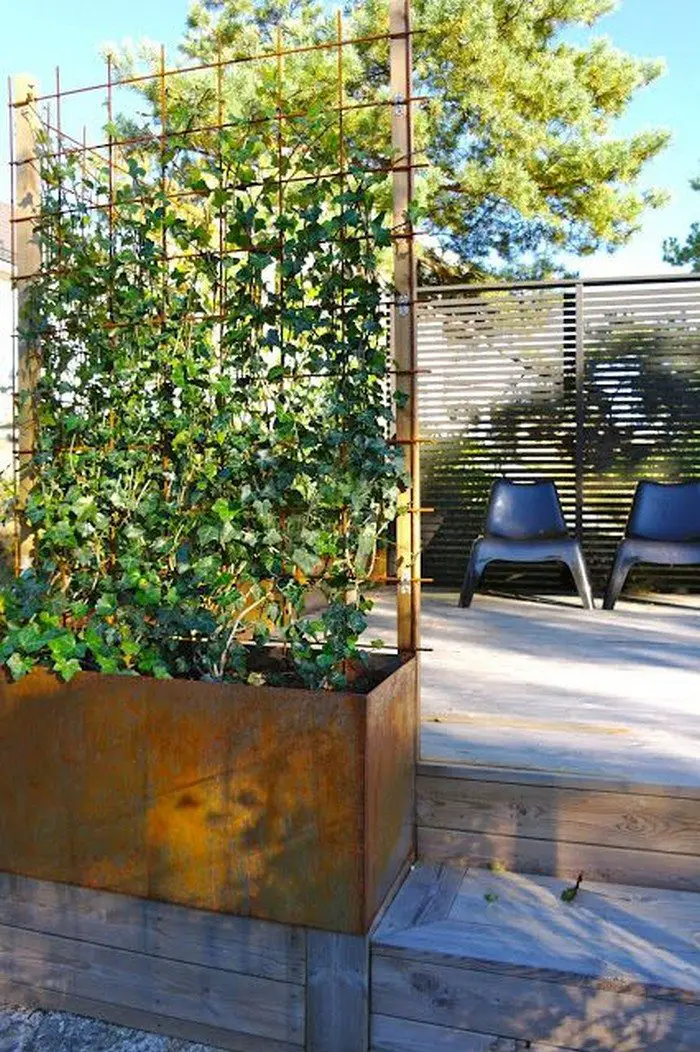
Here’s a nice solution that also allows you to grow more plants for your home – a planter with a privacy screen.
This DIY planter with a privacy screen is made with cedar which is easy to work with yet ideal for withstanding outdoor conditions. Wheel casters are also installed so that you can place your privacy screen anywhere and exactly where you need it.
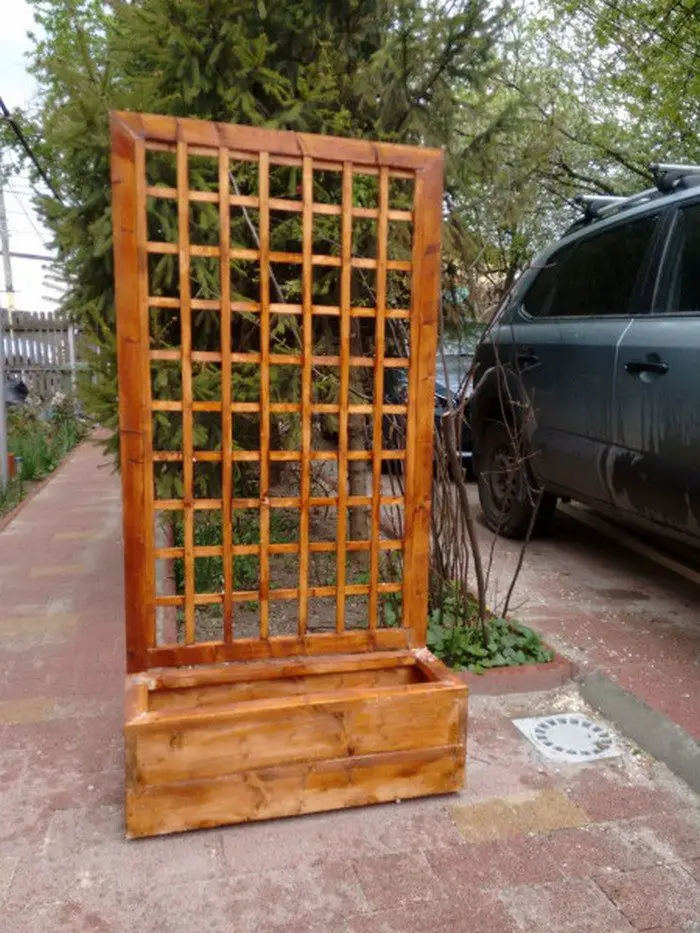
You can put some of the houseplants that are most effective at purifying air, your favorite rose, or use it as a trellis to grow beans or tomatoes! Note that if you build this from treated timber, it is not advisable to grow to produce in it.
Do you need a mobile/temporary privacy screen for your outdoor area?
Contents
Crafting a DIY Privacy Planter
Materials:
- 2×4 Pressure-Treated Boards
- 5/4×6 Pressure-Treated Decking
- 1×6 Cedar Trim5/4×6 Cedar Decking
- 1×3 Cedar Trim
- 1â ” Stainless-Steel Trim-head Screws
- 3″-diameter casters
- Âź x 1½” Galvanized Hex-Head Machine Bolts (with Washers and Nuts)
- â x 4″ Galvanized Carriage Bolts (with Washers and Nuts)
- Teak Oil
- 4 – 50 lbs bag of ž” Crushed Stone
- Landscape Fabric
Tools:
- Miter Saw
- Jigsaw
- Wood Clamps
- Drill
- Socket Wrench
- Combination Square
Step 1: Cut the Lumber to Size
Use a miter saw to cut the 2Ă4 pressure-treated boards for the planter frame. Measure and cut pieces for the base, side frames, and corner posts. Do the same for the 5/4Ă6 pressure-treated decking, which will form the side panels, and for the 1Ă6 and 1Ă3 cedar trim that will add a finished look.
Step 2: Assemble the Base Frame
Lay out your 2Ă4 boards for the base frame. Secure them using 1â
â stainless-steel trim-head screws and wood clamps to hold the structure square. Use a combination square to ensure all angles are 90 degrees.
Step 3: Attach the Corner Posts
Fasten the corner posts vertically at each corner of the base frame. Pre-drill holes to prevent splitting. Secure the posts using Âź x 1½â galvanized hex-head machine bolts, along with washers and nuts. Tighten everything with a socket wrench.
Step 4: Build and Attach Side Panels
Lay out the 5/4Ă6 pressure-treated decking horizontally to create the side panels. Attach them between the corner posts, starting at the bottom and working upward. Keep the boards evenly spaced and level. Use 1â
â stainless-steel trim-head screws to secure them.
Step 5: Add Cedar Trim for a Finished Look
Attach the 1Ă6 cedar trim to the top edges of the planter box. Use the 1Ă3 cedar trim for vertical and horizontal accents along the panels. Secure with 1â
â screws, making sure they are flush for a polished appearance.
Step 6: Install the Bottom Support and Casters
Flip the planter over. Add extra support using crosspieces of 2Ă4 under the base. Mark and drill holes at each corner for the 3âł-diameter casters. Bolt them in place using â
x 4âł galvanized carriage bolts, washers, and nuts. Tighten with your socket wrench.
Step 7: Line the Planter with Landscape Fabric
Cut and lay landscape fabric inside the planter box to cover the interior. Staple it along the inside walls, making sure it overlaps at the corners to prevent soil from spilling through gaps.
Step 8: Add Drainage Layer with Crushed Stone
Pour žâ crushed stone inside the bottom of the planter. This creates drainage and prevents water buildup. Spread it evenly to form a solid base.
Step 9: Apply Teak Oil Finish
Wipe the cedar trim and exposed wood surfaces clean. Apply teak oil using a cloth or brush. This helps protect the wood from moisture and UV damage, and it enhances the natural wood grain.
Step 10: Fill with Soil and Plants
Once the teak oil dries, add potting soil over the crushed stone layer. Then plant your choice of privacy plants like bamboo, tall grasses, or small trees.
Best Plants for Privacy Planters
Creating a secluded and relaxing outdoor space is easier with the right plants. A well-designed privacy planter doesnât just block unwanted views; it adds greenery, texture, and beauty to patios, balconies, and gardens. The key to success is choosing plants that offer dense foliage, height, and year-round interest. Here are some of the best options for filling your privacy planter and enhancing your outdoor living space.
Bamboo
Bamboo is one of the most popular plants for privacy planters. It grows quickly and offers dense foliage that creates an immediate screen. Clumping bamboo varieties are ideal because they stay contained and donât spread uncontrollably. Bamboo thrives in containers and works well in both modern and traditional outdoor spaces. Make sure to select a species that suits your climate and keep the soil moist, especially during hot weather.
Boxwood
Boxwood is a classic choice for privacy. Its dense evergreen foliage makes it perfect for trimming into clean, structured shapes or letting it grow naturally for a softer look. Boxwoods are low-maintenance and tolerate pruning well, which means you can keep them at your desired height. Planted in a row of privacy planters, boxwood shrubs create a formal and elegant barrier that stays green all year.
Arborvitae
Arborvitae is another evergreen that provides excellent privacy. These plants are tall and narrow, making them ideal for planters when space is limited. Their thick, lush foliage blocks both sight and sound, which is a bonus if you live in a noisy area. Arborvitae thrives in full sun and prefers regular watering to maintain its vibrant color.
Tall Ornamental Grasses
Ornamental grasses like Miscanthus, Fountain Grass, and Feather Reed Grass are great for privacy planters. They add movement and a relaxed, natural feel to your space. Many grasses grow tall and dense, offering seasonal interest with feathery plumes in late summer and fall. Theyâre also hardy and can tolerate windy locations, making them ideal for balconies or rooftops.
Privet
Privet is a fast-growing shrub that works well in containers. Itâs often used for hedges, but it can also thrive in privacy planters. Privet can be pruned into neat shapes or left to grow freely for a more natural screen. Its small, dark green leaves create a thick barrier, and some varieties produce fragrant white flowers in spring.
Ferns
If your space is shaded, ferns are a beautiful option. Boston ferns or Kimberley Queen ferns offer thick, arching fronds that provide privacy and soften hard edges. Ferns thrive in indirect light and require consistent moisture, making them perfect for patios that donât get much sun.
Flowering Plants for Color and Privacy
To add color and fragrance to your privacy planter, consider flowering plants like Hydrangeas, Roses, or Camellias. These shrubs offer dense foliage along with vibrant blooms, creating a screen thatâs as beautiful as it is functional. Choose varieties suited to containers and ensure they receive the right amount of sunlight and water.
A privacy planter can transform an open area into a private retreat by choosing the right plants. Whether youâre screening off a neighborâs view or creating a cozy nook on your balcony, the right combination of greenery will make your space feel more inviting and secluded.
DIY Privacy Planter Gallery
Click on any image to start the lightbox display. Use your Esc key to close the lightbox.
Creative Placement Ideas for Privacy Planters
Privacy planters offer more than just a way to block unwanted views. They can enhance the look and feel of outdoor spaces while creating cozy, secluded areas. By thoughtfully placing a privacy planter, you can define spaces, add greenery, and increase comfort. Whether you have a large backyard or a small balcony, here are some creative ideas to make the most of your privacy planters.
Along Property Lines
One of the most common and effective placements for privacy planters is along property lines. A row of tall planters filled with dense plants can create a natural boundary without the need for fences. This is a great option for homeowners who want to add green screening while maintaining a soft, natural look. Using privacy planters along property edges helps block the view from neighbors and creates a quiet, enclosed atmosphere.
Around Patios and Decks
Placing privacy planters around patios and decks can define the space and make it feel like an outdoor room. Arrange the planters in a U-shape or rectangle to create a sense of enclosure. This setup is perfect for dining areas or lounging spaces where you want to relax without feeling exposed. Adding planters with fragrant flowers or herbs can enhance the experience by filling the air with pleasant scents.
On Balconies and Rooftops
Privacy can be hard to find in apartments or urban settings. Placing a privacy planter on a balcony or rooftop can block the view of nearby buildings or busy streets. Choose tall, narrow planters that fit along the railing without taking up too much floor space. Lightweight materials and casters can make it easier to move them around as needed. Adding greenery at height not only creates privacy but also brings nature into high-rise living.
Near Pools and Hot Tubs
Pools and hot tubs are places where privacy matters. Strategically placed privacy planters around these areas can shield them from view while adding a resort-like feel. Choose plants that can handle moisture and sunlight, such as ornamental grasses or tropical plants. The combination of privacy, greenery, and water creates a relaxing and luxurious setting.
Dividing Different Areas of the Yard
If you have a large outdoor space, privacy planters can help divide it into zones. Use them to separate a garden from a play area, or a dining space from a fire pit. Planters can serve as natural partitions that add beauty while improving the flow of the yard. This makes each section feel more intentional and organized.
At the Entrance of Your Home
Placing privacy planters at your front entrance can create a welcoming and private entryway. Tall planters with structured plants like boxwood or topiary trees frame the door and offer a sense of seclusion. This not only boosts curb appeal but also adds a layer of privacy for front patios or porches.
In Outdoor Workspaces
Working from home outdoors can be more enjoyable with a privacy planter nearby. Set up a desk or seating area on the patio and surround it with planters filled with tall plants. This creates a natural barrier that blocks distractions and helps you focus. It also makes the space feel more peaceful and green.
Creative placement of privacy planters can make any space more private and inviting. Whether youâre enclosing a patio, adding privacy to a balcony, or creating distinct zones in your backyard, a well-placed privacy planter makes a big difference.
Conclusion
Building a privacy screen with planters is a practical and stylish way to create a secluded outdoor space. With the right materials and plants, you can enhance both privacy and beauty in your yard or patio. A well-designed privacy planter adds comfort, charm, and value to any outdoor area.
For more kinds of planters to your garden, check out our pallet planter box guide next!