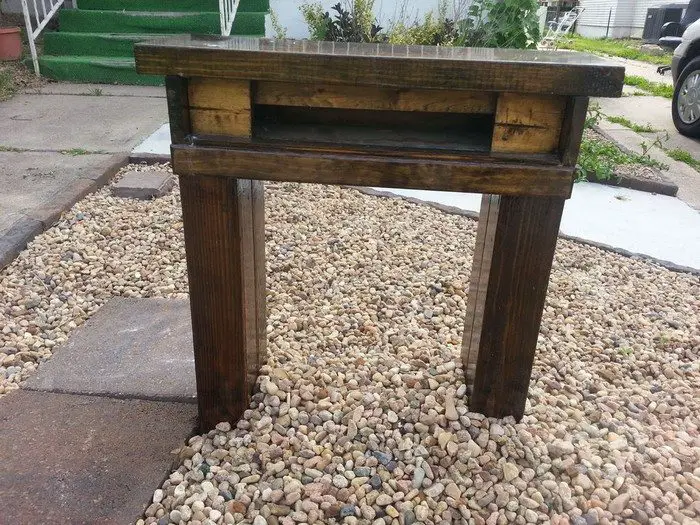
Here’s a DIY project that will turn your backyard into an amazing outdoor space!
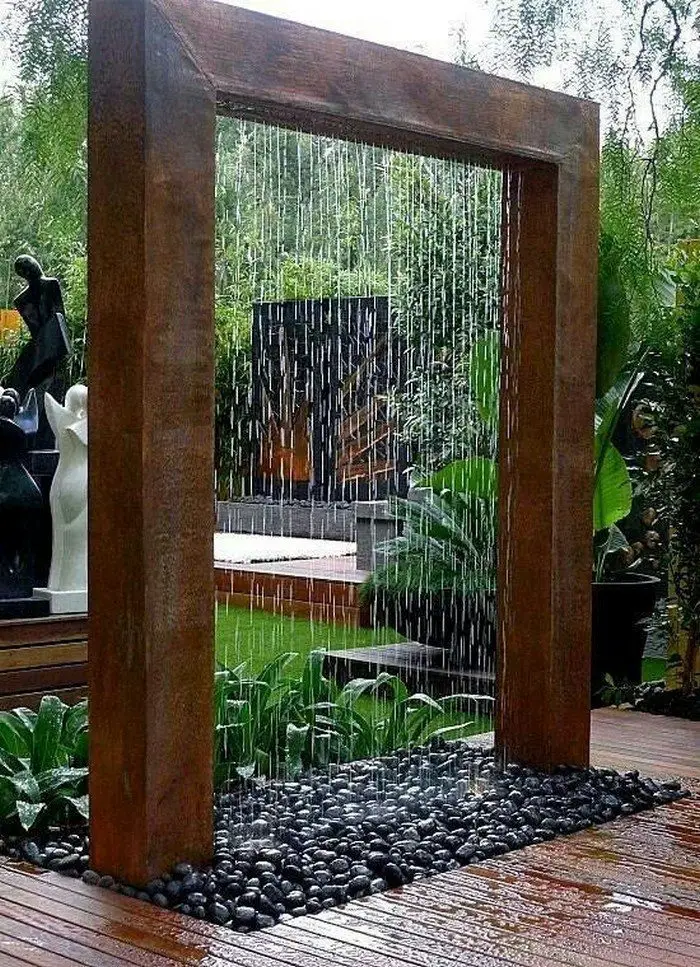
It looks magnificent, doesn’t it? This rain shower fountain was built by the owners themselves, and with the right tools, you can definitely build one yourself too!
It’s a simple but elegant water feature that will no doubt look great in any garden. You can also get waterproof LED strip lighting and install it above or below the waterline so that the water droplets are more visible. You can also do a bit of research to see if other lighting options are available to produce awesome visual water effects!
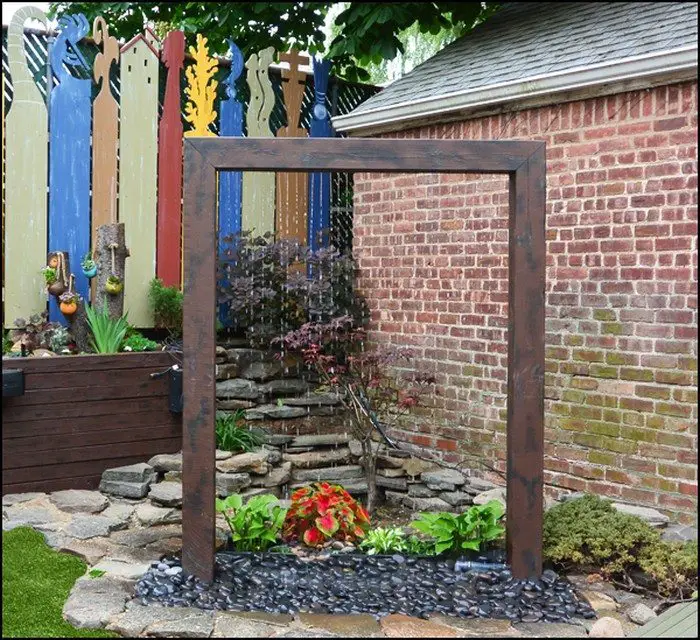
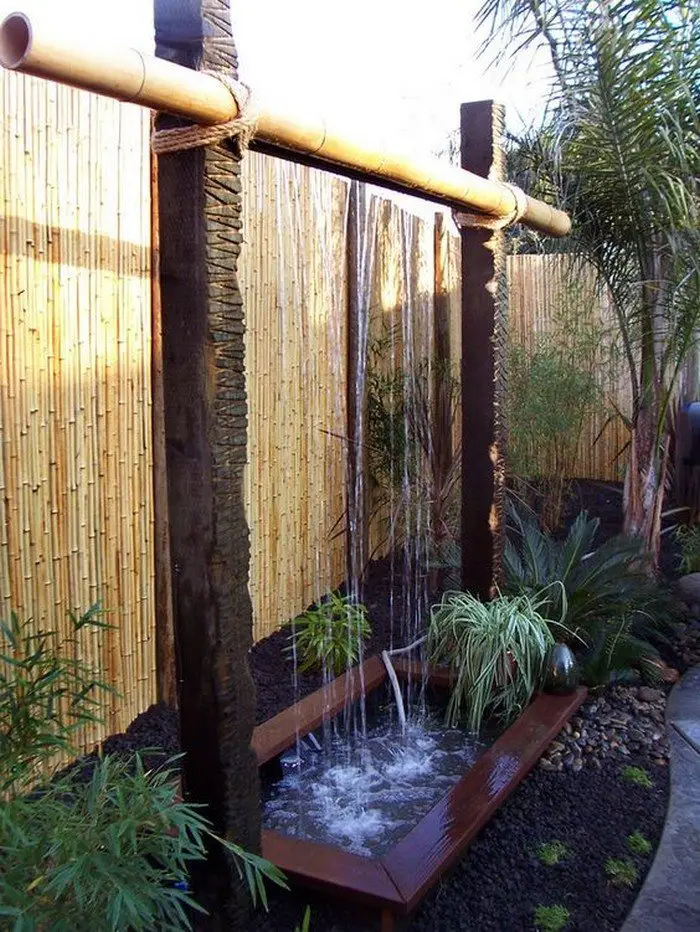
No matter what size your garden is, you can always build a rain shower fountain by simply adjusting the dimensions according to your space. Even a mini version will bring life to your backyard garden, especially at night!
Do you think your garden could use a rain shower fountain? :)
Click on any image to start the lightbox display. Use your Esc key to close the lightbox.![]()

You’ll need these materials:
- 3 pcs 6”x6”x8’ Pressure Treated Lumber
- 10’ 1 ¼” Copper Pipe
- 2 pcs 1 ¼” Copper Elbows
- Blow Torch and Copper Solder OR Copper Epoxy
- 3’ of 1 ½” ID Plastic Tubing and (2) 1 ½” Elbows
- 2’ of Toro Blue Stripe ½” Drip Tubing
- Pondmaster MDWP-20 Waterfall Pump
- 1-½” PVC Ball Valve
- Exterior Wood Stain
- 5 bags 50lb Fast Set Concrete
- HDX 55 Gallon Tough Tote Plastic Storage Container
- 40 mil PVC Pond Liner 5’ x 8’
- 8 pcs 3/8” x 6” Landscape Timber Lag Screws
- 200 lbs Black Mexican Beach Pebbles
And these tools:
- Spirit Level
- Post Hole Digger or Shovel
- Miter Saw (optional)
- Drill (with ¼” drill bit and 1 ½” hole saw bit)
- Router (with 1” dish carving router bit and ½ “ straight router bit)
- Oscillating Multi-Tool OR Wood Chisel
Steps:

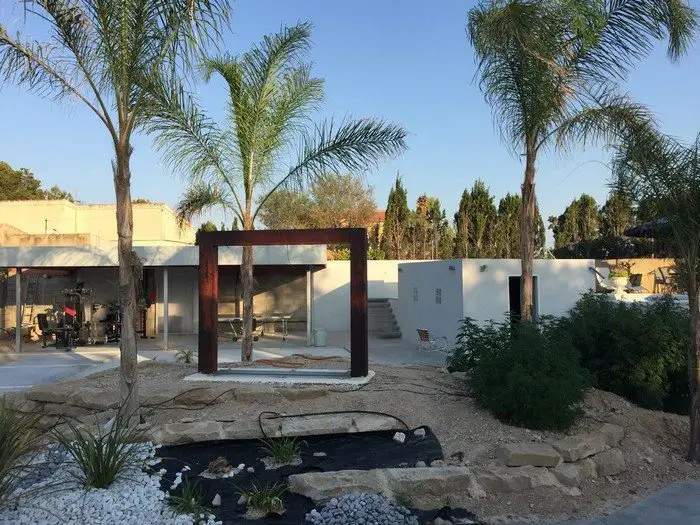
Prep the area: We removed the rocks, old pond, cut down the existing trees and bushes, and leveled the surface.
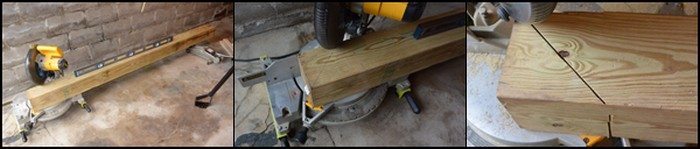
Cut and miter the beams: The finished size will be 65” wide x 80” high (this is the exposed size – remember that there is an extra 16” height buried in the ground). This makes our 2 vertical beams 96” each, and the horizontal beam 65”. Mitering the corners was difficult, due to the size of the beams, so this is optional. If you decide not to miter, just stack the top beam onto the vertical ones – it will still look good, and save you quite a bit of work. If you do this, though, just remember to cut 5 1/2” off the vertical beams to make up for the extra height, and to keep the same height-width ratio of the finished product.

Make the horizontal beam with water pipe assembly: If you’re facing the fountain, your water supply line will be on the RIGHT side. So, start on the LEFT side of the horizontal beam, and cut a channel into the underside of the beam to hold the copper pipe. Since the wood is pretty dense, we’re going to do this in progressive steps. First, use a straight ½” router bit and make a channel ¾” deep. Stop about 1” from the RIGHT end. Then, run a 1” dish carving bit along the left edge of the channel. Finish by running this same bit on the right edge of the channel. This will provide enough space for the 1 ¼” copper pipe.
Next, we’ll finish off the RIGHT end by cutting a 1 ½” hole so the pipe can pass through.
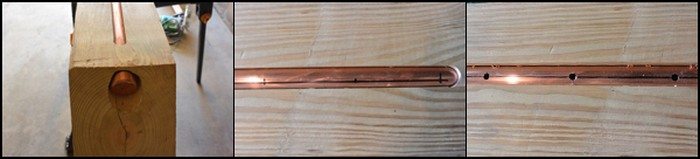
Drill water flow holes for the copper pipe and insert it into a routed beam: Insert the copper pipe into the beam. Then Drill ¼” holes into every 1” of the copper pipe. Blow out the metal shavings and make sure the inside of the pipe is clean. Solder a cap onto the LEFT end of the copper pipe.
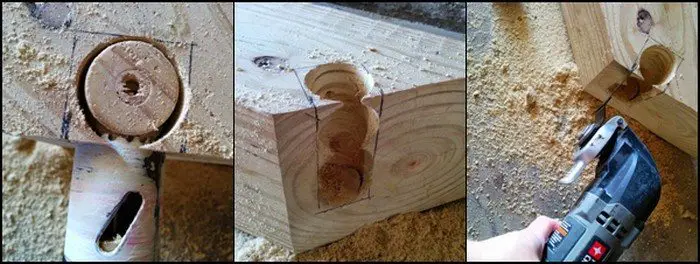
Cut right side vertical beam for pipe fitting: Now we have to make a cutout in the RIGHT vertical beam to make room for the pipe. Using a 1 ½” hole saw, cut a channel for the pipe.
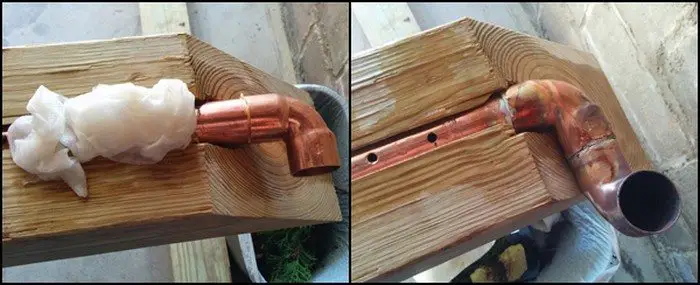
Finish copper pipe assembly: Solder the connections. Note that we placed a rag soaked in cold water on the pipe, a few inches from the connection. This keeps the pipe cool enough to prevent damage to the wood while soldering.
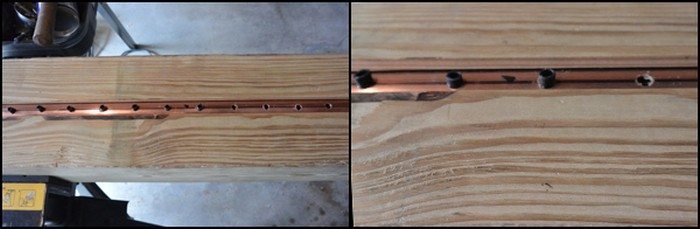
Next, we take ¼” of a Toro Blue Stripe drip line and cut into ½” pieces. We insert a piece into each hole of the copper pipe. This is important because the tubing causes the water to flow straight down. Without it, the water will flow in uneven directions.
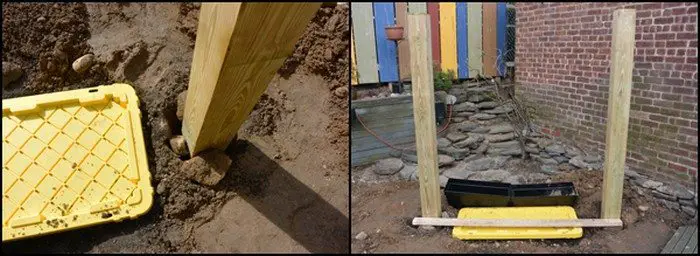
Dig holes for beams and water container – check for proper fit: We’re setting the beams 16” into the ground. The water container is actually a 55-gallon storage bin from Home Depot. You can use whatever size you have available, preferably over 20 gallons so you’re not constantly refilling with water. Make sure your holes are of equal depth and the height of the beams is identical.

Stain the beams: First, apply a base coat of Padre Brown. When dry, lightly sponge on some Ponderosa Green follow by Colonial Yellow in random patterns. Finish by sponging Slate to form your desired pattern.
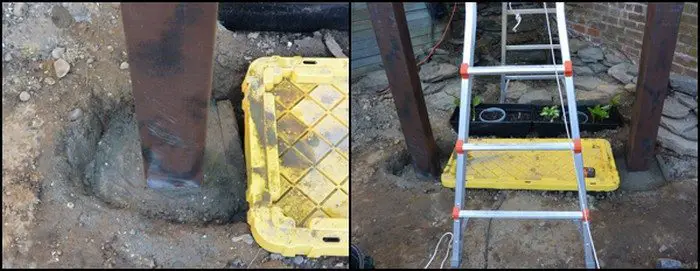
Set beams into concrete: It’s easier to set one beam at a time. Make sure it’s straight, level, and properly positioned, then pour in the fast setting cement. It only takes about 30 minutes to dry, then you can do the second beam, carefully aligning it to the first.
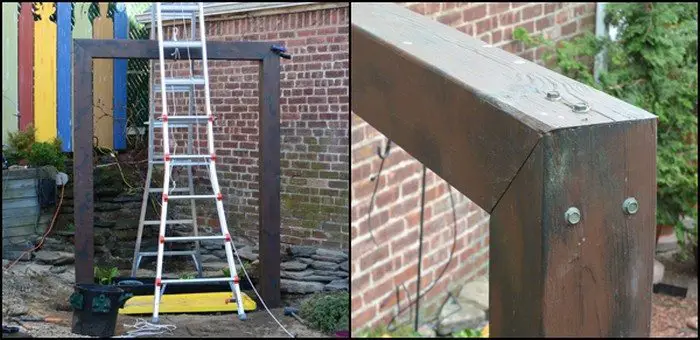
Install top beam: Once the concrete base has fully set, you can install the top beam. Secure it with 3/8” x 6” Landscape Timber screws. BE CAREFUL NOT TO SCREW INTO COPPER PIPE!
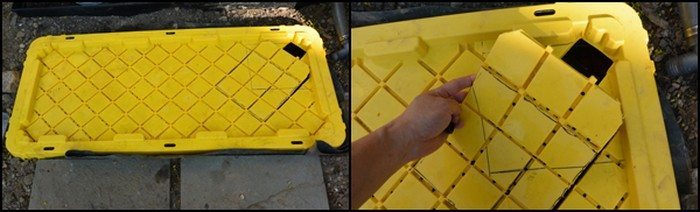
Prep container lid: The storage container we used has a lid, so we just cut a hole in it for the water flow and plastic tubing. If you’re using an open container, you’ll need to put a grate over it to hold the pebbles.
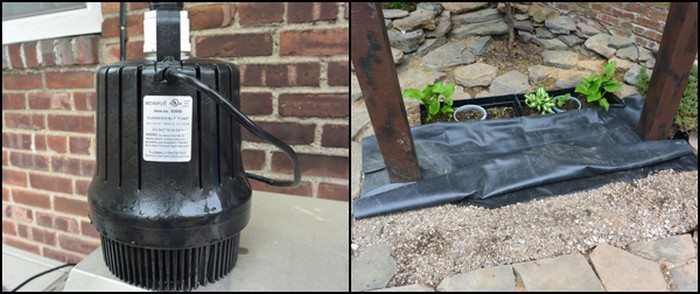
Put water pump into a container and place PVC liner over container: Put pump inside the container, running tubing, and cord out through the hole in the lid. Then cut your PVC pond liner to fit. This fountain does splash a lot of water, so just be sure to allow enough room to catch the water and direct it back to the container. With the PVC liner in place, cut a hole to correspond with the hole you cut in the container lid.
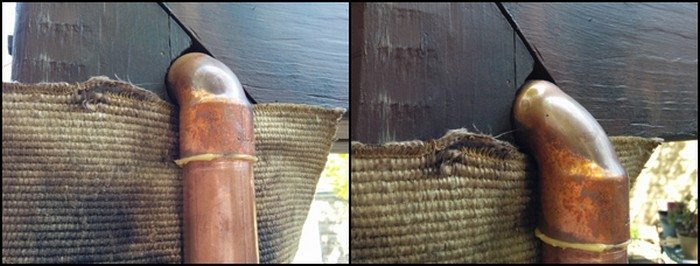
Connect copper pipes and water line: Now we solder the last pipe – notice that we used a flame shield to protect the wood while soldering. If you don’t want to solder, there are also epoxies that are made for copper pipes. That would be much easier, but we’ve never used them, so we’re not sure how well it will hold up.
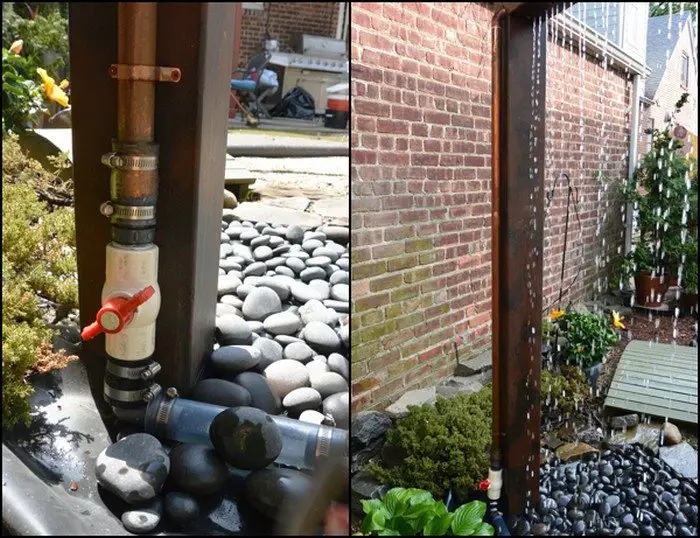
Connect water pump and cover with beach pebbles: We connected a valve to control the flow of water. Without it, the water flow is too strong, so this allows a range of adjustments.
Admire your hard work! Here’s a shot of our contemporary rain shower fountain at night!
Thanks to gracechichi for this great project!


