Are your kids too old for trick-or-treating this coming Halloween season? Well, keep their old pumpkin candy buckets and turn them into DIY concrete pumpkin planters!
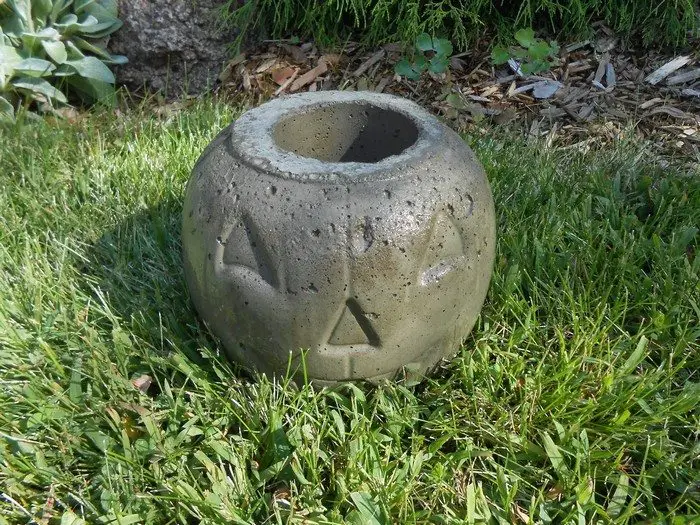
This DIY project is very easy to make, even to those who do not consider themselves crafty.
It’s also inexpensive since you would only need one bag of concrete mix. The other materials required can be items you have but no longer really use.
If you have some extra paint in your workshop, you can use them to paint your concrete pumpkin planter. Painting their cut out face would be more visible especially from afar.
Your garden will have a long-lasting decor in these cute concrete pumpkin planters. And you can enjoy these year after year – yes even when it’s not Halloween!
Is this going to be your next project?
Contents
Building a Concrete Pumpkin Planter
Materials
- Plastic Pumpkin Candy Buckets
- Concrete Mix
- Tub (for mixing concrete)
- Cooking Spray
- Tall Cups (or something similar; for inner mold)
- 2 Square-shaped Sytrofoam
- Protective Mask and Gloves
- Duct Tape
Tools
- Hand Hoe (for mixing concrete)
- Sharp Cutter / X-acto Knife
Steps
Step 1: Prepare Your Workspace
- Ensure your workspace is clean and spacious enough for the project. Lay down plastic sheeting or newspaper to protect the surface.
- Wear a protective mask and gloves to safeguard yourself from concrete dust.
Step 2: Prepare the Plastic Pumpkin Buckets
- Clean the plastic pumpkin candy buckets to remove any debris or residue.
- Use a sharp cutter or X-acto knife to cut out faces or designs if desired, to add a decorative touch.
Step 3: Coat the Buckets
- Spray the inside of the plastic pumpkin bucket and the outside of the tall cups with cooking spray. This acts as a releasing agent to make it easier to remove the molds once the concrete has set.
Step 4: Mix the Concrete
- In the tub, mix the concrete using the hand hoe. Follow the concrete mix package instructions for the correct water-to-concrete ratio to achieve a smooth consistency.
Step 5: Pour the Concrete
- Pour the concrete into the plastic pumpkin bucket until it is half full.
- Tap the sides of the bucket gently to remove any air bubbles.
Step 6: Set the Inner Mold
- Place the tall cup inside the bucket on top of the wet concrete to create a space for planting. Make sure it’s centered.
- Fill the cup with stones or add weight to prevent it from floating up as you add more concrete.
Step 7: Secure the Mold
- Use duct tape to secure the cup in place if needed.
Step 8: Add More Concrete
- Continue pouring concrete around the cup, ensuring it fills to just below the top edge of the pumpkin bucket.
- Again, tap around the outside of the pumpkin bucket to ensure there are no air pockets.
Step 9: Insert the Styrofoam
- If needed, press the square-shaped Styrofoam into the concrete at the top to create additional decorative indentations or patterns.
Step 10: Allow to Cure
- Let the concrete set and cure according to the instructions on your concrete mix, which typically ranges from 24 to 48 hours.
Step 11: Remove the Molds
- Once cured, gently pull out the tall cup from the center of the hardened concrete.
- Turn the pumpkin bucket over and tap or gently press to release the concrete planter.
Step 12: Finishing Touches
- Smooth any rough edges with sandpaper or a file.
- You can paint the planter or seal it with a concrete sealer to protect it from the elements.
Step 13: Plant Your Favorite Flowers
- Fill the planter with suitable soil and transplant your chosen plants into the new concrete pumpkin planter.
Click on any image to start lightbox display. Use your Esc key to close the lightbox. ?
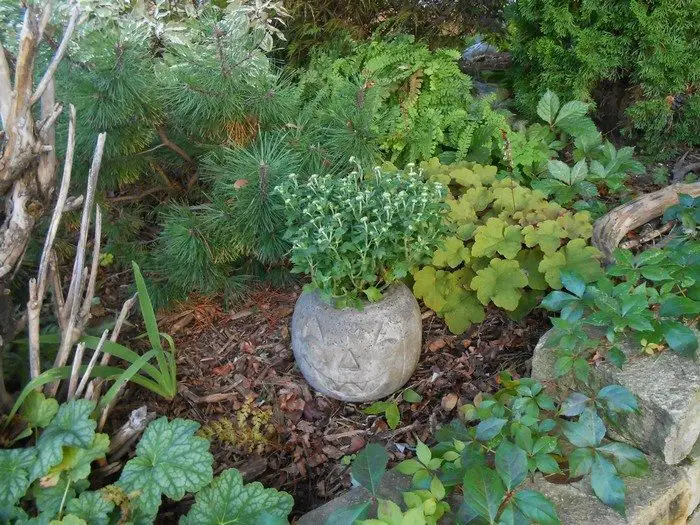
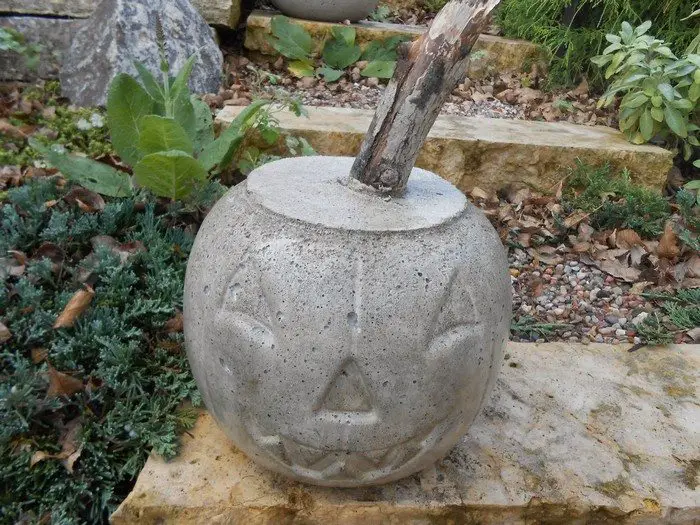

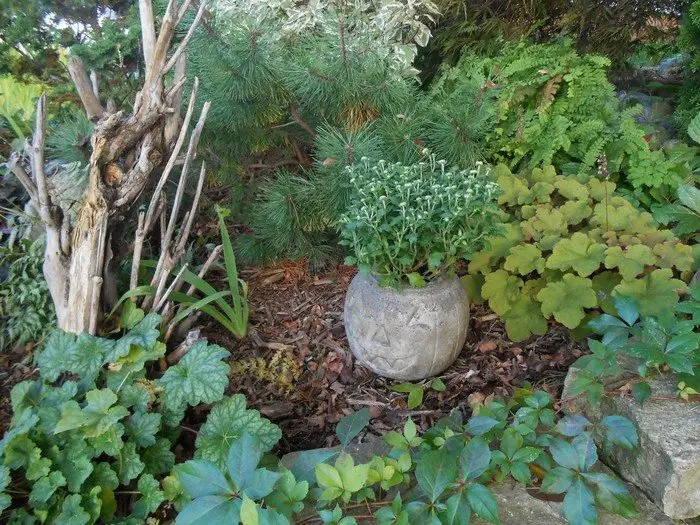
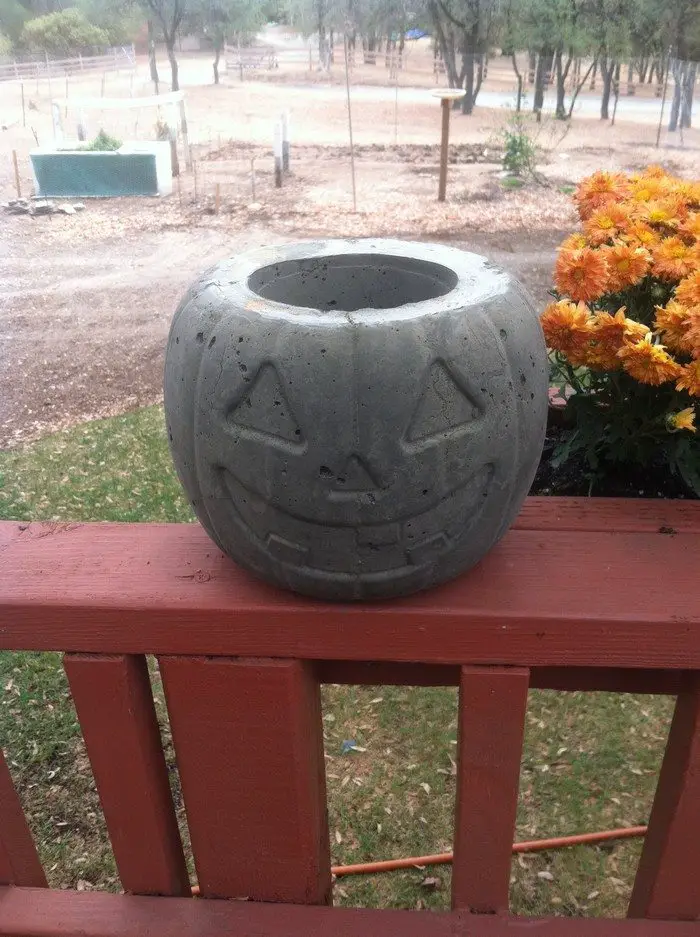

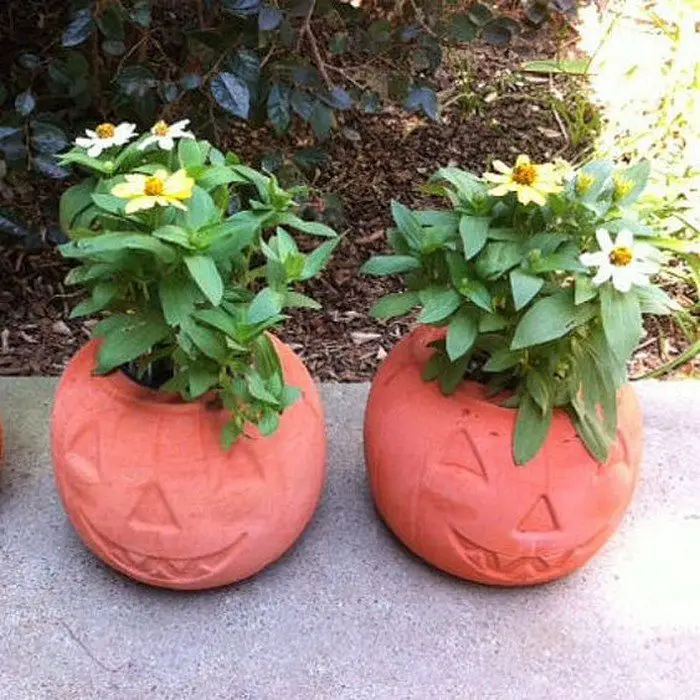
Thanks to Sprouts and Stuff for this great project. You can get step-by-step instructions here…
Advanced Decorating Ideas
These sophisticated decorating ideas will help you to elevate your concrete pumpkin planter. These ideas will enable you to create a unique work for any space whether your goal is to include complex designs or a flash of color.
Use Concrete Stains for a Colorful Finish
Apply concrete stains to accentuate your concrete pumpkin planter. After the planter has cured, these stains—which come in a range of colors—can be brushed or sprayed on top. Select autumnal colors including deep reds, oranges, and yellows for a festive touch. This method improves not only the appearance but also offers a weather-resistant finish that extends the lifetime of your planter.
Apply Mosaic Designs
Including a mosaic design to your concrete pumpkin planter can be a fulfilling endeavour for those who enjoy some texture and pattern. Create complex designs around the planter using glass fragments, broken tiles, even tiny stones. Lay mortar on the planter, arrange your glass or tile pieces, then grout the mosaic to lock the pieces. This technique adds a special, artistic touch and provides countless opportunities for personalizing.
Incorporate Glow-in-the-Dark Elements
Including glow-in–the-dark paint or stones will help your concrete pumpkin planter stand out in the evening. Either directly on the planter or bury glow-in-the-dark stones into the concrete as it sets. Your garden or patio will have a whimsical and magical feel from these elements charging up during the day and softly glowing at night.
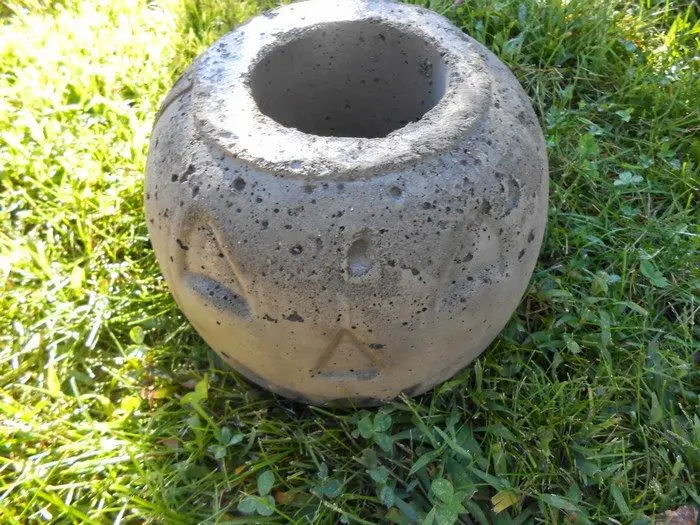
Stencil Detailed Patterns
Paint intricate patterns or images on your concrete pumpkin planter using stencils for a polished and sophisticated look. Using stencils with spray paints or conventional brush paints lets one achieve accuracy. To fit your own style, either choose a more abstract or geometric pattern or from seasonal designs like leaves and vines. This method lets your planter have a professional touch, hence it becomes the focal point in any outdoor environment.
Considering these cutting-edge decorating ideas will help your concrete pumpkin planter look spookier and attractive during Halloween. It transforms the planter from a mere functional object for your garden to a real piece of art.

Best Plants for Concrete Planters
Like the concrete pumpkin planter, concrete planters provide a fashionable and robust habitat for a range of plants. Their distinctive look accentuates indoor and outdoor environments, so adding value to any garden or house decoration. These are some of the best plants for your concrete pumpkin planter, fit for its particular surroundings.
Succulents and Cacti
The concrete pumpkin planter would be best suited for succulents and cactus because of their low water requirements and alkaline condition tolerance. These low-maintenance plants can withstand the more porous character of concrete, so guaranteeing good air flow and drainage. To make a striking, low-maintenance display, choose varieties including Echeveria, Sedum, or small cacti.
Annuals and Perennials
Annuals and perennials are perfect for adding a burst of color to your concrete pumpkin planter. These plants thrive in the nutrient-rich, well-draining conditions provided by concrete, which helps prevent root rot and promotes healthy growth. Marigolds, petunias, and pansies are particularly well-suited for this type of environment.
Marigolds bring vibrant yellows and oranges, while petunias can offer a range of colors from deep purples to bright pinks. Pansies, with their charming faces, introduce a soft yet striking display of hues. By choosing a mix of these flowers, you can create a dynamic and colorful arrangement that enhances the aesthetic appeal of your concrete pumpkin planter throughout the seasons.
Herbs
Herbs are another fantastic planting choice for your concrete pumpkin planter, especially if you’re interested in utility as well as beauty. Herbs like cilantro, thyme, and basil thrive in the well-drained, slightly alkaline conditions that concrete planters naturally provide. These herbs not only contribute fresh flavors to your meals but also bring a delightful fragrance to your surroundings.
Planting a variety of herbs can transform your planter into a functional and aromatic garden feature. Additionally, the simple act of clipping herbs for cooking can become a therapeutic activity, enhancing both your garden’s utility and your culinary experiences.
Ferns
Ferns are ideal for adding a lush, green touch to areas of your garden that might not receive full sunlight. If your concrete pumpkin planter is placed in a shaded or semi-shaded location, consider planting varieties like the Boston fern or maidenhair fern. These ferns thrive in the consistent moisture that the porous walls of a concrete planter can maintain, which is crucial for their growth.
The delicate, intricate fronds of ferns provide a stark contrast to the rugged exterior of concrete, offering an elegant visual that elevates the natural beauty of both the plant and the planter. Ferns can serve as a striking focal point or a subtle complement to other plants in your garden landscape.
Every one of these plant varieties can flourish in the special environment provided by a concrete pumpkin planter, so accentuating their rustic appeal and adding life and colour to your garden. Select one or mix several to fit your own taste and the surroundings’ conditions.
Conclusion
A satisfying do-it-yourself project that gives any garden or house space a distinctive and artistic touch is building a concrete pumpkin planter. Customizing these planters to fit any aesthetic with the correct materials and some imagination will help you to make them as natural or as colorful as you desire. Apart from being robust and fashionable containers for a range of plants, they also become a focal point improving the appearance of your indoor or outdoor surroundings.
We have more fun planter ideas for your garden. Check out our paint palette planter project!

