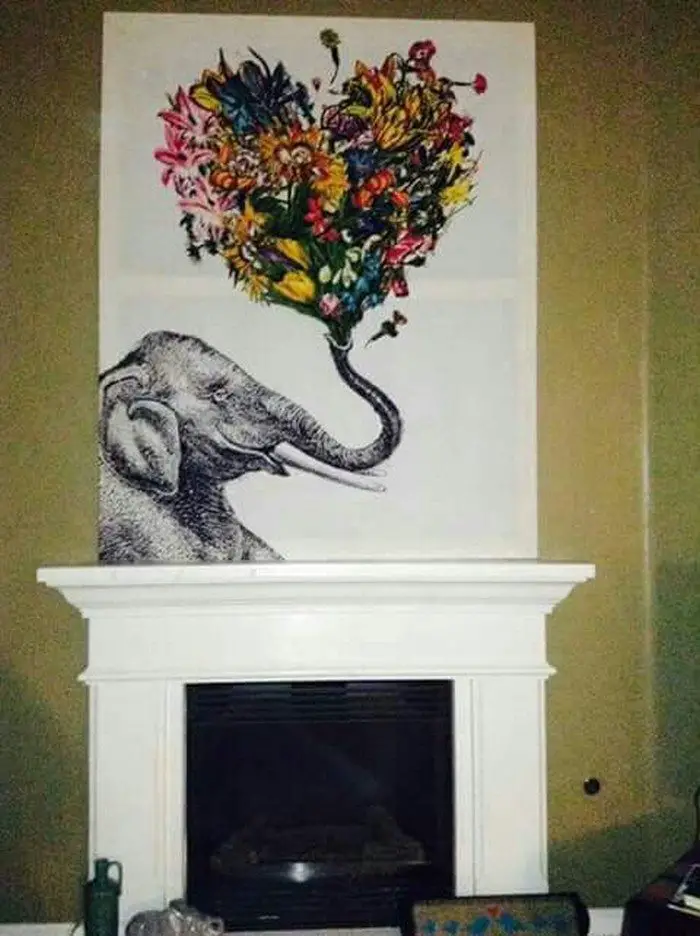
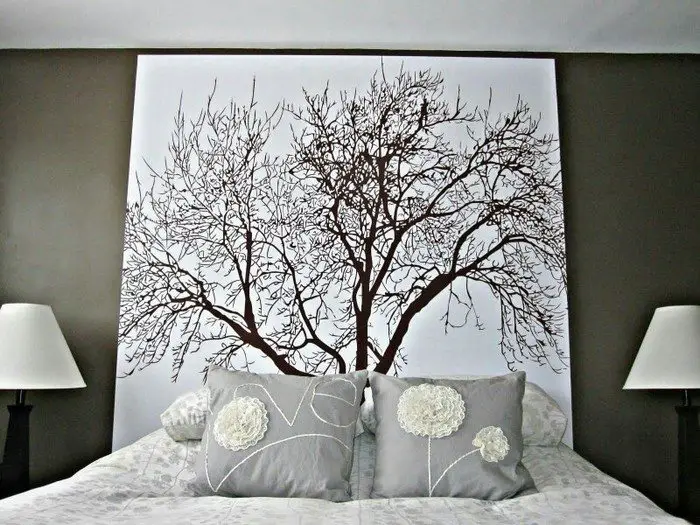
What if you don’t have the budget for a canvas wall art, but there’s a big blank wall at home that’s begging for a decor? Then a shower curtain wall art is a great solution for you!
They are not hard to find if you want to have one for your home but don’t have the artistic talent to create it yourself. What’s hard to find is a piece of art that is very affordable. (Even mass-produced wall art pieces are quite expensive!)
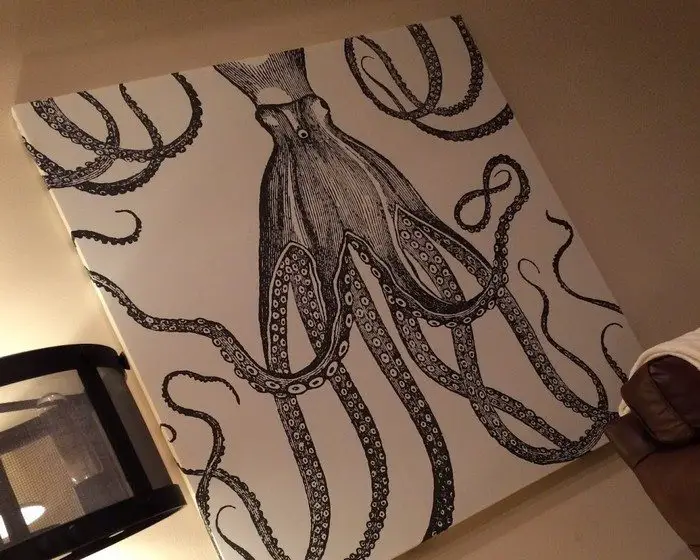
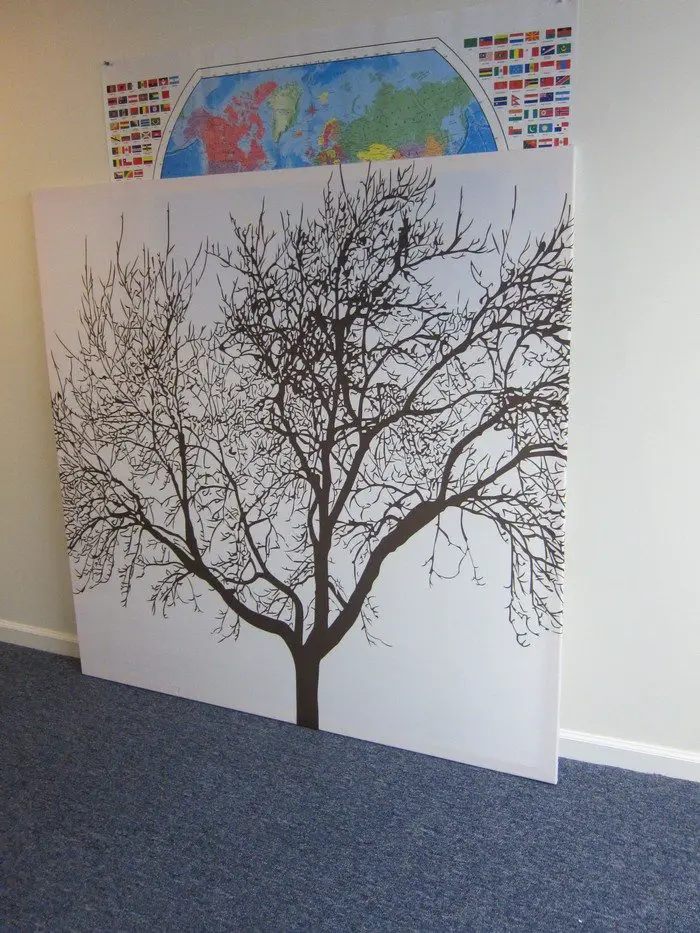
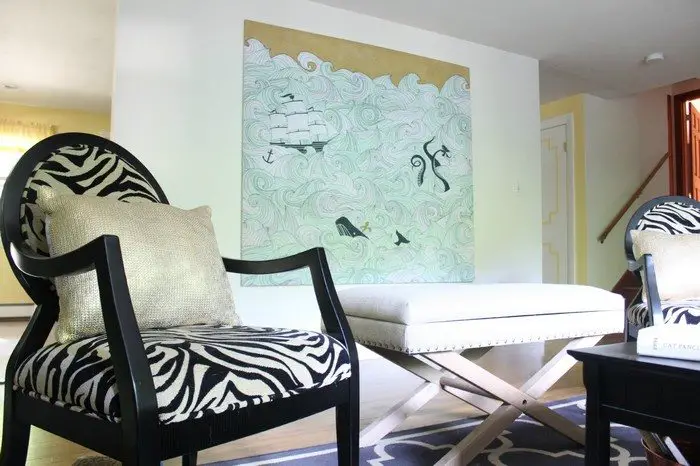
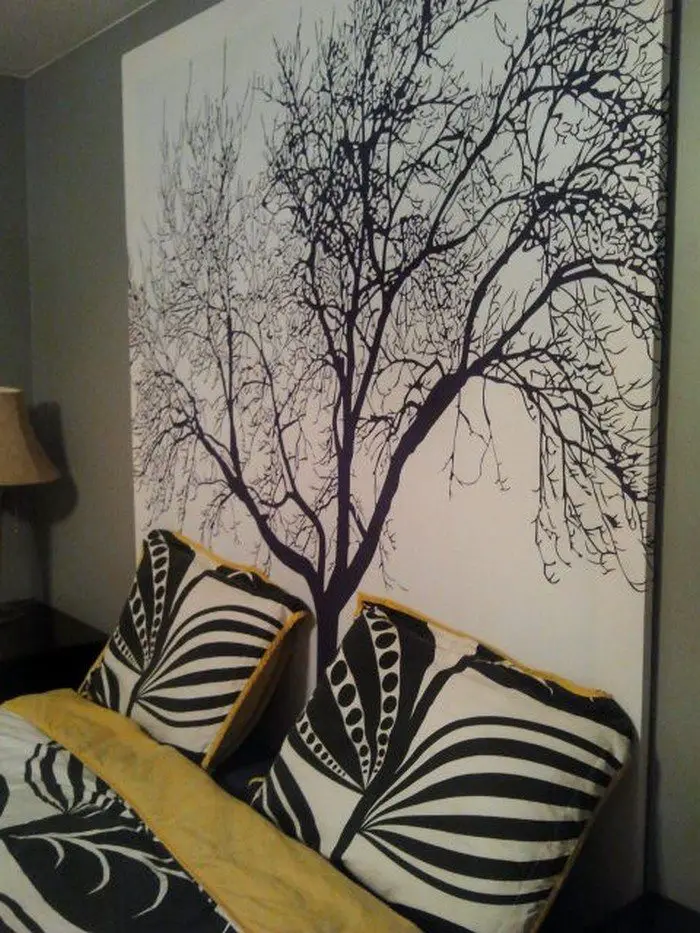
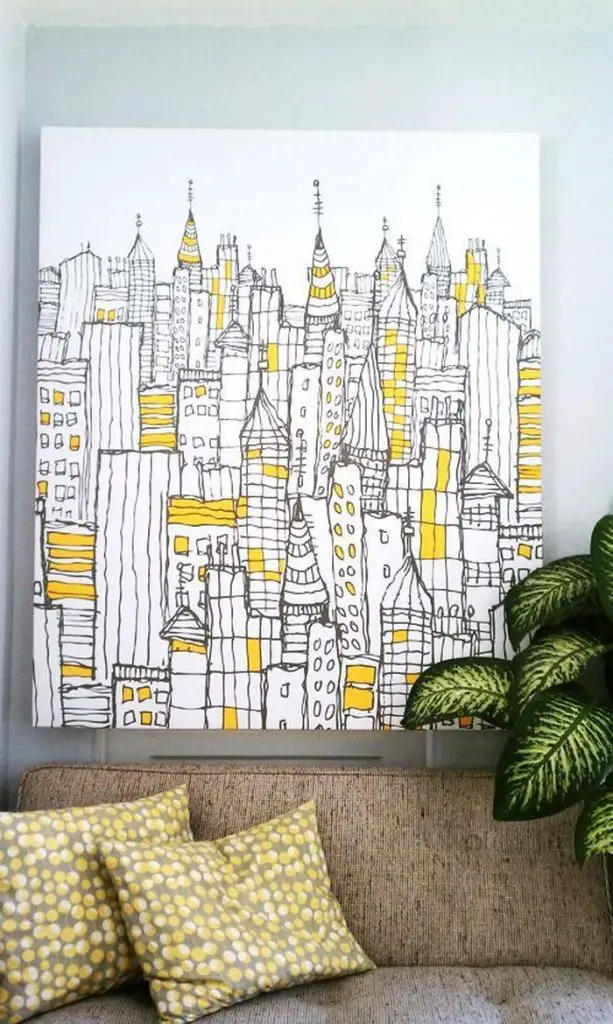
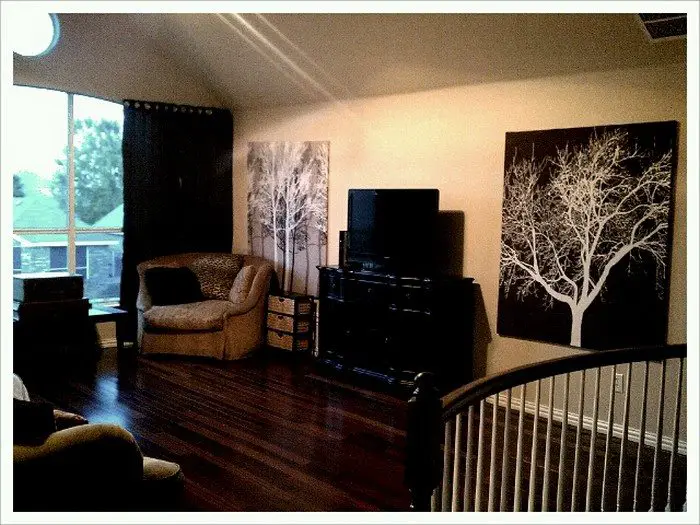
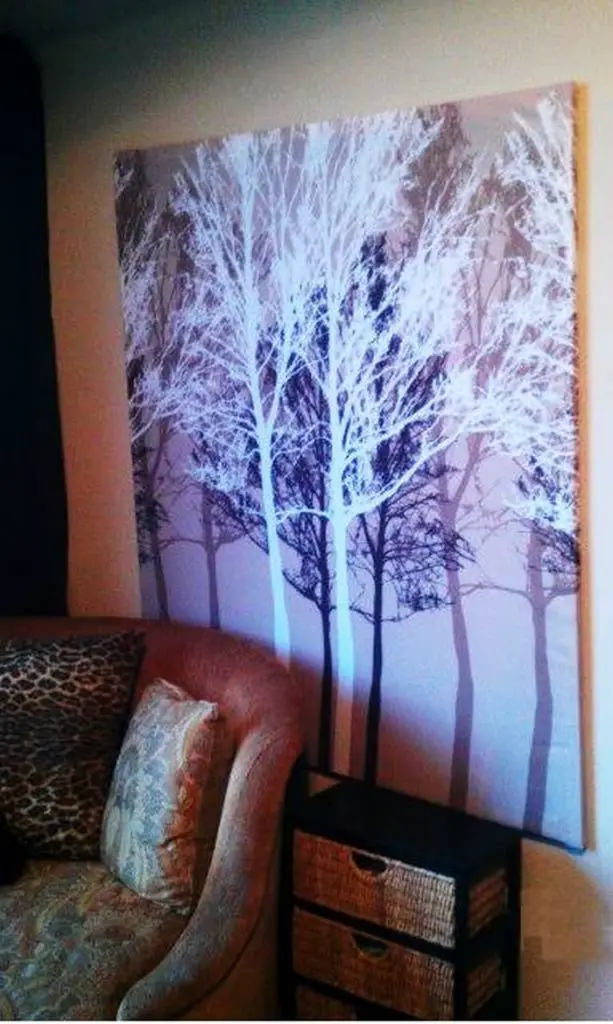
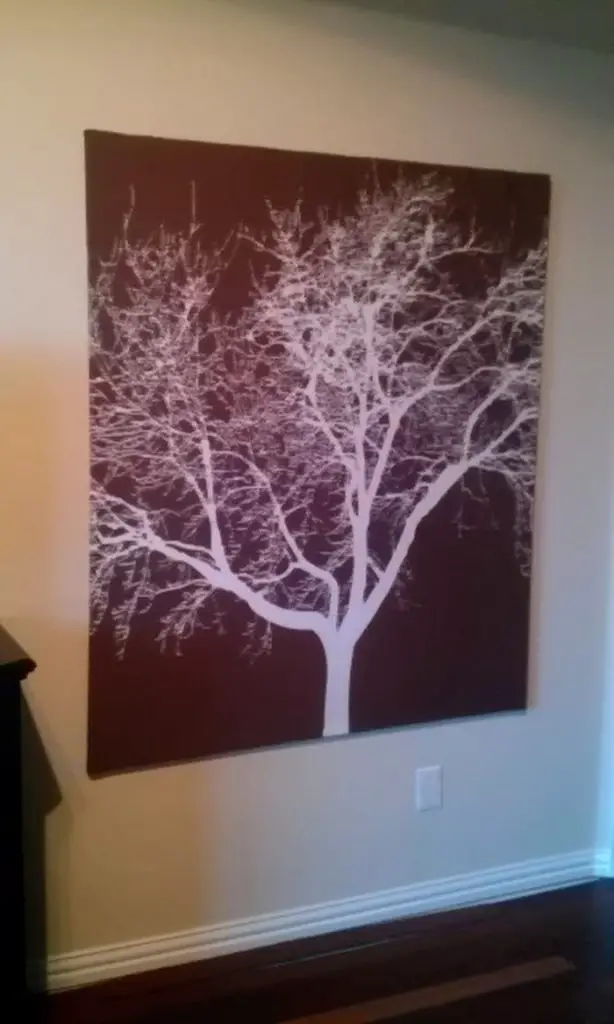
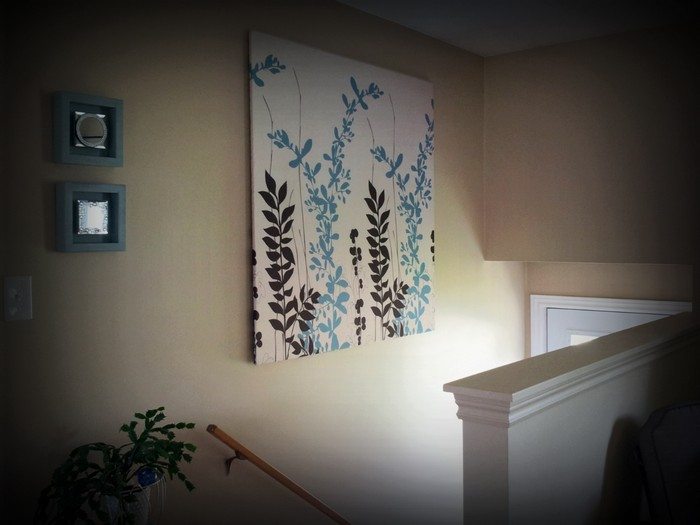
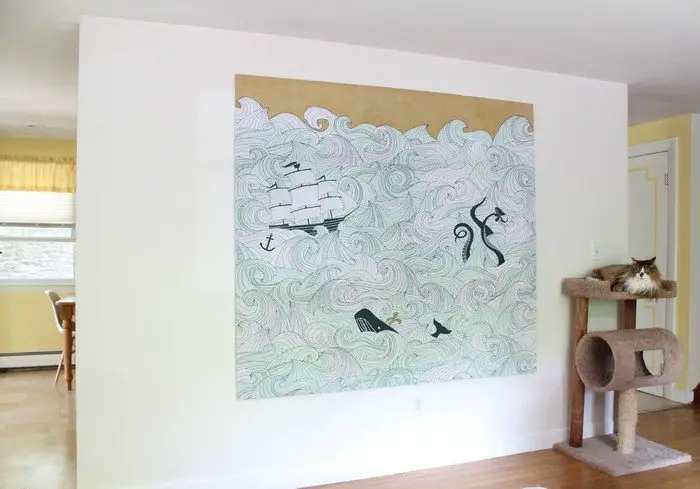
This shower curtain wall art idea is truly a clever DIY project for anyone who needs an easy and affordable solution to adding a large wall hanging at home. Though they may not look like it, shower curtains make great canvas art pieces! You’d be surprised to find plenty of beautifully designed shower curtains today. Why you might even have a hard time deciding which one to get ;)
So after choosing an artistic shower curtain that you like, just create a timber frame, attach the shower curtain using staple gun and hang it on your wall with sawtooth picture hangers! And that’s it! Fast and easy!
Contents
Crafting a Shower Curtain Wall Art
The only minor extra steps you need to do for this project are:
- Build the frame slightly smaller than the size of your shower curtain so that you can staple the curtain at the back where no one can see it. Of course, it will give you nice edges as well.
- Don’t forget to steam iron the shower curtain so that you don’t have fold marks on your wall art. You can also use a regular iron on low heat if you don’t have a steam iron.
Materials
- Shower Curtain
- 2 pcs 2″ x 1″ x 70″ (Top & Bottom Frame)
- 4 pcs 2″ x 1″ x 68″ (Side Frames & Middle Support)
- Nails / Wood Screws
- Sawtooth Picture Hangers
Tools
- Measuring Tape
- Saw
- Staple Gun
- Drill / Nail Gun
- (Steam) Iron
- Spirit Level (optional)
Instructions
Step 1: Cut and Prep Your Wood
- Grab your hand saw and cut the wood strips to length if they aren’t pre-cut.
- Line up the two 70” pieces (these will be the top and bottom of your frame) and the four 68” pieces (sides and middle support) on the ground or a large table.
Step 2: Build the Frame
- Use your drill or nail gun to attach each corner of the frame with screws or nails. Make sure all corners are square and snug.
- Add the middle support horizontally between the top and bottom pieces for extra stability—this keeps the frame from bowing.
Step 3: Smooth Out Your Curtain
- Spread the shower curtain out on a flat surface and iron out all the creases and wrinkles. Keep your iron on a low setting if it’s not a steam iron.
Step 4: Attach the Curtain
- Lay the frame over the back side of your ironed shower curtain.
- Start stapling the curtain to the frame from one corner, pulling it tight as you go to keep it smooth.
- Work your way around the frame, and remember to fold over the corners neatly for a professional look.
Step 5: Get Ready to Hang
- Flip your frame to attach the sawtooth picture hangers on the top bar.
- Measure to make sure they’re centered and level before securing them with small screws or nails.
Step 6: Hang and Admire
- Pick the perfect spot on your wall for your artwork.
- Secure the frame to the wall with proper anchors or screws.
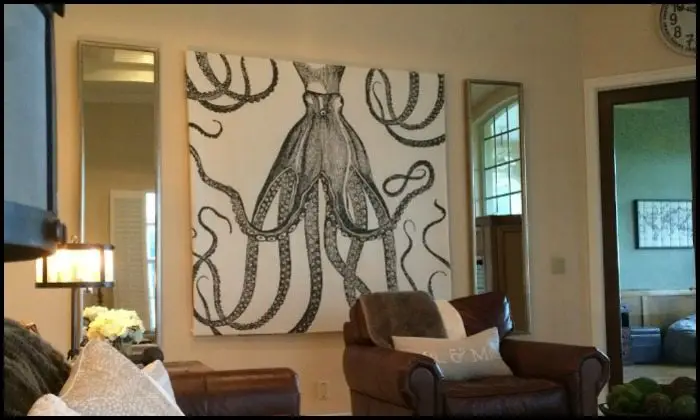
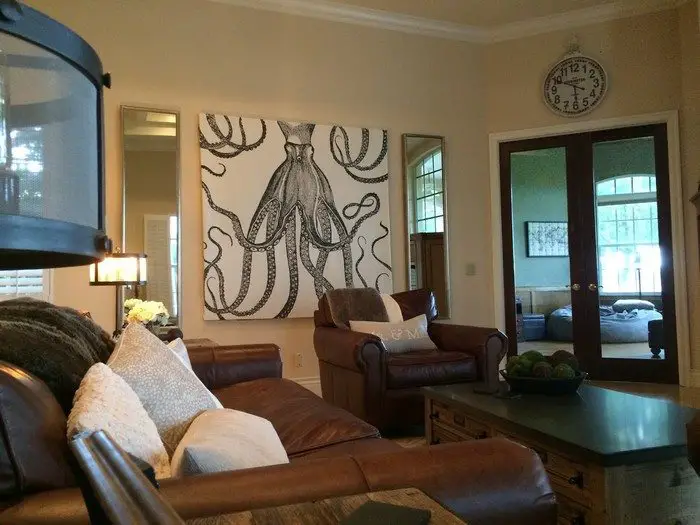
- Take a step back and admire what you’ve created—a beautiful piece of wall art that’s sure to catch the eye of anyone who enters the room!
Click on any image to start lightbox display. Use your Esc key to close the lightbox.![]()
You can watch the step-by-step tutorial from Kati Heifner here:
Customization Techniques for Shower Curtain Wall Art
Creating shower curtain wall art allows for a lot of creative freedom, turning a simple home accessory into a striking piece of decor. Whether you’re looking to add a splash of color or a personal touch to your living space, customizing your shower curtain wall art can be a fun and rewarding project.
Here are some techniques to consider:
Add Textural Elements
Give your shower curtain wall art some depth by adding textural elements. You can sew on patches, fabric flowers, or even incorporate materials like burlap or lace. These additions not only enhance the visual appeal but also make your artwork stand out as a tactile piece.
Paint Custom Designs
For those who want to add a personal artistic touch, painting your shower curtain is a great option. Use fabric paints or acrylics to add patterns, scenes, or abstract designs. This is a perfect opportunity to match your wall art with the room’s color scheme or to bring a personal artistic vision to life.
Apply Mixed Media
Mixed media art involves combining various artistic mediums to create complex, layered compositions. Apply this technique to your shower curtain wall art by attaching items like buttons, beads, sequins, or even small mirrors. This approach is especially appealing if you’re going for an eclectic or bohemian style.
Use Stencils
If you’re not confident in freehand painting, stencils are a great way to achieve neat, professional-looking designs. Choose from countless patterns and motifs available at craft stores or make your own for a completely unique look. Stenciling onto a shower curtain can quickly elevate its appearance from simple to spectacular.
Create Collages
Creating a collage on your shower curtain allows for endless creativity. You can glue on paper cut-outs, fabric scraps, or even photos sealed with a waterproof adhesive. This technique is especially effective for themed rooms or as a way to chronicle family memories or travels.
Each of these customization techniques gives you the chance to transform a plain shower curtain into personalized wall art that enhances your space and reflects your style. Experiment with one or combine several to create truly unique shower curtain wall art.
Installation Tips and Tricks
Installing shower curtain wall art is a simple yet impactful way to enhance your living space. With the right approach, you can ensure that your art is not only visually pleasing but also securely mounted.
Here are some tips and tricks to help you install your shower curtain wall art effectively:
Choose the Right Location
Before you even begin the installation, it’s crucial to pick the perfect spot for your shower curtain wall art. Look for a space that complements the size and style of the art piece. Consider the wall color and surrounding decor to ensure your art will stand out. Make sure there’s enough space around the art to create a visual impact without clutter.
Use Appropriate Mounting Hardware
Depending on the weight of your shower curtain wall art and the type of wall you’re mounting it on, choose the right hardware. For most interior walls, drywall screws and anchors are sufficient. If your wall art is particularly heavy, consider using more robust mounting systems like toggle bolts.
Secure the Frame Evenly
When you attach the frame of your shower curtain wall art to the wall, make sure it’s even. Use a spirit level to check that the top of the frame is perfectly horizontal. This not only ensures aesthetic alignment but also helps in evenly distributing the weight across the wall hangers.
Prevent Sagging
To keep your shower curtain wall art looking its best, ensure it’s taut and free of wrinkles. If the fabric starts to sag, you can tighten it by adjusting the frame or re-stapling the fabric at tighter intervals. Keeping the fabric taut will maintain the visual integrity of the piece.
Protect the Wall Surface
When installing shower curtain wall art, consider the long-term protection of your wall. Use wall protectors or small felt pads behind the frame corners to prevent scuff marks or paint damage. This is especially important if you plan to move the art in the future.
Regular Adjustments
After installation, check your shower curtain wall art periodically to make sure it remains secure and well-presented. Adjustments might be needed especially if the wall art is in a high-traffic area or if your home experiences changes in humidity and temperature, which can affect the wall and frame materials.
Installing shower curtain wall art can dramatically change the feel of any room. By following these tips and tricks, you’ll ensure that your wall art is not only a stunning addition to your decor but also a lasting one.
Conclusion
Making shower curtain wall art is a creative and budget-friendly way to add a unique touch to your home decor. With simple materials and a bit of DIY spirit, anyone can transform a plain shower curtain into a stunning piece of art. The process allows for customization to match any room’s theme or color scheme, ensuring your artwork is as individual as you are. As you hang your new creation, it becomes not just a focal point, but a personal statement within your living space.
We have more amazing art projects that use old objects. Check out our DIY glass bottle cutter project.


