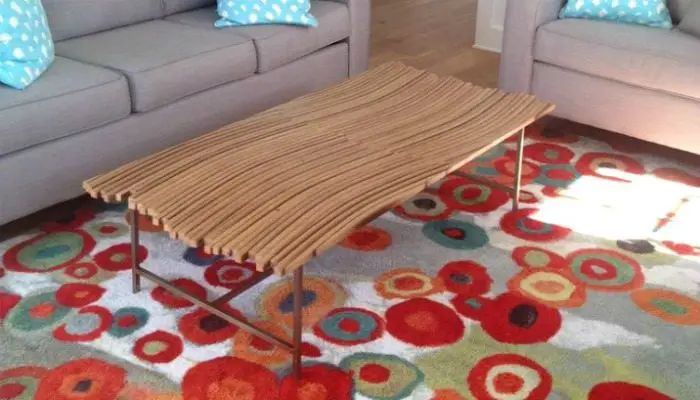
This is not your ordinary wine barrel coffee table!
Click on any image to start lightbox display. Use your Esc key to close the lightbox.![]()

Materials:
- Used Wine Barrel
- Wood Glue
- Acetone/MEK Based Wood Patch
- Shellac
- Urethane
- Varnish
Tools:
- Table Saw
- Planer
- Palm/Random Orbital Sander
- Belt Sander
- File
- Wood Clamps
- Circular Saw
- Welder
- Wire Brush
[adinserter block=”11″]
Steps:
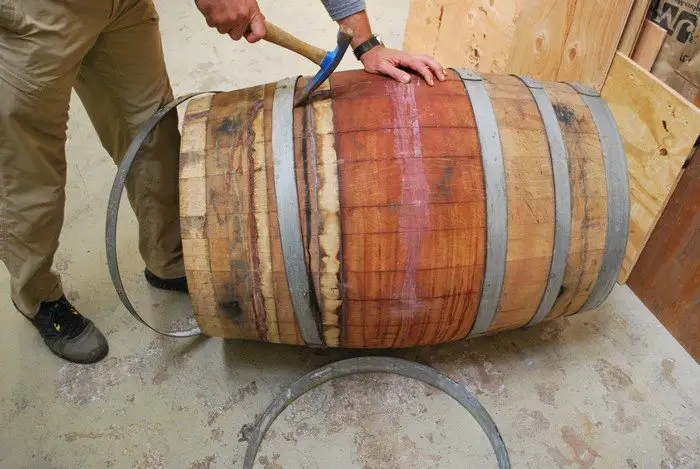
Disassemble the barrel: Find yourself a used wine barrel (you’ll actually need two for a 5ft x 2.5ft top). Living near wine country, I thought they’d be easy to obtain at any winery, but the wineries are not too keen on selling them directly to individuals. I ended up buying them from a local reseller for about $90 each (new they’re about $500).
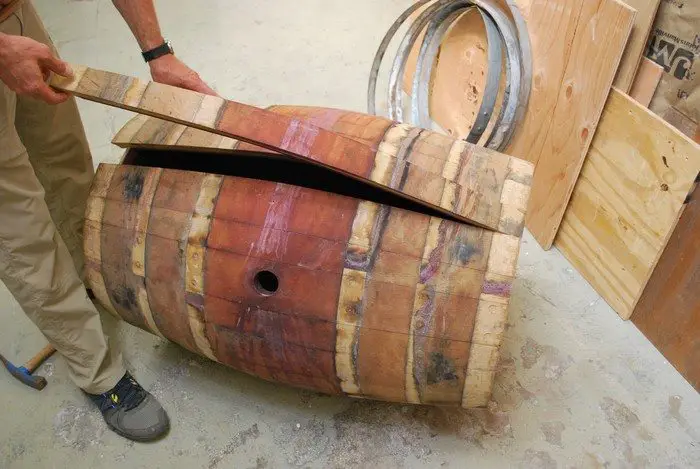
The staves separate easily once the hoops are removed – there’s no glue, just the pressure from the hoops keeping them together (and swelling of the wood). It’s a magical moment to see a super strong barrel collapse into pieces and the aroma of red wine and oak fill the air. And the deep red staining is pretty amazing to look at.

Dry the staves out really well before cutting – it takes a month or so at room temperature indoors.
A note about barrels:
Wineries discard them after 3-5 years because they go ‘oak neutral’, meaning the oak no longer imparts any flavor or other qualities into the wine. They can be bored out (like cylinders in an engine) and reused, but there’s a risk of getting a bad tasting batch of wine if there are any contaminants inside. It actually happened to a winemaker friend and he lost about 200 bottles of wine! Wine barrels are often resold to distillers who char the insides black and use them as casks for aging whiskey.

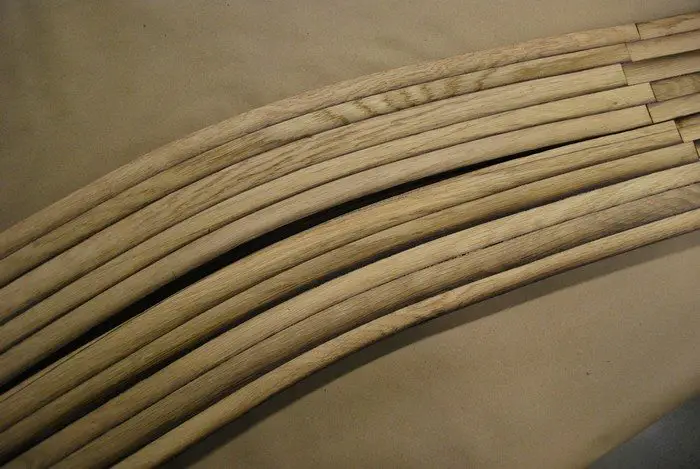
Cut the staves: Each stave is slightly wider in the middle, so they have to be cut straight. I made a quick jig from 3/16in doorskin strips to keep them straight on the table saw.
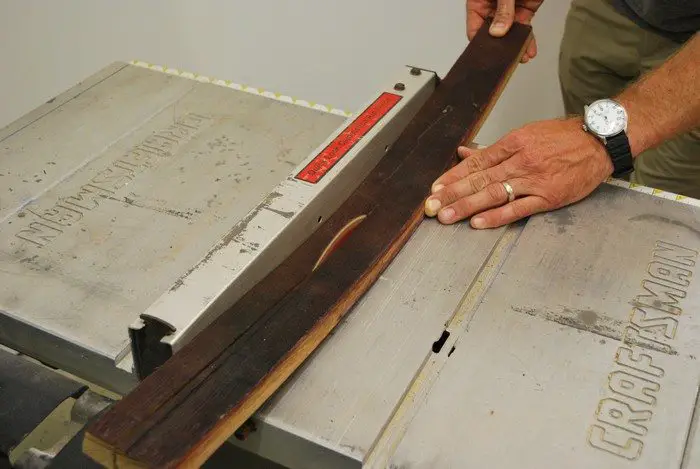
After one side is cut, I set the fence and ripped 1 inch wide pieces.
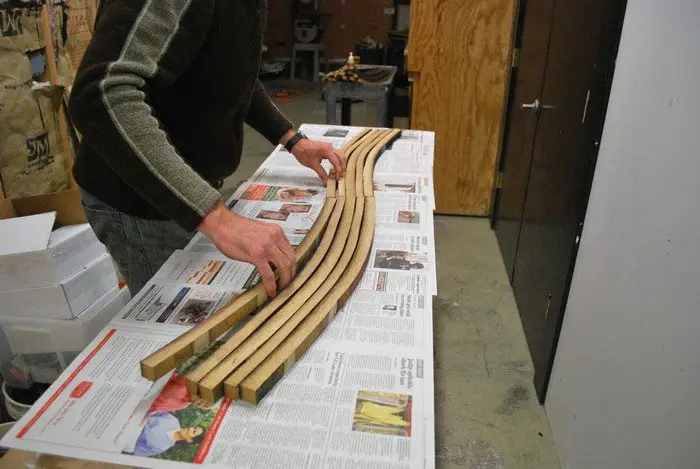
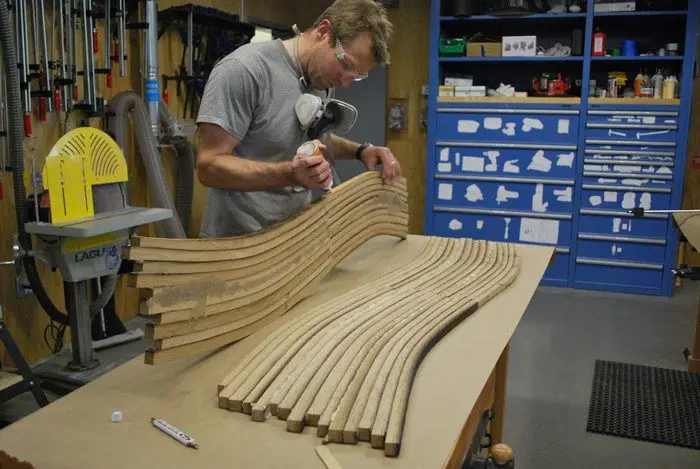
Glue up the staves: Gluing up requires patience, as the pieces can be irregular. I found that five is an optimum number to start with. The middle section where the ends meet has to be interlaced with pieces of the same width, and the stack squeezed together to make sure there’s no cupping or bowing while they’re clamped. It has to be precise as possible, but it’s sort of meatball surgery.
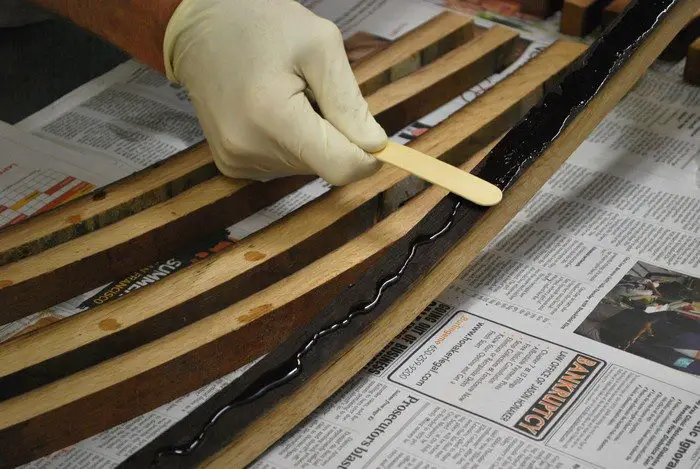
I dampened each piece and spread urethane glue across the surface. Although it’s not the most prestigious of glues, urethane will foam up and fill any gaps (which there will be a fair amount of.)
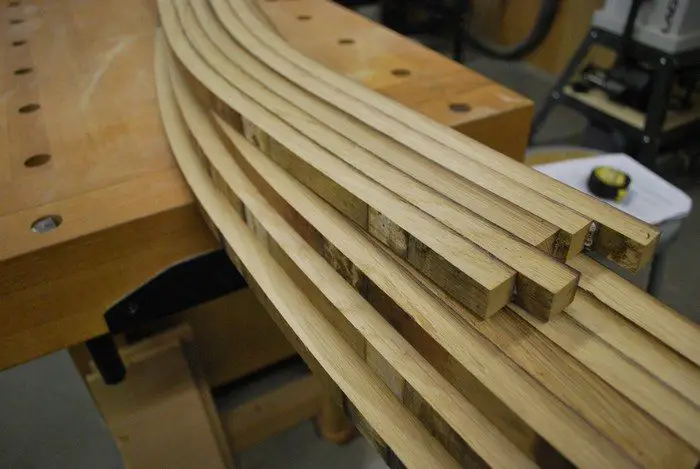
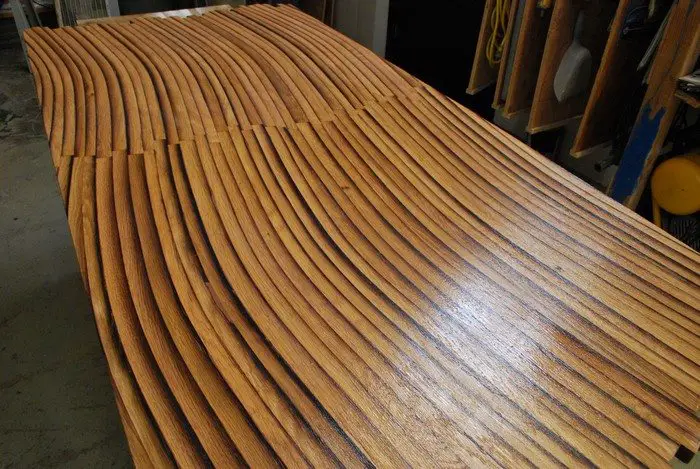
Because the inner portion of the wood is dark from being toasted, it will visually delineate every piece, creating a sweeping arc that’s really cool. If there was no dark stripe, the pieces would just blend into one.
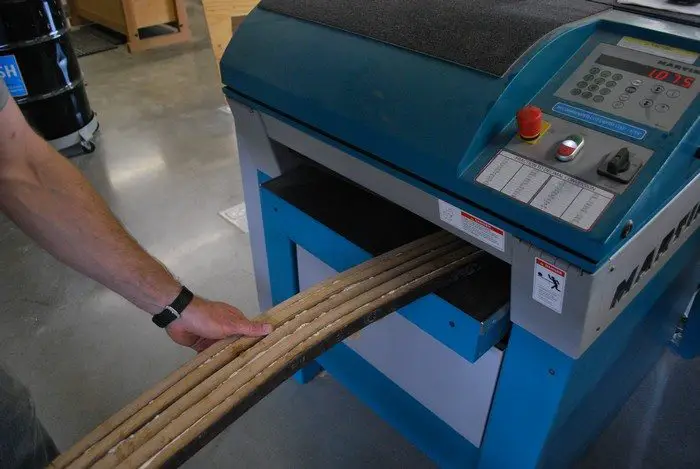
Plane and fit curves together: Plane the boards down until there is no glue showing, and square the edges on a drum sander with 40 grit paper. The edges will now be at 90 degrees and stay flat for the next round of gluing.
Since the curves are not identical, one piece will have to altered to match the other.

Place one plank over the other, trace the curve, and sand away the material to match.
It will require a lot of back and forth matching to the reference curve, so be patient.
You might ask why I don’t just make a template and cut out each piece the same using a router? If I did that two things would happen: 1. The entire dark stripe would be lost on one side, making the pieces ‘blend’ together. 2. A repeating pattern would be visible every 5 pieces on the finished top. Matching the curves by hand preserves the natural irregularities, and keeps the pattern from repeating.
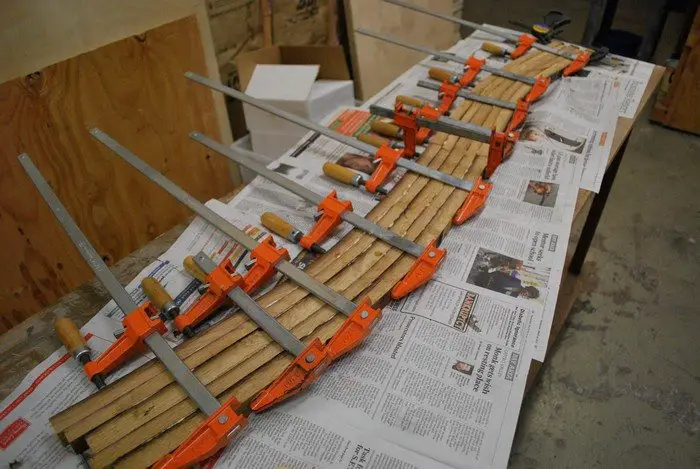
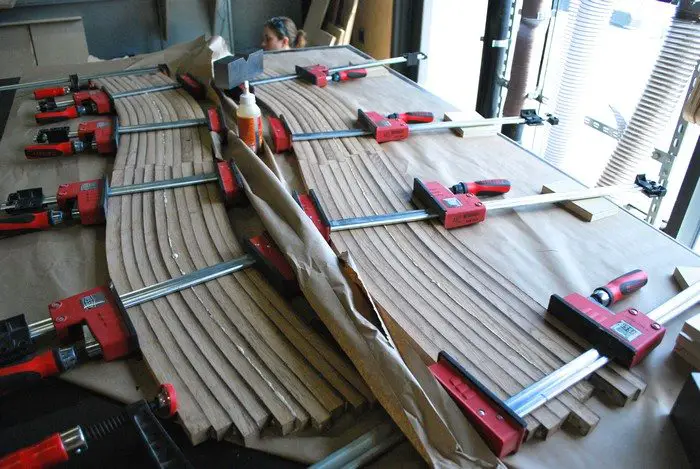
Finish glue-ups and cut the long edges: Glue the remaining pieces until they’re done. Check to make sure everything is flat all the way around. If a section is pulling the wrong way, reverse the orientation of the clamp. Don’t clamp more than two pieces at a time because it will be very hard to keep everything flat.
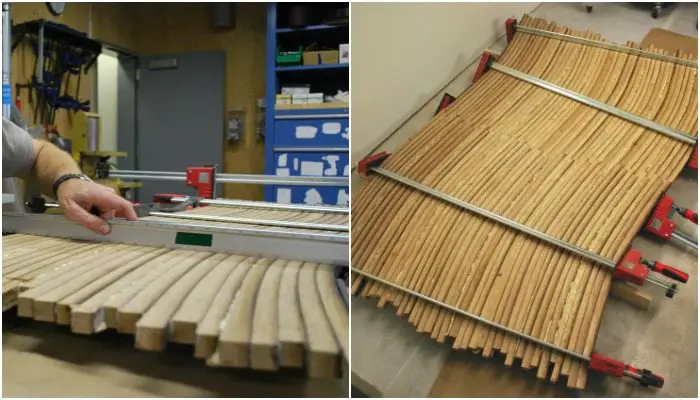
The glue hardens quickly and will be ready to work with in 2 hours.
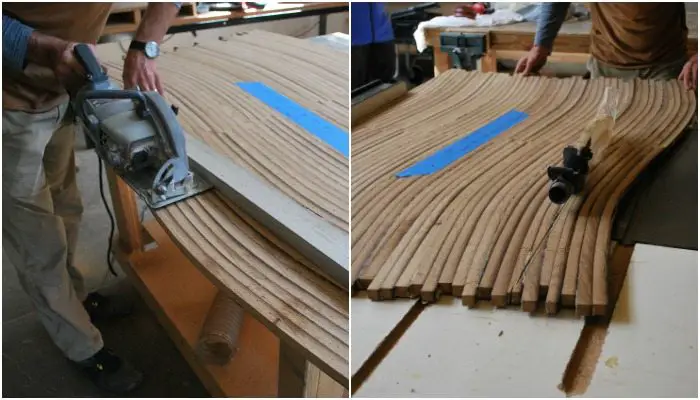
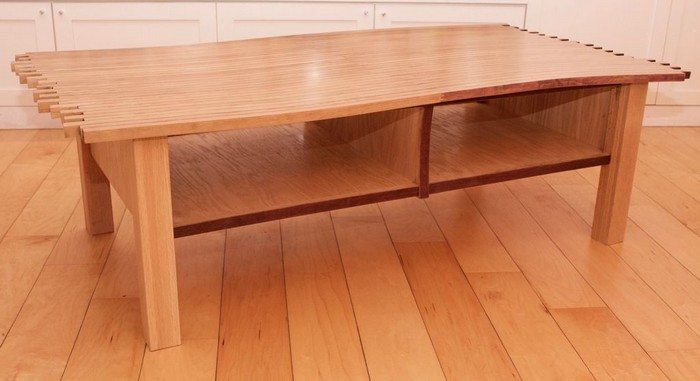
I cut the edges lengthwise using a Skilsaw for the first cut, and a table saw for the second. The decision to cut the edges was an aesthetic choice, but it’s perfectly alright to leave the edges curved. I definitely think the short ends should be left irregular as a visual reminder that it’s made of individual pieces.
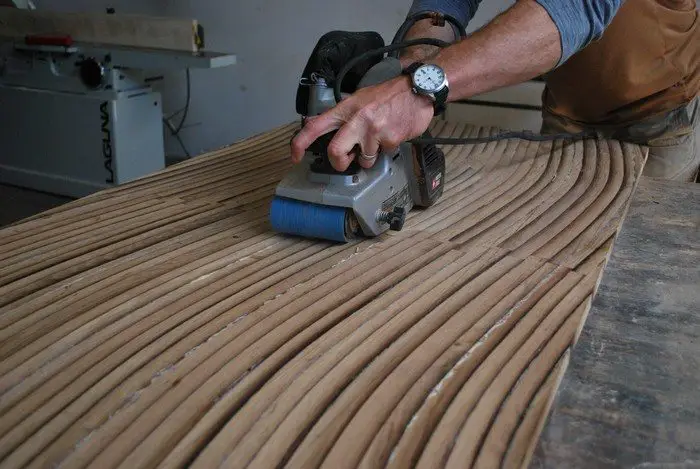
Sand and patch: Sand the top flat with a belt sander. I used 40 grit to start, then 80, and 120. Rake out any foam in the cracks with a thin pick.
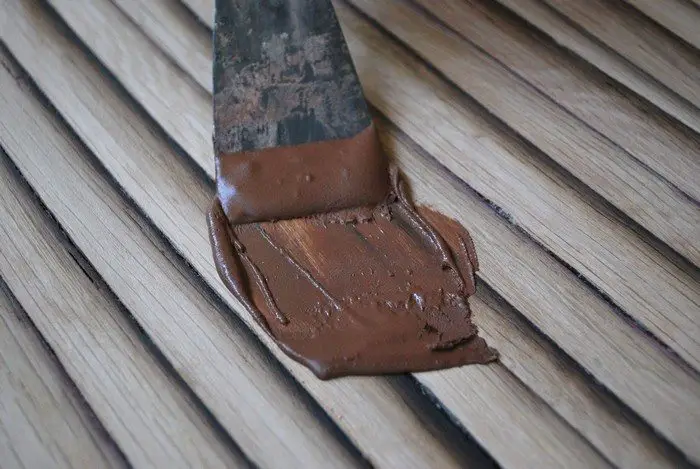
Using an acetone/MEK based wood patch, thin out the mixture with acetone and coat the entire surface. Oil based patching compound tends to be way too thick, and takes forever to dry. Color match on a test piece before starting – the color will be significantly lighter when it dries.
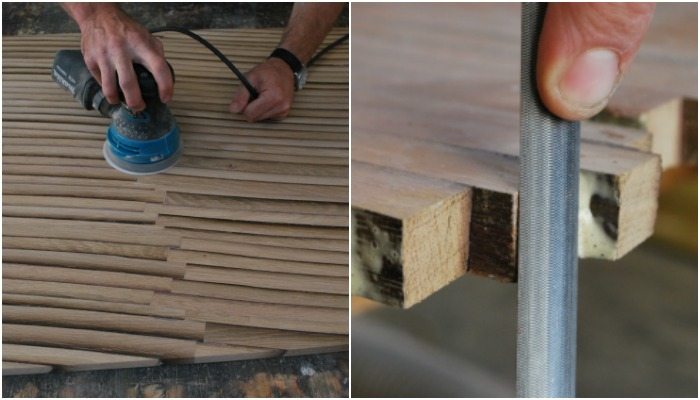
Once the patching compound is dry, belt sand with 80, then 120 to get the bulk of the material off. Then palm sand to 220 grit to finish. File off any glue from the ends.
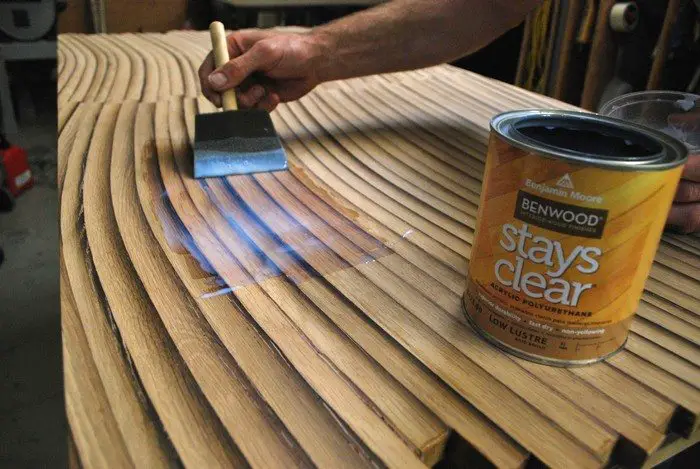
Varnish the top: I applied two coats of a satin urethane varnish with a light 220 grit sanding in between coats. I used a foam brush in the picture, but I think a bristle brush would have been a better choice, as it was challenging to spread the varnish evenly.
On the original table (this was the second one I made), I had a local finisher put on conversion varnish, which is a two part product that resembles a plastic shell. It’s used in restaurants a lot and is really durable, but it has a bit of buildup that some people think makes wood look artificial.
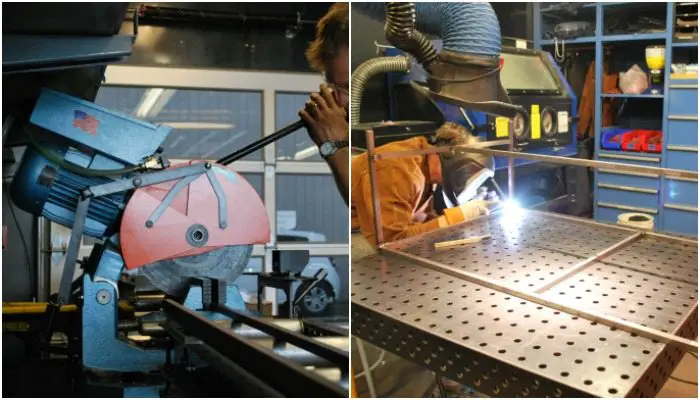
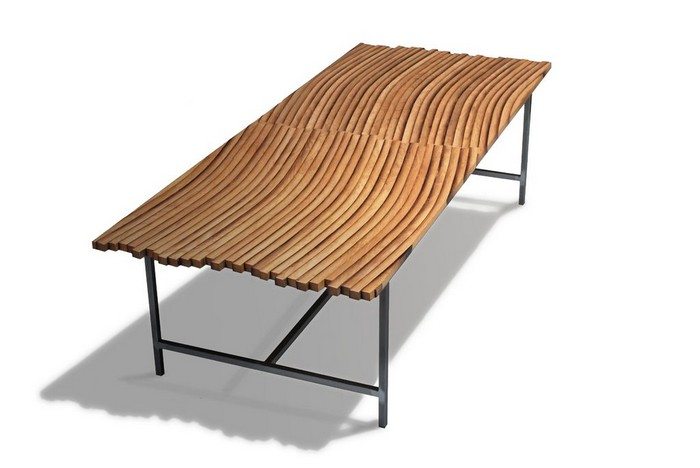
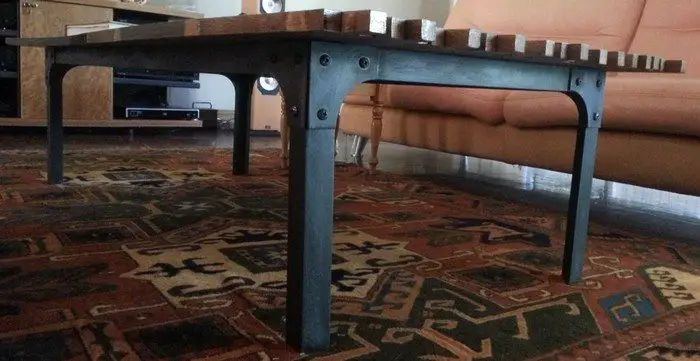
Build the steel base: Cut and weld the steel to make the table. I chose 5/8in solid square because I wanted the base to look thin and crisp, but have strength and weight to it. Tubing would have been too lightweight, and the edges too round.
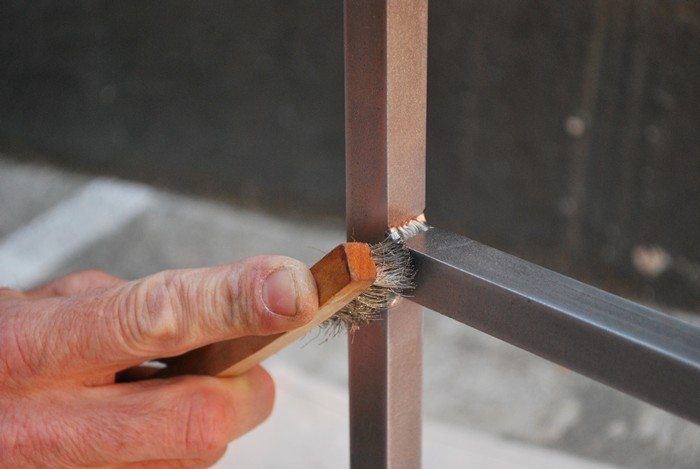
I ground the in-plane surfaces of the welds flat, and left the inside corners alone to show off the welds. I wire brushed the discoloration around the welds, and rubbed the rest of the steel with a Scotchbrite pad. The cold roll steel finish is has a nice look to it – refined, but still industrial and handcrafted.
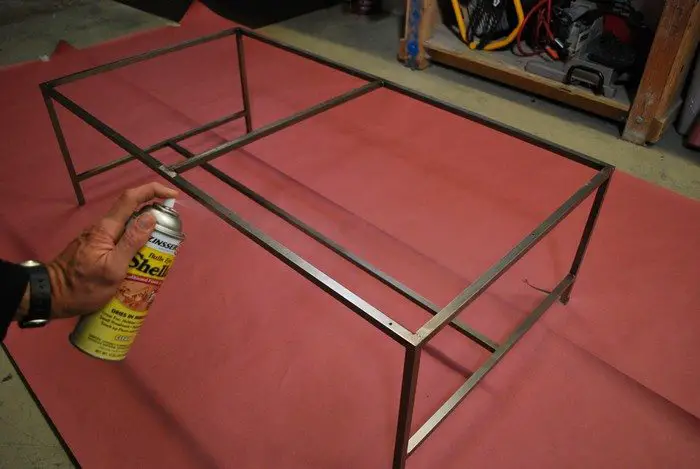
After wiping it down with acetone, a sprayed on a single coat of shellac. I like shellac because it dries quickly and stays slightly flexible. Clear acrylic seems like a good finish at first, but it’s so brittle that if you ever scratch the steel, there will be flaking around the scratch.
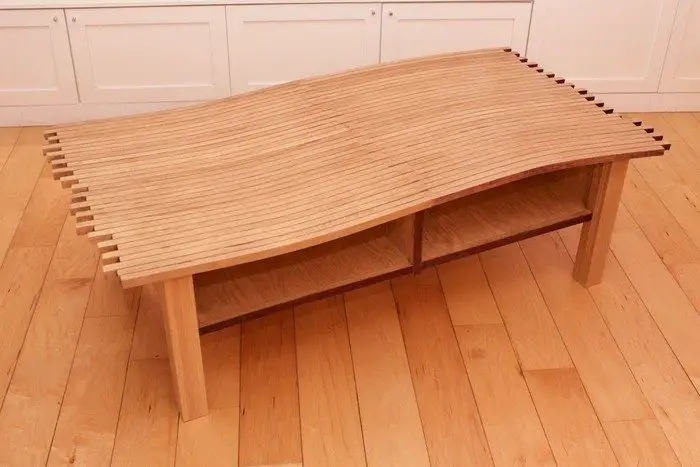
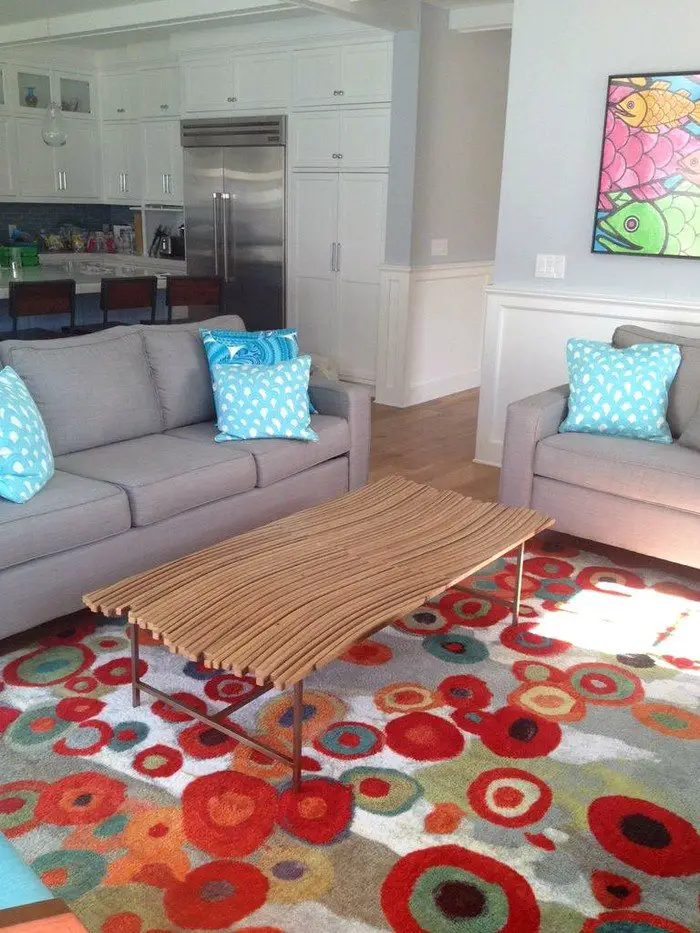
The finished table finished: This table was custom built for a family in Manhattan Beach, CA. It’s always nice to get a picture of my work residing in someone’s house. It took about 25 hours over 2 weeks time. Strange thing was I made a smaller version of the table maybe five years ago, got some press and tons of inquiries from designers, but never sold a single one. Then recently, from out of the blue, I got two orders from completely different people within a month of each other. Very strange but I’ll take it…
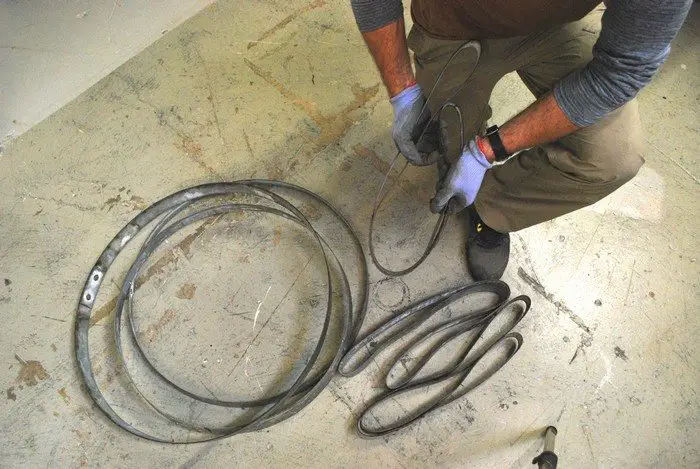
Bonus projects with leftover scraps: I was on a wine barrel kick for a while and got inspired by the scraps left over from building my table.
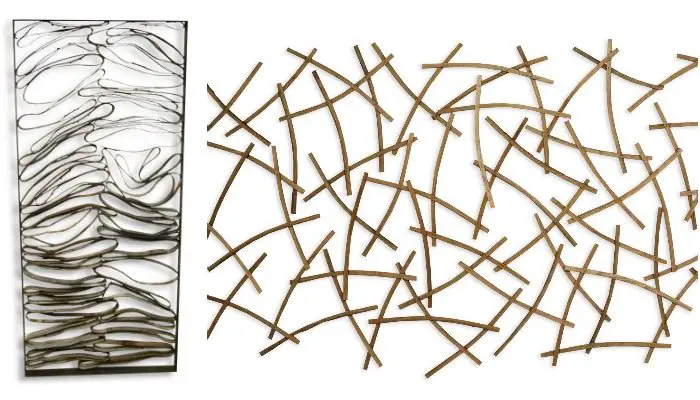
While bending the metal hoops so they’d fit in the trash can, I noticed an interesting pattern developing on the floor that reminded me of a fingerprint. So I constructed a metal frame and welded the bent hoops into position. I was pretty happy with the results although the thing ended up weighed a ton. I showed it in three different venues before I decided I was tired of hauling it around, and decided to sell it at a ‘rock bottom’ price. A designer saw it along the way and I got commissioned to install mezzanine railing panels at the New Parkway Theater in Oakland, CA.
Same thing happened with the oak staves while I was cutting them on the table saw and dropping the scraps on the ground. I made a matrix of them by arranging the strips on the floor, then stapling the pieces together with a narrow crown pneumatic stapler.
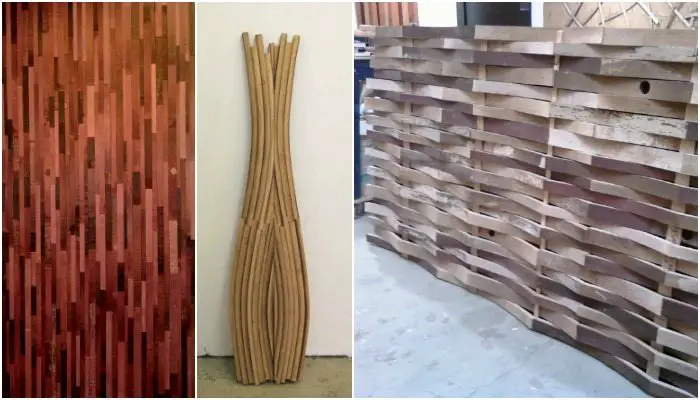
The burgundy colored mosaic was a 5ft x 10ft wall installation made from the inner barrel portion cut into 1/8in veneers. The vibrance and saturation of the wine stained oak was really compelling, but it faded over time, even indoors with very little sunlight. I had the idea to use UV varnish, but it darkened the color almost to a black. I suppose one could renew the color just by reapplying red wine itself. Maybe next time.
Thanks to John Whitmarsh for this great project!


