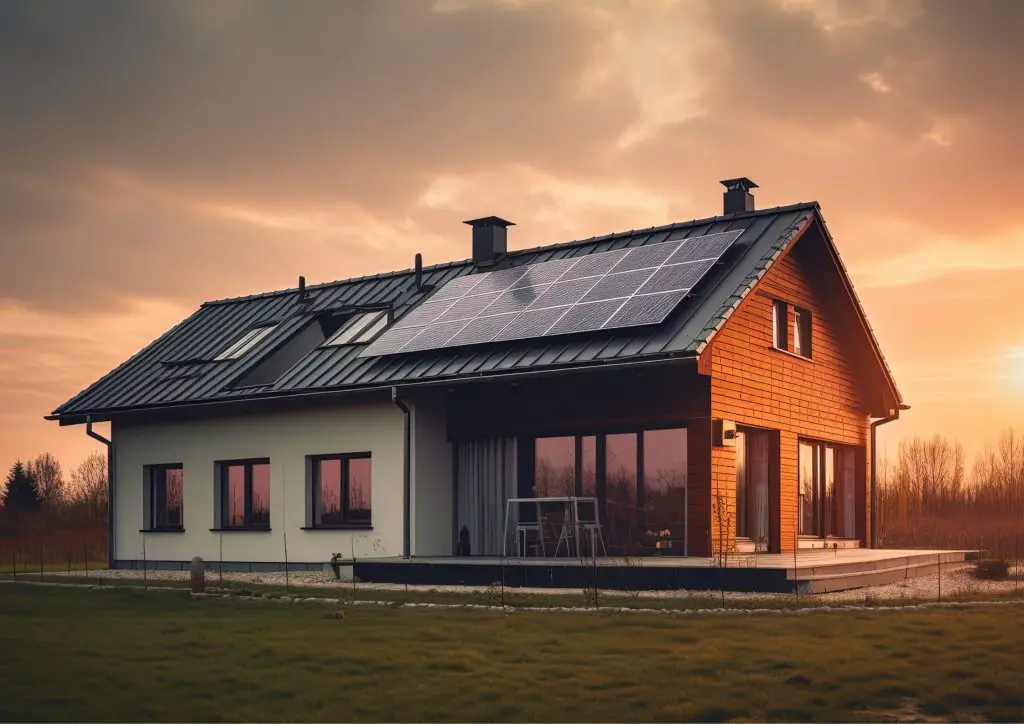
Have you ever imagined reducing your electricity expenses while also contributing to a more sustainable environment? Solar panels might just be the perfect solution for you!
The concept of DIY solar panel installation may seem daunting at first, but with some assistance, you can easily bring this idea to life.
DIY Solar Panel Installation for Beginners: Green Energy Made Easy
In this guide, we’ll break down the entire process, from assessing your location to connecting the system to your home. We’ll cover all the materials you need and give you detailed, easy-to-follow steps to ensure your project is a success.
By the end, you’ll not only have a working solar panel system but also the satisfaction of having installed it yourself.
Let’s embark on this exciting journey towards energy independence and sustainability. Your DIY solar panel installation adventure starts now!
Materials Needed for Solar Panel Installation:
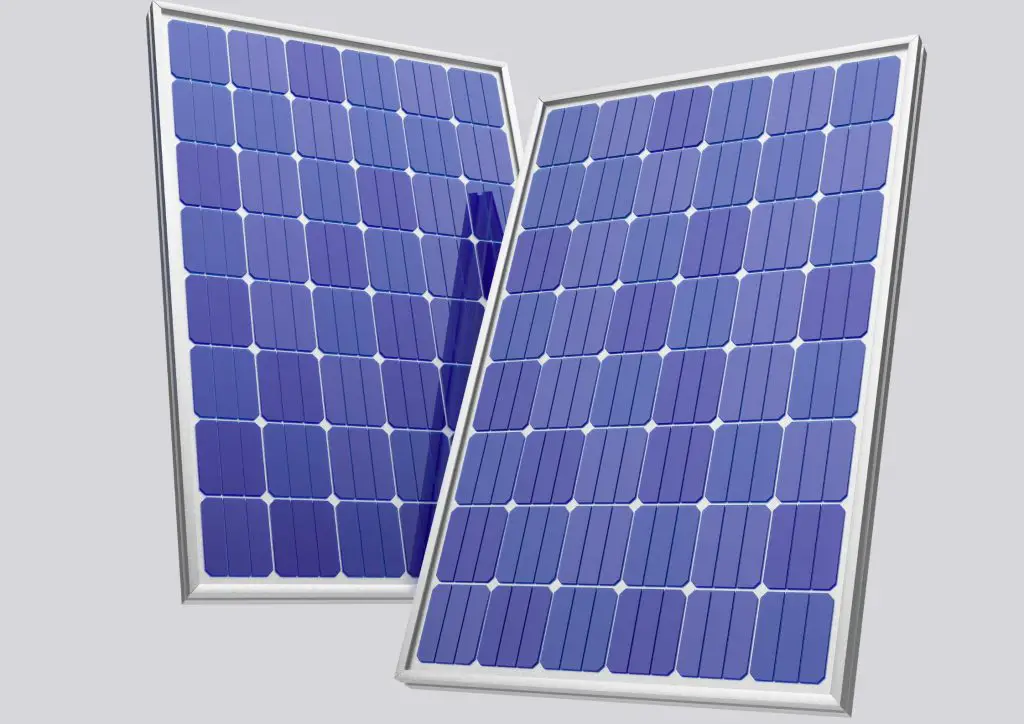
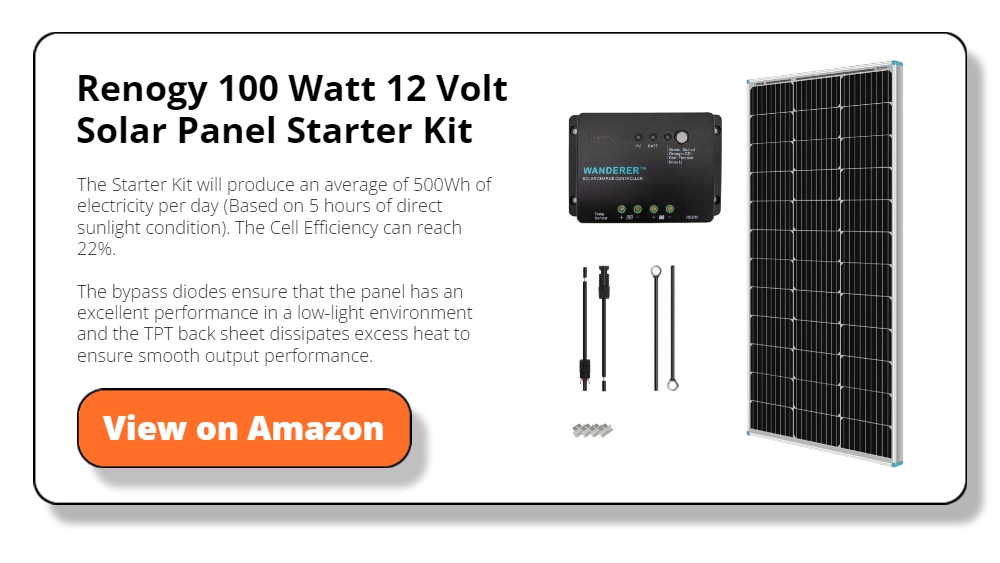
- Solar Panels
- Solar panels are the heart of your system. They capture sunlight and convert it into electricity.
- When shopping for solar panels, you’ll find various types, such as monocrystalline, polycrystalline, and thin-film panels.
- Monocrystalline panels are more efficient but also more expensive.
- Polycrystalline panels are a bit less efficient but cheaper.
- Thin-film panels are the least efficient and are generally used for specific applications.
- When choosing your panels, consider the efficiency, cost, and space available on your roof. Typically, you’ll need multiple panels to meet your home’s energy needs.
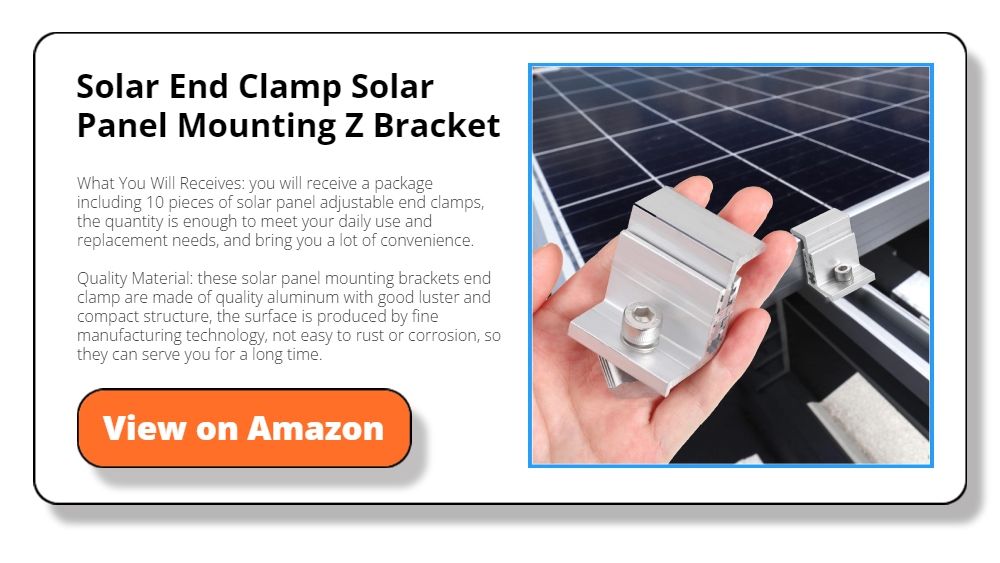
- Mounting Hardware
- Mounting hardware is crucial for securing your solar panel installation to the roof or ground.
- There are different mounting systems, such as roof mounts, ground mounts, and pole mounts.
- Roof mounts are the most common for residential installations.
- Ensure you select a mounting system that is compatible with your roof type (e.g., shingle, tile, metal) and can withstand local weather conditions.
- The mounting system will usually include rails, brackets, and bolts to attach the panels securely.
- Inverter
- The inverter is a critical component that converts the direct current (DC) electricity generated by your solar panels into alternating current (AC) electricity that your home can use.
- The three primary types of inverters are string inverters, microinverters, and power optimizers.
- String inverters are the most common and connect multiple panels in series.
- Microinverters are installed on each panel, offering better performance in shaded conditions.
- Power optimizers are a hybrid solution that combines features of both string inverters and microinverters.
- Battery Storage (Optional)
- Battery storage allows you to store excess energy generated during the day for use at night or during cloudy days.
- While not essential, batteries can help you maximize your solar energy usage and provide backup power during outages.
- Common battery types include lead-acid and lithium-ion. Lithium-ion batteries are more expensive but have a longer lifespan and better performance.
- Consider your budget and energy needs when deciding whether to include battery storage in your system.
- Charge Controller
- If you decide to include battery storage in your solar panel installation, a charge controller is necessary to regulate the voltage and current coming from the solar panels to the batteries.
- It prevents overcharging and extends the lifespan of your batteries. There are two main types of charge controllers:
- Pulse Width Modulation (PWM) and Maximum Power Point Tracking (MPPT). MPPT controllers are more efficient but also more expensive.
- Cables and Wiring
- Proper cables and wiring are essential for connecting all components of your solar system.
- You’ll need solar cables to connect the panels to the inverter and the inverter to your home’s electrical system.
- Choose cables rated for outdoor use and sized appropriately for the current they will carry.
- Use connectors and junction boxes to ensure safe and secure connections.
- Tools:
- To install your solar panels, you’ll need a basic set of tools, including a drill, screwdriver, wrench, ladder, and safety gear such as gloves and a hard hat.
- Having the right tools on hand will make the installation process smoother and safer.
Step-by-Step Process of Solar Panel Installation
Evaluating Your Location
Properly evaluating your location is crucial for maximizing the efficiency of your solar panel installation. Here are some important considerations for you to follow:
- Sunlight Exposure
- First and foremost, you need to ensure your location receives ample sunlight. Solar panels work best when they have unobstructed access to sunlight for most of the day.
- Begin by observing the amount of direct sunlight your roof gets throughout the day.
- Ideally, your roof should get direct sunlight from around 10 a.m. to 2 p.m., which are the peak sunlight hours.
- Use tools like Google’s Project Sunroof, which can give you a detailed estimate of how much sunlight your roof gets.
- Roof Condition
- Next, inspect the condition of your roof. Since solar panels can last 25-30 years, it’s important that your roof is in good shape if you plan to have solar panel installation.
- Check for any damages, like missing or cracked shingles, leaks, or structural issues. If your roof is nearing the end of its lifespan or has significant damage, it’s wise to repair or replace it before installing solar panels.
- A sturdy and well-maintained roof ensures that your solar panels will be securely supported and minimizes potential future problems.
- Shading Issues
- Finally, check for any shading issues. Trees, chimneys, or nearby buildings can cast shadows on your roof and reduce the efficiency of your solar panels.
- Trim any overhanging branches and, if possible, choose a spot on your roof that gets the least amount of shade.
- Remember, even partial shading can significantly reduce the efficiency of your solar panels, so it’s crucial to minimize any potential obstructions.
Designing Your System
Before you proceed with your solar panel installation, it is vital that you design how your system will be installed.
- Calculating Your Needs
- Designing your solar system begins with calculating your energy needs.
- Review your electricity bills to find your average monthly usage in kilowatt-hours (kWh).
- Multiply this by 12 to get your annual usage. This figure will help you determine how much solar energy you need to produce.
- Sunlight Availability
- Next, determine the average peak sunlight hours your location receives. This can usually be found through online resources or by consulting with a local solar provider.
- Peak sunlight hours refer to the time of day when the sun is intense enough for your solar panels to generate electricity effectively.
- System Size
- With your annual energy usage and peak sunlight hours in mind, you can calculate the size of the system you need.
- For instance, if your home uses 10,000 kWh per year and your location receives 5 peak sunlight hours per day, you would need a system capable of generating around 5.5 kW (10,000 kWh / 365 days / 5 hours = 5.5 kW).
- This means you’ll need enough panels to produce this amount of power.
- Panel Layout
- Before your actual solar panel installation, plan the layout of your solar panels on your roof.
- Consider the orientation and tilt of your roof to maximize sunlight exposure.
- In the northern hemisphere, south-facing roofs are ideal because they receive the most sunlight throughout the day.
- The angle of your roof should ideally match your latitude to capture the maximum amount of sunlight.
- Use software tools or consult with a solar installer to design an optimal layout that avoids shading and maximizes efficiency.
Installing the Mounting System
When installing the mounting system, follow the manufacturer’s instructions carefully for proper installation.
- Attaching the Mounts
- Installing the mounting system is the first step in your solar panel installation.
- Begin by attaching the mounting hardware to your roof.
- Locate the rafters or trusses under your roof using a stud finder or by tapping the roof to find these structural supports.
- Mark these locations as they will be the anchor points for your mounts.
- Drilling and Securing
- Drill holes into the rafters at the marked locations. Be careful not to damage your roof in the process.
- Insert lag bolts through the mounts and into the drilled holes. Tighten them with a wrench to ensure they are securely attached.
- It’s crucial that the mounts are firmly anchored to provide a stable base for the panels.
- Installing the Rails
- Once the mounts are in place, attach the rails to the mounts.
- These rails will support the solar panels and allow you to adjust their position.
- Use a level to ensure the rails are straight and properly aligned.
- Secure the rails to the mounts with bolts and screws, double-checking that everything is stable and secure before moving on to the next step.
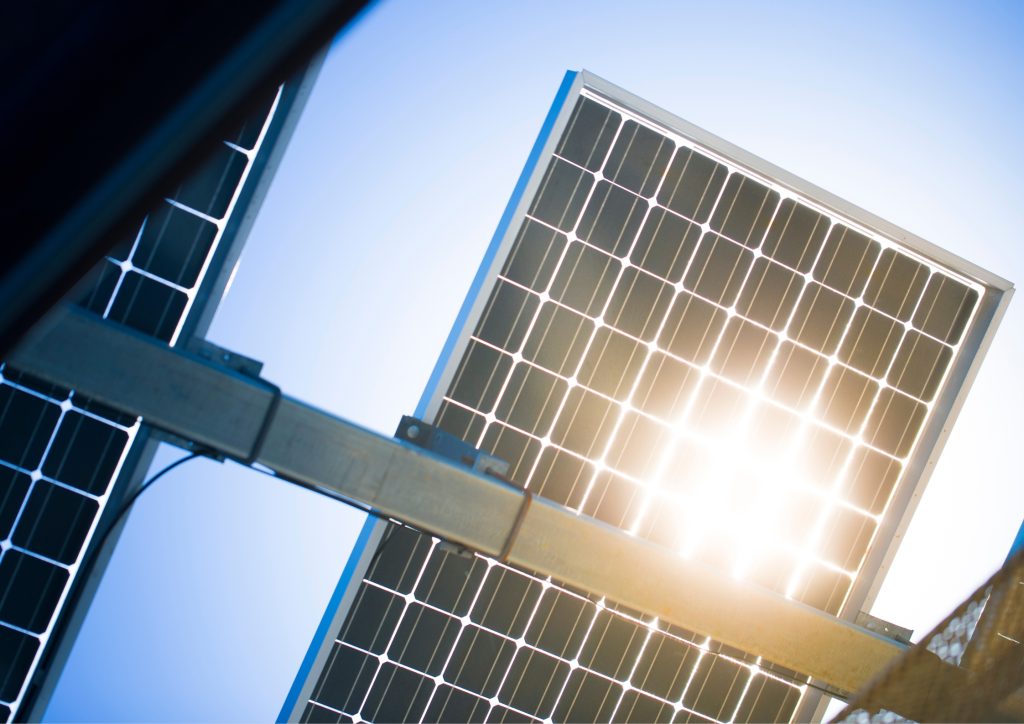
Placing the Solar Panels
- Lifting and Aligning
- With the mounting system in place, you can now place the solar panels onto the rails.
- This step in solar panel installation can be physically demanding, so it’s a good idea to have someone assist you.
- Carefully lift each panel onto the rails, aligning them with the mounting brackets.
- Ensure that the panels are evenly spaced and properly aligned to maximize their exposure to sunlight.
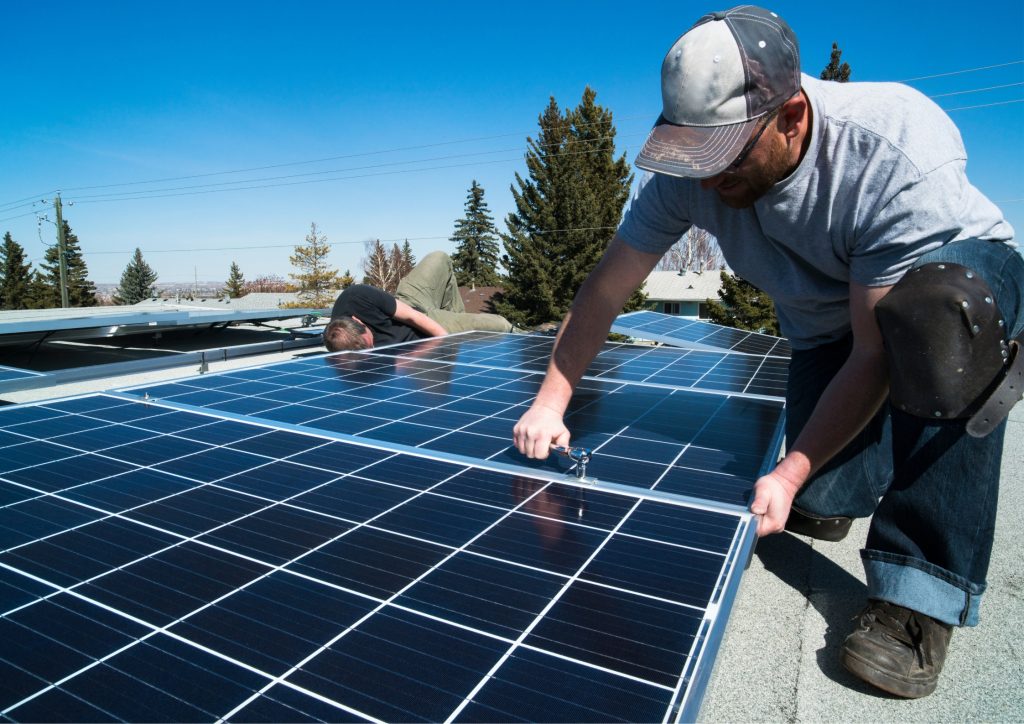
- Securing the Panels
- Once the panels are positioned correctly, secure them to the rails using bolts and screws. Make sure the panels are tightly fastened and won’t move in the wind. Double-check all connections to ensure they are secure and stable.
- Spacing and Airflow: As you place the panels, ensure there is enough space between them to allow for airflow. Proper spacing helps to prevent overheating and makes maintenance easier. Make sure the panels are aligned to avoid any shading issues and to maximize their exposure to sunlight.
Wiring the System
- Connecting the Panels
- Wiring the system involves connecting the solar panels to the inverter and, if applicable, to the battery storage.
- Begin by connecting the solar panels in series or parallel, depending on your system design.
- Series connections increase the voltage, while parallel connections increase the current. Follow the manufacturer’s instructions for wiring the panels to ensure everything is done correctly.
- Using Solar Cables
- Use solar cables to connect the panels to the inverter.
- These cables should be rated for outdoor use and sized appropriately for the current they will carry.
- Secure the cables with clips or zip ties to prevent them from dangling and getting damaged.
- Use junction boxes to protect the connections from the elements and ensure they are safe and secure.
- Battery Storage Wiring
- If you have a battery storage system, connect the charge controller to the batteries and then to the inverter.
- The charge controller regulates the voltage and current coming from the solar panels to prevent overcharging and extend the lifespan of your batteries.
- Follow the manufacturer’s instructions for wiring the batteries and charge controller to ensure everything is connected correctly.
Connecting to Your Home
- Turning Off Power
- The final step in your solar panel installation is to connect the inverter to your home’s electrical system.
- This step might require a licensed electrician to ensure safety and compliance with local regulations.
- Before making any connections, turn off the main power supply to your home to prevent any accidents.
- Connecting the Inverter
- Connect the inverter to your home’s electrical panel using the appropriate cables.
- Follow the manufacturer’s instructions and local electrical codes to ensure everything is connected safely.
- Once everything is connected, turn on the inverter and the main power supply.
- Monitoring the System
- Monitor the system to ensure everything is working correctly.
- Check that the inverter is converting the solar energy into usable electricity and that your home is receiving power from the solar panels.
- Regularly check your solar panels for dirt and debris, and clean them with water and a soft brush if needed.
- Keep an eye on your energy production to ensure the system is performing well and providing the expected savings on your electricity bills.
Conclusion
Solar panel installation might seem daunting at first, but with a bit of patience and effort, you can achieve it. Remember to prioritize safety at all times and consult a professional if you have any doubts or questions.
Now, sit back and enjoy the benefits of your new, energy-efficient home. Your investment in solar energy not only saves you money but also helps protect the environment for future generations.


