Is it starting to get unbearably cold in your part of the world? Here’s one simple solution that can help control indoor temperature without increasing your energy consumption!
We all have many old junk items lying around in our homes or garages. And we all wish we had time to get rid of them properly. I don’t know if you’ve noticed, but a feeling of liberation comes after shedding old stuff.
However, before you start throwing anything out, we want to show you an incredibly creative DIY project that may change your mind.
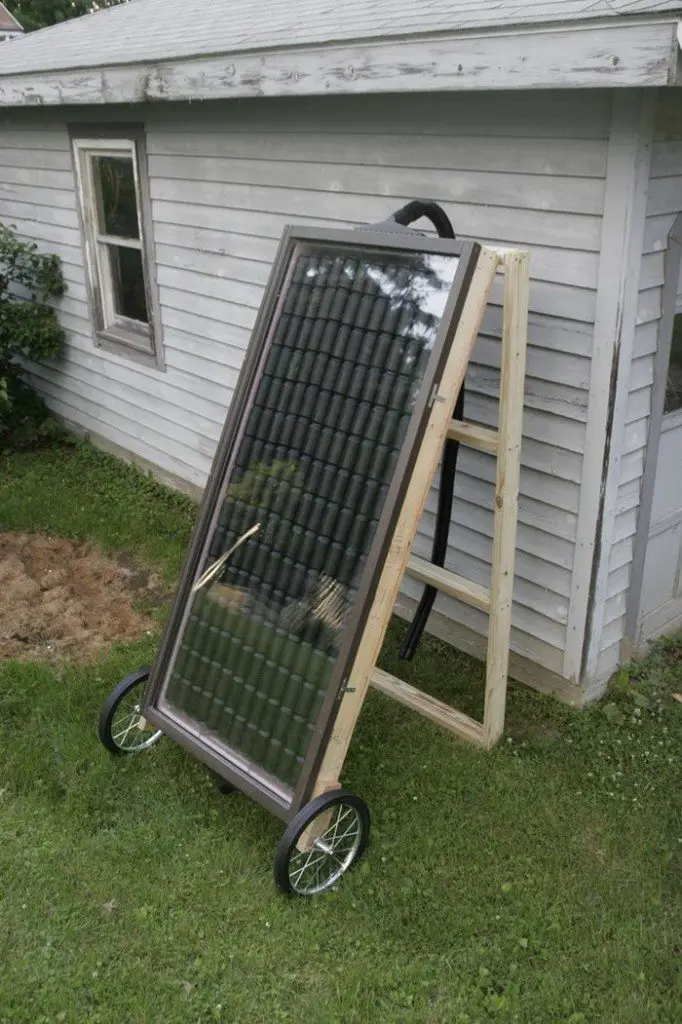
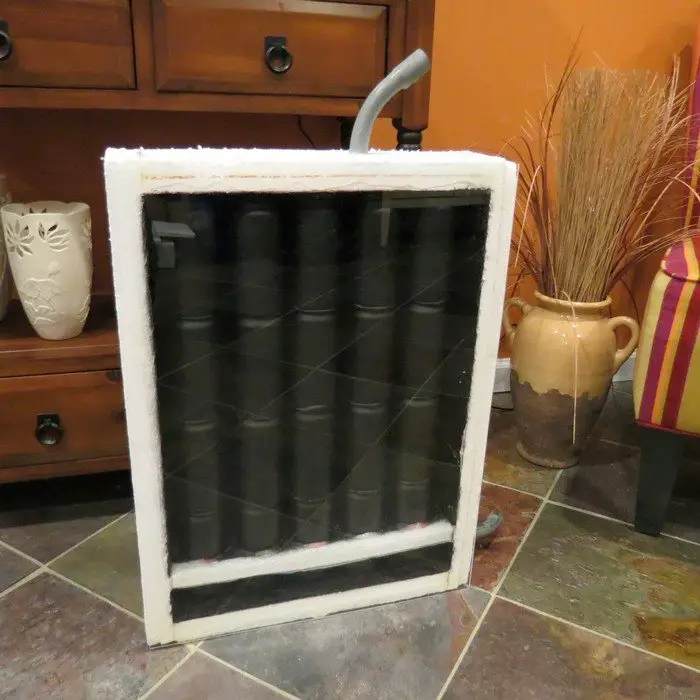
Make a solar heater with soda cans!
This DIY soda can solar heater can make an average temperature difference of 20 degrees Celsius between the inlet and the outlet. But its effectiveness would, of course, depend on the size of your unit. The larger the surface area, the more solar heat it can get.
It’s not the one great solution for heating an entire house. It might be just a small measure but considering that you can make one out of ‘trash’ and excess materials you have from previous projects, it’s a project worth doing!
And along with other small and simple measures (like making your DIY insulated curtains), we’re confident they can all make a significant difference as a whole in keeping your home warm!
Is this going to be your next project? :)
Contents
Building a Soda Can Solar Heater
Materials
- 2×4 Timber
- Plywood
- Clear Plexiglass
- Nails
- Wood Screws
- Aluminum Cans
- Adhesive Caulk
- Black BBQ Paint
- Another Paint (to protect the wood unit)
- 1 1/2″ diameter Wet-Dry Vacuum Hose
- Wet-Dry Vacuum Attachment
- 3/4″ PVC Pipe, Elbows and T-Fittings
- Pyrometer
Tools
- Measuring Tape
- Circular Saw
- Hammer
- Drill Press with 3/4″ Bit
- Drill
Instructions
Step 1: Frame Construction
- Measure and Cut Timber: Using the measuring tape and circular saw, cut the 2×4 timber to create a rectangular frame that will serve as the border of your solar heater. Typically, the size can be about 4 feet by 8 feet, but this can be adjusted based on available space and materials.
- Assemble the Frame: Use wood screws and a drill to assemble the cut timbers into a rectangular frame.
Step 2: Prepare the Back Panel
- Cut Plywood: Measure and cut a piece of plywood to fit the back of the frame.
- Attach Plywood: Secure the plywood to the frame using nails and a hammer.
Step 3: Paint and Weatherproof
- Apply Black BBQ Paint: Paint the entire inside surface of the plywood with black BBQ paint. This enhances heat absorption.
- Seal and Protect the Frame: Apply a protective paint over the outside of the frame to shield it from weather elements.
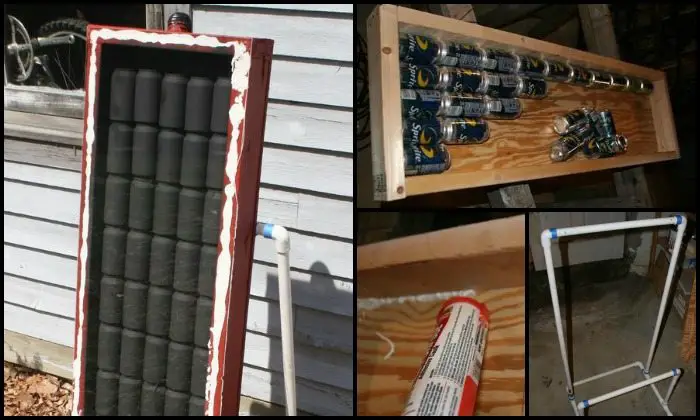
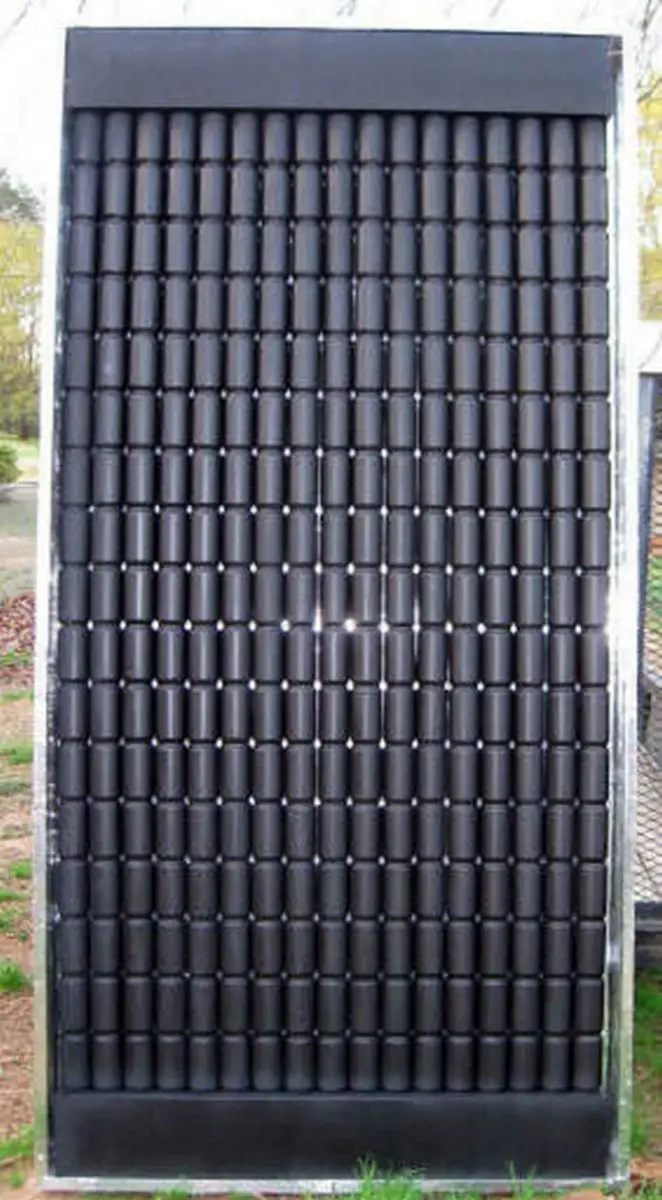
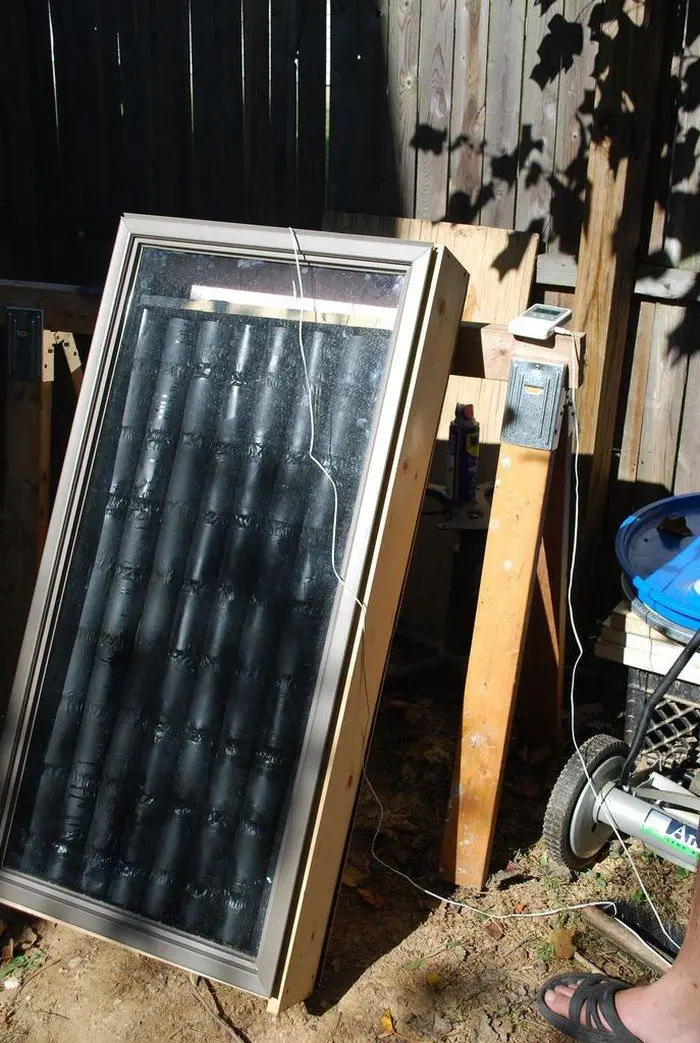
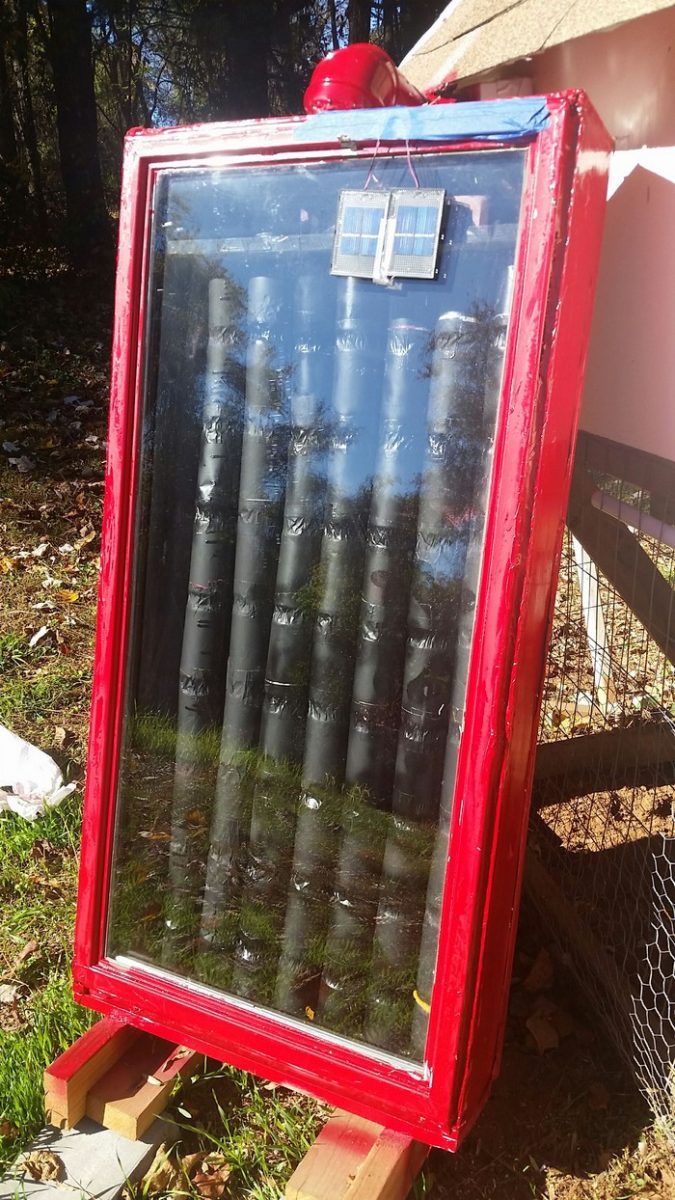
Step 4: Prepare and Install Cans
- Prepare Aluminum Cans: Wash the cans and remove all labels. Drill three holes in the bottom of each can for air flow.
- Paint Cans: Spray the cans with black BBQ paint to improve heat absorption.
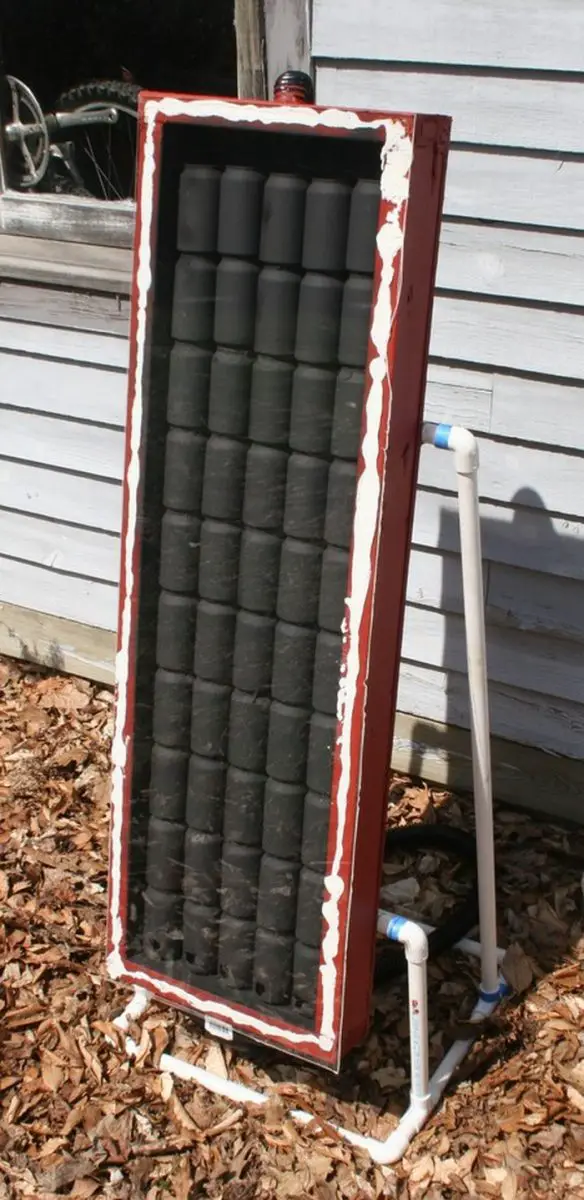
- Stack and Glue: Stack the cans in columns that fit the height of the frame and glue them together using adhesive caulk.
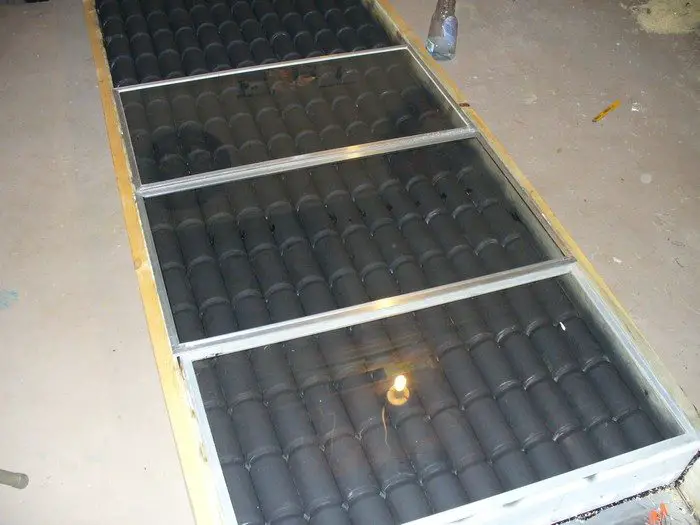
Step 5: Mount the Can Columns
- Secure Can Columns: Place the glued columns of cans inside the frame on the plywood. Ensure they are evenly spaced to cover the entire area.
- Secure Columns: Once positioned, secure the columns to the plywood with adhesive caulk to prevent movement.
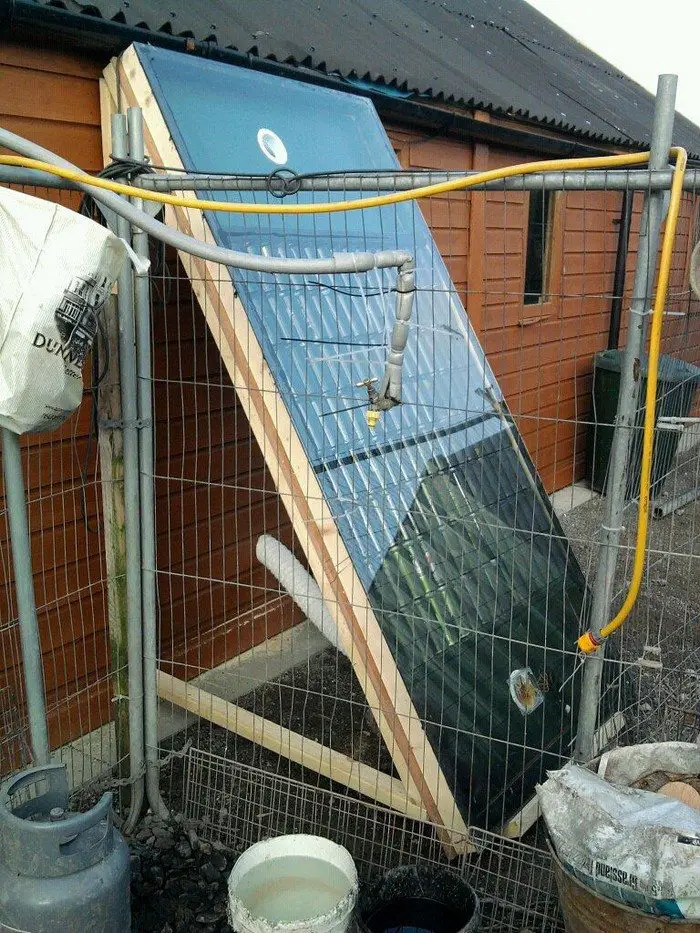
Step 6: Air Inlet and Outlet
- Cut PVC Pipe: Using the drill, make an inlet and outlet at the top and bottom of the frame for air circulation.
- Install Wet-Dry Vacuum Hose: Attach the vacuum hose to the inlet and outlet using PVC elbows and T-fittings to guide the air through the heater.
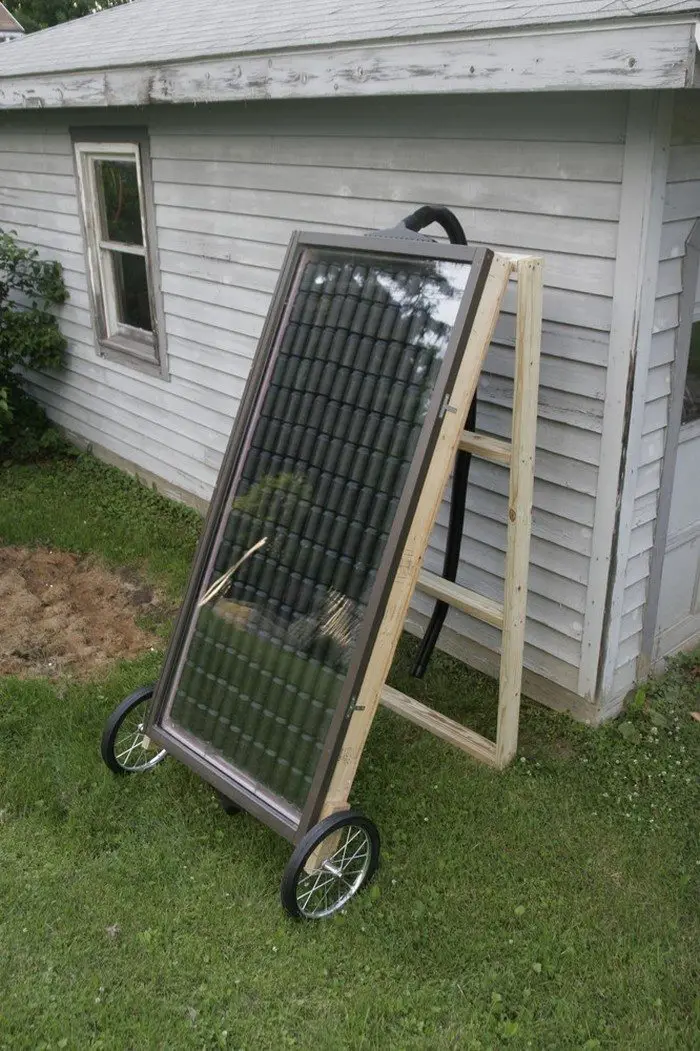
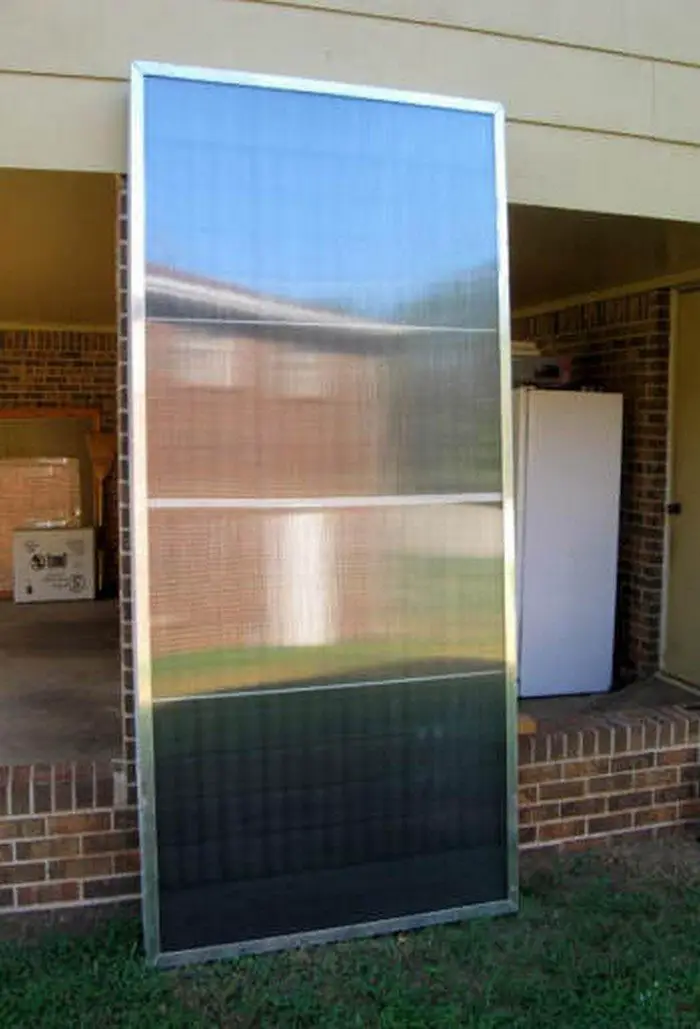
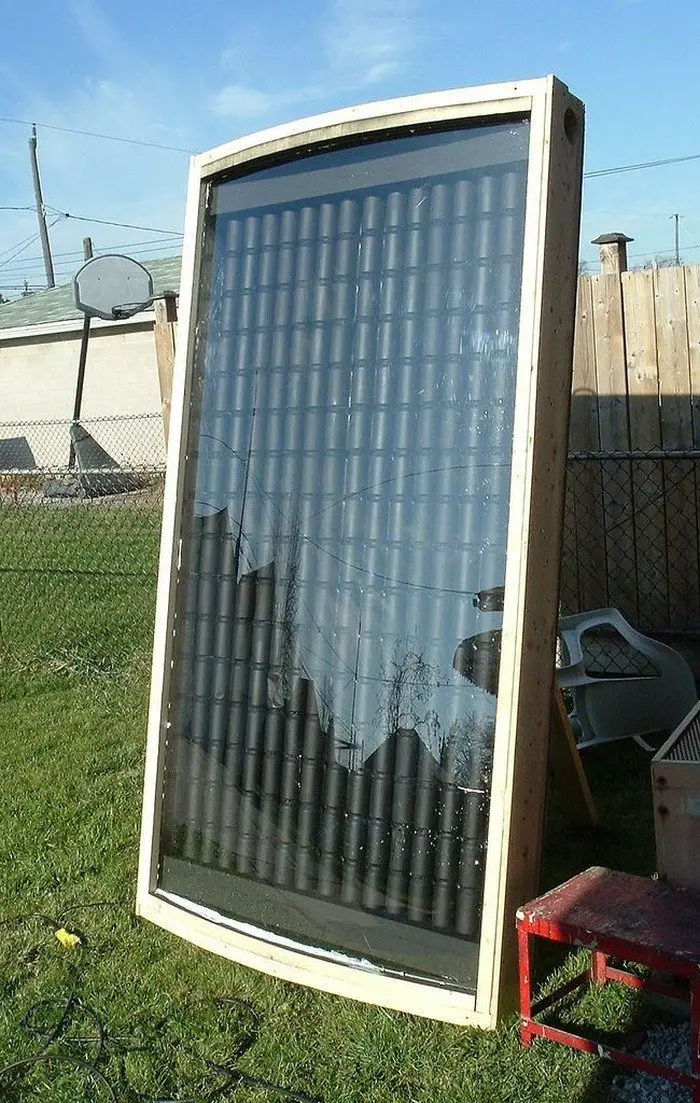
Step 7: Install Plexiglass Cover
- Measure and Cut Plexiglass: Measure the outer dimensions of the frame and cut the plexiglass to cover it.
- Seal and Attach Plexiglass: Place the plexiglass on top of the frame and seal the edges with adhesive caulk. Secure it with screws.
Step 8: Install the Pyrometer
- Mount the Pyrometer: Install the pyrometer to monitor the temperature difference between the inlet and outlet.
Step 9: Testing
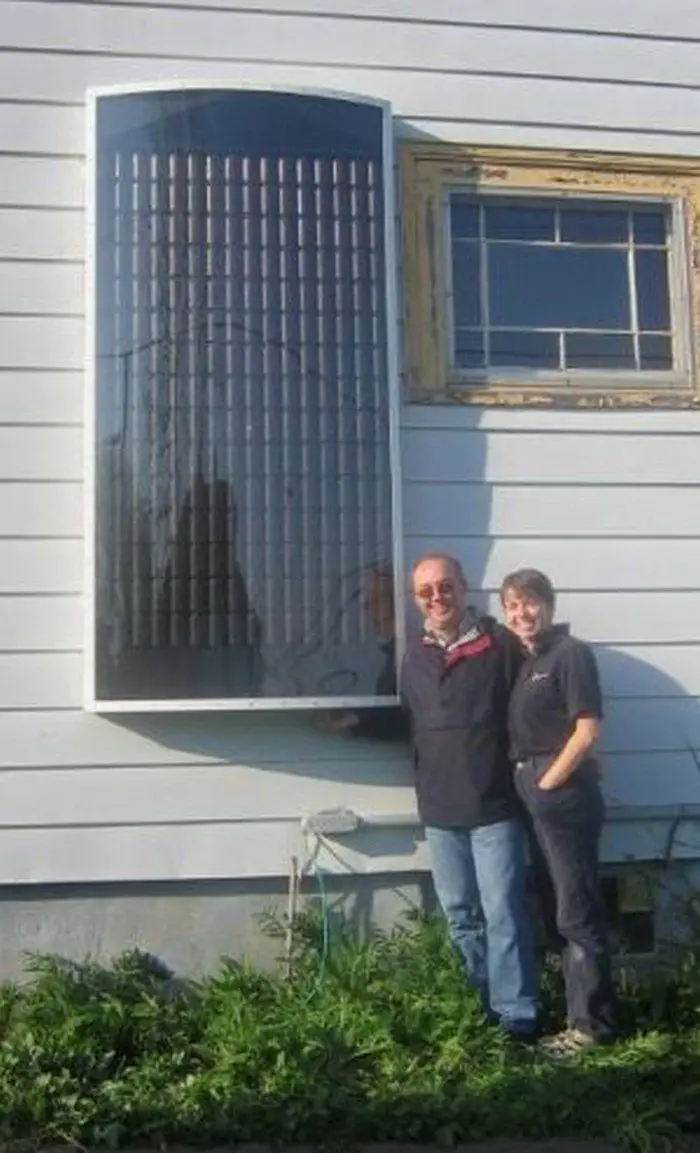
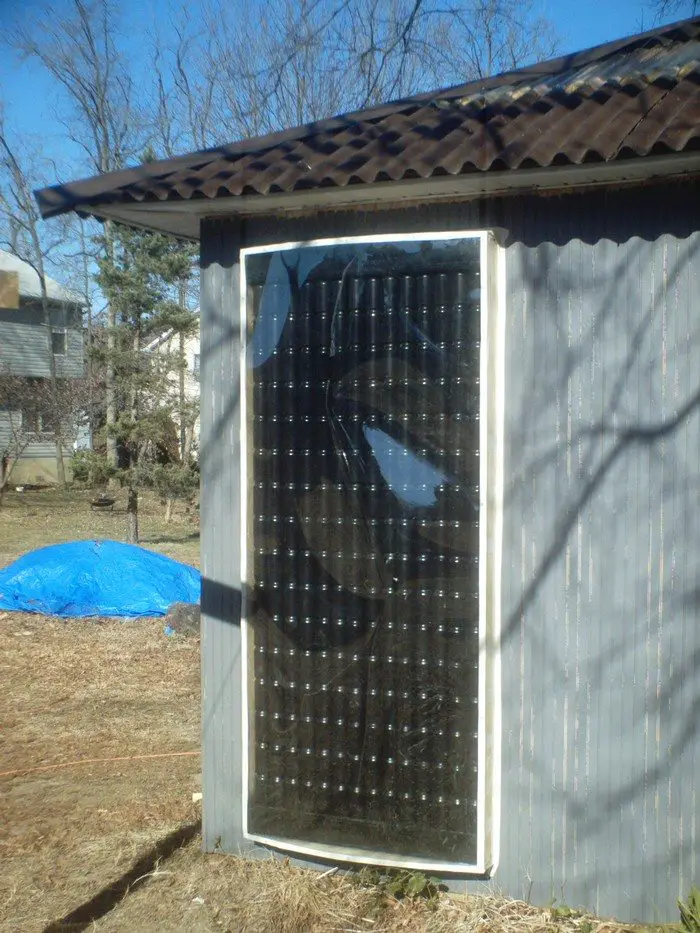
- Position the Heater: Place the solar heater facing the sun for maximum exposure.
- Monitor and Adjust: Use the pyrometer to monitor the effectiveness. Make adjustments to the positioning or structure as needed.
Click on any image to start the lightbox display. Use your Esc key to close the lightbox.![]()
Thanks to Hemmings Daily for this great project. You can get step-by-step instructions here…
Benefits of Using a Soda Can Solar Heater
The soda can solar heater represents a highly effective way to leverage simple materials for meaningful energy savings. By using aluminum cans, which are abundant and often discarded, this DIY project taps into renewable solar energy to provide supplemental heat without increasing utility costs.
Here are the key benefits of implementing a soda can solar heater in your home or workshop.
Cost-Effective Heating Solution
One of the primary advantages of a soda can solar heater is its cost-effectiveness. Constructing this heater requires minimal investment as most materials, like soda cans and basic building supplies, are inexpensive or already available around the house. Once built, the soda can solar heater uses solar energy, which is completely free, reducing reliance on traditional heating methods and leading to significant savings on energy bills.
Eco-Friendly Energy Use
Using a soda can solar heater is a great way to reduce your carbon footprint. This solar heater repurposes used aluminum cans, which would otherwise contribute to landfill waste. Moreover, by using solar power, it decreases the demand for fossil-fuel-based energy sources, thus minimizing your overall environmental impact.
Easy to Build and Maintain
The simplicity of the soda can solar heater design makes it accessible to many DIY enthusiasts. The construction process involves basic tools and materials, making it a manageable project even for those with limited building experience. Additionally, the maintenance of a soda can solar heater is straightforward since it has few moving parts and does not require sophisticated care.
Enhances Energy Independence
By adding a soda can solar heater to your home, you increase your energy independence. This heater provides a reliable source of heat that is not affected by power outages or the volatility of energy prices. As long as there is sunlight, the soda can solar heater will continue to operate efficiently, offering a steady, cost-free heat supply.
Educational Project
Building a soda can solar heater serves as an excellent educational project for families, schools, or community groups. It offers a practical demonstration of renewable energy principles and teaches valuable skills in construction and resourcefulness. Participants learn about sustainability and energy efficiency firsthand, gaining insights that extend beyond the project itself.
The soda can solar heater not only offers practical benefits but also promotes environmental responsibility and energy literacy, making it a worthwhile project for anyone looking to enhance their living environment sustainably.
Troubleshooting Common Problems with a Soda Can Solar Heater
Building and operating a soda can solar heater can be a rewarding DIY project, but like any hands-on endeavor, it can sometimes encounter issues. Understanding how to troubleshoot common problems ensures that your soda can solar heater remains effective and efficient. Below are some typical challenges and their solutions to help you maintain optimal performance.
Insufficient Heat Production
If your soda can solar heater is not producing enough heat, there could be several contributing factors:
- Check the Solar Exposure: Ensure that the heater is positioned to receive maximum sunlight throughout the day. Obstructions like trees or buildings can significantly reduce its effectiveness.
- Inspect the Cans for Blockages: The aluminum cans inside the heater should have clear airways to allow for the free flow of air. If cans are dented or misaligned, they may restrict airflow, reducing efficiency. Realign or replace damaged cans as needed.
- Verify Insulation: Proper insulation is crucial to retaining the heat within the heater. Check if there are any gaps or leaks in the construction where heat might be escaping and seal them with adhesive caulk or insulation strips.
Moisture Accumulation
Moisture inside the soda can solar heater can decrease its functionality and lead to mold or structural issues:
- Ensure Adequate Sealing: Moisture can enter through gaps in the frame or the plexiglass cover. Make sure all joints and edges are securely sealed with caulk.
- Improve Ventilation: If condensation is a recurring problem, consider adding small ventilation holes at the top and bottom of the unit to allow moisture to escape and air to circulate better.
Structural Integrity
Over time, the structural integrity of the soda can solar heater might be compromised due to weather conditions or material wear:
- Regular Inspection: Periodically inspect the frame and the backing for any signs of wear or damage, such as rotting wood or cracked plexiglass. Replace or repair worn parts promptly.
- Protective Paint: Ensure that the protective paint on the wooden parts of the soda can solar heater is intact. Reapply paint or sealant as needed to prevent moisture penetration and wood decay.
Pyrometer Malfunctions
The pyrometer is essential for monitoring the temperature efficiency of your soda can solar heater. If it’s not working correctly:
- Check the Battery: Replace the pyrometer battery if the display is unclear or the device does not turn on.
- Secure Connections: Ensure that all wires and connections are securely attached and have not corroded. Loose connections can result in inaccurate readings.
By addressing these common issues, you can maintain the efficiency and extend the lifespan of your soda can solar heater, ensuring it continues to provide a sustainable and cost-effective source of heat. Regular maintenance and troubleshooting are key to enjoying the benefits of your soda can solar heater for many seasons.
Conclusion
Building a soda can solar heater is a practical and eco-friendly project that uses simple materials to harness solar energy efficiently. This innovative DIY approach not only reduces energy costs but also promotes recycling and sustainability in everyday life. With the right care and maintenance, your soda can solar heater can provide reliable, cost-free heating for years to come.