Do you find yourself longing to breathe life into dull, uninspiring walls, yearning to infuse your living space with a warm, rustic aesthetic?
Look no further! Wood wall art is the perfect solution to bring warmth, character, and a unique touch to any room.
Turn basic spaces into exceptional ones with creative wood wall art ideas. These DIY projects are simple yet fulfilling for beginners and experienced crafters alike.
Contents
Crafting Beauty: Unique Wood Wall Art Projects to Try
Wood wall art is more than just decoration; it’s a way to infuse your personality and creativity into your home. The best part? Creating something beautiful doesn’t require professional artistry.
Wood wall art offers diverse decor options like rustic shelves, wooden signs, pallet art, and chevron patterns for a modern look. Get creative with textures, colors, and designs to make your home stand out.
Why settle for plain walls when you can create your own wood art gallery? Get inspired with rustic charm to make your home look fantastic and feel inviting.
Ready to get started? Let’s explore some inspiring wood wall art ideas that will make your space come alive!
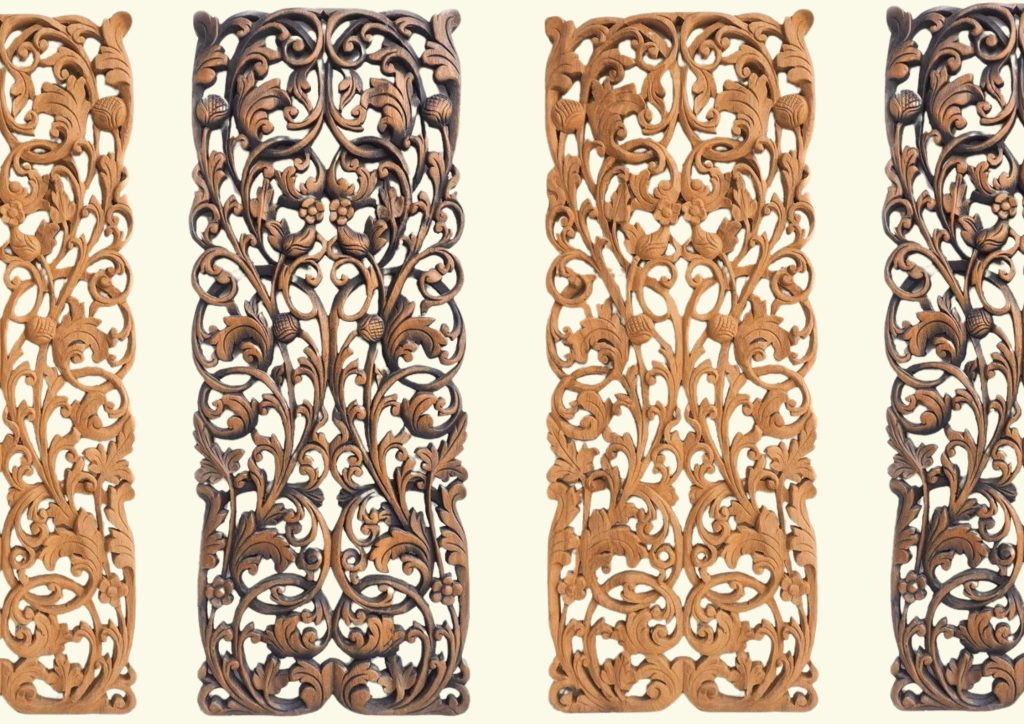
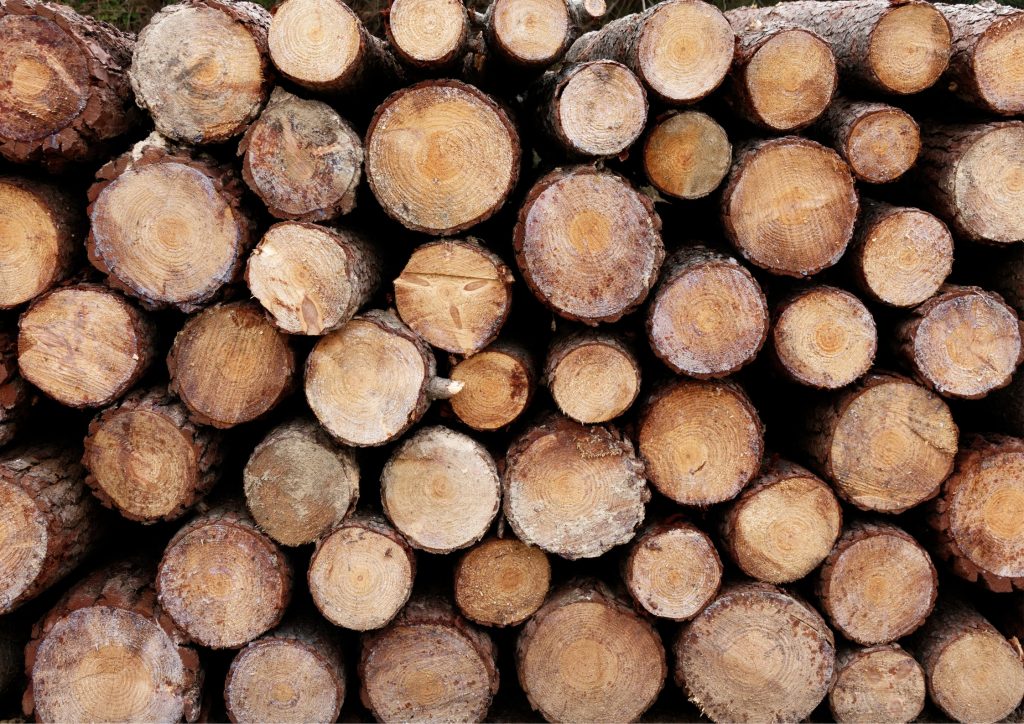
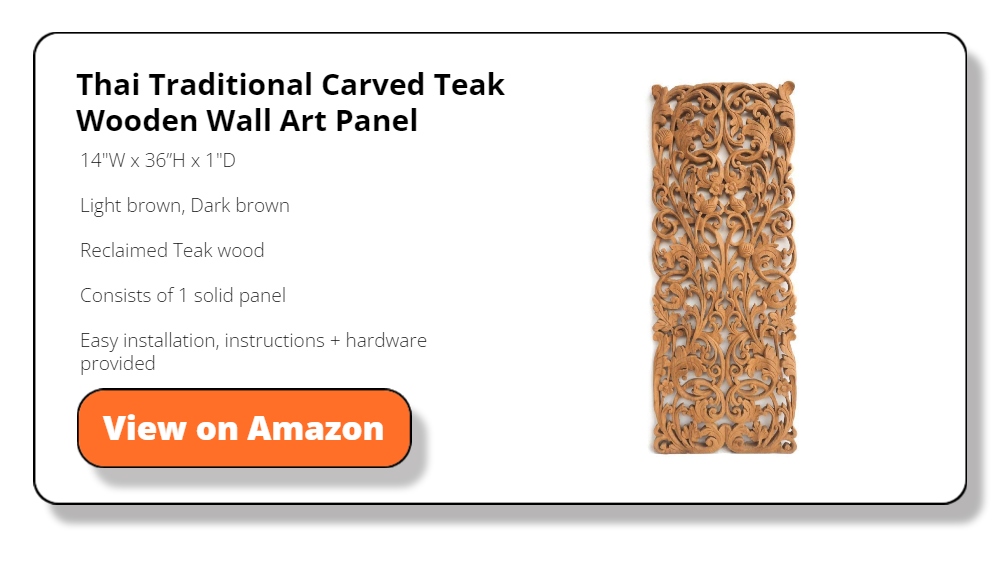
Reclaimed Wood Wall Art
Reclaimed wood has a history and character that new wood just can’t match. It brings a unique charm to any piece of art, and using it is also great for the environment.
Here’s how you can create your own beautiful reclaimed wood wall art:
- Find and Select Your Wood:
- Source the Wood: Look for reclaimed wood from old barns, pallets, or even driftwood. Check online marketplaces, local hardware stores, or salvage yards.
- Inspect the Wood: Ensure the wood is free from pests and mold. Remove any old nails or screws.
- Prepare the Wood:
- Clean the Wood: Brush off any dirt and debris. To properly clean the wood, it is recommended to use a gentle detergent and ensure it is thoroughly dried before proceeding with any further treatment.
- Sand the Wood: Use sandpaper to smooth the surface and edges of the wood. This will help the wood look better and make it safer to handle.
- Design Your Art:
- Plan the Layout: Lay out your wood pieces on the backing board to create a design. Start with a simple geometric pattern or try a more complex mosaic. Play around with the arrangement until you’re happy with how it looks.
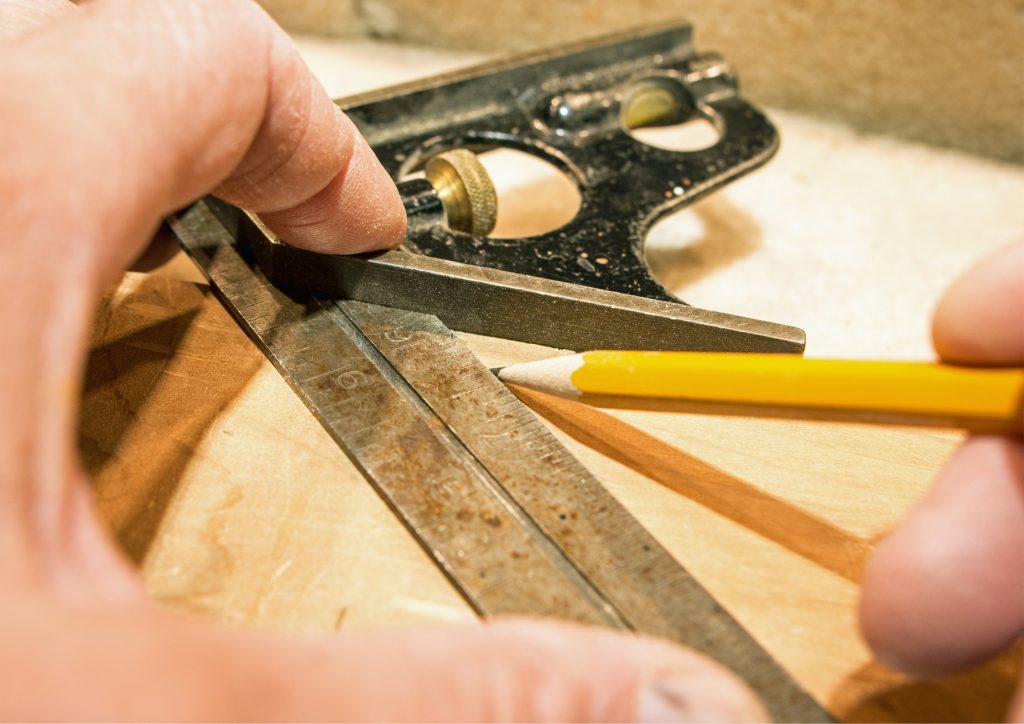
- Measure and Cut: Use a measuring tape and pencil to mark where you need to cut the wood. Using wood chisels, cut the pieces to follow your design.
- Stain or Paint the Wood (Optional):
- Apply Stain or Paint: If you want to enhance the wood’s color or add some paint, now is the time. Use a brush or rag to apply the stain or paint. Let it dry completely before moving on.
- Add the Finishing Touches:
- Seal the Wood (Optional): Apply a clear sealer to protect your art and give it a polished look. This is especially important if your art will be in a high-traffic area or exposed to moisture.
- Display Your Art:
- Find the Perfect Spot: Choose a location on your wall that will showcase your art beautifully. Use a level to make sure it hangs straight.
Not only do you get to make something beautiful, but you also contribute to sustainability by reusing old materials.
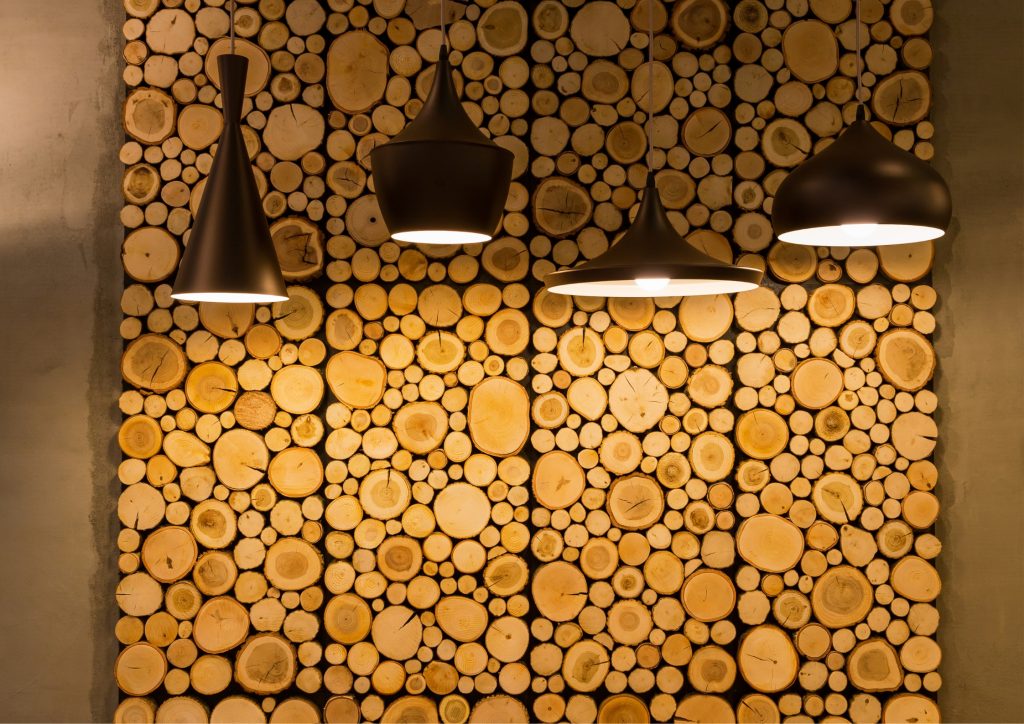
Wood Slice Wall Art
Wood slices are a fantastic way to bring natural beauty and a rustic feel into your home. They can be used to create unique and eye-catching wood wall art. Here’s a step-by-step guide to help you make your own wood slice wall art.
- Choose Your Wood:
- Find a thick branch or log that you can cut into slices. Make sure it is dry and free of rot or pests.
- Cut the Wood Slices:
- Use a saw to cut the branch or log into slices about 1/2 inch to 1 inch thick. A miter saw is ideal for this to get even, straight cuts.
- Wear safety gear like goggles and gloves to protect yourself while cutting.
- Sand the Slices:
- Sand each wood slice smooth on both sides. Start with a coarse grit sandpaper and move to a finer grit for a smooth finish.
- Wipe off any dust with a clean cloth.
- Stain or Paint (Optional):
- If you want to add color or enhance the natural grain, apply wood stain or paint to the slices. Use a brush or rag to apply the stain, following the wood grain.
- Let the stain or paint dry completely. Apply a second coat if needed.
- You can also paint some slices with different colors or patterns to add a pop of color to your wall art.
- Seal the Wood (Optional):
- To protect the wood and give it a finished look, you can apply a clear sealer. This step is optional but recommended for longevity.
- Allow the sealer to dry completely before moving on to the next step.
- Plan Your Layout:
- Lay out the wood slices on the floor to plan your design. You can arrange them randomly for an organic look or in a specific pattern for a more structured design.
- Take a picture of your layout to refer to when attaching the slices to the wall.
- Attach the Wood Slices:
- Use wood glue or strong mounting tape to attach the slices to the wall. If the slices are heavy, you might need to use small nails or screws.
- Start from the center of your layout and work your way outwards, following the design you planned.
- Press each slice firmly against the wall and hold it in place for a few seconds to ensure it sticks well.
- Add Hanging Hardware (If Needed):
- If your design is heavy or you want to be able to move it, attach hanging hardware to the back of each slice or to a backing board that holds the slices together.
- Make sure the hardware is securely fastened and can support the weight of the wood slices.
- Final Touches:
- Once all the slices are attached, step back and make sure everything looks balanced and secure.
- Make any necessary adjustments to your design.
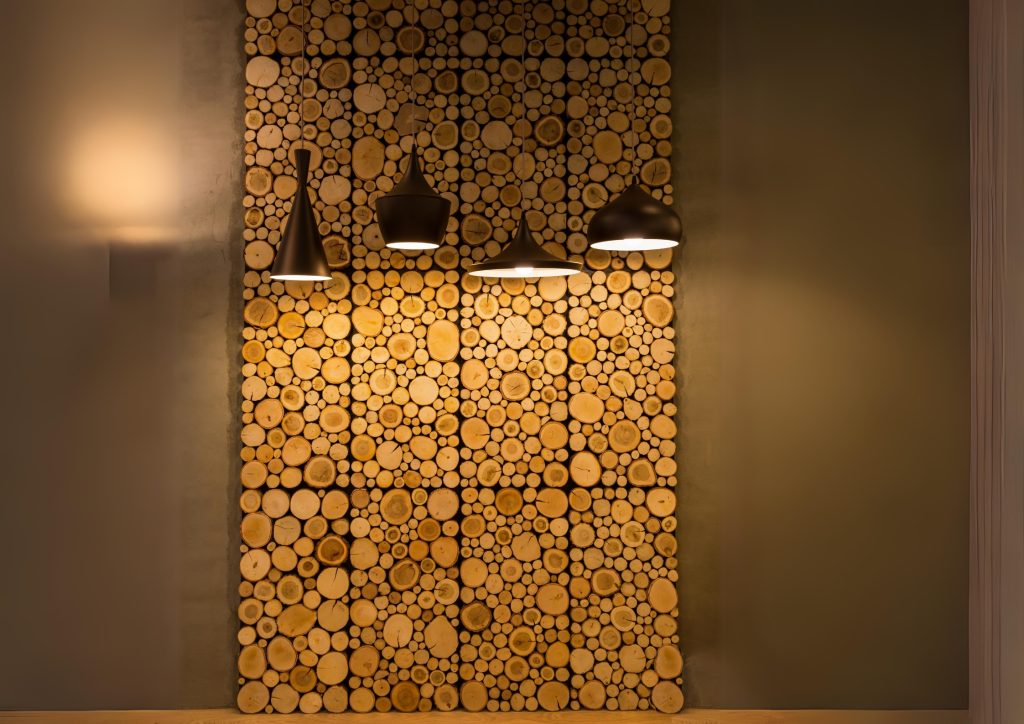
Creating wall art from wood slices brings the essence of nature into your home. Whether you keep its natural beauty or add a splash of color, it provides a distinctive touch.
Wooden Signs
Wooden signs with inspiring quotes or simple words can add a personal touch to your space. These wood wall art are easy to make and can reflect your style and personality.
Here’s a step-by-step guide to creating your own wooden signs.
- Choose and Prepare Your Wood:
- Select wooden boards or planks that fit the size you want for your signs. You can find these at hardware stores or use reclaimed wood for a rustic look.
- If necessary, cut the wood to the desired size using a saw.
- Sand the edges and surfaces to remove any rough spots and splinters. This will also help the stain or paint adhere better.
- Stain or Paint the Wood (Optional):
- Decide if you want to leave the wood natural, stain it, or paint it. Each option will give your sign a different look.
- Apply wood stain or paint using a brush or rag. Follow the wood grain for an even finish.
- Let the stain or paint dry completely. Apply a second coat if needed for a deeper color or better coverage.
- Plan Your Design:
- Decide on the quote or word you want on your sign. Choose something that resonates with you and suits the space where the sign will be displayed.
- Use a pencil to lightly sketch out the design on the wood. If you’re using stencils, position them on the wood and trace the letters.
- Add the text:
- Use paint pens or acrylic paint to fill in the letters. Paint pens are great for precise lines, while brushes can give a more rustic, hand-painted look.
- If you’re freehanding the text, take your time to ensure the letters are even and well-spaced.
- Let the paint dry completely before moving on to the next step.
- Seal the Wood (Optional):
- To protect your design and give the sign a finished look, you can apply a clear sealer. This is especially useful if your sign will be in a high-traffic area or exposed to moisture.
- Allow the sealer to dry completely.
- Attach Hanging Hardware:
- Attach hanging hardware to the back of your sign. Picture hooks or sawtooth hangers work well for most signs.
- Make sure the hardware is securely fastened so your sign hangs straight on the wall.
- Hang and Enjoy:
- Find the perfect spot in your kitchen, living room, or bedroom to display your sign.
- Use a level to ensure it hangs straight.
- Step back and enjoy the personal touch your new wooden sign adds to your space.
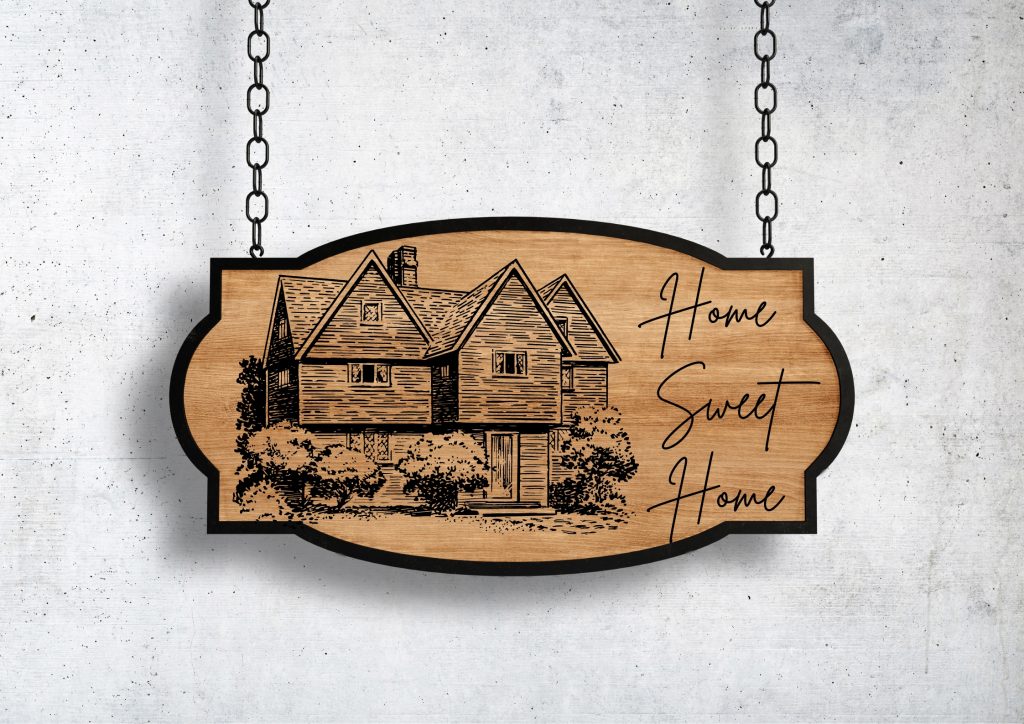
Making wooden signs is a fun way to personalize your home with inspiring quotes or simple words, adding a cozy atmosphere to any room wsith these wood wall arts.
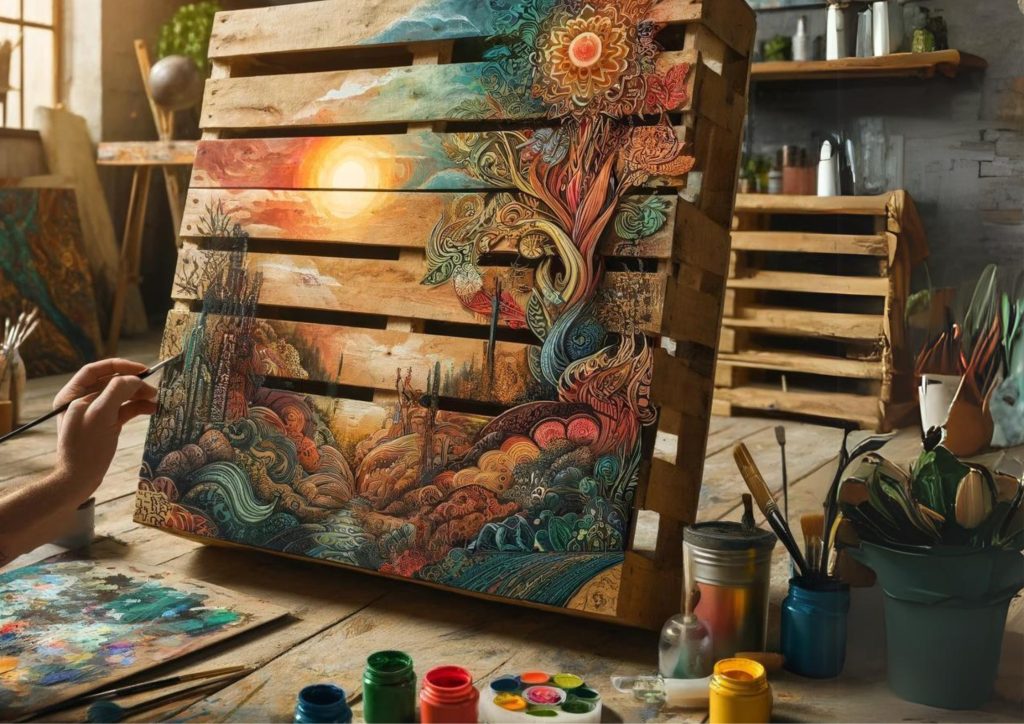
Pallet Art
Pallets are incredibly versatile and can be turned into all sorts of wood wall art. Break down a pallet and use the boards to create a large canvas.
Paint a picture, a landscape, or even a simple abstract design on the boards. The rustic texture of the wood adds depth and interest to your artwork.
- Dismantle the Pallet:
- Use a crowbar or hammer to carefully dismantle the pallet. Remove all the nails and separate the boards.
- Choose the best boards for your project, ensuring they are in good condition and free of rot.
- Prepare the Wood:
- Sand each board to remove any rough spots, splinters, and dirt. Start with coarse-grit sandpaper and finish with finer grit for a smoother surface.
- Wipe the boards clean with a cloth to remove any dust.
- Plan Your Design:
- Decide on the size and shape of your pallet art. Measure and cut the boards if needed to fit your desired dimensions.
- Lay out the boards on the floor or a flat surface to plan your design. Arrange them in a way that looks good to you.
- Assemble the Canvas:
- Use wood glue or nails to attach the boards together. If you’re using glue, apply it along the edges and press the boards together firmly. If you’re using nails, hammer them in at an angle to ensure the boards stay together.
- For added stability, you can attach a couple of horizontal boards across the back of your canvas.
- Stain or Paint the Wood (Optional):
- If you want to enhance the natural look of the wood or add some color, apply wood stain or paint. Use a brush or rag to apply it evenly.
- Let the stain or paint dry completely. Apply additional coats if needed.
- Create Your Artwork:
- Now it’s time to get creative! Use paints and brushes to create your design on the pallet boards. You can paint a picture, a landscape, or even a simple abstract design.
- The rustic texture of the wood adds depth and interest to your artwork, so don’t worry about making it perfect—embrace the imperfections.
- Allow the paint to dry completely.
- Seal the Wood (Optional):
- To protect your artwork and give it a finished look, you can apply a clear sealer. This will help preserve the colors and prevent any damage.
- Let the sealer dry thoroughly.
- Attach Hanging Hardware:
- Attach hanging hardware to the back of your pallet art. Ensure it’s centered and securely fastened so your art hangs straight on the wall.
- Hang and Enjoy:
- Find the perfect spot in your home to display your new piece of pallet art. Use a level to make sure it hangs straight.
- Step back and admire your work. You’ve just added a unique piece of wood wall art to your space!
Creating art from pallets is an excellent method for repurposing old materials while adding a rustic charm to your home. Whether it’s a complex painting or a straightforward pattern, the texture of the wood enhances the design.
Chevron Wood Wall
A chevron pattern is a classic design that adds a touch of elegance and sophistication to any home. This project involves cutting wood pieces at an angle and arranging them in a zigzag pattern on your wall. Staining the wood in different shades can create a more dynamic and eye-catching look.
Here’s a step-by-step guide to help you create your own chevron wood wall.
- Choose and Prepare Your Wood:
- Select wooden boards or planks that are straight and in good condition. You can find these at hardware stores or use reclaimed wood for a rustic look.
- Measure the wall space where you want to create the chevron pattern. This will help you determine the size and number of wood pieces needed.
- Cut the Wood Pieces:
- Using a miter saw, cut the wooden boards into pieces of equal length, cutting each end at a 45-degree angle. These angled cuts are essential for creating the chevron pattern.
- Sand the edges and surfaces of each piece to remove any rough spots and splinters.
- Stain the Wood (Optional):
- If you want to add some color and depth to your chevron pattern, stain the wood pieces in various shades. Use a brush or rag to apply the stain evenly.
- Let the stain dry completely. Apply additional coats if needed for deeper color.
- You can mix different shades to create a more dynamic and visually interesting pattern.
- Plan Your Layout:
- Lay out the wood pieces on the floor to plan your chevron pattern. Arrange them in a zigzag pattern, with the 45-degree angles creating the chevron design.
- Adjust the pieces until you are satisfied with the layout and the overall look.
- Attach the Wood Pieces:
- If you are creating a movable piece, attach the wood pieces to a backing board using wood glue or nails. Apply glue to the back of each piece and press it firmly onto the board. If using nails, hammer them in at an angle to secure the pieces.
- If you are installing the chevron pattern directly on the wall, start at the center and work your way outwards. Use wood glue or nails to attach each piece to the wall, ensuring they are level and evenly spaced.
- Use a level to make sure each piece is straight and aligned properly.
- Seal the Wood (Optional):
- To protect your wood wall art and give it a finished look, you can apply a clear sealer. This will help preserve the wood and prevent any damage.
- Allow the sealer to dry thoroughly before moving on to the next step.
- Add Hanging Hardware (If Needed):
- If you created a movable piece, attach hanging hardware to the back of the chevron wood wall art. Make sure it’s centered and securely fastened so it hangs straight on the wall.
- Hang and Enjoy:
- Find the perfect spot in your home to display your chevron wood wall art. Use a level to ensure it hangs straight.
- Step back and admire your work. You’ve just added a stunning and unique piece of wood wall art to your space!
Creating a chevron wood wall brings a touch of elegance and sophistication to any room. The timeless pattern, when merged with the natural beauty of wood, forms a breathtaking piece of art.
Conclusion
Wood wall art is a wonderful way to add rustic charm and a personal touch to your home. With these creative ideas, you can transform any room into a cozy and inviting space.
Incorporating wood wall art is essential for creating a distinctive and inviting ambiance in your home. It’s the perfect touch to add warmth and character to any space. Whether you’re looking for a statement piece or subtle accents, it offers a versatile range of styles to enhance your decor.
So, grab some wood, get creative, and start making your own beautiful wood wall art today!


