
Transforming your home with a fresh coat of paint is easier than you think! With the right guidance, even a novice can achieve professional results.
Contents
Essential Tips and Tricks in Your Home Painting Guide
This home painting guide will walk you through every step of the process, from preparation to the final brushstroke, making it simple and enjoyable.
Whether you’re tackling a single room or your entire house, follow these easy-to-understand steps and watch your space come to life with color and style.
Let’s get started on your painting adventure!
Materials Needed
Before you start painting, gather all the materials you will need. Here’s a comprehensive list:
- Paint: Choose the type and color you like. The type of paint you select will depend on the room. For example, kitchens and bathrooms benefit from moisture-resistant paint, while living rooms and bedrooms might be better with a matte finish.
- Primer: This is essential if you’re painting over a dark color or an unpainted surface. Primer helps the paint adhere better and provides an even base for the new color.
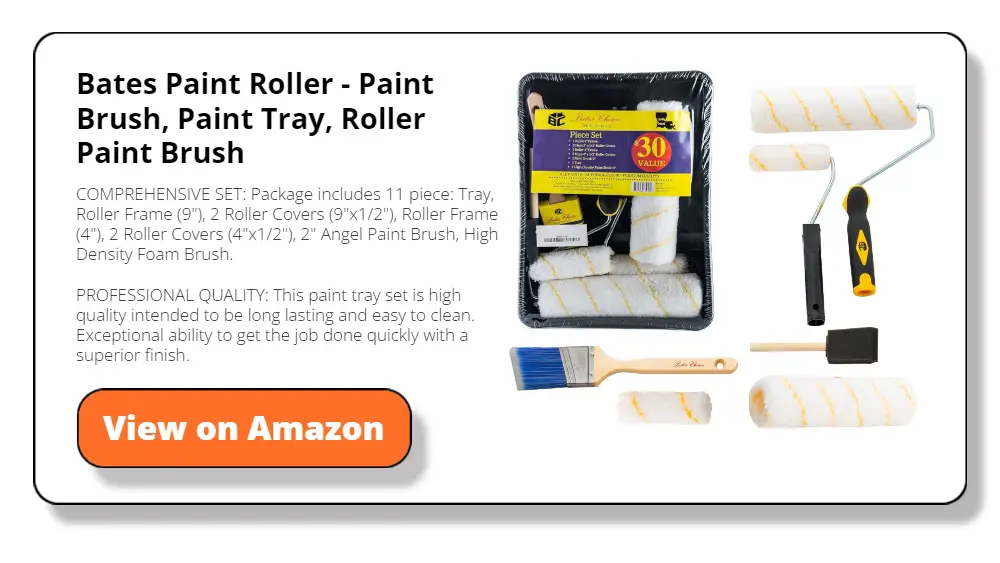
- Paint Brushes: Get various sizes, including a small angled brush for cutting in around edges and trim.
- Paint Rollers and Trays: Rollers are great for covering large areas quickly and evenly.
- Painter’s Tape: Use this to mask off areas you don’t want to paint, like trim, windows, and doorframes.
- Drop Cloths or Plastic Sheeting: Protect your floors and furniture from paint splatters.
- Sandpaper: Various grits are needed to smooth out walls and repair surfaces.
- Spackling Paste: This is used to fill in holes and cracks.
- Putty Knife: Helps to apply and smooth spackling paste.
- Screwdriver: Needed for removing outlet covers and fixtures.
- Ladder: Useful for reaching high areas.
- Clean Cloths and Rags: For cleaning surfaces and wiping up spills.
- Paint Stirrers: Essential for mixing paint thoroughly.
- Bucket of Water: For cleaning brushes if you’re using water-based paint.
- Protective Gear: Gloves, safety glasses, and masks to keep yourself safe from fumes and splatters.

Choose Your Paint and Supplies
The first step in this home painting guide is selecting your paint and supplies. Here’s how to do it:
- Decide on the Paint Type: Different rooms require different types of paint. High-traffic areas like kitchens and bathrooms need durable, washable paint. Living rooms and bedrooms can use a matte or eggshell finish for a softer look.
- Choose the Color: Think about the mood you want to create. Light colors make a room feel bigger and brighter, while dark colors can create a cozy, intimate space. Take home paint chips or sample cans to test how the colors look in your room’s lighting.
- Calculate How Much Paint You Need: Measure your walls and use an online paint calculator or ask at the paint store for help to determine how much paint to buy. Typically, one gallon covers about 350 square feet.
- Buy Your Supplies: Head to your local hardware store or paint store with your list of materials. Don’t forget painter’s tape, drop cloths, brushes, rollers, and other essentials.
Choosing the right paint and supplies sets the foundation for a successful project. This step is crucial, as it ensures you have everything you need before you begin.
Prepare the Room
Preparation is key to achieving a professional finish. This step in the home painting guide ensures your room is ready for painting:
- Move Furniture: Take as much furniture out of the room as possible. If you can’t move some pieces, push them to the center of the room and cover them with drop cloths to protect them from paint splatters.
- Remove Fixtures: Use a screwdriver to take off outlet covers, light switch plates, and any wall fixtures. This prevents them from getting painted and allows you to paint more evenly.
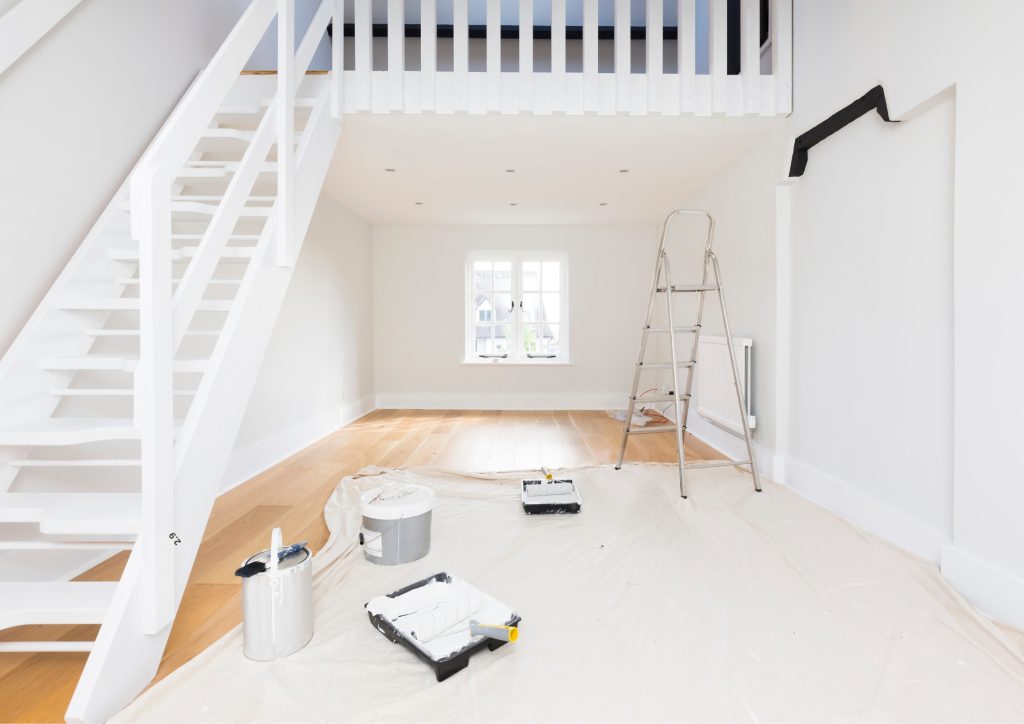
- Protect the Floor: Lay down drop cloths or plastic sheeting to protect your floor from drips and spills. Tape down the edges if necessary to keep them in place.
- Clean the Walls: Dust and dirt can prevent paint from adhering properly. Wipe down the walls with a damp cloth and mild detergent if necessary. Let them dry completely before you start painting.
Taking the time to prepare your room properly makes the painting process smoother and helps you achieve better results.
Repair and Prime
Now that your room is prepared, it’s time to fix any imperfections and prime the walls. This step in your home painting guide ensures a smooth surface for your paint:
- Fill Holes and Cracks: Use spackling paste and a putty knife to fill in any holes, cracks, or dents in the walls. Press the paste into the holes and smooth it out with the knife. Let it dry according to the manufacturer’s instructions.
- Sand the Walls: Once the spackling is dry, sand the patched areas until they are smooth and level with the rest of the wall. Lightly sand the entire surface to help the paint adhere better. Use fine-grit sandpaper for this step and wipe away any dust with a clean cloth.
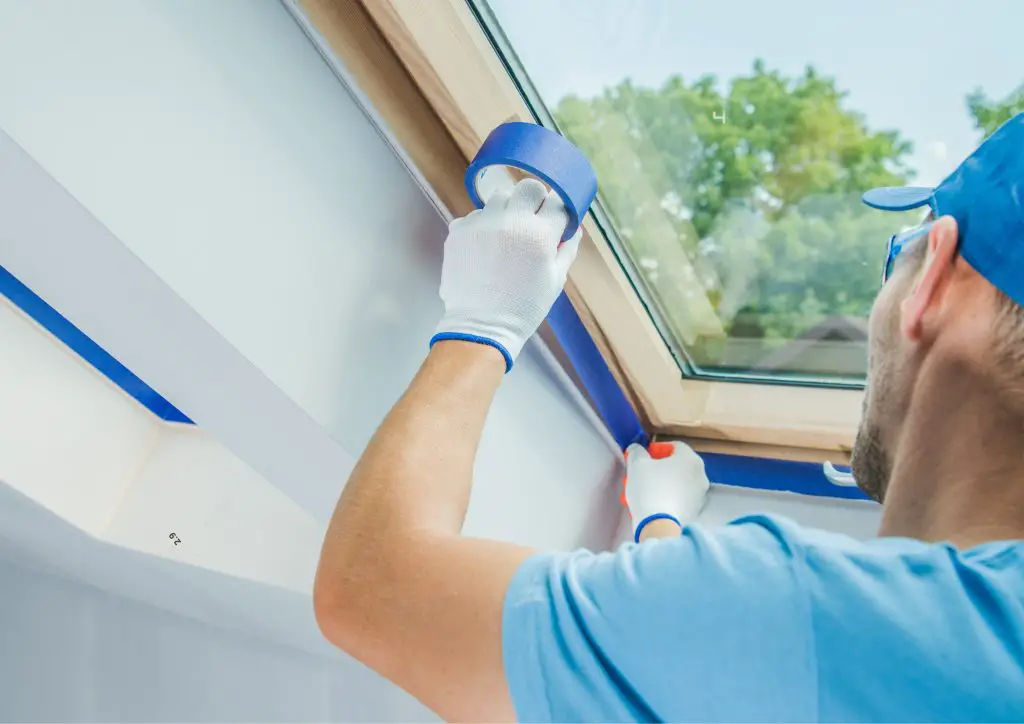
- Apply Painter’s Tape: Use painter’s tape to mask off areas you don’t want to paint, such as trim, windows, and doorframes. Press the tape down firmly to prevent paint from seeping underneath.
- Prime the Walls: If you’re painting over a dark color or an unpainted surface, apply a coat of primer. Use a brush to cut in around the edges and a roller for the large areas. Primer helps the paint stick better and ensures an even color. Allow the primer to dry completely before moving on to painting.
Repairing and priming your walls creates a perfect canvas for your paint, ensuring a smooth and professional finish.
Start Painting
With your room prepped and primed, you’re ready to start painting. This step-by-step process will help you achieve a flawless finish:
- Stir the Paint: Before you start painting, stir the paint thoroughly to ensure an even color and consistency. Use a paint stirrer and mix from the bottom of the can.
- Cut In: Begin by cutting in around the edges of the room, along the trim, corners, and around fixtures. Use a small, angled brush for this task. Cutting in creates a border for your roller, ensuring you don’t accidentally paint areas you don’t want to.
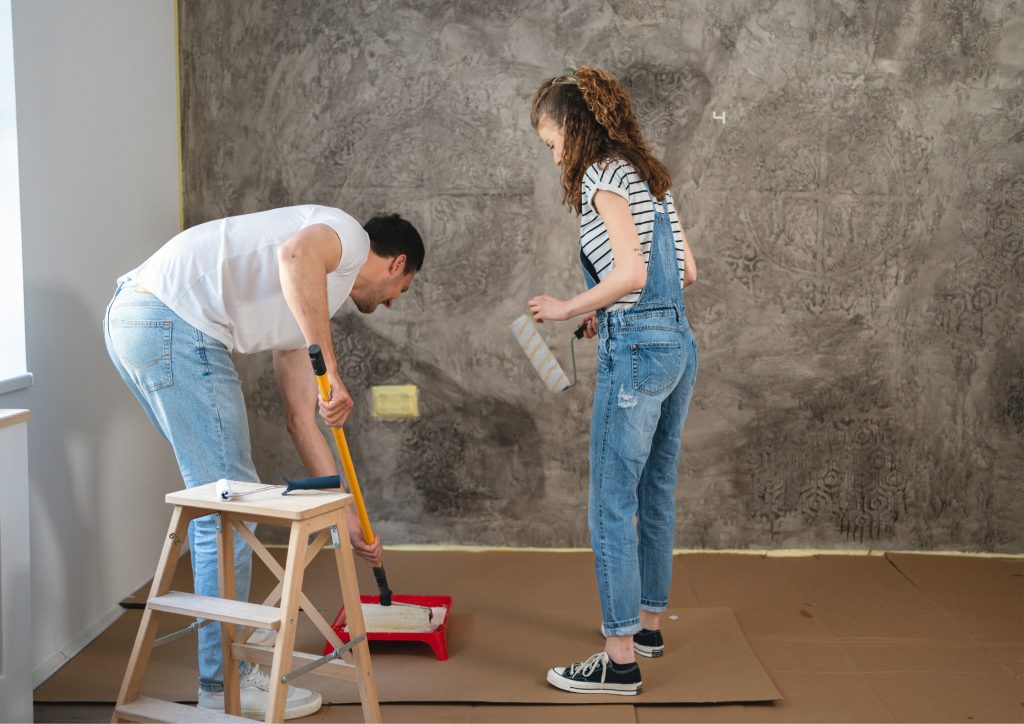
- Roll the Paint: Pour paint into a tray and load your roller by rolling it back and forth in the tray until it’s evenly covered. Start painting the walls using a ‘W’ or ‘M’ pattern to ensure even coverage. Work in small sections and overlap each stroke to avoid lines.
- Second Coat: Once the first coat is dry, apply a second coat for a richer, more even color. Follow the same cutting in and rolling technique. Depending on the paint and color, you might need a third coat for full coverage.
Taking your time with this step ensures a smooth and even finish. Proper technique and patience are key to achieving professional results.

Finish Up
After you’ve painted, there are a few final steps to complete your project. This part of the home painting guide ensures a polished look:
- Remove Painter’s Tape: Carefully remove the painter’s tape while the paint is still slightly wet to avoid peeling. Pull the tape back at a 45-degree angle to prevent the paint from coming off with it.
- Reattach Fixtures: Once the paint is completely dry, reattach outlet covers, light switch plates, and other fixtures. Make sure the paint is fully cured to avoid smudges.
- Clean Up: Clean your brushes and rollers with water (for latex paint) or the appropriate cleaner (for oil-based paint). Follow the manufacturer’s instructions for cleaning and storage. Remove drop cloths and plastic sheeting, and put your furniture back in place.
These finishing touches make a big difference in the overall appearance of your project. Cleaning up properly ensures your tools are ready for the next time you need them.
Step 6: Enjoy Your New Space
Now that you’ve followed this home painting guide and completed your painting project, it’s time to enjoy your new space. Admire your hard work and the transformation of your room.
Step back and take in the fresh, updated look. Share your accomplishments with friends and family. By following this home painting guide, you’ve transformed your space with a fresh coat of paint, adding value and beauty to your home.
Additional Tips for a Perfect Finish
Even with careful planning and preparation, some additional tips can help you achieve the best possible results. Here are a few extra pointers to consider as you follow this home painting guide:
Choosing the Right Paint Finish
The finish of your paint can significantly impact the final look and feel of your room. Here’s a quick guide to help you choose the right finish:
- Flat/Matte: This finish is great for low-traffic areas like bedrooms and ceilings. It hides imperfections well but isn’t as durable or washable as other finishes.
- Eggshell: Slightly more durable than flat, eggshell has a soft, low-sheen finish. It’s ideal for living rooms and dining rooms.
- Satin: This finish offers a subtle sheen and is more washable, making it suitable for high-traffic areas like kitchens, bathrooms, and hallways.
- Semi-Gloss: Durable and easy to clean, semi-gloss is perfect for trim, doors, and cabinets. It reflects more light, making it a good choice for areas that need extra durability.
- Gloss: The shiniest and most durable finish, gloss paint is often used for furniture and trim. It’s very easy to clean but can highlight imperfections.
Handling Paint Drips and Spills
Even with the best care, drips and spills can happen. Here’s how to handle them:
- Drips on the Wall: If you notice a drip while the paint is still wet, use a brush or roller to smooth it out. If it has dried, gently sand it smooth and repaint the area.
- Spills on the Floor: Clean up spills immediately. For latex paint, use water and a clean cloth. For oil-based paint, use the appropriate solvent (like mineral spirits) and follow up with a damp cloth.
Maintaining a Wet Edge
Maintaining a wet edge is crucial for avoiding lap marks and ensuring an even finish. Work in small sections and always paint from the wet edge into the dry area. This technique helps blend the paint seamlessly.
Taking Care of Your Tools
Properly caring for your brushes and rollers can extend their life and improve your painting results:
- Cleaning Brushes and Rollers: Clean brushes and rollers immediately after use. For latex paint, rinse with warm water and soap. For oil-based paint, use the recommended solvent.
- Storing Brushes and Rollers: If you’re taking a break, wrap your brushes and rollers in plastic wrap or aluminum foil to keep them from drying out. For longer storage, clean them thoroughly and store them in a dry place.
Troubleshooting Common Issues
Here are some common painting problems and how to fix them:
- Brush Marks: If you see brush marks, try using a higher-quality brush or thinning the paint slightly. Sand the area smooth and repaint.
- Roller Marks: Roller marks can occur if the roller is too dry or if you press too hard. Load the roller evenly and use light pressure. Sand and repaint if necessary.
- Blistering: Blistering happens when paint lifts from the surface. This can be due to moisture or painting in direct sunlight. Remove the blistered paint, sand the area, and repaint.
Safety Tips
Painting can be enjoyable, but it’s important to stay safe:
- Ventilation: Ensure good ventilation when painting indoors to avoid inhaling fumes. Open windows and use fans if necessary.
- Ladder Safety: Use a sturdy ladder and follow safety guidelines to prevent falls. Never overreach; move the ladder instead.
- Protective Gear: Wear gloves, safety glasses, and a mask to protect yourself from fumes and splatters.
Conclusion
Following this home painting guide will help you achieve a professional-looking finish with ease. Remember, the key to a successful painting project is preparation, patience, and attention to detail.
By choosing the right materials, preparing your space properly, and taking your time with each step, you can transform any room in your home.
Painting is a rewarding DIY project that can make a big impact on your home’s appearance. So, grab your brushes and rollers, and start creating a space you’ll love. Happy painting!


