Transforming your home with beautiful hardwood flooring can be an exhilarating project. This comprehensive guide aims to simplify the process by breaking it down into manageable steps, ensuring that even those new to DIY can confidently undertake this home improvement task.
Contents
How to Install Hardwood Floors at Home?
Equip yourself with comprehensive instructions and valuable insights to transform your living space into a visually stunning and high-value asset for your home. Whether you possess advanced skills in DIY projects or are just beginning your journey.
This comprehensive guide will furnish you with the necessary expertise and resources to effectively install hardwood flooring and attain a polished, professional finish.
Hardwood floors not only add beauty but also increase the value of your home. Follow along, and you’ll have a gorgeous new floor in no time!

Materials Needed
Before we dive into the steps, let’s gather all the materials you’ll need for installing hardwood flooring:
- Hardwood Flooring: Choose the type of wood and finish that suits your style.
- Underlayment: Provides a smooth surface and helps with soundproofing and moisture control.
- Tape Measure: Essential for accurate measurements.
- Pry Bar: Useful for removing old flooring and baseboards.
- Hammer: Needed for securing nails and handling various tasks.
- Nails or Flooring Staples: For fastening the flooring to the subfloor.
- Flooring Nailer: Speeds up the installation process and ensures a secure fit.
- Wood Glue: Used for added stability in certain areas.
- Chalk Line: Helps create straight reference lines.
- Miter Saw: Ideal for cutting planks to the right length.
- Circular Saw: Used for making precise cuts and notches.
- Utility Knife: Handy for cutting underlayment and other materials.
- Spacer Blocks: Maintain the expansion gap around the room’s perimeter.
- Rubber Mallet: Helps tap planks into place without damaging them.
- Safety Gear (Gloves, Goggles): Protects your hands and eyes during the installation process.
Measure Your Room
Accurate measurements are crucial for a smooth hardwood flooring installation. Here’s a detailed guide to measuring your room properly, ensuring you purchase the right amount of materials, and avoiding any costly mistakes.
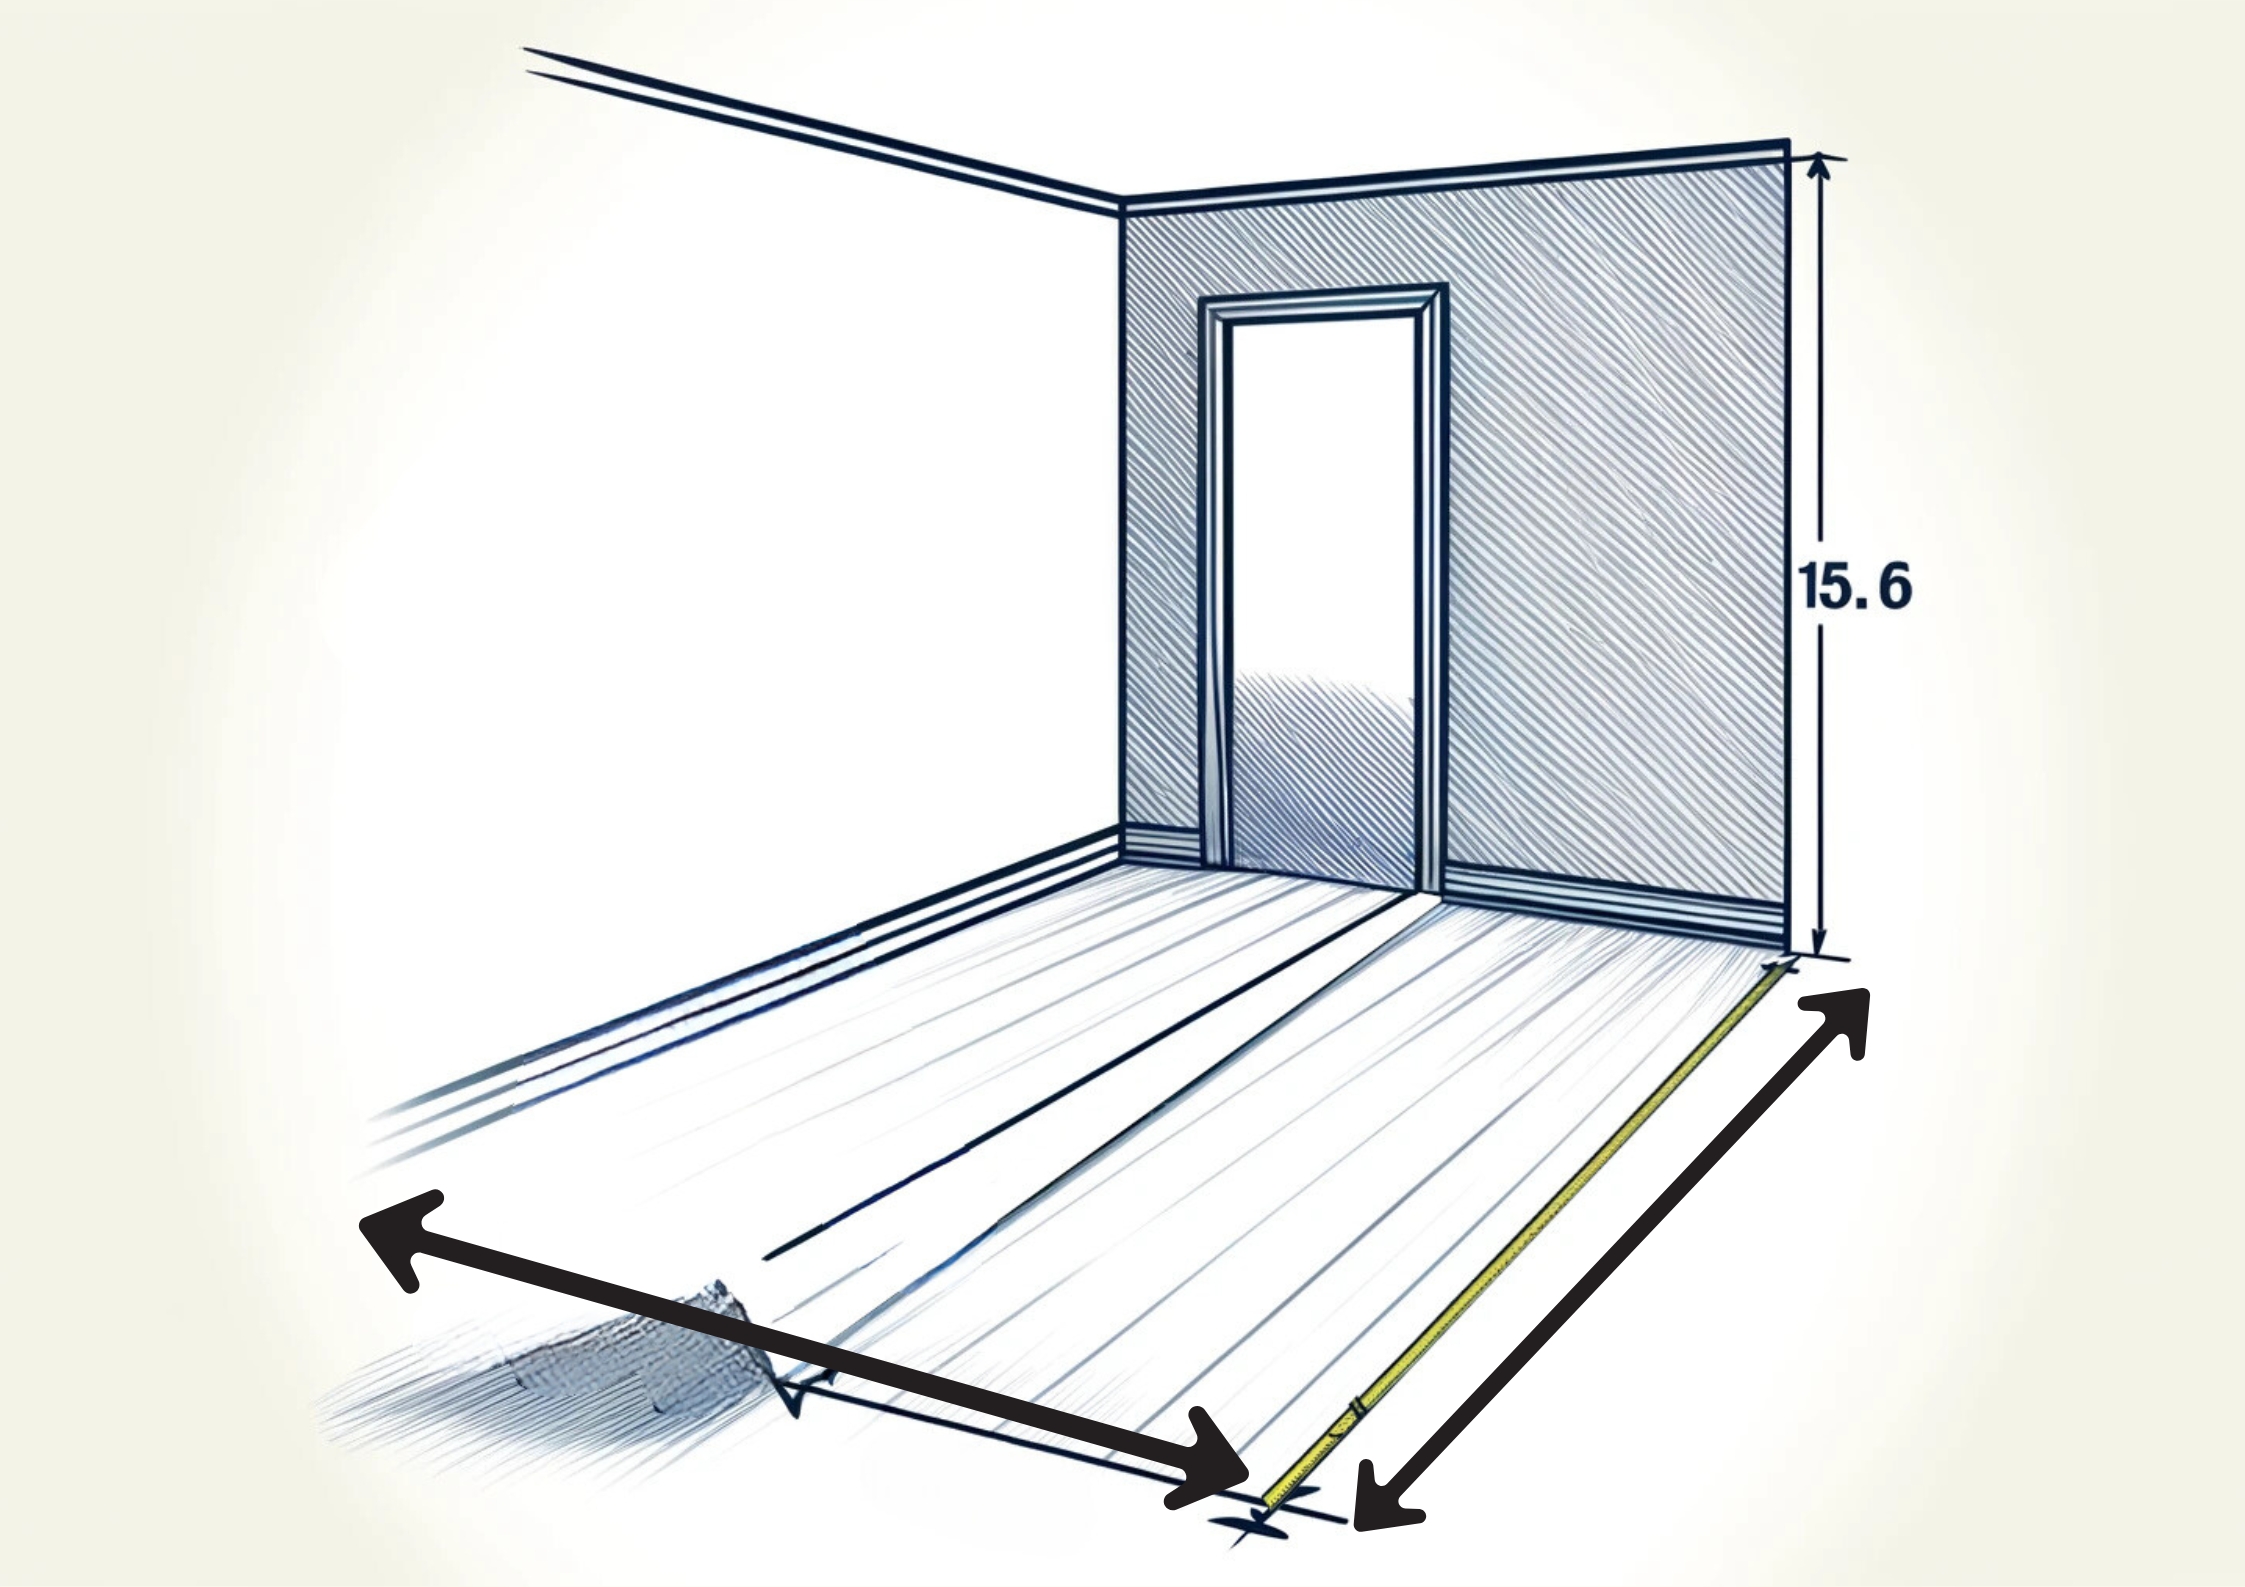
Measure the Length of the Room
- Start at One End: Place the end of the tape measure against one wall.
- Extend to the Opposite Wall: Pull the tape measure across the room, ensuring it stays straight and level.
- Record the Measurement: Write down the length measurement in feet and inches. For example, if the length is 15 feet and 6 inches, note it as 15.5 feet or 15’ 6”.
Measure the Width of the Room
- Start at One Side: Place the tape measure against one wall.
- Extend to the Opposite Side: Pull the tape measure across the room to the opposite wall, keeping it straight and level.
- Record the Measurement: Write down the width measurement. For example, if the width is 10 feet, note it as 10 feet or 10’.
Calculate the Area
- Use the Formula: Multiply the length by the width to determine the square footage of the room.
- Example: For a room that is 15.5 feet long and 10 feet wide, the calculation would be: 15.5 feet×10 feet=155 square feet15.5 feet×10 feet=155 square feet
- Double-Check Your Math: Ensure your calculations are correct to avoid purchasing too little or too much flooring.
Consider Room Irregularities
- Identify Odd Shapes: If your room isn’t a perfect rectangle, break it into smaller sections.
- Measure Each Section: Measure the length and width of each section and calculate their areas separately.
- Sum the Areas: Add the areas of all sections together for the total square footage.
Add Extra for Waste and Future Repairs
- Calculate 10% Extra: To account for mistakes, cuts, and future repairs, add 10% to your total square footage.
- Example: For a room that is 155 square feet: 155 square feet×0.10=15.5 square feet155 square feet×0.10=15.5 square feet
- Add to Total: Add this extra to your original square footage: 155 square feet+15.5 square feet=170.5 square feet155 square feet+15.5 square feet=170.5 square feet
- Round Up: It’s always safer to round up to the nearest whole number. In this case, purchase 171 square feet of hardwood flooring.
Document Everything
- Create a Detailed Sketch: Draw a simple sketch of your room, noting the length and width, as well as any obstacles or irregular areas.
- Label Each Section: If your room has different sections, label each one and note their measurements.
Verify Your Measurements
- Double-Check: Before heading to the store, re-measure your room to confirm your initial measurements are accurate.
- Consult a Professional: If you’re unsure about your measurements, consider consulting a professional to verify them.
Accurate room measurements are crucial for a smooth hardwood flooring installation. Add extra for waste and future needs to avoid last-minute trips to the store and ensure a successful project.
Prepare the Subfloor
Preparing your subfloor is a critical step that can greatly affect the stability and longevity of your new hardwood flooring. Here’s a detailed guide to ensuring your subfloor is ready for installation.
1. Clear the Area
Before you start, you need a clean and clear workspace:
- Remove Old Flooring: If you have existing carpet, tile, laminate, or older hardwood, it needs to be completely removed. Use a pry bar and hammer to lift old materials.
- Clear Nails and Staples: After removing old flooring, ensure all nails, staples, or tacks are removed or hammered down flush with the subfloor. Protruding metal can damage new hardwood and create uneven surfaces.
- Sweep and Vacuum: Thoroughly sweep the area to collect larger debris, then follow up with a vacuum to ensure all fine particles are removed. Dust and small particles can interfere with the adhesion and laying of underlayment or hardwood.
2. Inspect the Subfloor Condition
A good subfloor is essential for a smooth installation:
- Check for Damage: Look for any signs of water damage, rot, or severe wear. Damaged areas may need to be replaced entirely to ensure the structural integrity of the flooring.
- Ensure Structural Integrity: If your subfloor squeaks or feels unstable, secure it by screwing it down to the floor joists. This prevents movement that can cause squeaks or gaps in the new flooring.
3. Check for Levelness
Leveling is key to a successful installation:
- Use a Long Level or Straight Edge: Place a long level or straight edge across various areas of the subfloor. This helps you identify high or low spots over a larger area than a standard level.
- Mark High and Low Areas: Use chalk or a pencil to mark areas that need attention. This makes it easier to address these spots during the repair process.
4. Repair as Needed
Addressing imperfections ensures a stable base for your hardwood:
- Fill Low Spots: Use a floor-leveling compound for concrete subfloors or a self-leveling underlayment for wood subfloors. Mix the compound according to the manufacturer’s instructions and pour it over the low areas, spreading it with a trowel to create a smooth, level surface.
- Grind High Spots: For high spots in concrete, use a concrete grinder to smooth the area. For wood, sand down high spots using a floor sander.
- Allow to Dry: Leveling compounds requires time to set and dry completely. Check the manufacturer’s recommended drying times to ensure the best results. Rushing this process can lead to issues with flooring adhesion and fit.
5. Final Cleaning
After leveling, clean again:
- Sweep and Vacuum: Remove all traces of dust and debris from sanding, grinding, or leveling. This final cleaning ensures a clean bonding surface for any adhesives or underlayments.
- Check Moisture Levels: Especially important for concrete subfloors, use a moisture meter to check that the moisture content is within acceptable limits for hardwood installation. Excessive moisture can cause wood to warp or swell.
6. Acclimate Your New Hardwood
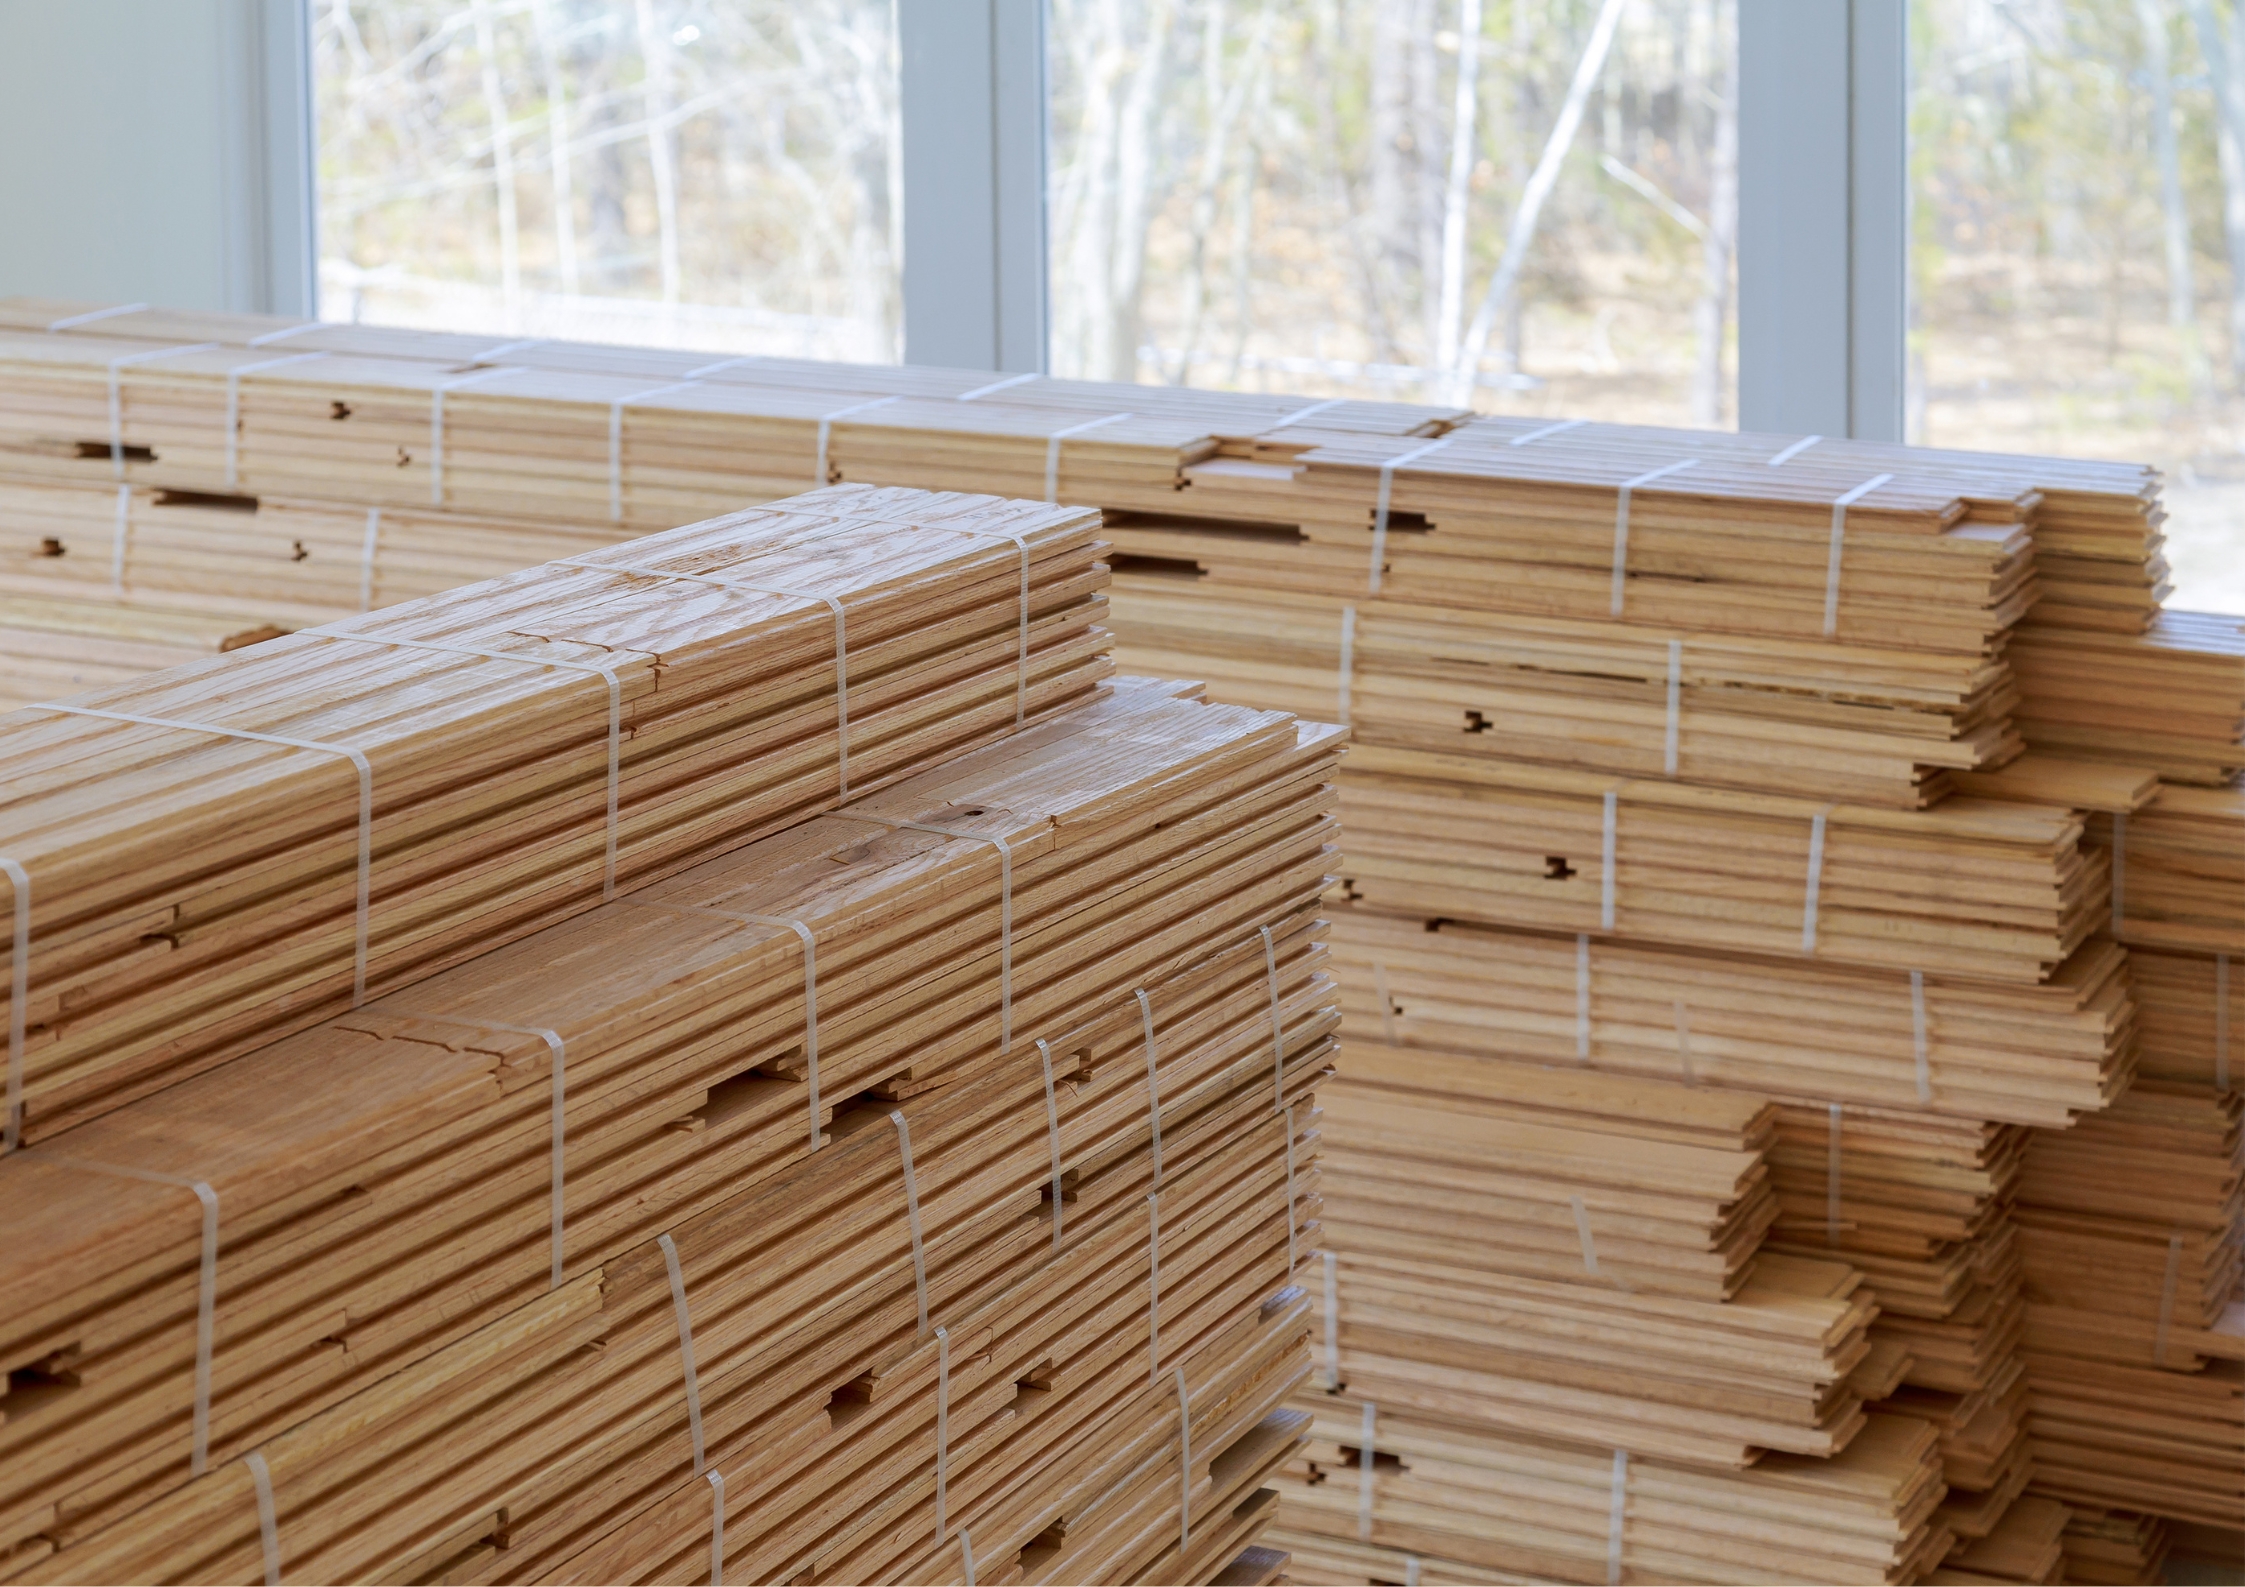
Before installation, your hardwood flooring should acclimate:
- Store the Hardwood: Open the hardwood flooring packages and spread out the planks in the room where they will be installed. This allows the wood to adjust to the room’s temperature and humidity, reducing the risk of expansion or contraction post-installation.
7. Install Underlayment (If Required)
Underlayment provides a smooth, flat surface and can offer additional benefits:
- Roll Out Underlayment: If using, roll out your underlayment material over the cleaned and leveled subfloor. Trim to fit and tape seams as directed by the product instructions.
By taking the time to thoroughly prepare your subfloor, you ensure that your new hardwood flooring will be beautifully and securely installed, providing a stable and lasting foundation. This attention to detail will enhance the overall quality and durability of your flooring, making your investment worthwhile.
Step 3: Install the Underlayment
Underlayment provides a smooth surface for your hardwood flooring and helps with soundproofing and moisture control. Here’s how to install it:
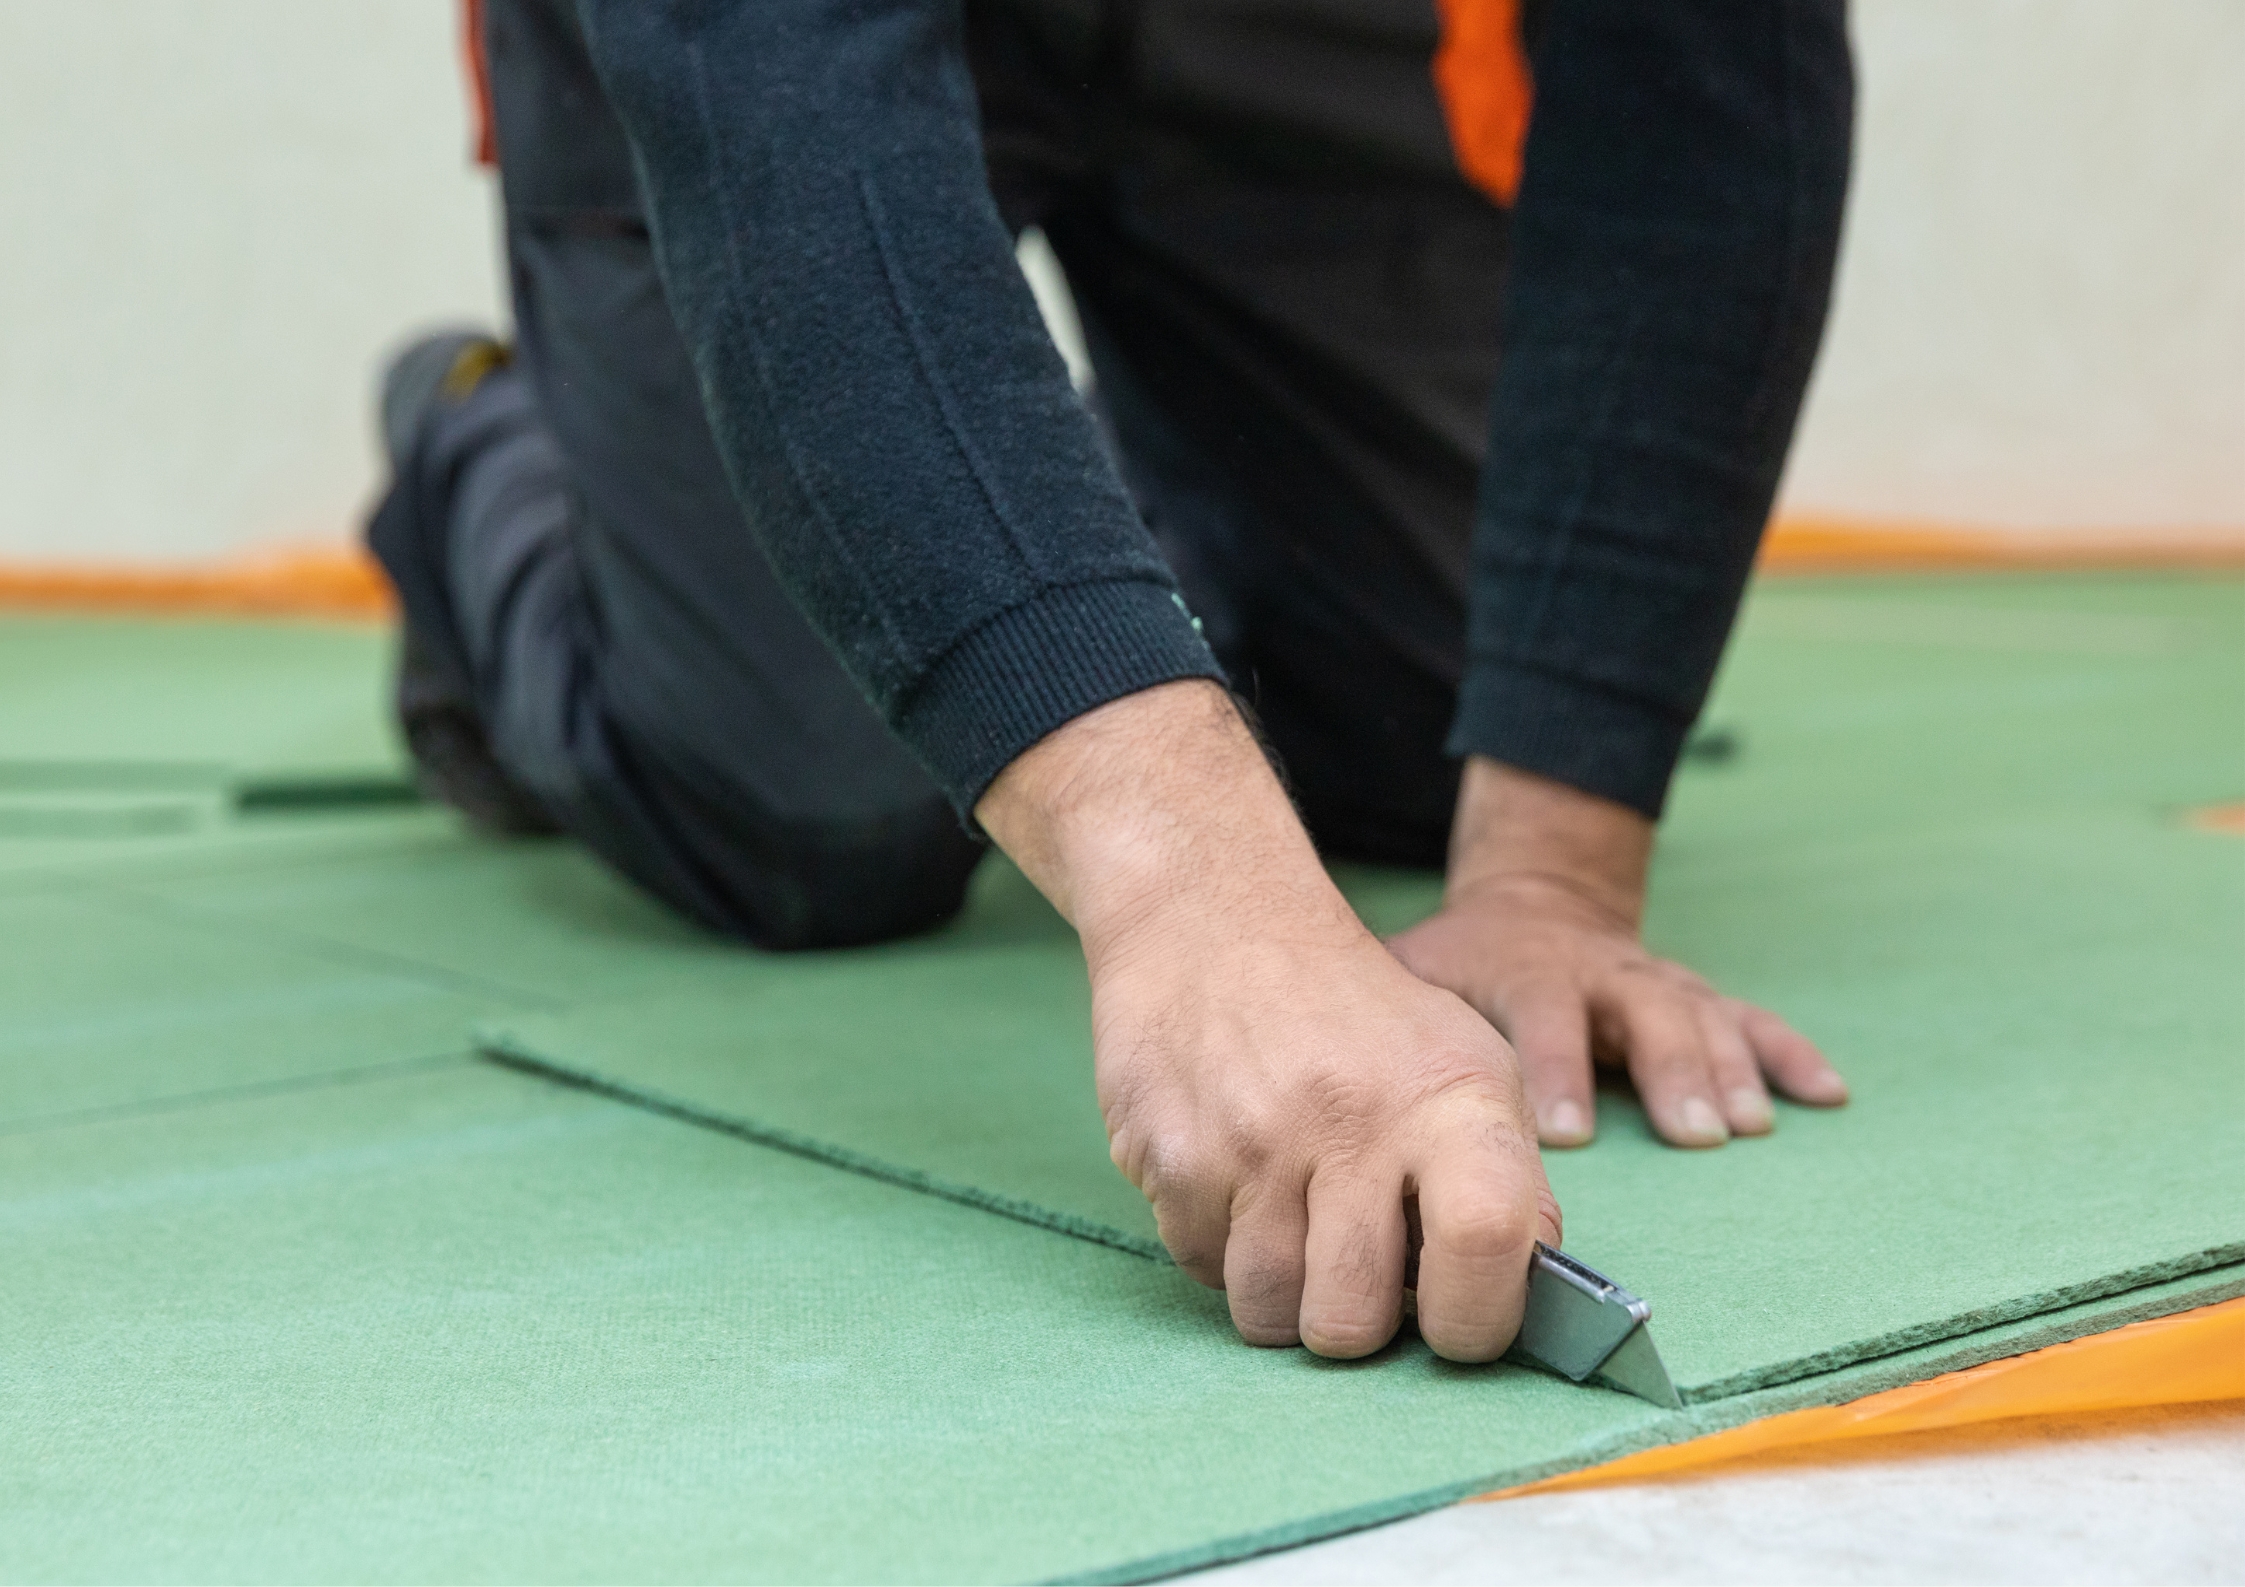
- Roll Out the Underlayment: Start at one end of the room and unroll the underlayment across the floor. Make sure it covers the entire area.
- Cut to Fit: Use a utility knife to trim the underlayment to fit around corners and obstacles. Be precise to avoid gaps or overlaps.
- Secure the Seams: Use tape to hold the underlayment pieces together. This prevents them from shifting during the installation of the hardwood flooring.
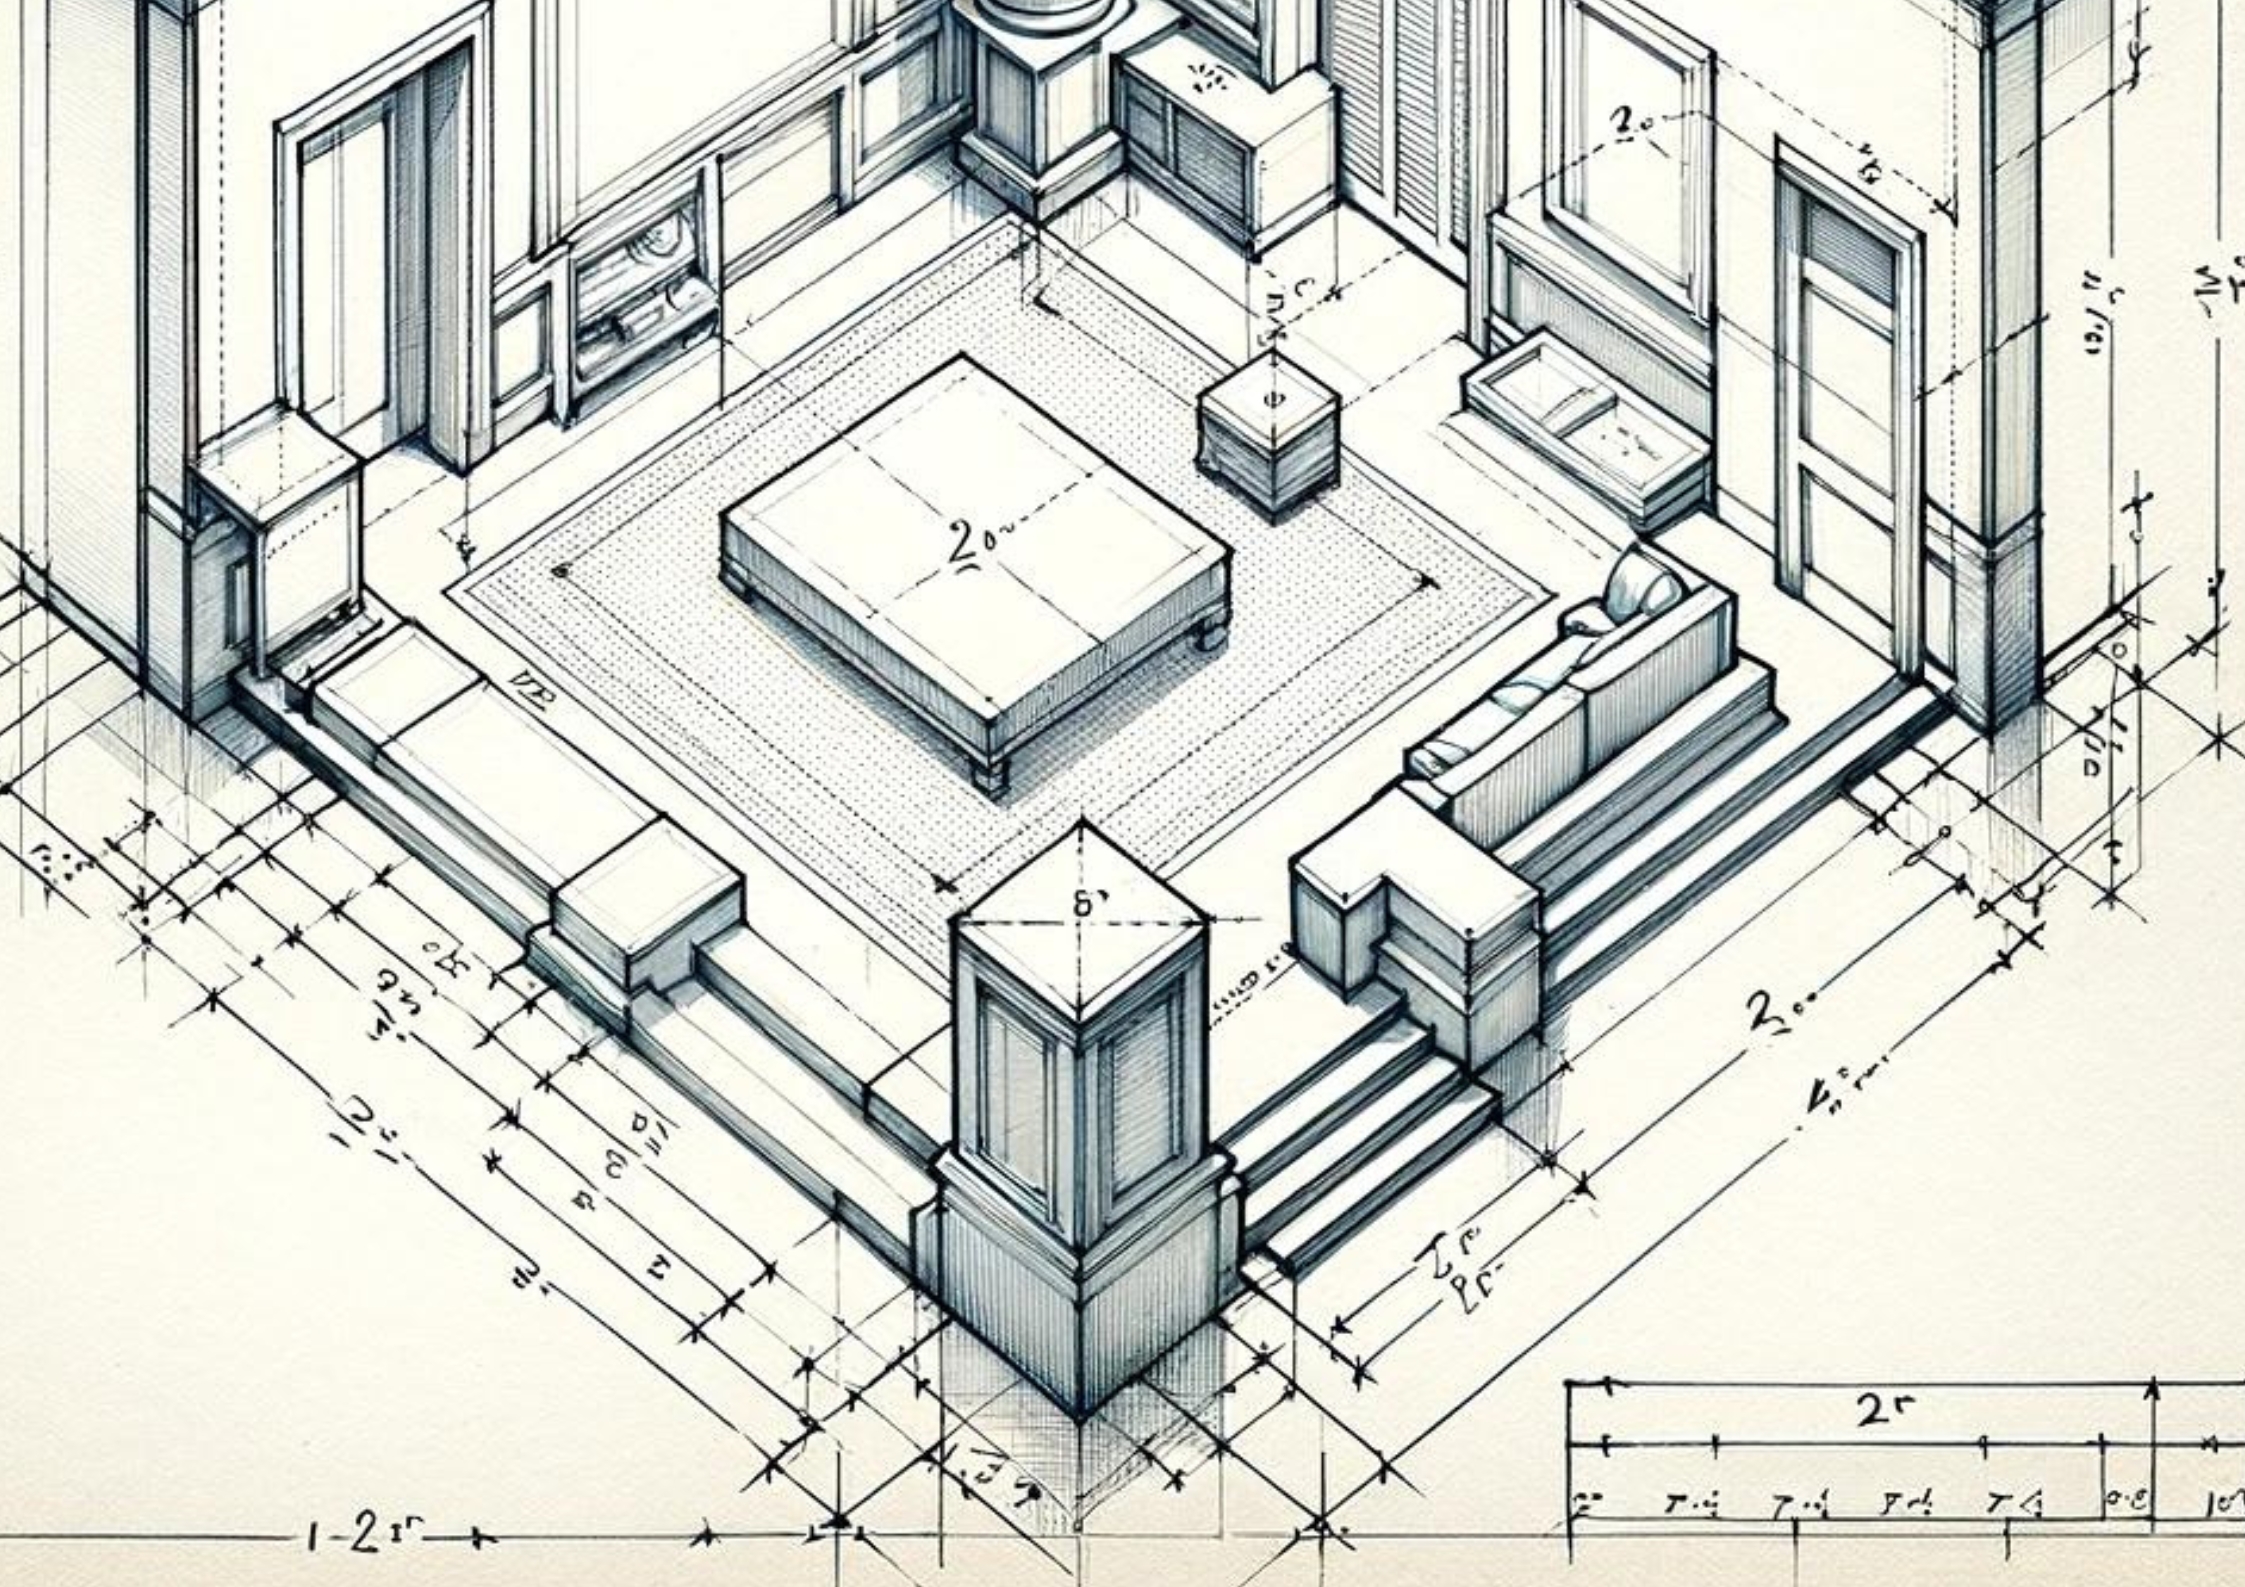
Step 4: Plan Your Layout
Planning your layout ensures a professional-looking finish. Follow these steps to prepare your hardwood flooring layout:
- Dry Lay the Planks: Place a few planks on the floor without nailing them down. This helps you see how they fit together and allows you to make adjustments before starting the installation.
- Use Spacer Blocks: Place spacers between the planks and the walls to maintain a consistent expansion gap. This gap allows the wood to expand and contract with changes in temperature and humidity.
- Mark Your Starting Line: Use a chalk line to create a straight reference line across the room. This line will guide you as you install the first row of planks, ensuring they are perfectly straight.
Step 5: Install the Hardwood Flooring
Now that you’ve prepared your subfloor and gathered your materials, it’s time to start the exciting process of laying your hardwood flooring. Here’s a detailed guide to help you through each stage of the installation:
1. Start with the First Row
- Position the First Plank: Begin at the longest, most visible wall. Place the first plank along the chalk line, ensuring the tongue side is facing the wall. This orientation is crucial as it allows you to install the rest of the flooring smoothly.
- Use Spacers: Insert spacers between the wall and the planks to maintain the necessary expansion gap, typically about 1/4 to 1/2 inch. This gap is essential to allow for the natural expansion and contraction of the wood.
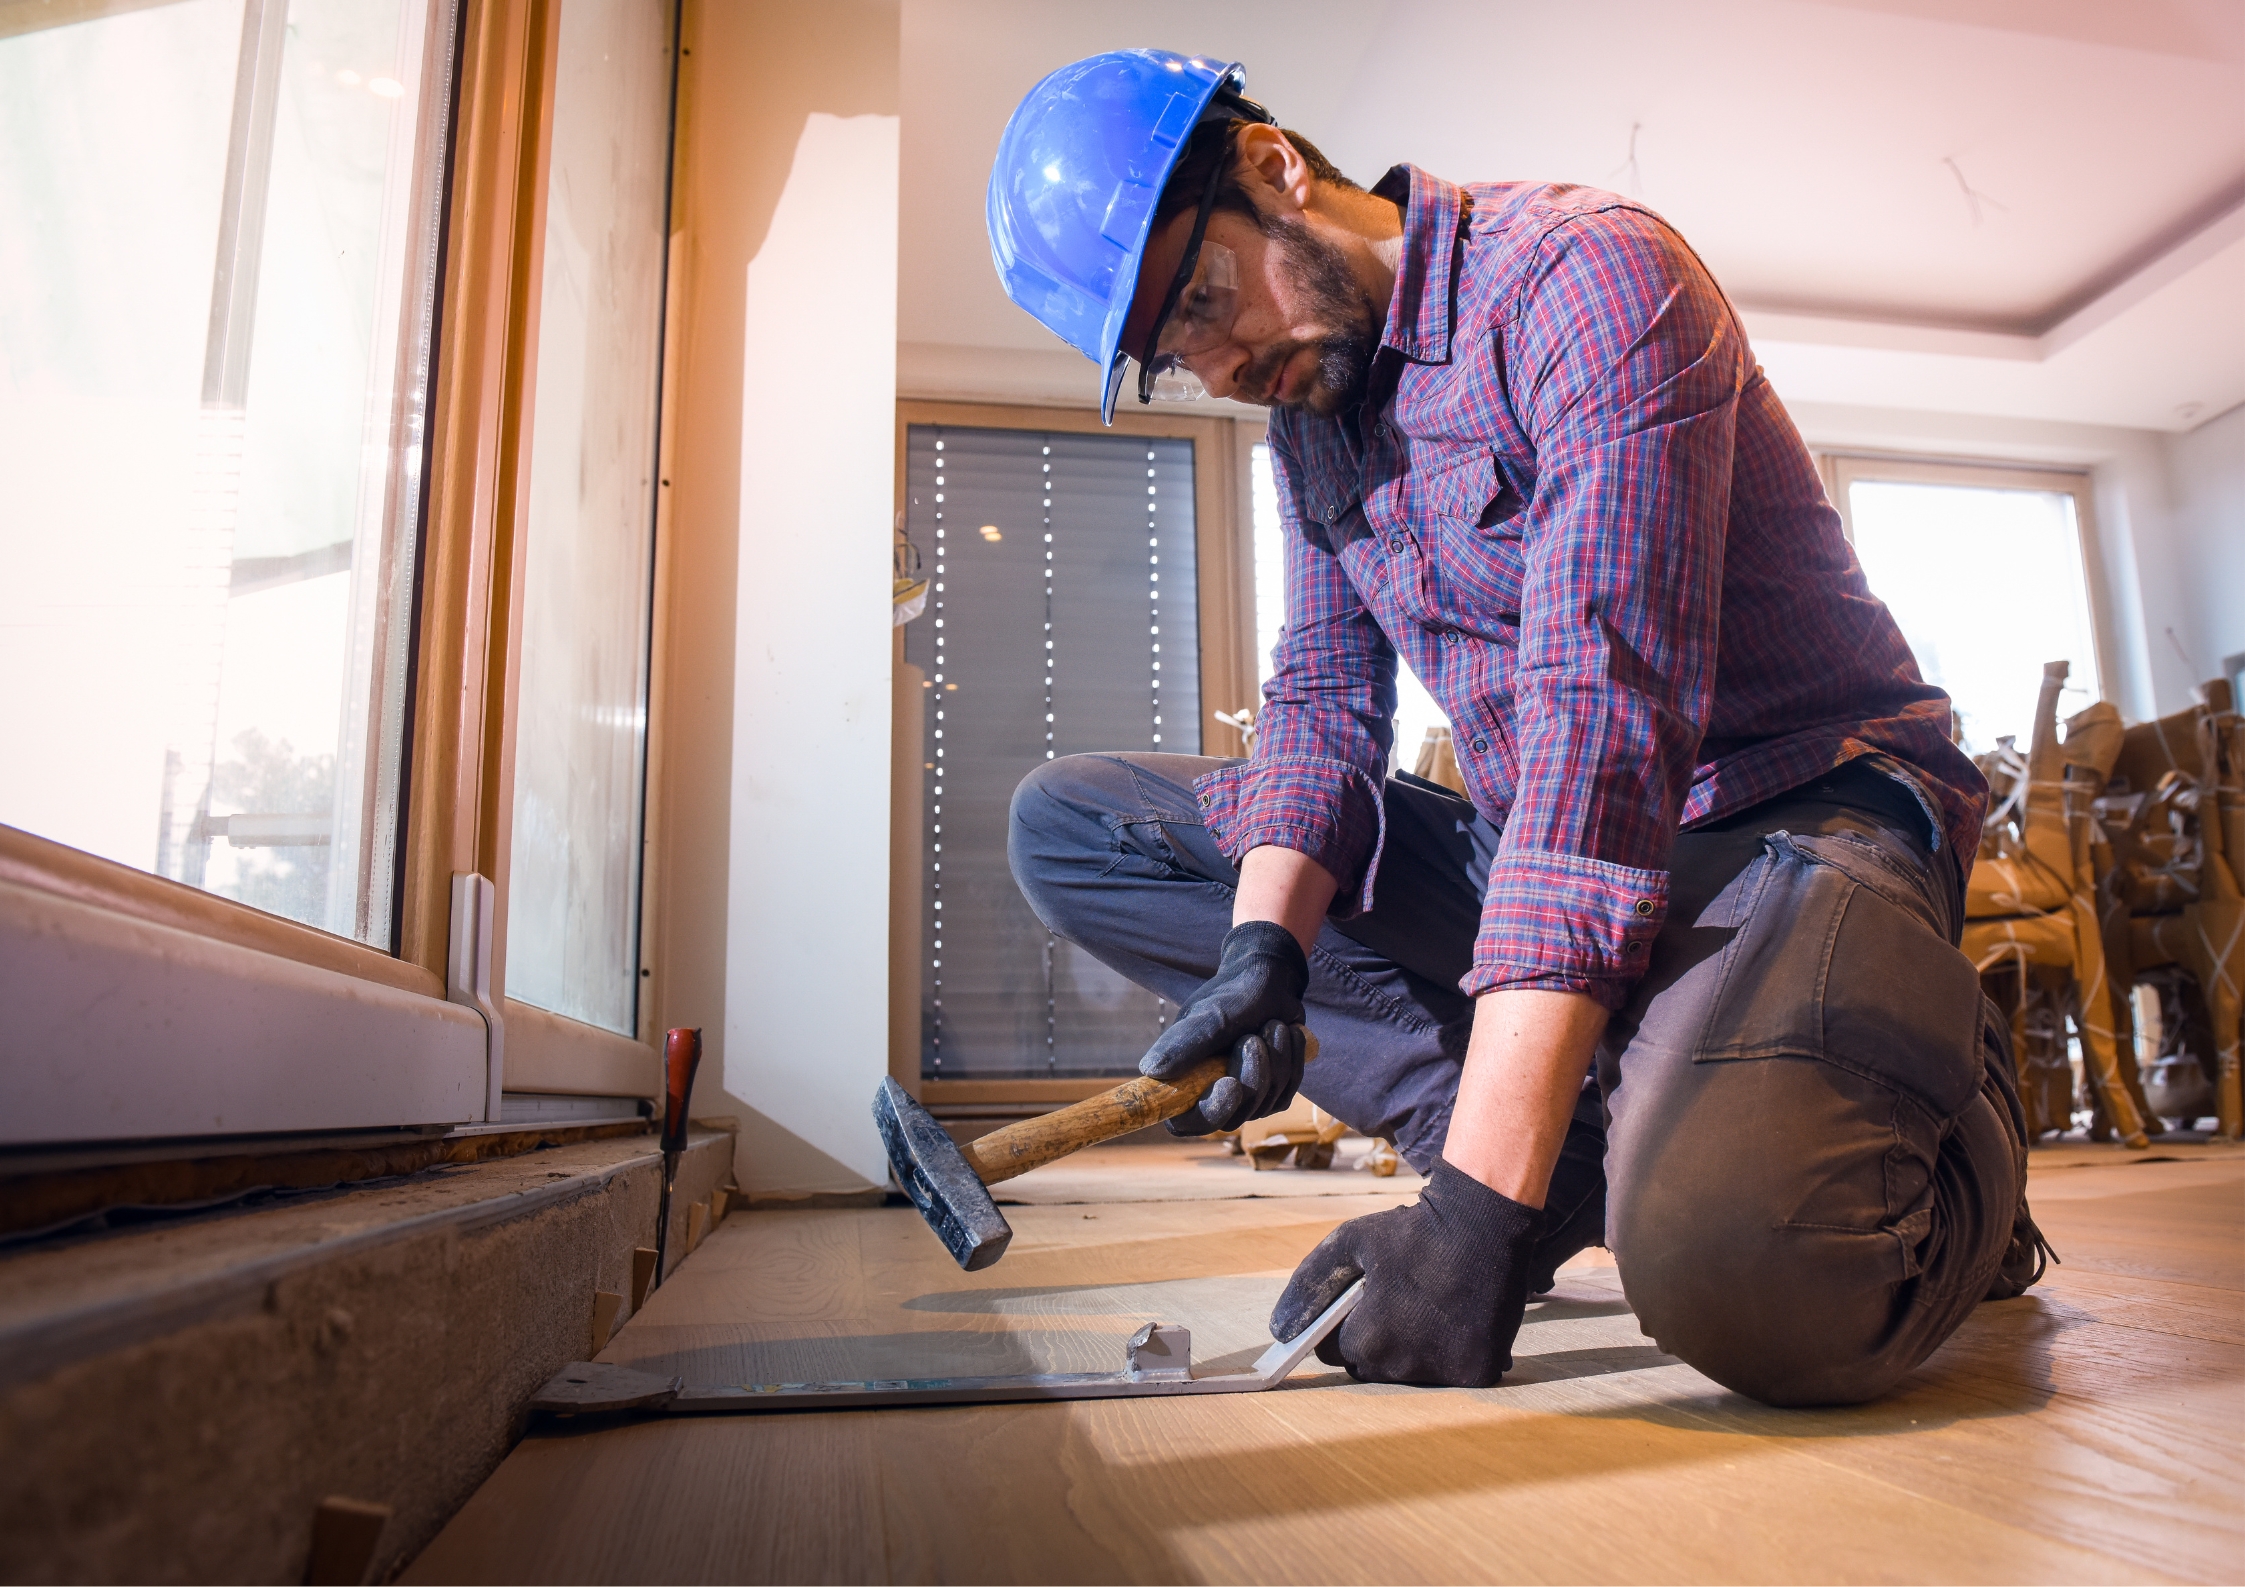
2. Nail or Staple the Planks
- Secure the Planks: Using a flooring nailer, attach the planks to the subfloor. The tool should be used to drive nails or staples through the tongue of each plank at a 45-degree angle. This technique conceals the fasteners and maintains the aesthetic integrity of your floor.
3. Continue Laying Planks
- Fit Each New Plank: Continue laying each plank one by one, ensuring tight fits. Align the groove of the new plank with the tongue of the already installed plank and click into place.
- Use a Rubber Mallet: If necessary, gently tap the planks into place using a rubber mallet. This will help avoid damaging the wood while ensuring a snug fit.
4. Cut Planks to Fit
- Measure and Cut: When you reach the end of a row or encounter obstacles like vents or columns, measure the remaining space. Mark the plank and use a miter saw for straight cuts or a circular saw for notches.
- Stagger the Seams: To ensure structural integrity and visual appeal, stagger the seams by starting new rows with different lengths of planks. Avoid lining up the seams as this can weaken the floor and detract from its appearance.
5. Staggering the Seams
- Choose Different Lengths: Utilize planks of varying lengths to start new rows. This staggered pattern enhances the floor’s overall strength and aesthetic by providing a more natural and less repetitive look.
- Avoid Short Ends: Ensure the ends of the planks in adjacent rows are at least 6 inches apart. This strategy prevents the formation of weak spots and contributes to a more stable and attractive flooring installation.
6. Add the Finishing Touches
- Remove the Spacers: After all the planks have been installed, carefully remove the spacers from around the room’s perimeter.
- Install Trim and Molding: Attach baseboards or shoe molding along the edges to cover the expansion gaps. This not only completes the look of your floor but also protects the edges of the hardwood planks. Secure the trim using a hammer and nails or a nail gun for a clean finish.
- Clean the Floor: Finally, clean the surface of your new floor with a soft, damp cloth to remove any sawdust or debris. This step is crucial to ensure your floor is pristine and ready to be shown off.

Conclusion
Congratulations, you’ve successfully installed your hardwood flooring! Your new hardwood flooring is installed, and your room looks fantastic.
By carefully following these steps, you’ve ensured that your floor is not only beautiful but also solid and well-prepared to handle daily traffic. With a bit of patience and careful work, you’ve transformed your space into something truly special.
Now, step back and admire the transformation of your space. Enjoy the natural beauty and durability of your new hardwood floors, knowing that you installed them yourself with precision and care.
FAQs on Installing Hardwood Flooring
1. How long does it typically take to install hardwood flooring?
- Answer: The time it takes to install hardwood flooring can vary depending on the size of the room and the experience level of the installer. For a typical room, such as a bedroom or living room, it might take a DIYer a couple of days to complete. Professional installers might be able to finish faster, especially with larger teams.
2. Can I install hardwood flooring over an existing tile or laminate floor?
- Answer: Yes, you can install hardwood flooring over existing tile or laminate if the surface is flat, stable, and well adhered to the subfloor. However, it’s essential to check the manufacturer’s recommendations because some hardwood floors require a specific type of underlayment or certain conditions. Adding an extra layer can also impact the height of your floor, which might affect transitions to other rooms.
3. Do I need to leave a gap between the wall and the hardwood flooring?
- Answer: Yes, it’s crucial to leave an expansion gap between the wall and the hardwood planks. This gap allows the wood to expand and contract with changes in humidity and temperature without warping or buckling. Typically, a gap of about 1/4 to 1/2 inch is recommended, which can be covered later with baseboards or trim.
4. What’s the best way to cut hardwood planks?
- Answer: The best way to cut hardwood planks is using a miter saw for straight cuts and a jigsaw or circular saw for any notches or intricate cuts. It’s important to measure twice and cut once to ensure accuracy and minimize waste. Always wear safety glasses and follow safety practices when using power tools.
5. How do I care for my new hardwood floors to keep them looking beautiful?
- Answer: To keep your hardwood floors looking their best, sweep or vacuum regularly to remove dirt and grit that can scratch the surface. Use only hardwood floor cleaners and avoid excessive water. For deeper cleaning, use a damp mop rather than a wet one, and immediately wipe up any spills to prevent water damage. Placing rugs in high-traffic areas can also help minimize wear.