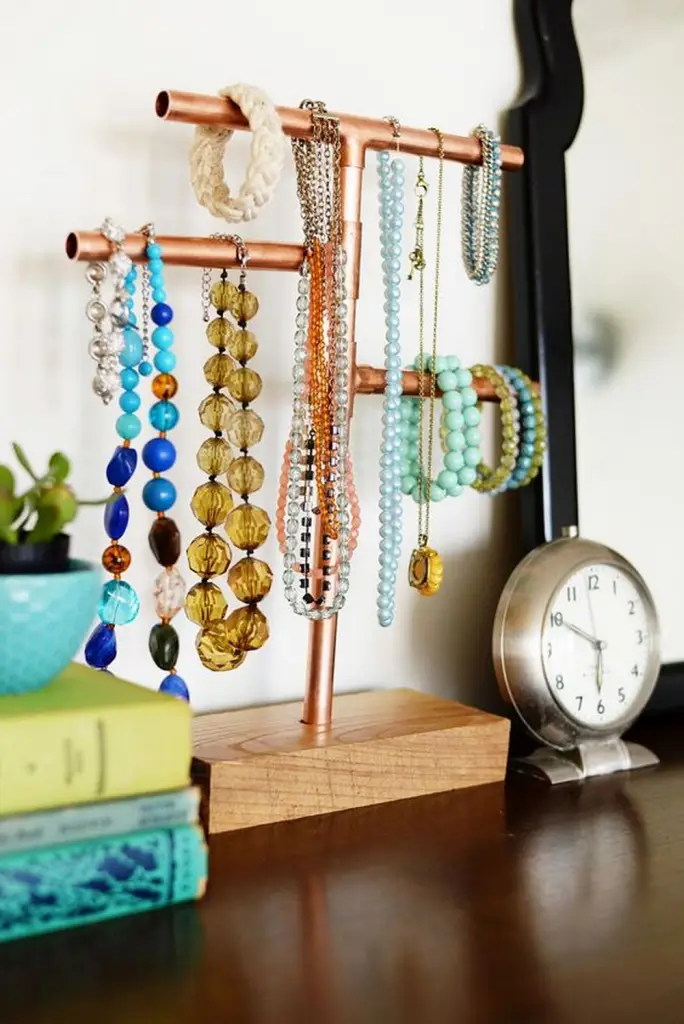
Lately, I’ve been hunting for chic pieces that are both functional and decorative in nature. My eldest daughter has joined me in my hunt. Thankfully, she has gotten over her obsession with pink and purple and is now into classy pieces. She’s got a good taste for home décor.
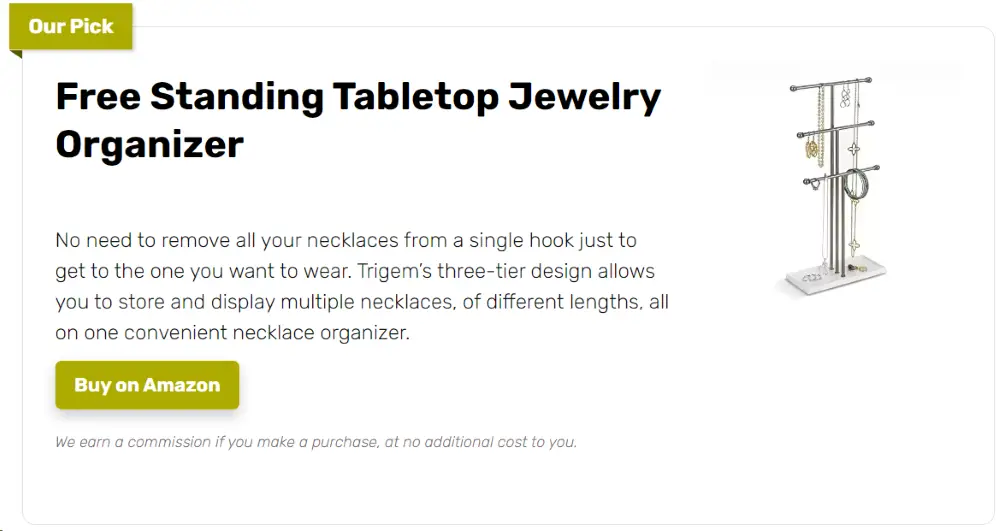
A week ago, she sent me an email with a YouTube link for a copper pipe jewelry organizer project. It’s for a copper pipe jewelry organizer. I loved the finished product seen on the instructional video. The materials needed were also very easy to find and no heavy tools were required. And so I said yes, we should give the project a go.
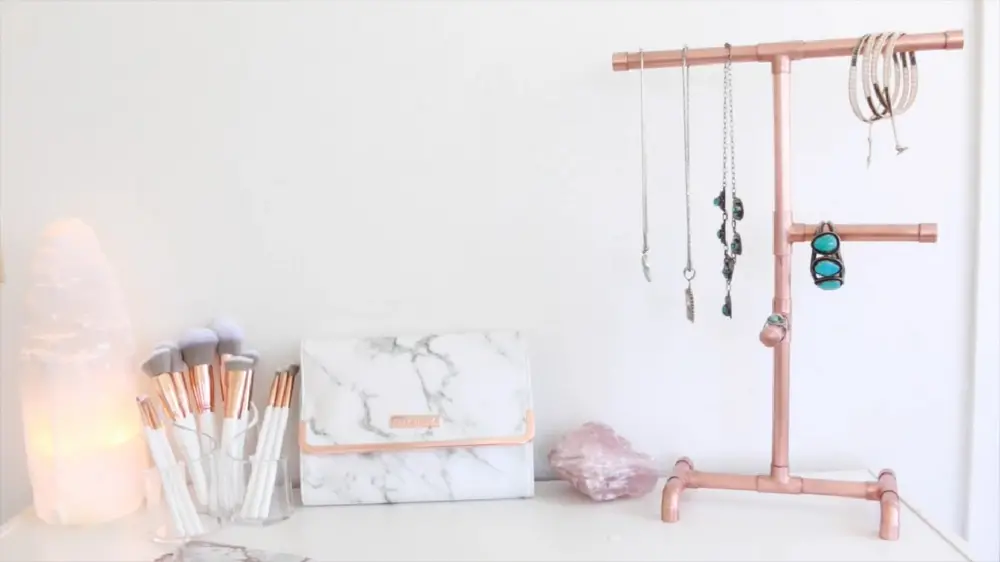
For our first try, we bought just enough material for one jewelry organizer. A few hours later, we took another trip to the hardware store. We just had to make another one for me. As of this writing, we have already given away three. I’m pretty sure we’ll be doing some more in the future. It’s so easy to make you really should try this out!
Contents
Building a Copper Pipe Jewelry Organizer
Materials
- 6 pcs copper T’s
- 4 pcs copper elbows
- 4 pcs copper caps
- 6 ft ½ inch copper pipe
- E6000 glue
Tools
- Pencil
- Tape measure
- Pipe cutting tool
- 1500 grit sand paper
Instructions
Step 1: Measure and Mark the Pipe
Using your tape measure and pencil, measure and mark your copper pipe into the required lengths. For a balanced structure, you might consider cutting several 6-inch pieces for the frame and smaller segments to connect the joints.
Step 2: Cut the Pipe
With your pipe cutting tool, carefully cut the copper pipe where you have made your marks. Ensure each piece is cleanly cut to avoid irregularities that could affect assembly.
Step 3: Sand the Edges
After cutting the copper pipes, use the 1500 grit sandpaper to smooth out any sharp or uneven edges. This step is crucial for both safety and the quality of your final product.
Step 4: Arrange the Pipes and Fittings
Lay out the copper pipes and fittings on a flat surface according to your design. This mock setup will help you visualize the organizer before final assembly.
Step 5: Assemble the Frame
Begin by attaching the copper T’s and elbows to the ends of the pipes. Apply a small bead of E6000 glue to the inside of each fitting before inserting the pipe ends. This glue is strong and will ensure a secure bond, but it also allows some time for repositioning if needed.
Step 6: Add Stability with Copper Caps
Attach the copper caps to the open ends of the pipes defining the base and any exposed ends. These provide the organizer a completed look in addition to stability. As necessary, glue them together.
Step 7: Let it Dry
Follow the glue manufacturer’s directions on complete drying of the glue. To guarantee best bond strength, this usually means leaving the assembled organizer undisturbed for at least 24 hours.
Step 8: Final Touches
Look over your jewelry organizer for any loose connections once the glue has dried; if needed, reapply glue. To get the copper a brilliant, glossy finish, you can also polish it with an appropriate cleaner.
Step 9: Use Your Jewelry Organizer
You can show your copper pipe jewelry organizer now it is finished. Not only is it useful but it also gives your décor some elegance.
Click on any image to start the lightbox display. Use your Esc key to close the lightbox.
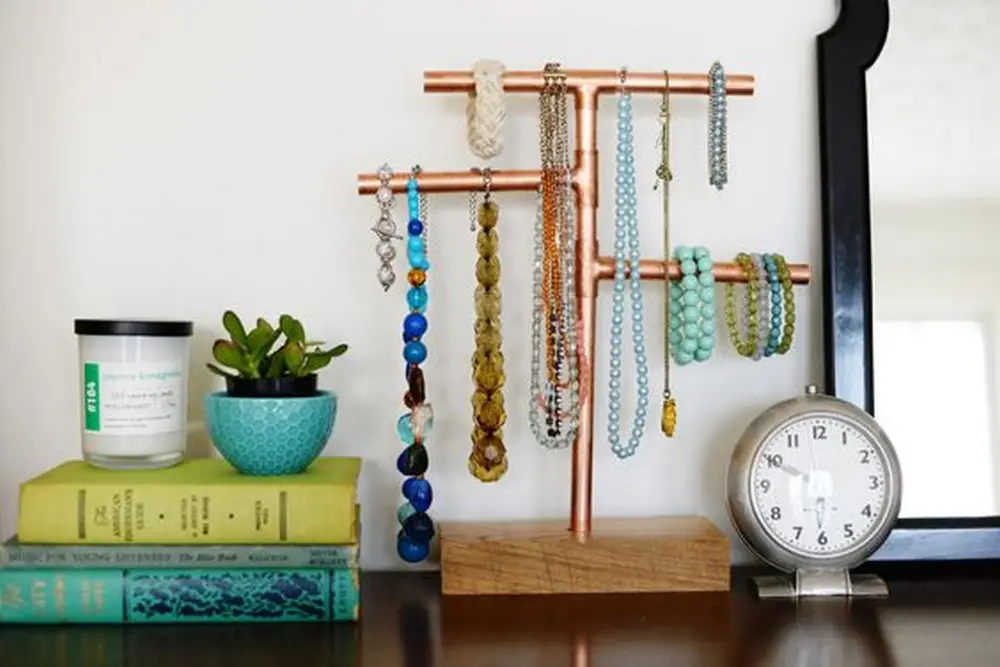

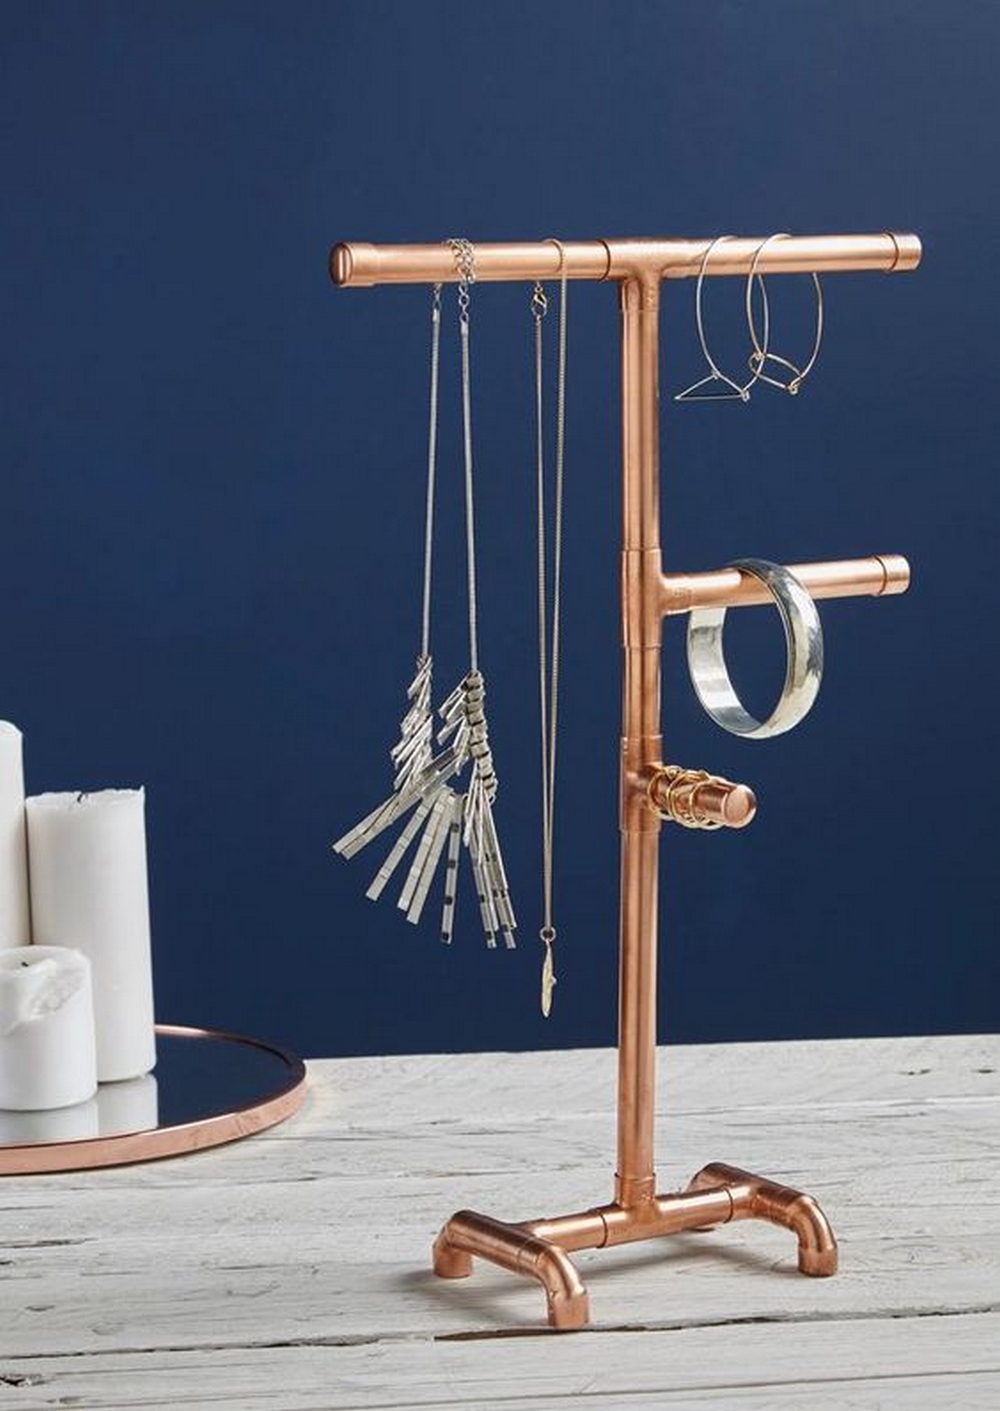
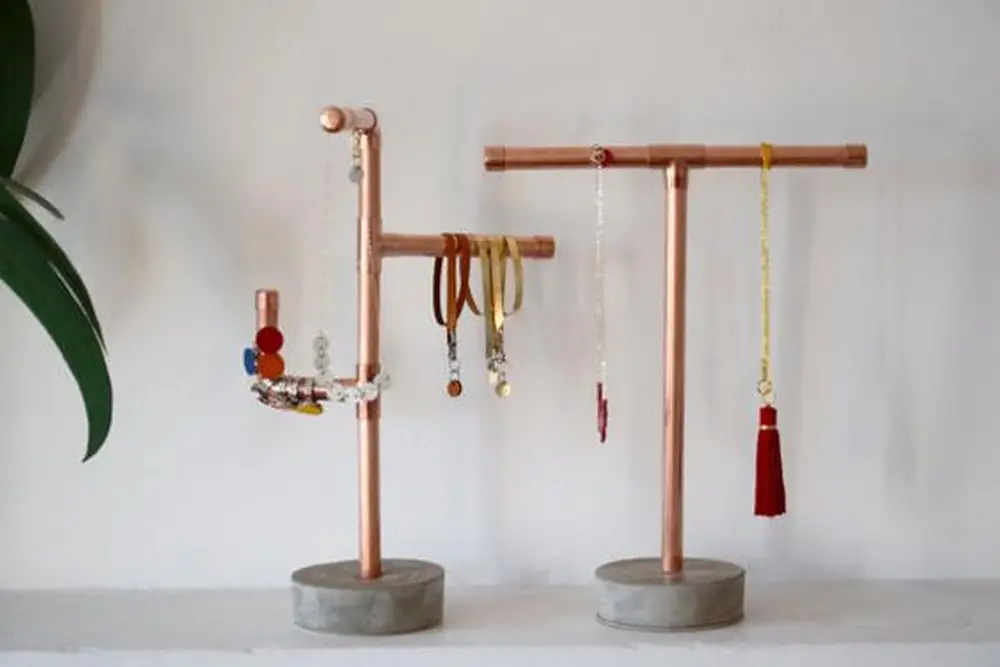
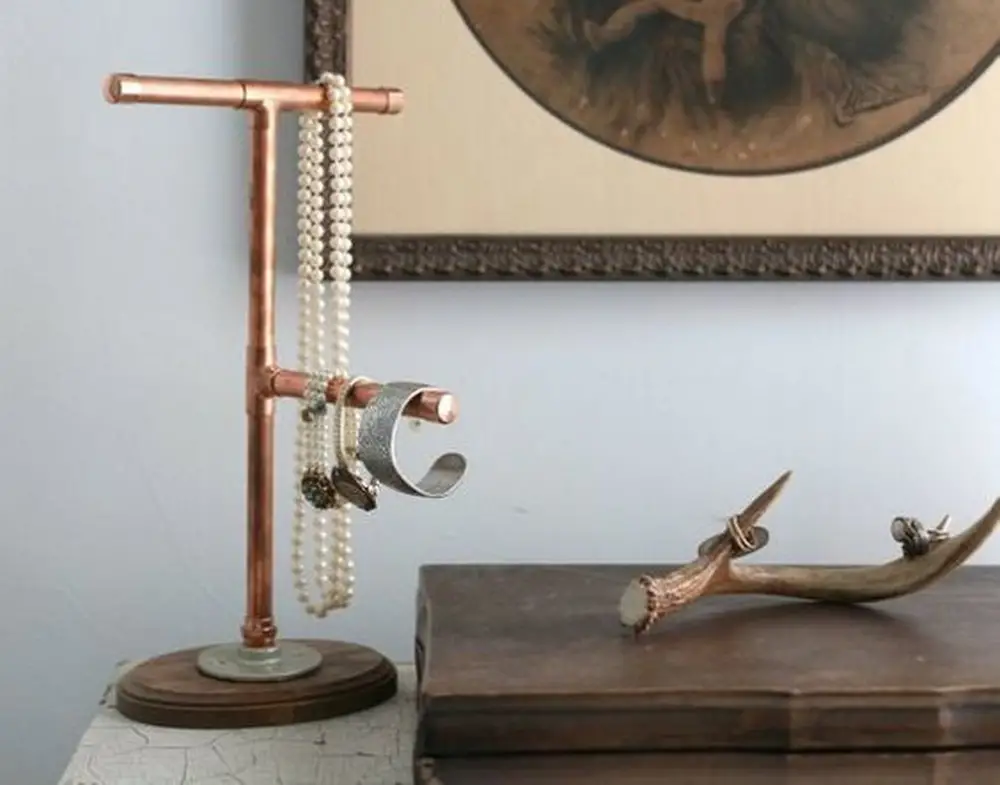
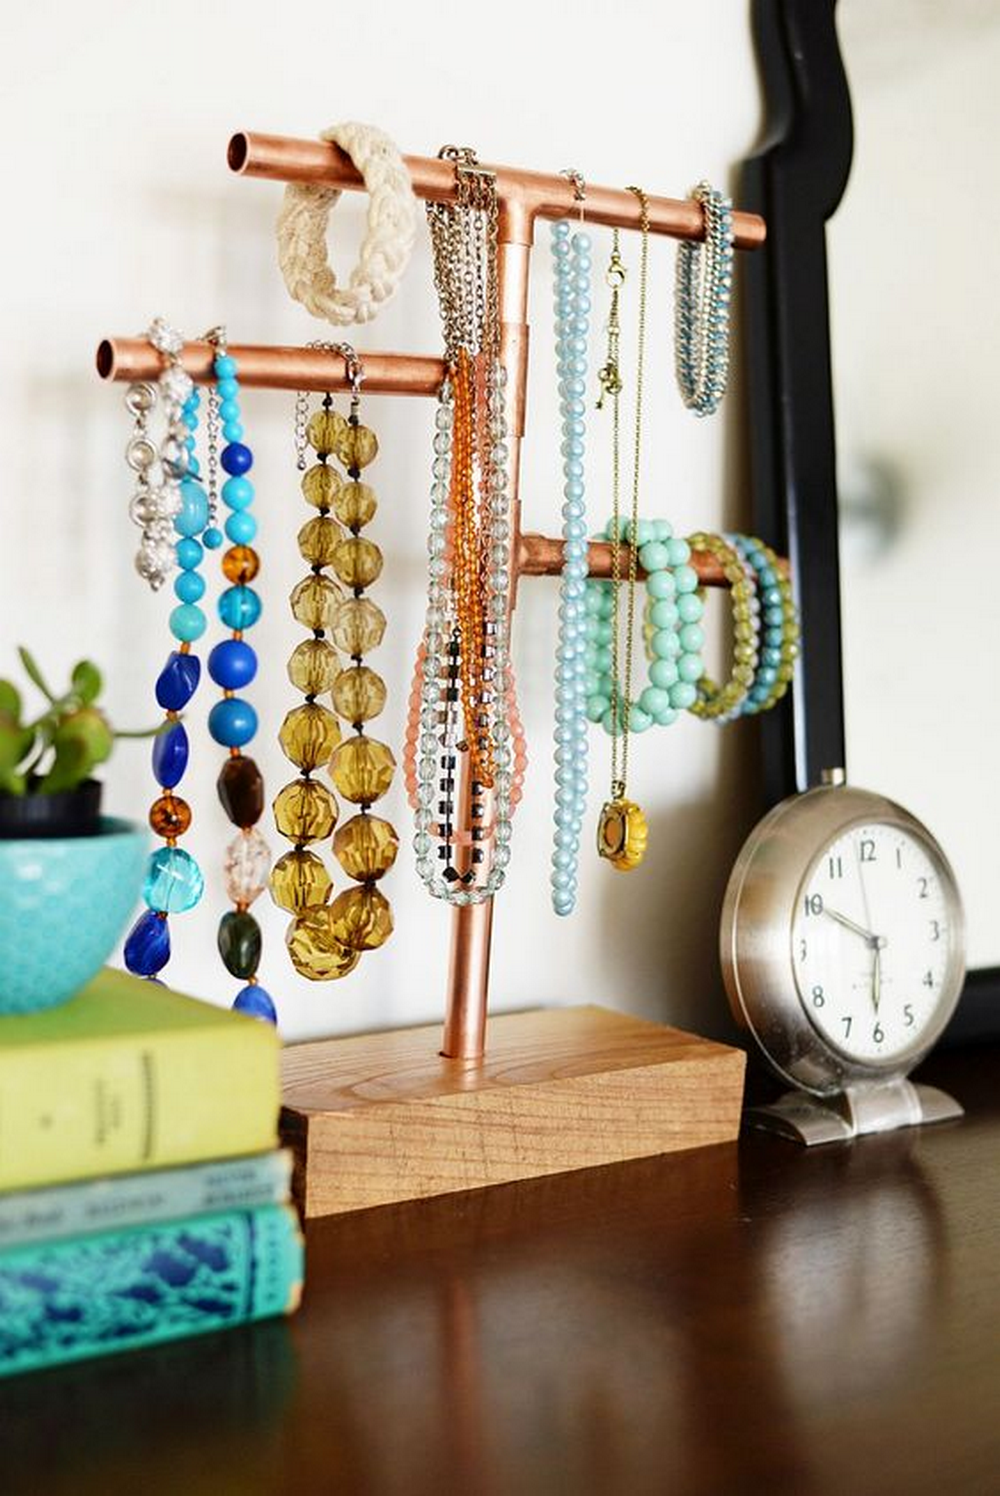
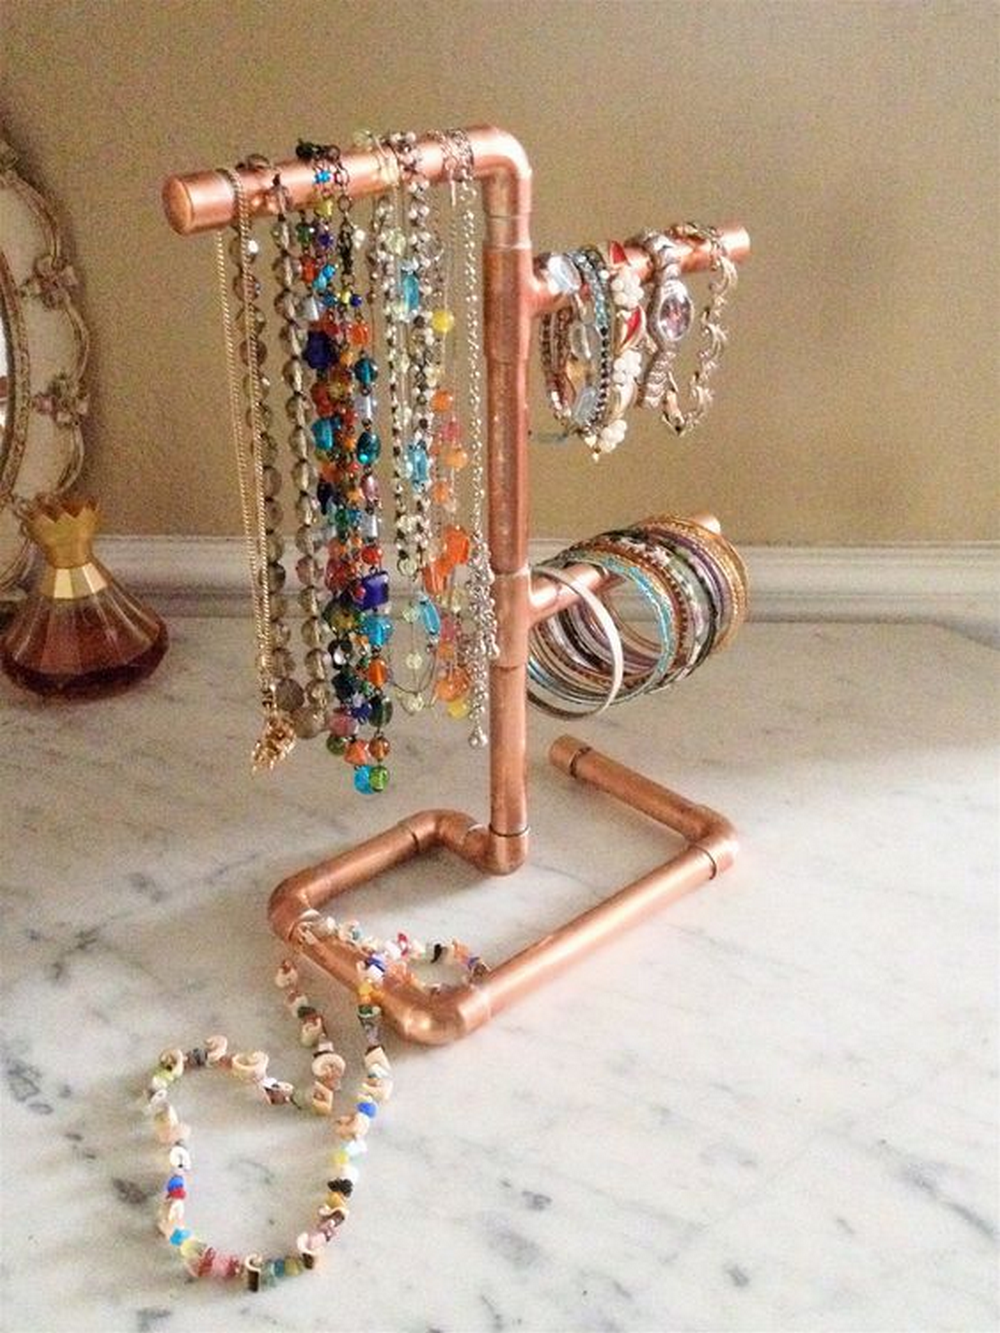
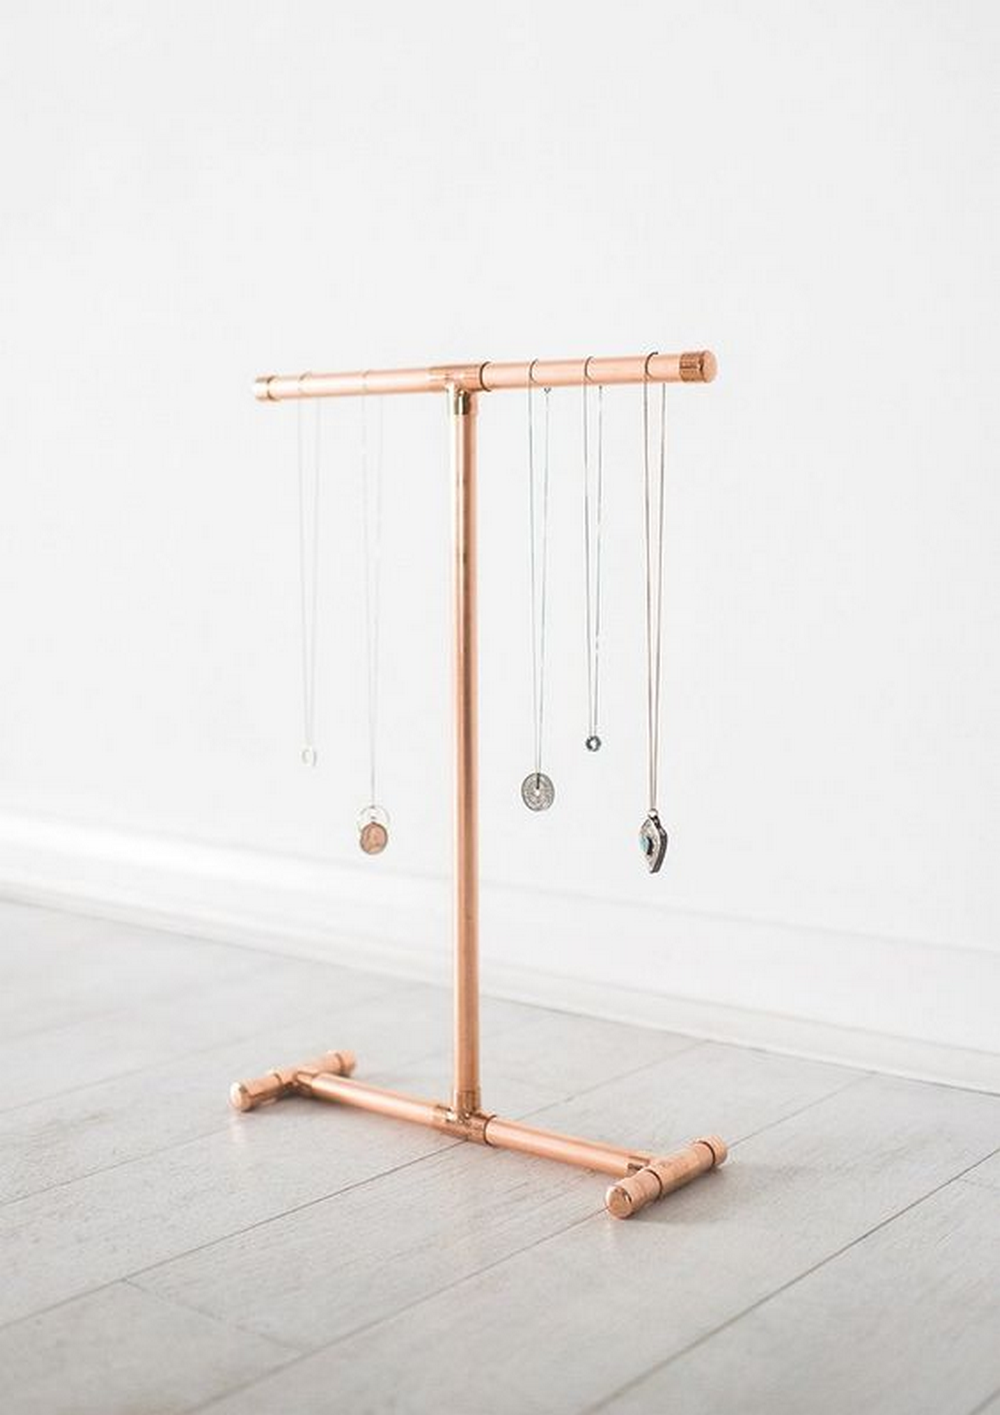
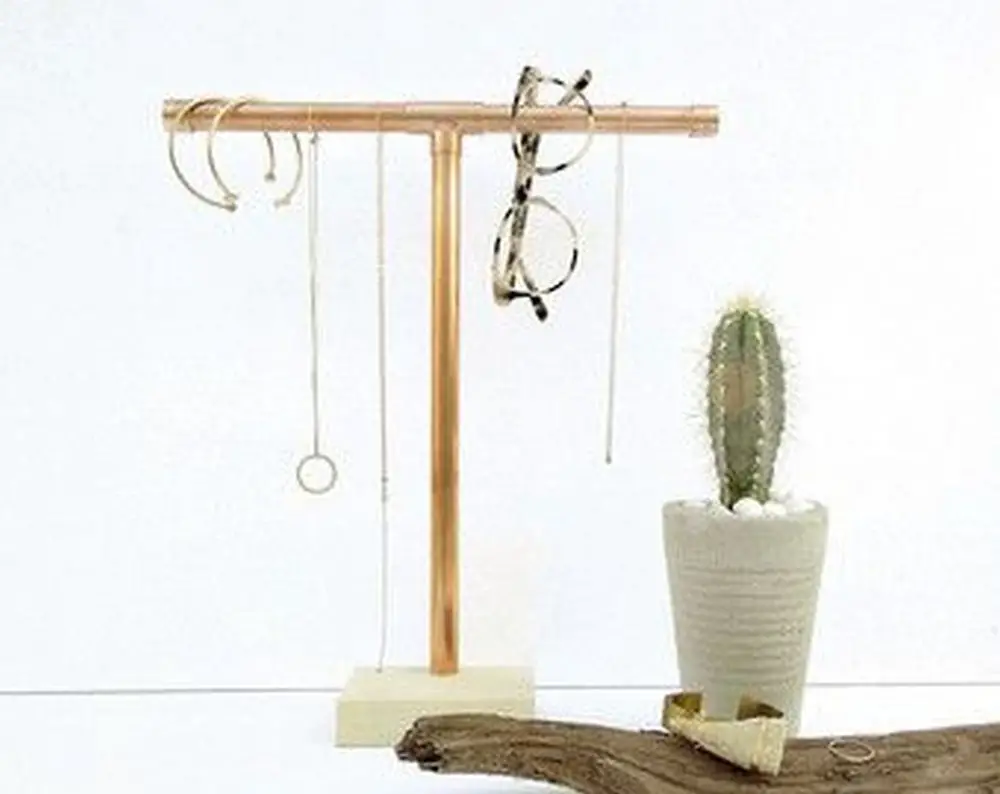
Make this chic copper pipe jewelry organizer today. Here’s the tutorial video.
Customization Ideas
Adding a personal touch to your DIY projects not only enhances their appearance but also tailors them to fit your unique style. Below are some creative customization ideas for your copper pipe jewelry organizer, allowing you to make it a standout piece in your home.
Choose Your Finish
Opt for different finishes to give your copper pipe jewelry organizer a distinctive look. You can experiment with aging the copper to develop a patina, which adds a vintage charm, or you can keep it polished for a sleek, modern look. Applying a clear lacquer can protect the shiny finish or you can let it naturally tarnish for an antique effect.
Incorporate Color
Add color to your copper pipe jewelry organizer by painting parts of the pipe. Use high-quality metal paint in shades that complement your room’s decor. This not only adds a pop of color but also personalizes the piece to your taste. Consider soft pastels for a subtle look or bold colors for a statement piece.
Mix Materials
Introduce different materials into your copper pipe jewelry organizer design. Consider wrapping sections of the pipe with twine or leather for a rustic touch. Alternatively, you can attach wooden bases or frames to the organizer, which can provide a warm contrast to the metallic copper.
Adjustable Designs
Make your copper pipe jewelry organizer adaptable to different spaces by designing it to be expandable. You can create sections that detach or add extensions that allow you to adjust the size and shape of the organizer, making it perfect for any space in your home.
Decorative Elements
Enhance your copper pipe jewelry organizer by adding decorative elements such as beads, charms, or even small figurines to the ends of the pipes or along the sides. This not only makes the organizer more visually appealing but also adds a fun, personalized touch to the piece.
By incorporating these customization ideas, your copper pipe jewelry organizer will not only serve its functional purpose but also become a reflection of your personal style and creativity.

Maintenance and Care Tips
Maintaining and caring for your copper pipe jewelry organizer is essential to preserve its beauty and functionality over time. Proper upkeep ensures that your organizer remains an attractive centerpiece while effectively storing your jewelry.
Here are comprehensive tips to help you care for your copper pipe jewelry organizer, ensuring it continues to shine and serve its purpose effectively.
Regular Cleaning
Regularly clean your copper pipe jewelry organizer to prevent dust and tarnish from accumulating. Use a soft cloth or a brush with soft bristles to gently remove any surface dust. For deeper cleaning, mix a mild dish soap with warm water and wipe the surfaces with a soft cloth. Rinse with clean water and dry thoroughly to prevent water spots.
Tarnish Removal
Copper naturally tarnishes over time, developing a patina that some may find appealing. However, if you prefer the bright, shiny look of new copper, you’ll need to occasionally remove this tarnish. You can create a natural cleaning solution by mixing equal parts of lemon juice and baking soda into a paste. Apply this paste to the tarnished areas of your copper pipe jewelry organizer, let it sit for a few minutes, then gently scrub with a soft cloth or sponge. Rinse and dry thoroughly after cleaning.
Avoid Harsh Chemicals
Abrasive cleaners and strong chemicals can scratch your copper pipe jewelry organizer’s surface. Products like bleach or ammonia-based cleaners should not be used since they might discolor the copper permanently and cause damage. Use mild, non-abrasive cleaning products and be sure any cleaning solution you use is completely rinsed off to preserve metal integrity.
Protect the Finish
Think about using a clear lacquer or wax to guard the finish of your copper pipe jewelry organizer and slow down the tarnishing process. This improves the copper’s gloss in addition to adding a protective layer. Following the product directions, apply a thin coat; let it dry totally; then, gently buff to accentuate the gloss. If you live in a humid environment or if the organizer is handled often, this phase especially helps.
Handle with Care
Handle your copper pipe jewelry organizer with care to avoid dents and scratches. Copper is a relatively soft metal, and it can be prone to scratches from rough handling or from being in contact with harder objects. When moving or adjusting the organizer, lift it gently and avoid dragging it across surfaces.
Store in a Safe Location
Choose a safe location for your copper pipe jewelry organizer where it is less likely to be knocked over or bumped. An area free from high traffic and away from the edges of tables or shelves will help prevent accidental falls. Also, keep it away from direct sunlight and heat sources, as excessive heat can cause the metal to expand and potentially distort.
Periodic Inspections
Look over your copper pipe jewelry organizer often for any wear or damage. Examine the joints and connections to be sure they are tight; if needed, reapply adhesive. To keep the organizer in best shape, tighten any loose components and replace broken ones.
Professional Advice
See a professional for advice on any element of keeping your copper pipe jewelry organizer in good condition. For more difficult maintenance chores or repairs, a metalworker or jeweler can offer particular suggestions.
Your copper pipe jewelry organizer will stay a useful and decorative item in your house for years to come if you follow these maintenance and care guidelines. Good maintenance not only prolongs the lifetime of your organizer but also maintains its integrity.
Conclusion
Creating a copper pipe jewelry organizer offers a stylish and functional way to display and organize your jewelry. With the right care and customization, this piece can serve as a lasting and attractive addition to your decor. Embrace the simplicity and elegance of copper to elevate your home’s aesthetic while keeping your accessories neatly arranged.
For more ways to declutter your home, check out our silverware organizer project!

