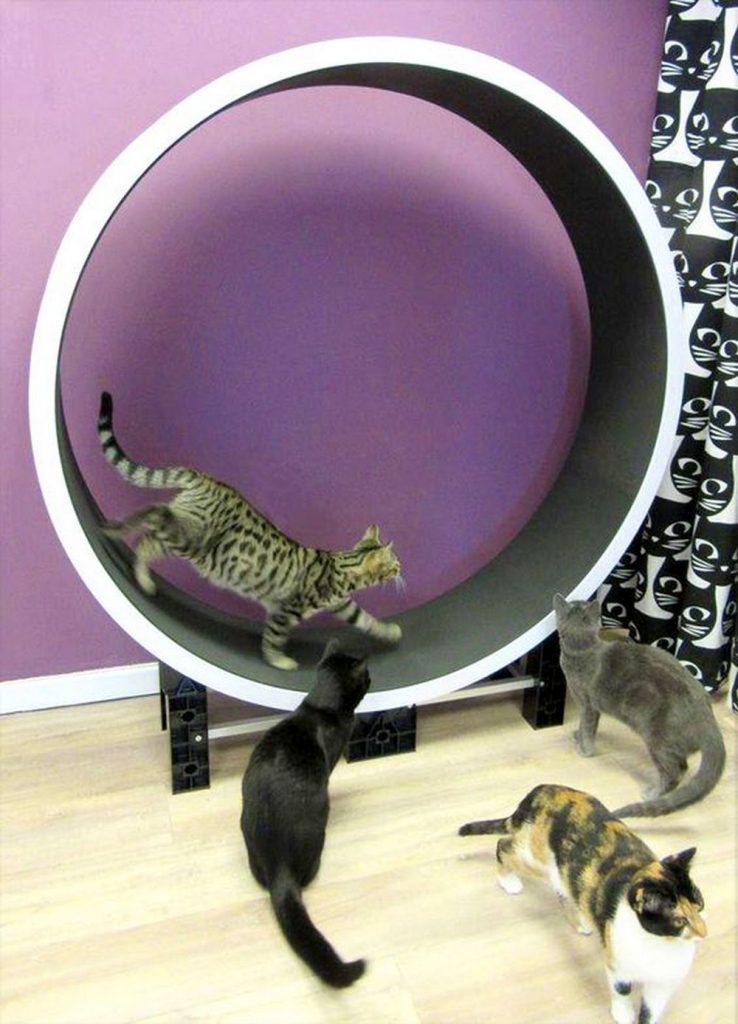
I have a Himalayan cat and I love her so much. There are days when I’d choose her over anyone. When circumstances seem too much, I isolate myself from human interaction.
My cat and I share plenty of quality time together, and recently, we’ve discovered a new favourite bonding activity that we both cherish. We’ve started exercising at home. I’d be on my treadmill and she, on her cat exercise wheel.
It was a gift from a friend who loves to do things with his hands. As a true-blue DIY-er, he told me he saw the project and immediately thought of my cat. It’s one of his biggest projects, but I must say that his diy cat exercise wheel has turned out great. My cat loved it!
Contents
What is a DIY Cat Exercise Wheel and Why Build One?
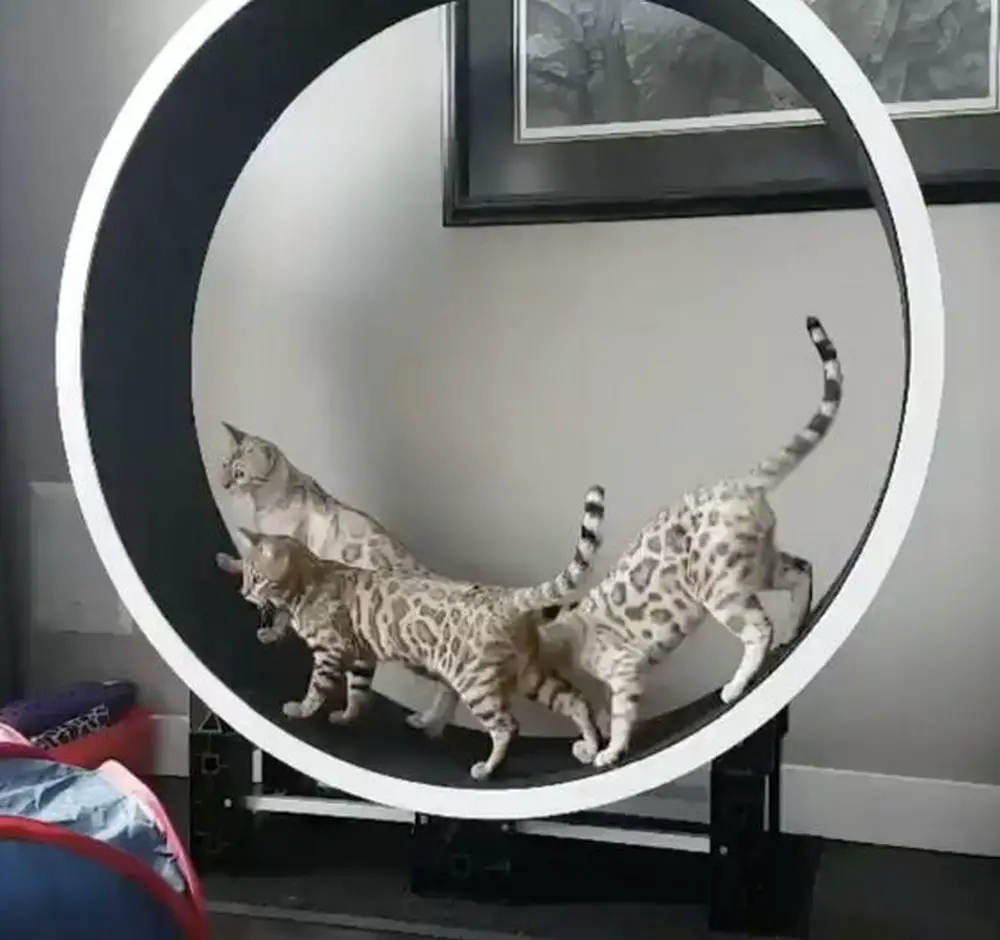
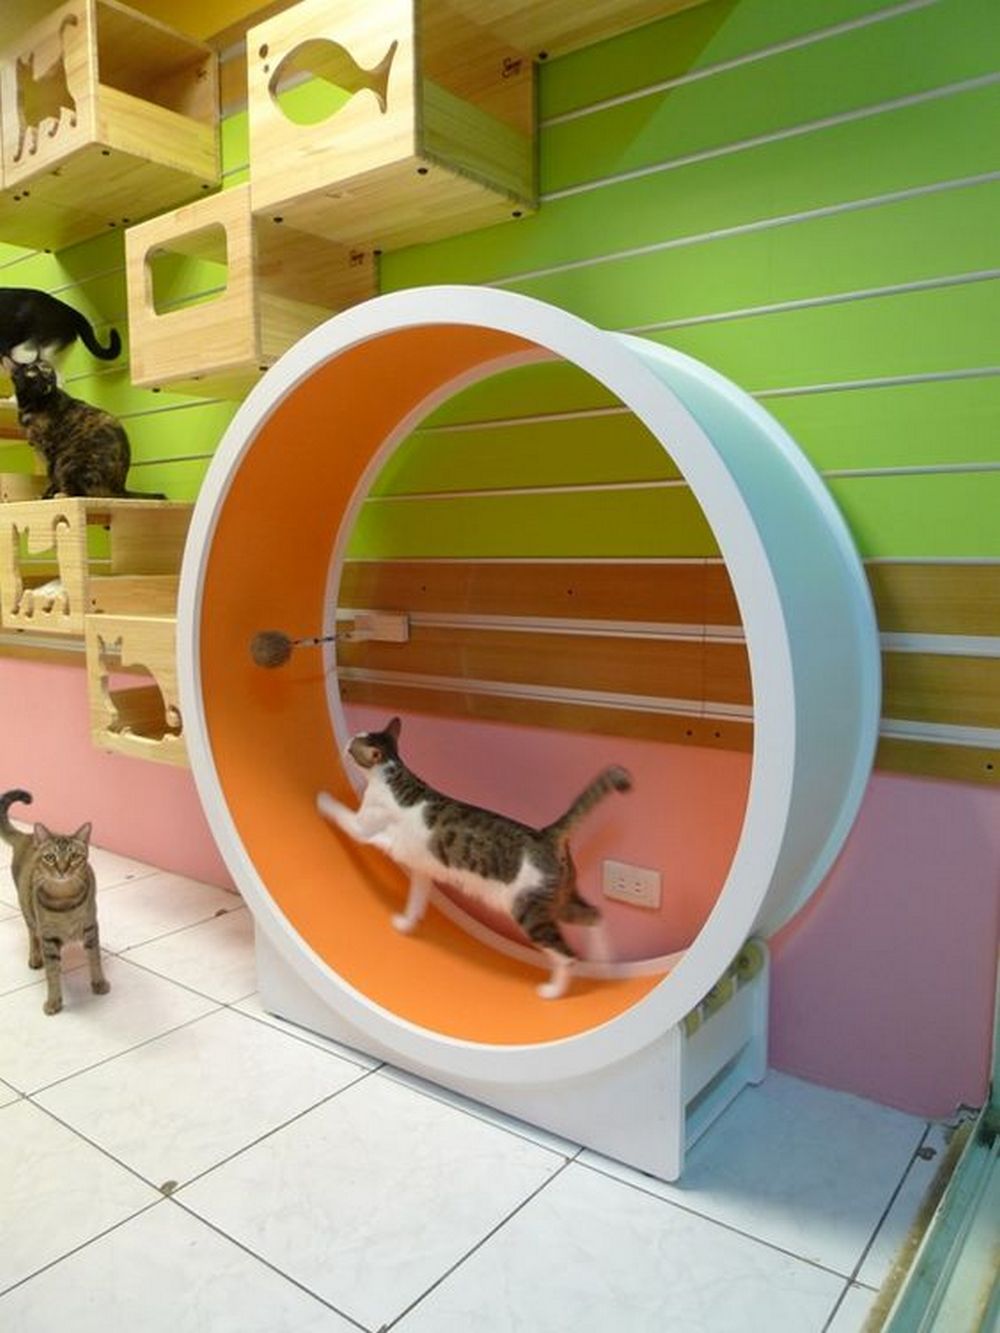
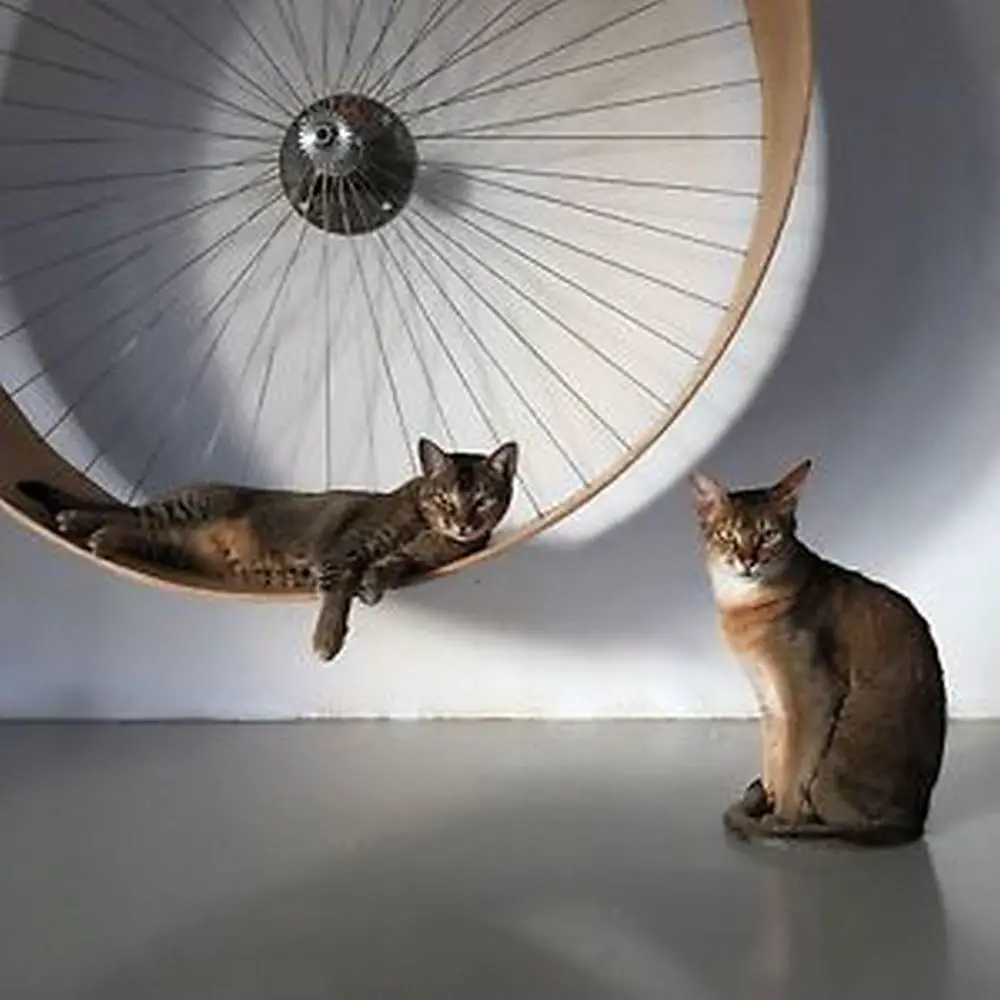
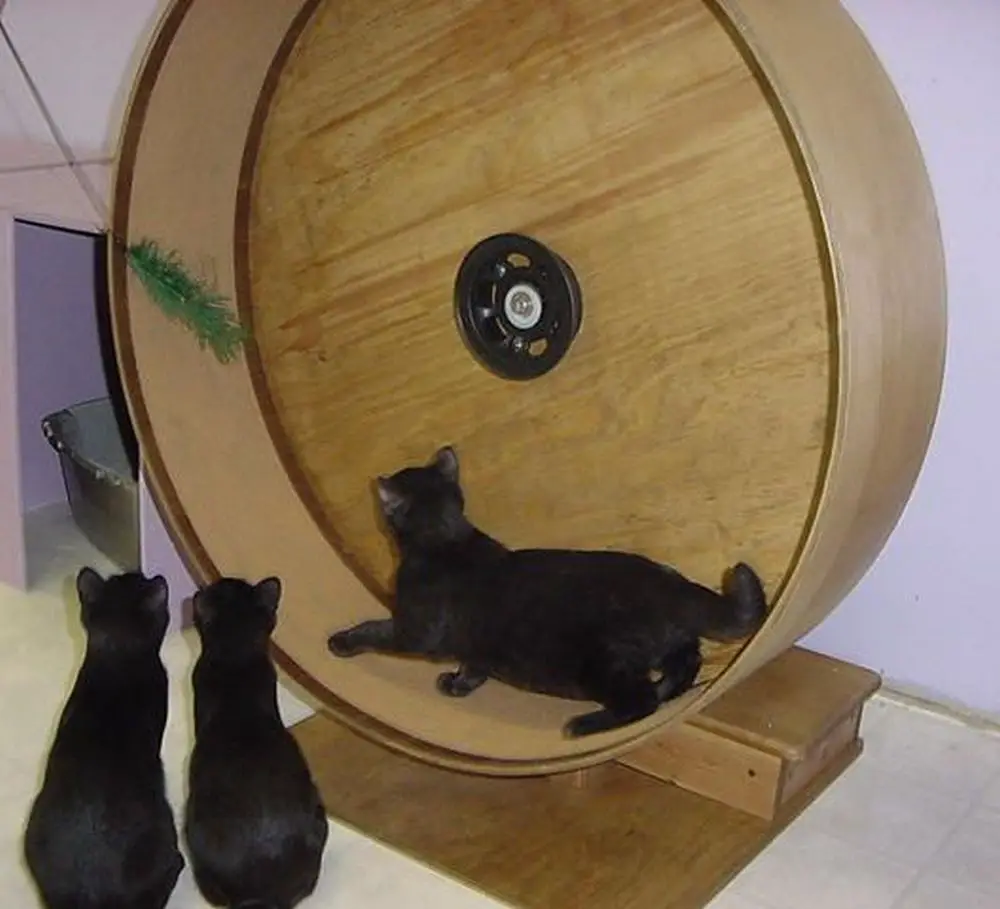
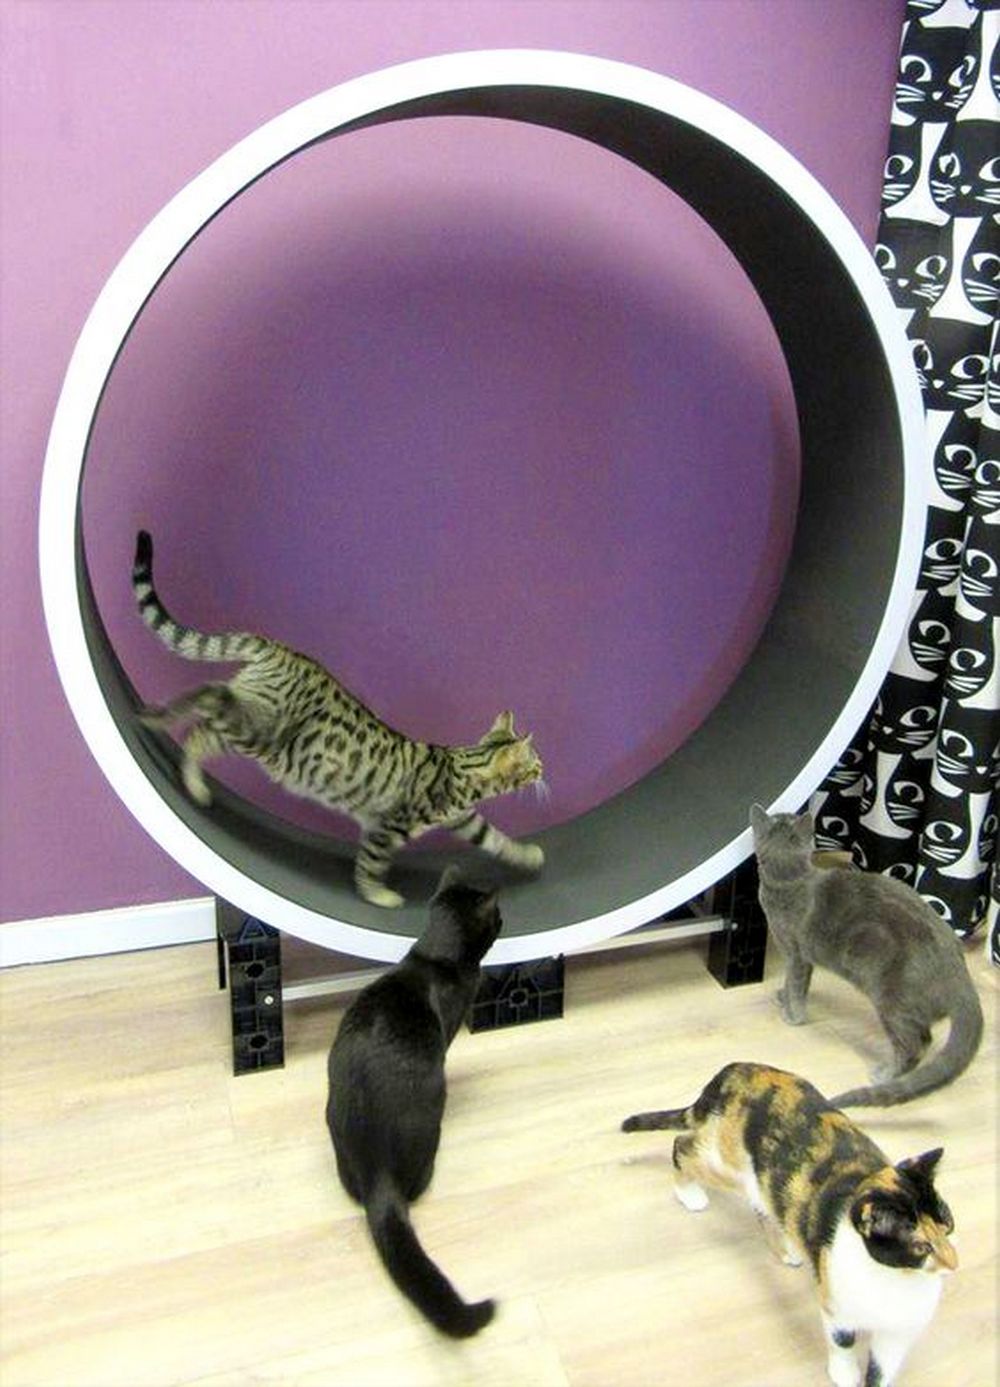
A DIY cat exercise wheel is an ingenious creation designed to offer indoor exercise for your feline companion. Much like a hamster wheel, it provides a dynamic platform where cats can run to their heart’s content. The wheel spins on an axis, allowing cats—especially energetic breeds like Bengals—to burn off excess energy.
Why Consider Building a Cat Exercise Wheel?
- Health Benefits: If your cat is a bit on the heavy side, a cat exercise wheel can be an excellent way to help shed those extra pounds. Regular exercise is crucial for maintaining a healthy weight, improving muscle tone, and promoting overall well-being.
- Mental Stimulation: Cats are curious creatures. It offers more than just physical activity; it engages your cat’s mind, keeping boredom at bay while you’re occupied with other activities.
- Cost-Effective DIY Solution: While there are commercial cat exercise wheels available, building your own can be a cost-effective alternative. Opting for materials like plywood for the wheel, pine for the running platform, and a sturdy base made from materials such as 2x4s can ensure durability. It’s a fulfilling project that allows customization tailored to your cat’s needs and your home’s aesthetics.
- Fun Project: Crafting one can be a rewarding DIY venture. It not only serves your furry friend’s needs but also offers a sense of accomplishment as you see your project come to life.
Constructing a cat exercise wheel provides a unique opportunity to enhance your cat’s physical activity while doubling as a fun project for you. Plus, it’s a chance to put your creative skills to the test while ensuring your pet stays entertained and healthy.
How much time, complexity, and cost are involved
- Time Commitment
- Building a DIY cat exercise wheel typically requires a full weekend or more, depending on your pace and experience. It’s wise to allocate sufficient time to ensure each step is completed with care.
- Level of Difficulty
- The project falls under the intermediate category. It demands a comfortable understanding of basic woodworking and assembly techniques. You’ll need to be equipped with tools like a saw, drill, and measuring tape.
- Estimated Cost
- The cost of constructing it generally exceeds $200. This includes materials such as plywood, bearings, screws, and any additional items for finishing, like paint or varnish.
By planning your time, ensuring you have the right skill level, and budgeting accordingly, you’ll craft a functional and fun addition to your feline’s play area.
How to Build a DIY Cat Exercise Wheel
The cat exercise wheel is an interactive creation that guarantees hours of playtime joy for your furry companion.
Here are the three fascinating facts behind building your very own purrfect cat exercise wheel. Discover the essential elements to construct a wheel that will engage your cat’s interest and cater to their playful exploration instincts:
Materials & Tools
- 1 Sheet plywood
- 3 Sheets STD hardwood 1/8″x24x48
- 1 52″ 2×6
- 12.5″ 2×8
- 3 Rolls of hockey tape
- 1 Yoga mat
- Spray adhesive
- Hub bolts
- 2×4 studs
- Table saw
- Dremel circle cutter
- Spiral cutter
- Orbital sander
- Clamps
- Drill with drill bits
Click on any image to start the lightbox display. Use your Esc key to close the lightbox.


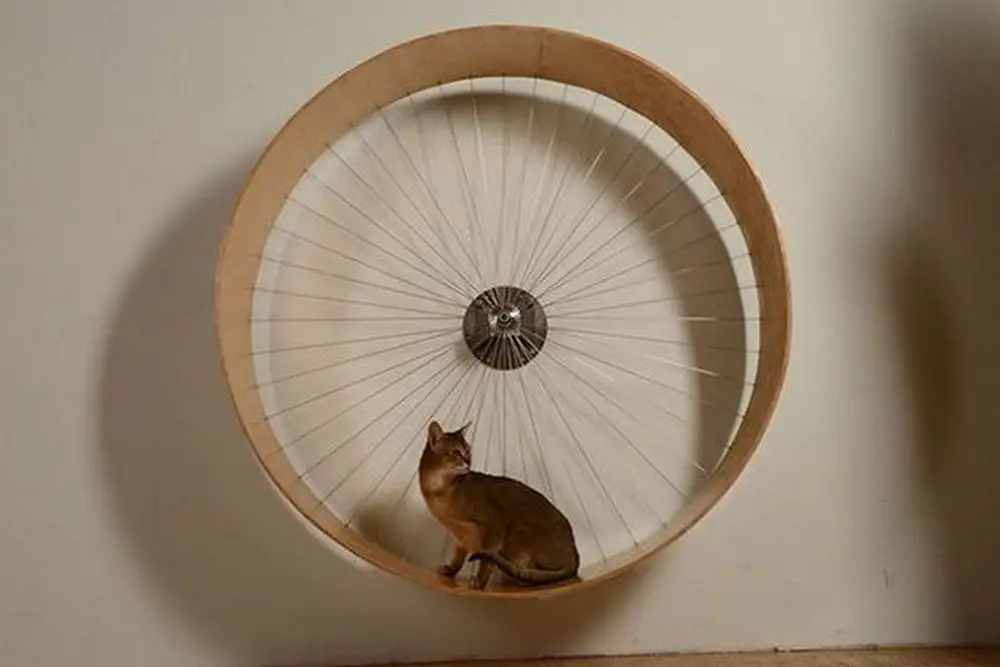
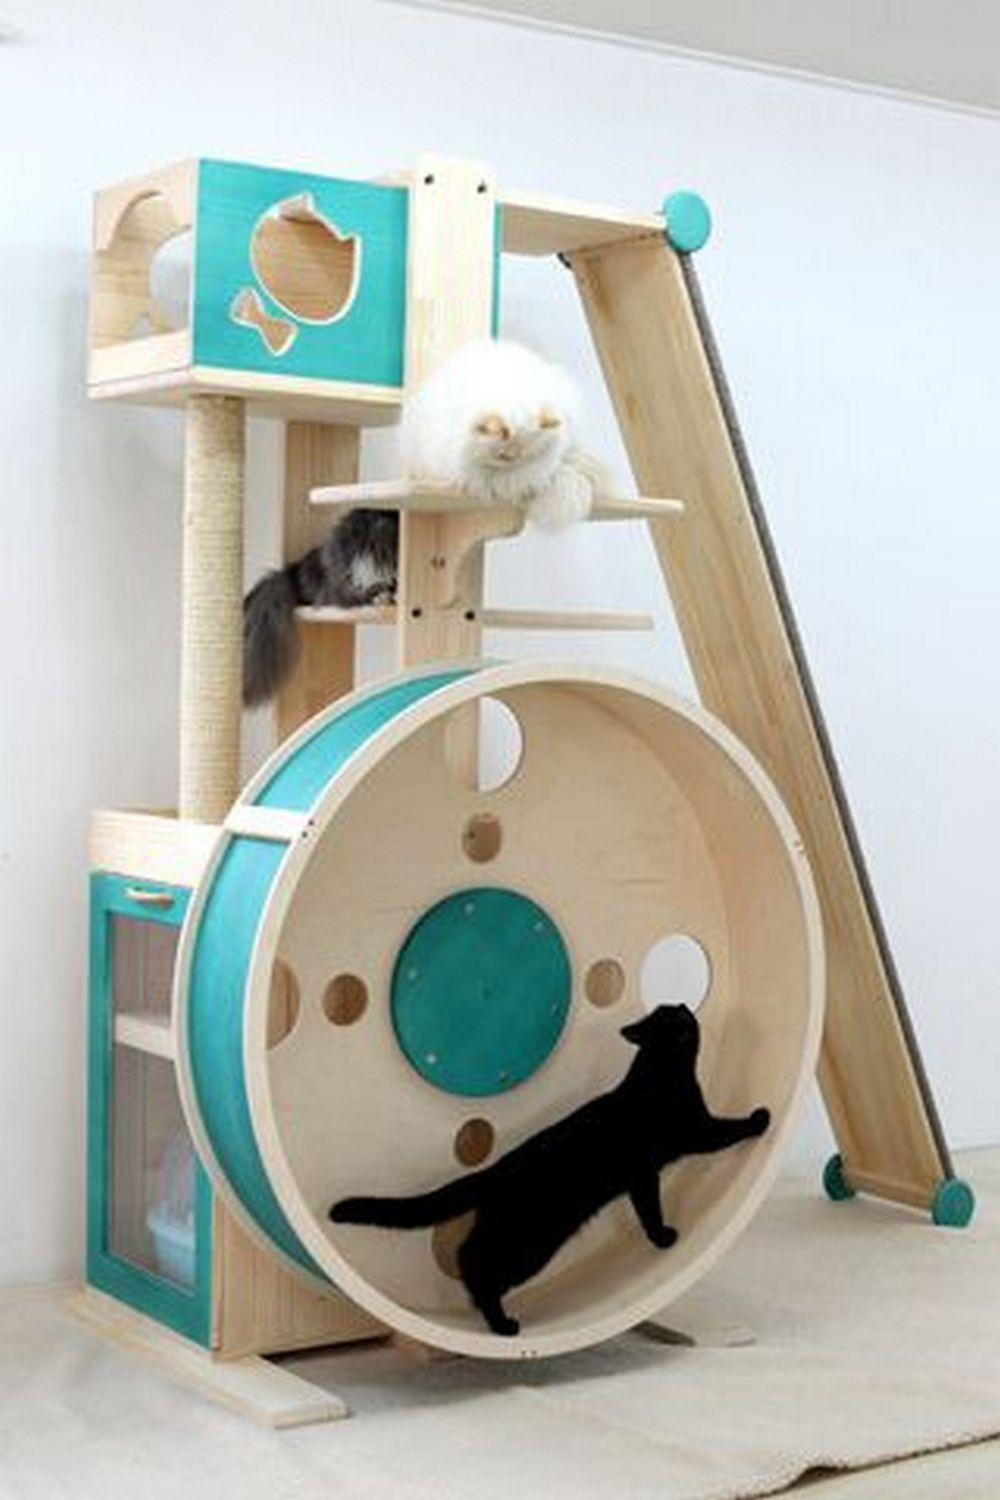
Steps
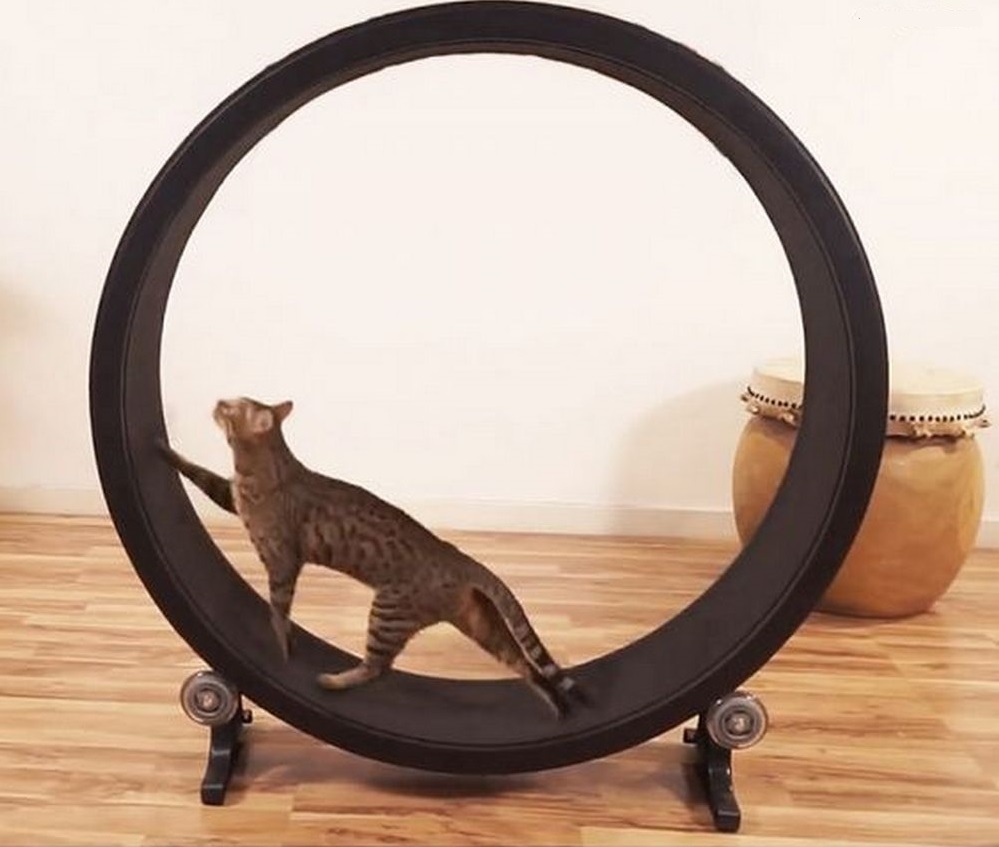
Watch the video below to learn how to build an engaging and interactive cat exercise wheel that will keep your feline friend active and entertained. A big thank you to Chrystal for sharing this fantastic project!
Or you can build one by following the steps below!
Steps to Build the Base of a DIY Cat Exercise Wheel
Creating a sturdy base is essential for ensuring that your DIY cat exercise wheel is stable and functional. Follow these steps to build the foundation successfully:
- Assemble the Base Frame:
- Gather four equal-sized 2×4 wooden pieces.
- Stand these pieces on their ends to form a square shape.
- Secure the joints by applying wood glue to the ends and using screws to hold them together firmly.
- Prepare the Plywood Support:
- Obtain a circular plywood piece, approximately 36 inches in diameter.
- Place the assembled square frame on top of the plywood and trace around its perimeter with a pencil.
- Cut Plywood to Fit:
- Using a circular saw, carefully cut along the traced line to match the frame’s outline.
- Attach the Plywood to the Base:
- Secure the cut plywood piece to the bottom of the frame using wood glue and screws. Ensure the plywood is flush with the edges of the square frame.
- Flip the structure over so the plywood is now supporting the frame.
- Install a Vertical Support:
- Take a 34-inch 2×4 and position it vertically at the back of the base.
- Ensure it is centered with its shorter edge resting against the rear of the base for extra stability.
Use these guidelines to construct a robust base, setting a strong foundation for the rest of your DIY cat wheel project.
Preparing Plywood for a Cat Wheel
Creating a cat wheel involves some precise cutting and preparation of plywood. Here’s a step-by-step guide on how to do it.
- Initial Cutting:
- Begin by slicing a standard 4×8-foot plywood sheet into two equal 4×4-foot sections. A circular saw works best for this task.
- Finding the Center:
- Use a tape measure to locate and mark the center of each 4×4 piece.
- Drawing Circles:
- Create a simple compass using cardboard. Cut a narrow strip longer than the circle’s radius, and secure one end to the center of the plywood using a screw or nail.
- Measure 21 inches from the center and create a hole for a pencil to draw a 42-inch circle.
- Cutting the Circles:
- Use a jigsaw or router to cut both plywood pieces into 42-inch circles.
- Adjusting for Inner Circles:
- Adjust the makeshift compass to draw a 39-inch circle on one piece of plywood.
- On the other piece, draw both 39-inch and 36-inch circles.
- Final Cuts and Preparation:
- Remove the 36-inch circle, creating a 6-inch-wide wooden ring. The 36-inch circle will serve as the base of the cat wheel.
By following these detailed steps, your plywood will be expertly prepared for building a durable and engaging cat exercise wheel.
How to Drill Holes in Plywood for a Cat Wheel
When preparing to build a cat wheel, creating precise holes in the plywood is a crucial step. Here’s a detailed guide on how to achieve this:
- Marking the Plywood:
- Begin by measuring and marking your lines on both pieces of plywood. For a standard build using 1-inch dowels, mark these lines at 2½-inch intervals along a 39-inch span. Ensure your marks are well-aligned for consistent spacing.
- Drilling the Holes:
- With a 1-inch Forstner bit, carefully drill holes into both pieces of plywood where you’ve marked. These holes should be drilled only halfway through the plywood to maintain structural integrity. This method ensures the dowels fit securely without piercing the plywood completely.
- Preparing the Ring Pieces:
- If your build involves a 6-inch ring piece, consider cutting it into four sections. This makes the gluing process easier, especially if you have limited clamps on hand. While it’s not mandatory, doing so can simplify the construction process. If you’re equipped with enough clamps and prefer a different method, you might opt to keep the ring intact.
By following these steps, you’ll set a strong foundation for your DIY cat exercise wheel project, ensuring all components are securely fastened and aligned.
Cutting Instructions for Dowels and 2x4s in Your Cat Wheel Project
To effectively prepare the dowels and 2x4s for your cat wheel project, follow these steps:
- Bundling and Cutting Dowels:
- Collect your dowels and group them into bundles of three to five. Secure each bundle with tape to stabilize them.
- Using a miter saw, cut these bundles into sections, each measuring 1 foot in length. This will ensure uniformity and ease of assembly later.
- Preparing the 2x4s:
- Take the first piece of 2×4 lumber and divide it into four equal segments. Precision is key, so take the time to measure carefully before making any cuts.
- With the second 2×4, cut out a segment that is 34 inches in length. Save the remaining piece for use in a later stage of the project.
By following these steps, you’ll have the accurately cut materials needed to proceed with your cat exercise wheel. Take care in measuring and cutting to ensure the overall success of your DIY project.
Step-by-Step Guide to Gluing Dowels
- Prepare for Assembly: Before applying any glue, perform a dry fit by inserting the dowels into their designated holes. This ensures they fit snugly and stand evenly, minimizing any wobbling during actual assembly.
- Apply Wood Glue: Start with one section of the wheel. Squeeze a moderate amount of wood glue into the pre-drilled holes of your base.
- Insert and Position Dowels: Carefully insert the dowels into these glued holes. Use a twisting motion to ensure the glue is evenly distributed around the dowel. Push the dowels in fully until seated.
- Secure Top Ring Section: Apply a layer of glue to the exposed top of each dowel. Then, place the corresponding top ring section over these dowels.
- Clamp for Stability: Use clamps to hold the section securely in at least two spots. It’s crucial to maintain each dowel at a 90-degree angle to ensure structural integrity.
- Repeat for Remaining Sections: Follow the same steps for any additional sections of the wheel. Once all sections are assembled, clamp them together.
- Tack with Staples: For added security while the glue dries, lightly tack the ring sections with staples. This helps in keeping everything aligned and sturdy.
By following these steps, your dowels will be securely glued, contributing to a robust and functional cat wheel.

How to Attach the Wheel to the Base in a DIY Cat Exercise Wheel Project
Creating a secure connection between the wheel and its base is crucial for a successful DIY cat exercise wheel project. Follow these straightforward steps to ensure your wheel is safely attached and operational:
- Prepare Your Tools and Materials:
- Gather a nut driver, tongue-and-groove pliers, and possibly a hacksaw.
- Ensure you have bolts, nuts, and washers ready.
- Position the Wheel:
- Stand the wheel upright on a stable, flat surface. You’ll need an extra pair of hands, so enlist a helper for the next steps.
- Insert the Bolts:
- Lift the wheel, aligning it with the bolt holes on the caster. Have your helper hold it steady.
- Slide a bolt equipped with a washer through the plywood and into the corresponding bolt hole on the caster. Add another washer and fasten it with a nut.
- Secure the Wheel:
- While your helper supports the wheel, proceed to attach the remaining bolts, washers, and nuts.
- Tighten the Hardware:
- Use a nut driver and tongue-and-groove pliers, or two sets of pliers, to tighten all nuts and bolts. Ensure everything is firmly secured.
- Check Wheel Functionality:
- Spin the wheel to confirm it operates smoothly. If the bolts protrude excessively, use a hacksaw to trim them flush for a clean finish.
- Stabilize the Assembly:
- For additional safety, fix a hook and eye mechanism at the back of the wheel and base. This will prevent unwanted movement when the wheel is not in use.
Following these steps carefully will ensure a robust and functional attachment of your DIY cat exercise wheel, providing your feline friend with a safe and enjoyable experience.
Extra Tips
Here are some extra tips to make this DIY project a roaring success. These valuable insights will not only ensure the safety and comfort of your furry friend but also elevate the excitement and engagement levels of the new playtime haven.
- Safety First
- Be sure to prioritize your cat’s safety throughout the construction process. Ensure that all materials are secure, free from sharp edges, and non-toxic. Avoid using small parts that can be easily chewed or swallowed.
- Choose Durable Materials
- Opt for sturdy and durable materials that can withstand your cat’s enthusiastic play. When necessary, make adjustments to the materials to ensure safety and longevity. Strong, scratch-resistant materials like wood or PVC can provide the necessary durability for a long-lasting exercise wheel. You can also design the wheel to match your home decor or incorporate fun elements that uniquely appeal to your cat’s interests.
- Noise Considerations
- One potential challenge is noise. Using a heavy-duty caster and roller ball bearing can result in a loud operation, especially on plywood. To minimize noise, consider using two radial bearings and an axle, which can offer a quieter experience for both you and your pet.
- Incorporate Interactive Features
- Enhance the fun factor by adding interactive features to the exercise wheel. Attach hanging toys, feather teasers, or jingle bells to keep your cat engaged and entertained during their play sessions. These additional elements will stimulate their instincts and make the exercise wheel even more enticing.
- Gradual Introduction
- Introduce the cat exercise wheel gradually to allow your cat to get accustomed to it. Initially, let your fur baby explore and investigate the wheel. Then, use positive reinforcement, such as treats and praises, when showing interest or engagement with the wheel. With time and encouragement, your cat will gradually embrace this new source of fun and exercise.
- Regular Maintenance
- Regularly inspect and maintain your DIY cat exercise wheel to ensure it remains in optimal condition. Tighten any loose screws, replace worn-out toys or components, and clean the wheel regularly to keep it hygienic.
Building your own fun cat exercise wheel is an exciting and rewarding project that will provide your cat with endless entertainment and exercise opportunities. Enjoy the process, get creative, and witness the joy on your cat’s face as they conquer their very own exercise wheel!

Adding a Carpet Runner to a DIY Cat Wheel
Adding a carpet runner can enhance comfort and durability. Follow these steps to seamlessly incorporate a carpet runner into your DIY cat exercise wheel project:
- Choosing the Right Carpet Runner
Select a carpet runner that’s about 1-inch wider than your wheel’s running platform. This ensures that it covers the wheel completely, providing a stable and comfortable surface for your cat. - Prepping the Carpet
Cut your chosen carpet runner to fit snugly inside the wheel. Begin by rolling it up so it can be easily placed within the wheel’s frame. Ensure the visible edge aligns perfectly with the wheel’s boundary for a neat finish. - Securing the Carpet
Use carpet tape or strong adhesive glue to attach the runner. Start by unrolling the carpet, pressing it firmly against the dowels of the wheel while keeping the edges straight and flush. - Finalizing the Installation
As you secure the carpet, fold the front edge upwards onto the wheel’s interior. This step is crucial to prevent any loose ends that could cause tripping. Use a staple gun to attach the front edge of the carpet securely to the inside front side of the wheel.
By following these steps, you’ll ensure your DIY cat exercise wheel is both functional and feline-friendly, offering your pet a safe and enjoyable exercise space.
Crafting Cat Fun!
And there you have it! This all-inclusive guide provides you with the necessary knowledge and tools to build an engaging and entertaining cat exercise wheel in the comfort of your own home.
Armed with this guide, you’ll possess the expertise to craft a personalized cat exercise wheel that guarantees boundless amusement and physical activity for your beloved cat.
Ready to start an exhilarating DIY adventure and experience the sheer delight it brings to your cat’s life? Check out our guide on DIY bunk beds next.

