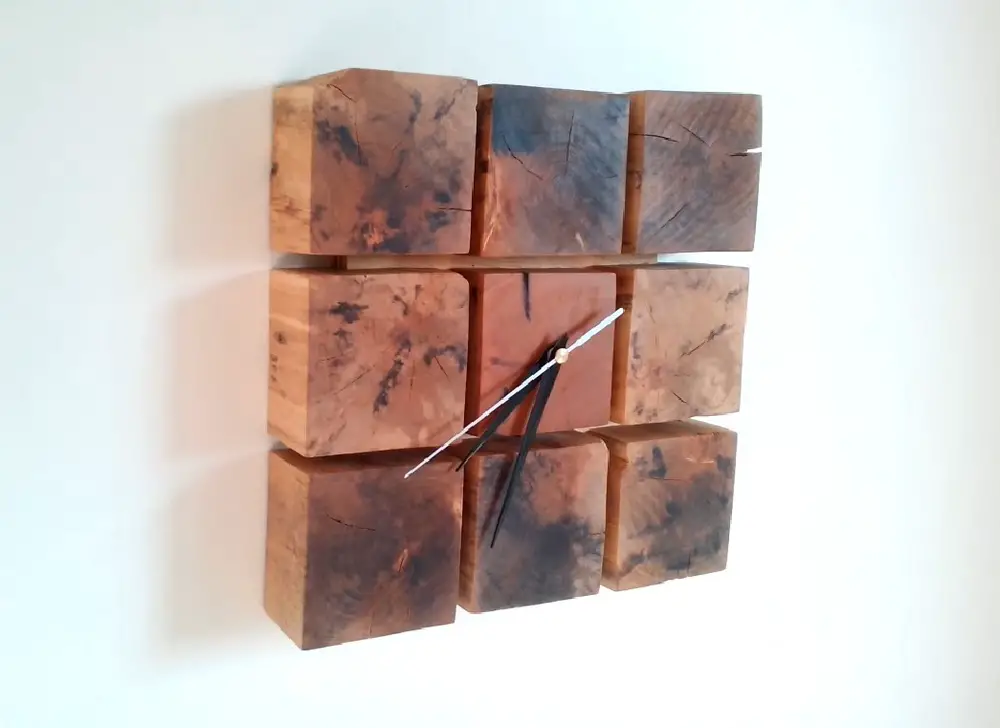
My sister-in-law has a penchant for clocks. She likes them in all shapes and sizes. In fact, there’s an entire wall in their house that’s dedicated to her collection of clocks. They’re set to different time zones and a lot of her guests find them interesting.
For her birthday, my husband (her brother) decided to give her something special. We found a great DIY wood block clock project and thought that it was the perfect present for her. It’s a woodblock clock that we were sure she’d greatly appreciate – and she liked it! The finished product is a vintage-looking clock that’s now in her daughter’s bedroom.
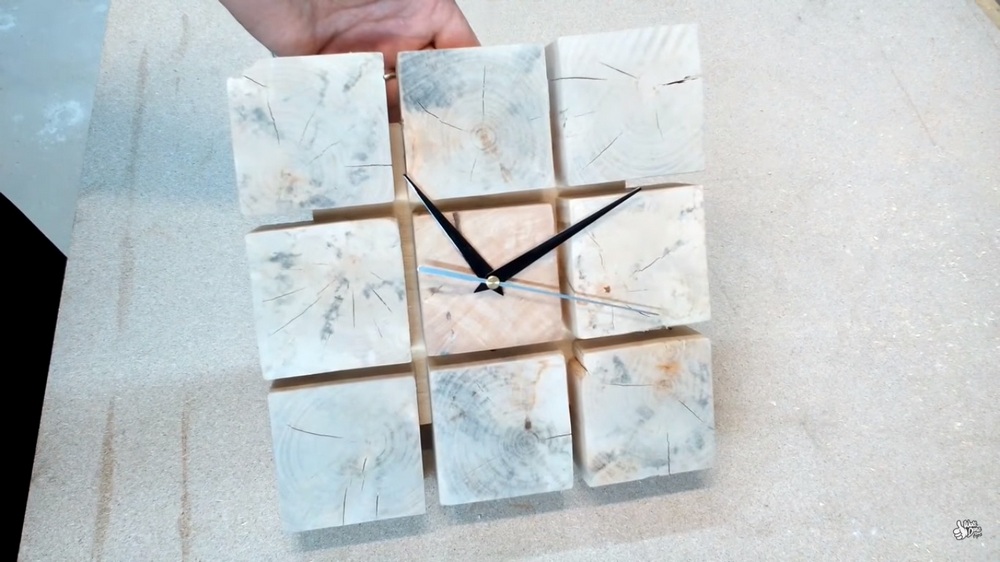
This is a simple, easy-to-make project. You can give these clocks as a nice housewarming present. It’s not only nice to look at, but it’s also functional and hand-made with love.
Contents
Crafting a Wood Block Clock
Materials
- Old clock or clock movement mechanism
- Pallet wood blocks
- Wood glue
- Wood screws
- Wood finish
Tools
- Circular saw
- Clamps
- Drill and bits
- Jig saw
Instructions
Step 1: Prepare the Wood Blocks
- Measure and Cut: Using the circular saw, cut your pallet wood into blocks of your desired size. This will form the base and the surrounding frame of your clock.
- Smooth the Edges: Use a jigsaw to smooth out any rough edges on the wood blocks to ensure they fit together neatly.
Step 2: Design Your Clock Face
- Layout: Arrange the wood blocks on a flat surface to create the face of your clock. Experiment with different layouts until you find one that pleases you aesthetically.
- Mark the Center: Once you are satisfied with the layout, mark the center where the clock mechanism will go.
Step 3: Assemble the Clock Base
- Glue the Blocks: Apply wood glue generously between the blocks to bond them together securely. Be precise with your placement to keep the blocks aligned.
- Clamp and Dry: Use clamps to hold the blocks together tightly. Allow the glue to dry according to the instructions on the glue bottle, typically a few hours.
Step 4: Drill a Hole for the Clock Mechanism
- Center Hole: Using a drill and a bit that matches the size of the clock mechanism’s spindle, drill a hole in the center mark you made earlier.
- Test Fit: Insert the clock mechanism through the hole to ensure it fits. If it’s too tight, gently widen the hole with the drill.
Step 5: Apply Wood Finish
- Sand the Surface: Before applying the finish, sand the entire assembly lightly to remove any glue residue and to smooth the surface for finishing.
- Apply Finish: Use a brush or a cloth to apply wood finish to the wood blocks. This will enhance the appearance and protect the wood. Allow the finish to dry completely.
Step 6: Install the Clock Mechanism
- Insert the Mechanism: Place the clock mechanism through the hole from the backside of the clock face.
- Secure with Screws: Fasten the mechanism in place using wood screws, ensuring it is held firmly against the wood.
Step 7: Attach the Clock Hands
- Attach Hands: Follow the instructions provided with the clock mechanism to attach the hour, minute, and second hands.
- Set the Time: Once the hands are attached, set the clock to the correct time.
Step 8: Final Assembly
- Hanging Hardware: If you plan to hang your clock, attach a suitable hanging mechanism to the back of the clock using wood screws.
- Check Operation: Install a battery, if required, and ensure the clock operates correctly.
Click on any image to start the lightbox display. Use your Esc key to close the lightbox.


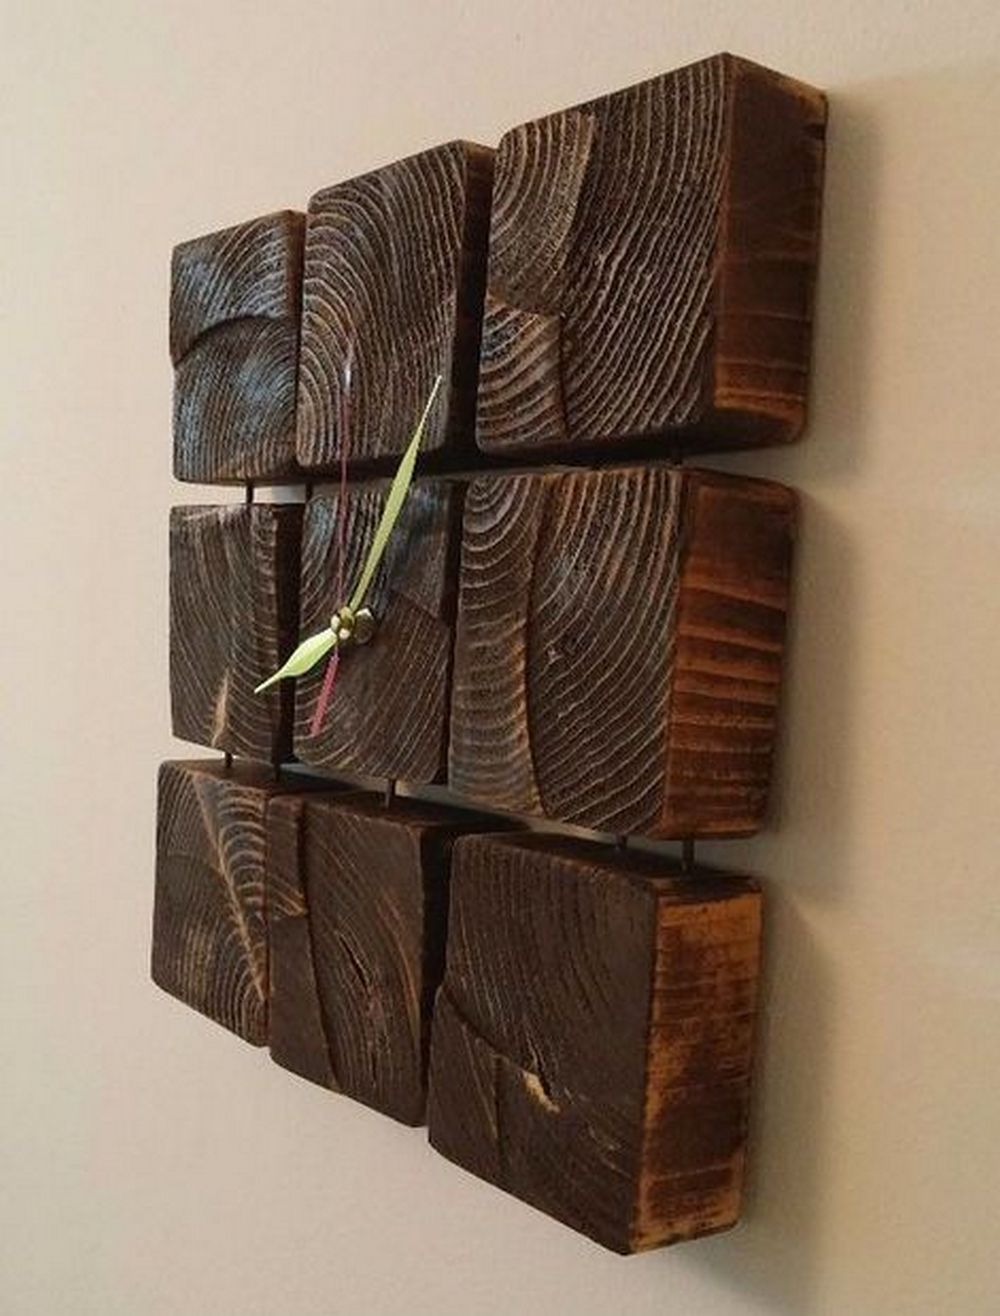
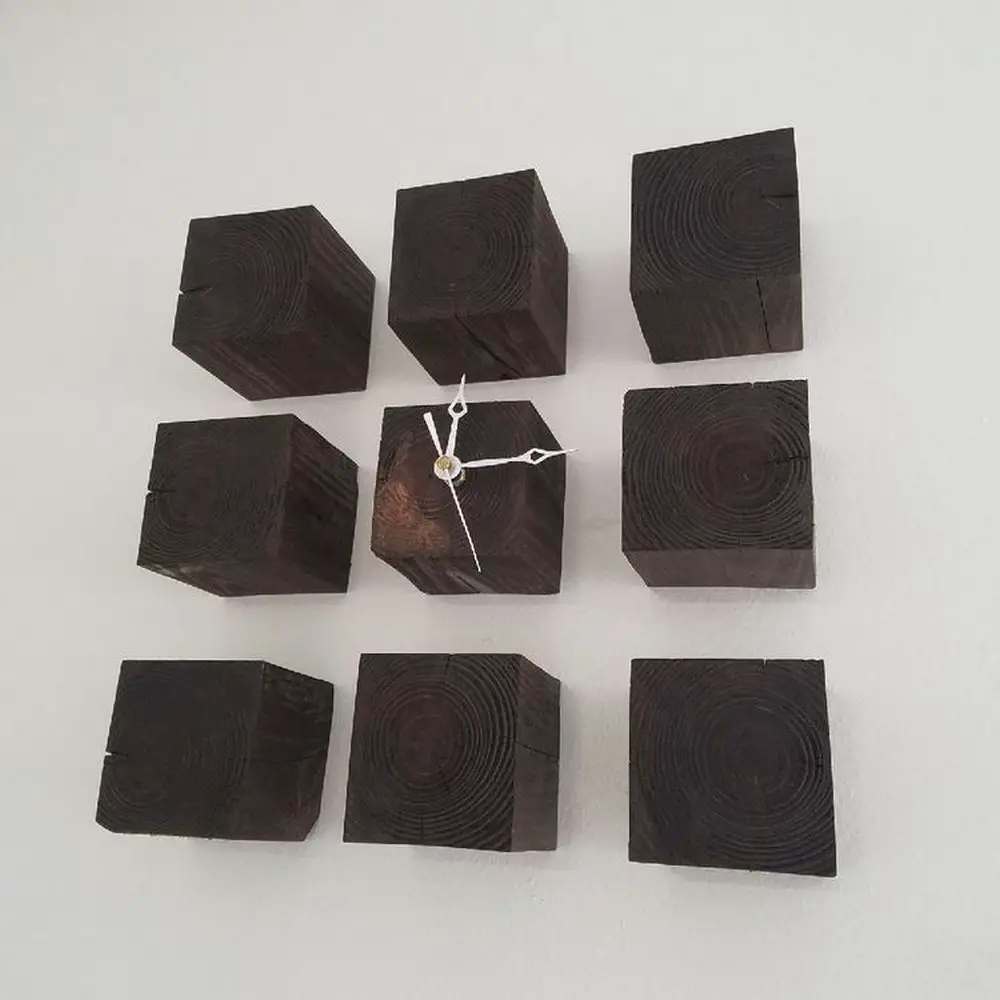
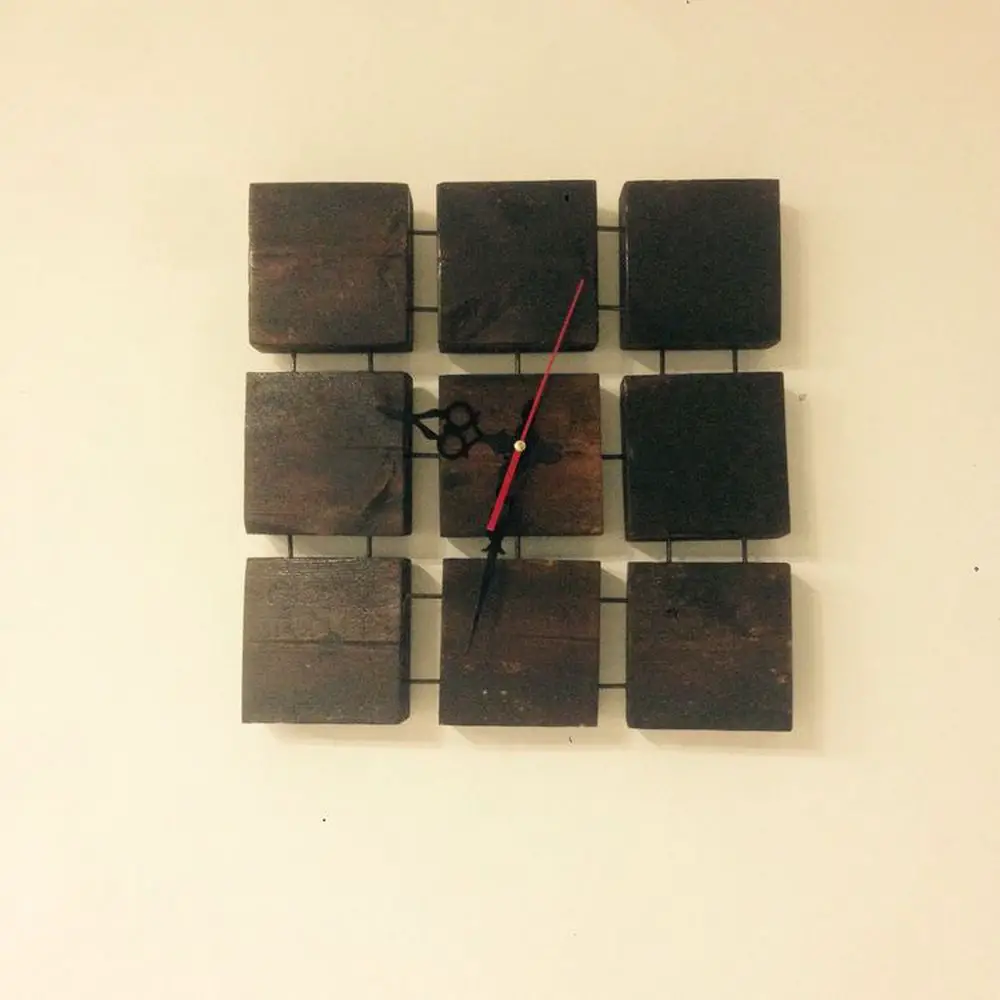
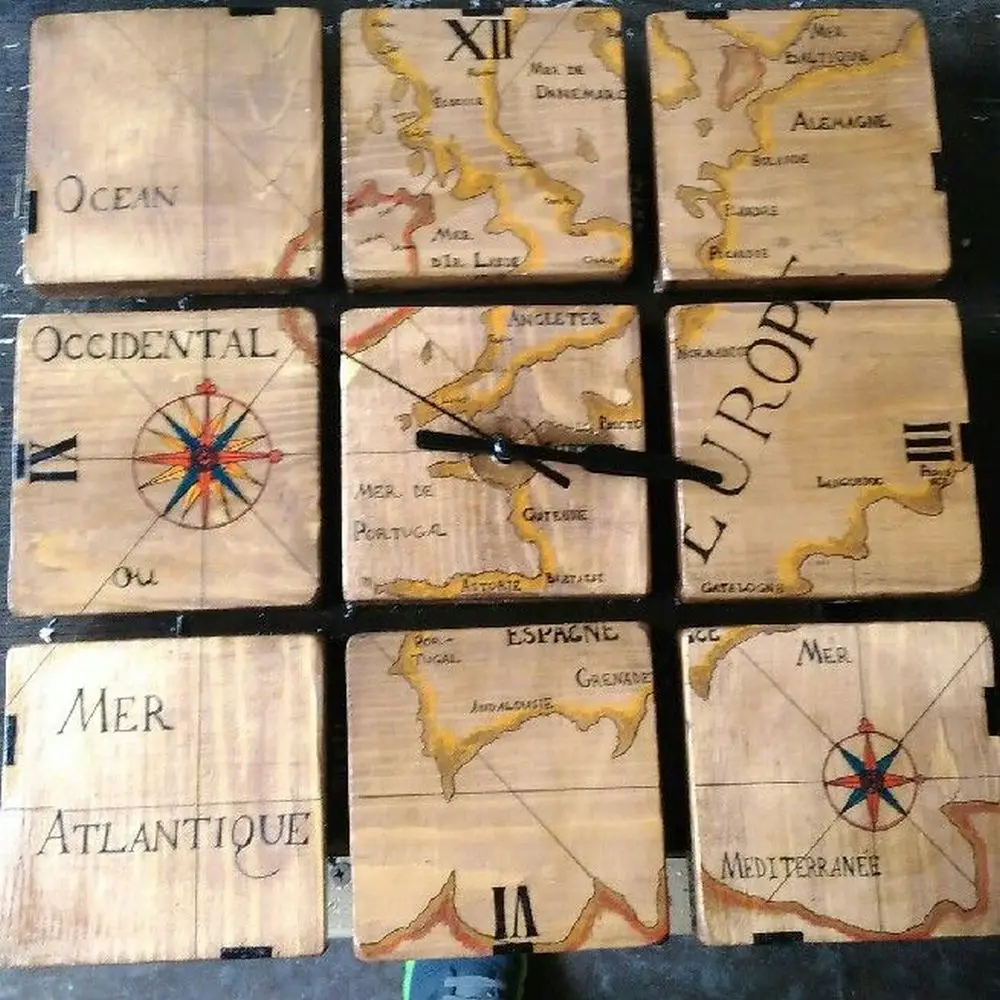
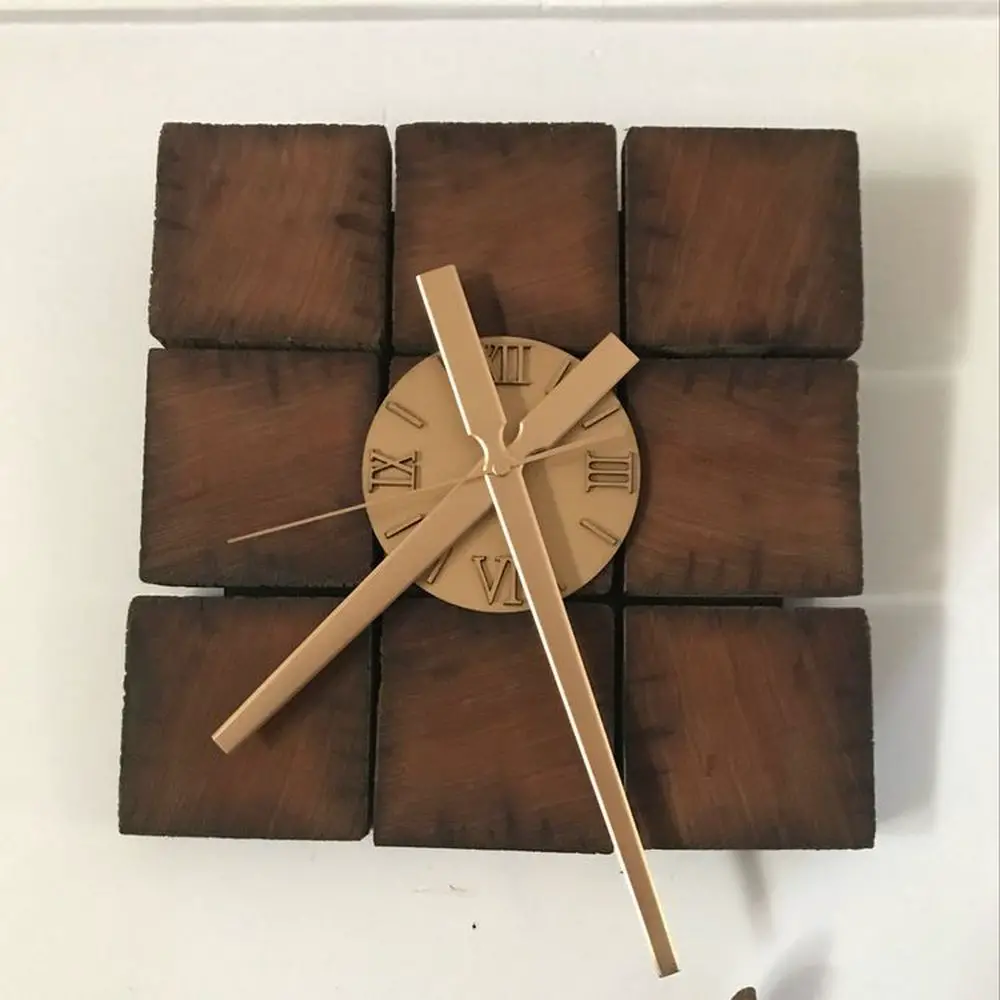

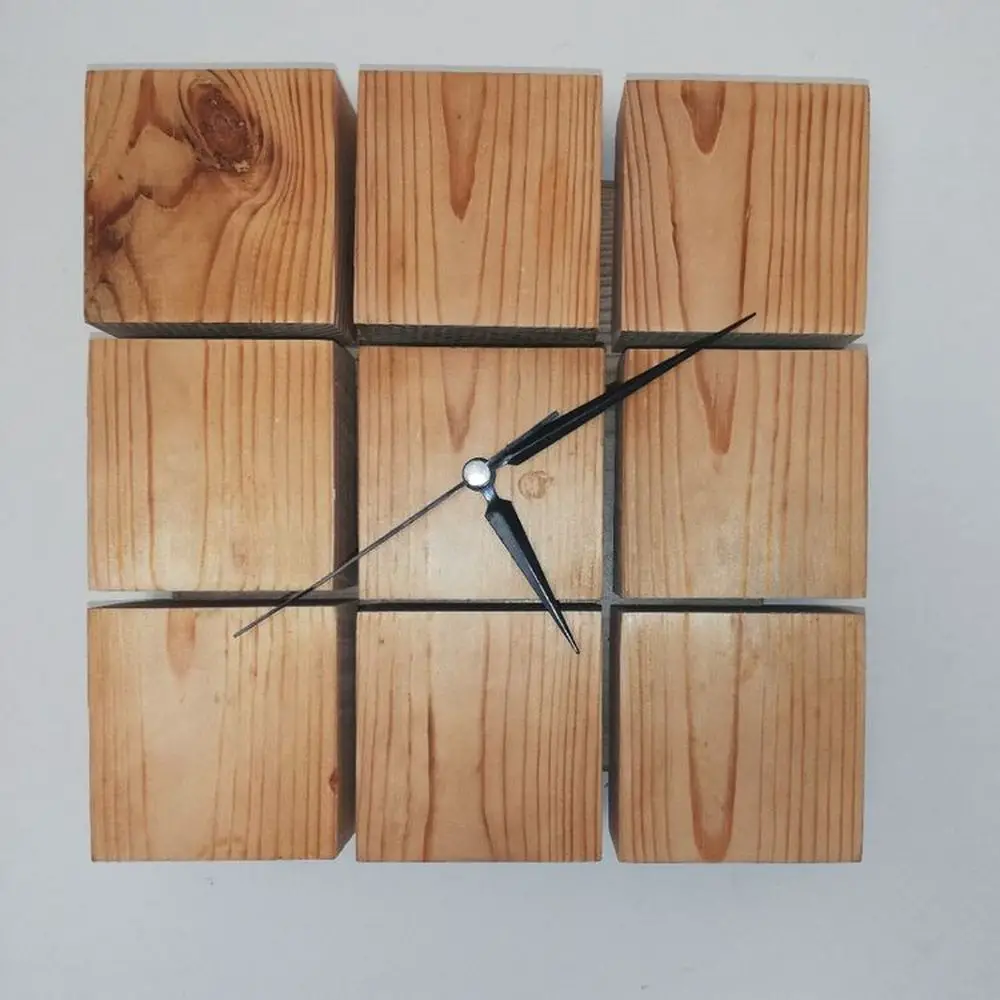
You can build this wood block clock all by yourself! Start by watching the video below…
Choosing the Right Wood for Your Clock
Not only for looks but also for durability and use, the choice of wood for your wood block clock is vital. The kind of wood you choose can affect the general appearance and feel of your clock as well as its age-related performance. This guide will help you choose the ideal wood for your wood block clock project.
Softwoods: Pine, Cedar, and Fir
Beginning practitioners often choose pine because it’s reasonably cheap and easy to work with. It is soft, which reduces tool wear. Pine is not perfect for a wood block clock that will be handled regularly though since it can dent readily. Other softwood choices that provide a bit more durability and a pleasant aromatic quality are cedar and fir, particularly cedar which would accentuate a clock meant to hang in a living area.
Hardwoods: Oak, Walnut, and Maple
Hardwoods like Oak, Walnut, and Maple are great selections for a more durable and elegant wood block clock. Because of its strength and unique grain patterns, oak is a preferred material for items meant to last. Walnut gives any clock some elegance by providing a rich color and grain. Conversely, maple offers a more modern wood block clock the perfect smooth finish and is lighter in hue.
Exotic Woods: Mahogany and Teak
Mahogany and Teak are two unusual, exotic woods you could use to create a really outstanding wood block clock. A premium choice for clock manufacture, mahogany is renowned for its deep, reddish-brown hue and robustness. Teak is perfect for a wood block clock perhaps subjected to various environmental conditions since it is remarkably resistant to moisture and decay.
Sustainability and Availability
Think on the sustainability and availability of the wood you are choosing for your wood block clock. Often a more sustainable option that helps local businesses is locally grown wood. Furthermore, make sure the wood you select is easily accessible in your surroundings to maintain the timely and within-budget nature of your project.
Selecting the appropriate wood will help you to guarantee that your wood block clock not only looks great but also performs as expected and lasts over years. The correct wood will improve the workmanship and visual appeal of your clock whether you choose a softwood for its simplicity of use or a hardwood for its durability.
Incorporating Technological Features
Integrating modern technology into traditional woodworking projects like a wood block clock can elevate its functionality and appeal. By incorporating technological features, your wood block clock can offer more than just timekeeping, becoming a versatile and interactive piece in your home.
Adding LED Lighting
One simple yet impactful technological addition is LED lighting. Embedding LED lights into the back or sides of your wood block clock can create ambient lighting or highlight the clock at night, making it a focal point in any room. You can use LEDs to softly illuminate the numbers or edges, providing a beautiful contrast against the wood.
Installing a Digital Display
For those who appreciate a blend of traditional and modern, installing a small digital display on your wood block clock is an excellent option. This display can show additional information such as the date, temperature, or even reminders. It can be embedded into the wood discreetly, maintaining the aesthetic of the wood block while adding functionality.
Smart Connectivity
One excellent approach to include your wood block clock into your smart home network is by adding clever connectivity. Your clock can be run from smartphone apps or voice commands using devices like Amazon Alexa or Google Assistant by including Wi-Fi or Bluetooth. With this connectivity, you can set alarms, change lighting, and even sync your clock with other smart devices around your house.
Solar Power Integration
Including a solar panel into your wood block clock will help it to be environmentally friendly and energy-efficient. Depending on its position, the solar panel might be gently positioned on the top or rear of the clock to capture natural light. This function lets the clock run without battery changes, so encouraging a sustainable design approach.
Sound Activation
Your wood block clock can become interactive with a sound activating mechanism. Using sound-sensitive technology, the clock can show the time or light on claps or voice commands. This is especially helpful at night when you might not want a brilliant display but must check the time.
USB Charging Ports
Integrating USB charging ports into the design of your wood block clock adds practical value, turning it into a multi-functional device. This is ideal for placing the clock on a bedside table or desk where it can serve as a charging station for devices like smartphones and tablets.
Weather Forecasting
Equipping your wood block clock with a small sensor capable of accessing and displaying weather information can provide additional utility. This could involve showing basic weather icons or temperature readings, helping you plan your day right from the comfort of your room.
Motion Sensing
A motion sensor can be included to enhance the functionality of the wood block clock, making it activate or light up when someone is nearby. This feature not only saves energy but also adds a touch of high-tech sophistication to the clock, making it react to the environment around it.
Incorporating these technological features into your wood block clock not only enhances its functionality but also turns it into a modern piece of art that can interact with and adapt to your lifestyle. Whether it’s through ambient lighting, digital displays, or smart connectivity, these technologies can transform a simple timepiece into an innovative and engaging element of your home décor.
Conclusion
Creating a functional and artistic addition to your house, building a wood block clock combines modern technology with traditional workmanship. These clocks can be customized to fit any decor style and offer distinctive features by means of choices for technology upgrades and personalizing. Accepting the simplicity of woodworking and the technological developments, a wood block clock is a classic item that captures the blending of old and modern.
We have more imaginative clock projects. Check out our sunburst pencil clock guide!


