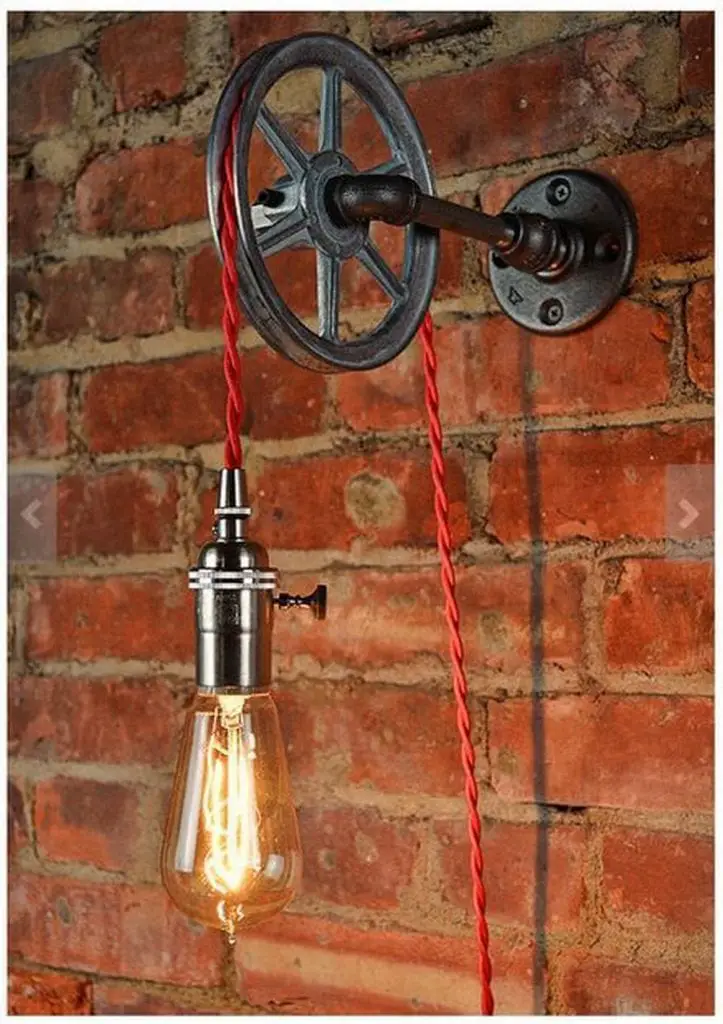
I know quite a number of people who are into vintage stuff. When decorating their homes, they prefer vintage fixtures to new, modern ones. It’s the unique patina, they say, and vintage items bring a certain character that’s hard to explain.
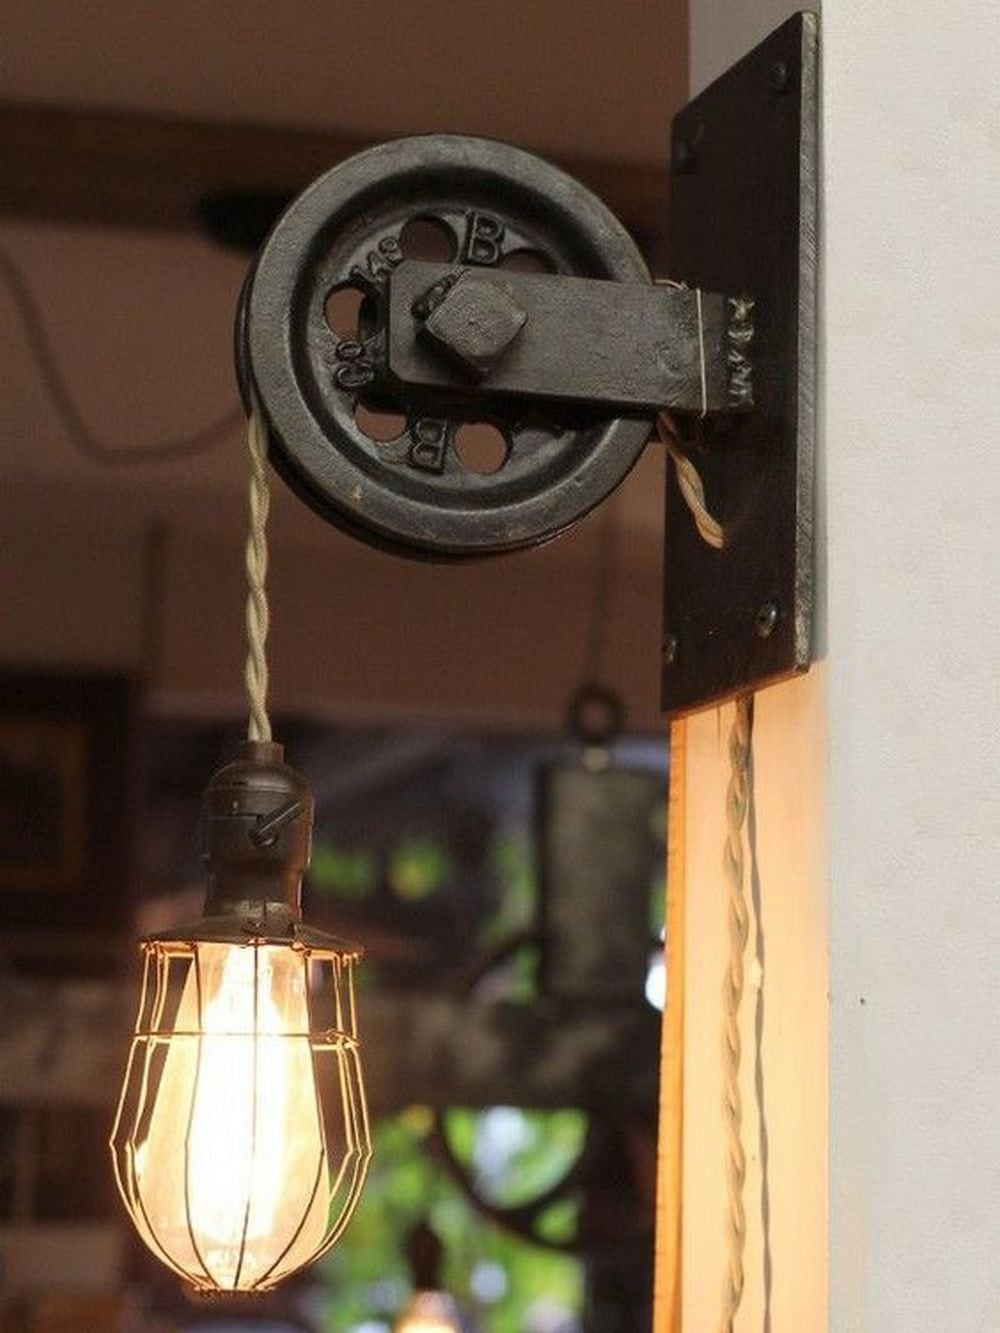
The challenge with vintage lighting is that you have to make sure about the wiring. You have to know this because European wiring, for example, is not compatible with US voltage. Or what if the wire is already brittle and dried out? This is a potential fire hazard.

Instead of buying a vintage lighting fixture online, why not make your own? This DIY project will give you a nice pulley lamp, reminiscent of those found in farmhouses. Come to think of it, this will look good in your room, too.
Contents
Making a Pulley Lamp
Materials
- An old hanging pulley
- Brown cotton twisted wire
- A plug
- A cage
- A socket
- Nipples
- Coupling
- Fender washers
- Vintage-style light bulb
- Hook
- Oil-rubbed bronze spray paint
- Old barn board (optional)
Tools
- Utility knife
- Wire cutter
- Wire stripper
- Small Phillips screwdriver
Instructions
Step 1: Prepare the Pulley
- Clean the old hanging pulley with a damp cloth to remove any dirt or rust.
- Apply oil-rubbed bronze spray paint to give the pulley a fresh, uniform look. Allow it to dry completely.
Step 2: Wire the Socket
- Use the wire cutter to cut a length of brown cotton twisted wire sufficient to hang the lamp at your desired height.
- Strip the ends of the wire using the wire stripper.
- Attach the wire to the socket. Typically, you’ll connect the neutral wire (often silver or white) to the silver screw and the hot wire (often gold or black) to the brass screw. Secure them with your screwdriver.
Step 3: Assemble the Cage and Bulb
- Attach the cage to the socket. This may involve screwing it on or using a small coupling depending on your cage’s design.
- Screw the vintage-style light bulb into the socket.
Step 4: Attach the Plug
- Strip the other end of the wire and attach the plug. Open the plug casing using the screwdriver, attach the wires to the respective terminals (again, neutral to silver and hot to brass), and close the casing.
Step 5: Mount the Pulley System
- Attach the hook to your ceiling at the desired location. Ensure it’s securely fastened into a stud or use appropriate anchors for your ceiling type.
- Hang the pulley on the hook and thread the lamp wire through the pulley.
Step 6: Final Assembly
- If using, attach the barn board to the wall where the lamp will hang. This can be done using additional hooks or screws. It adds a rustic touch and can serve as a back panel to mount the pulley or hide wiring.
- Adjust the length of the wire so the lamp hangs at the right height. Secure the wire in place using fender washers and nipples to clamp it at both ends of the pulley.
Step 7: Test Your Lamp
- Plug in the lamp and turn it on to ensure everything is working properly.
Click on any image to start the lightbox display. Use your Esc key to close the lightbox.
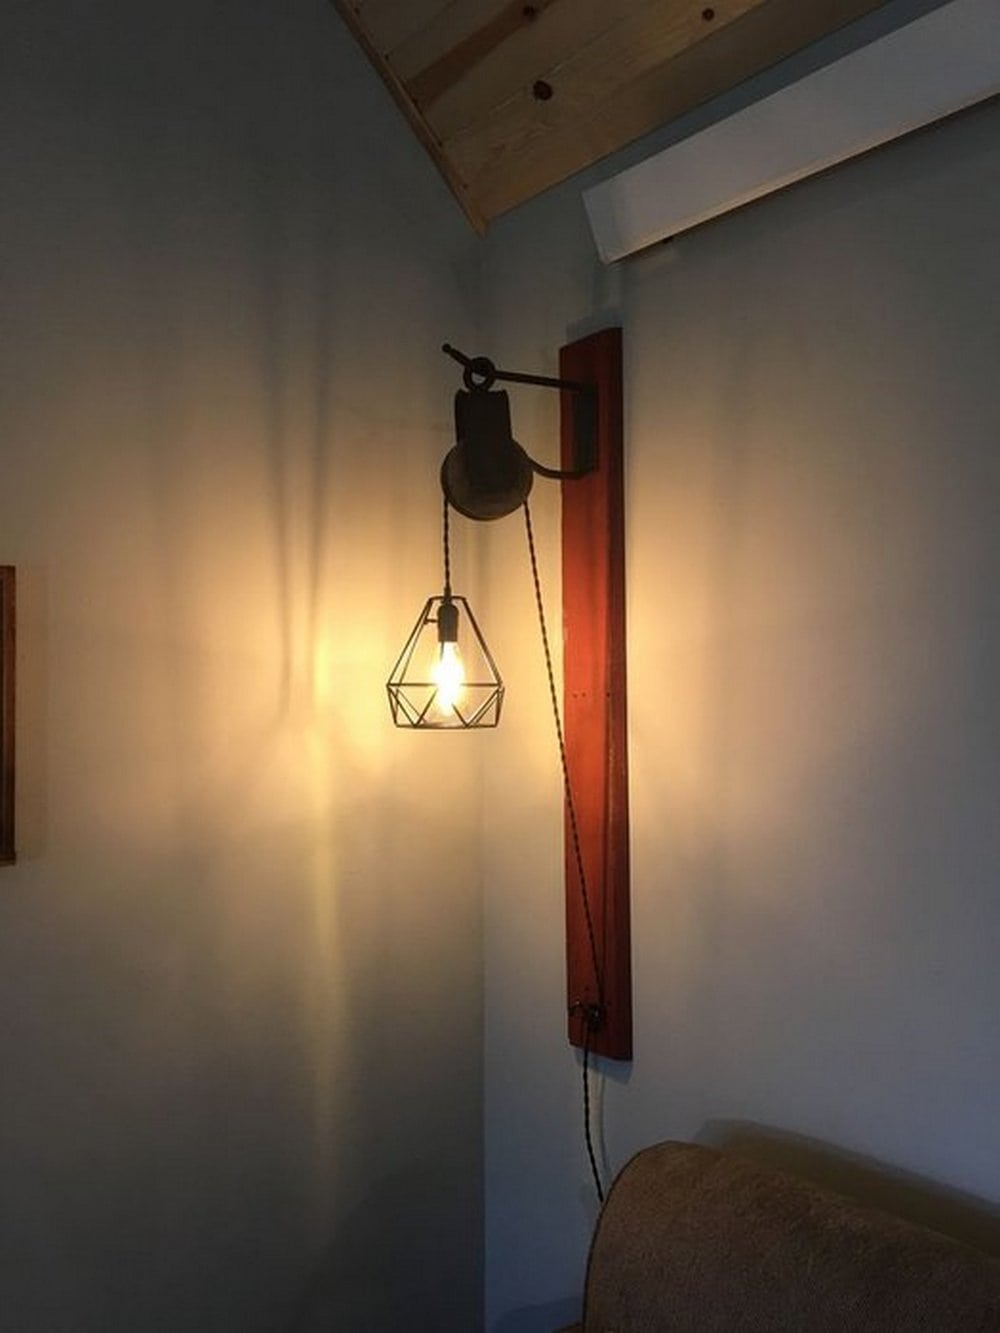

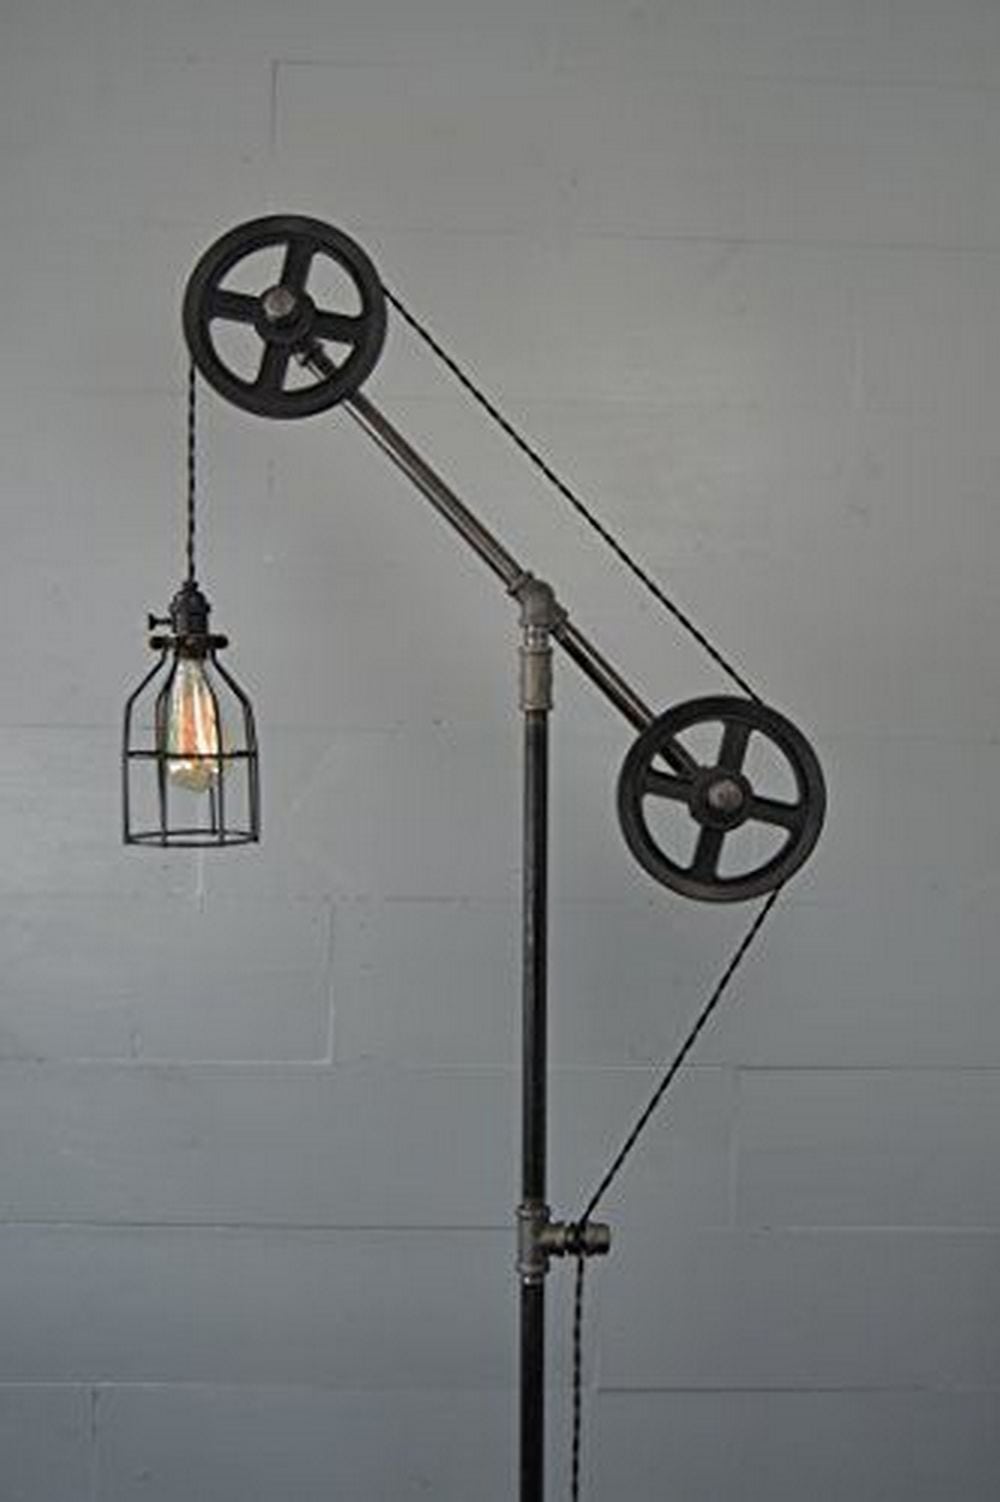

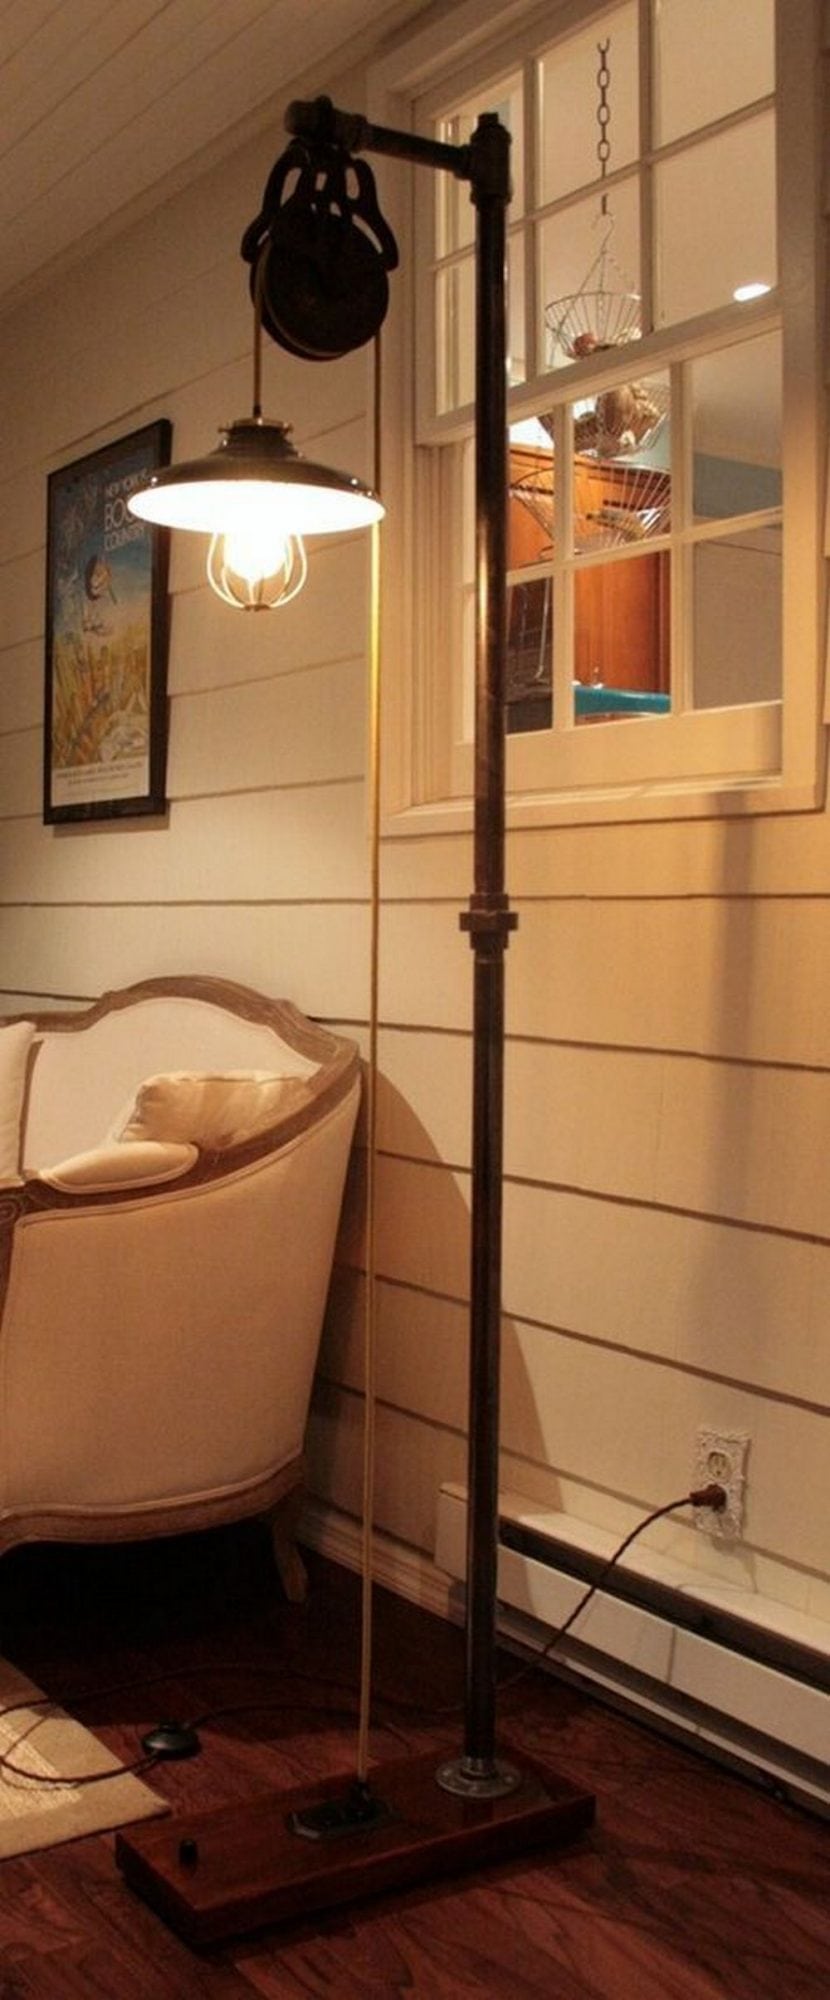

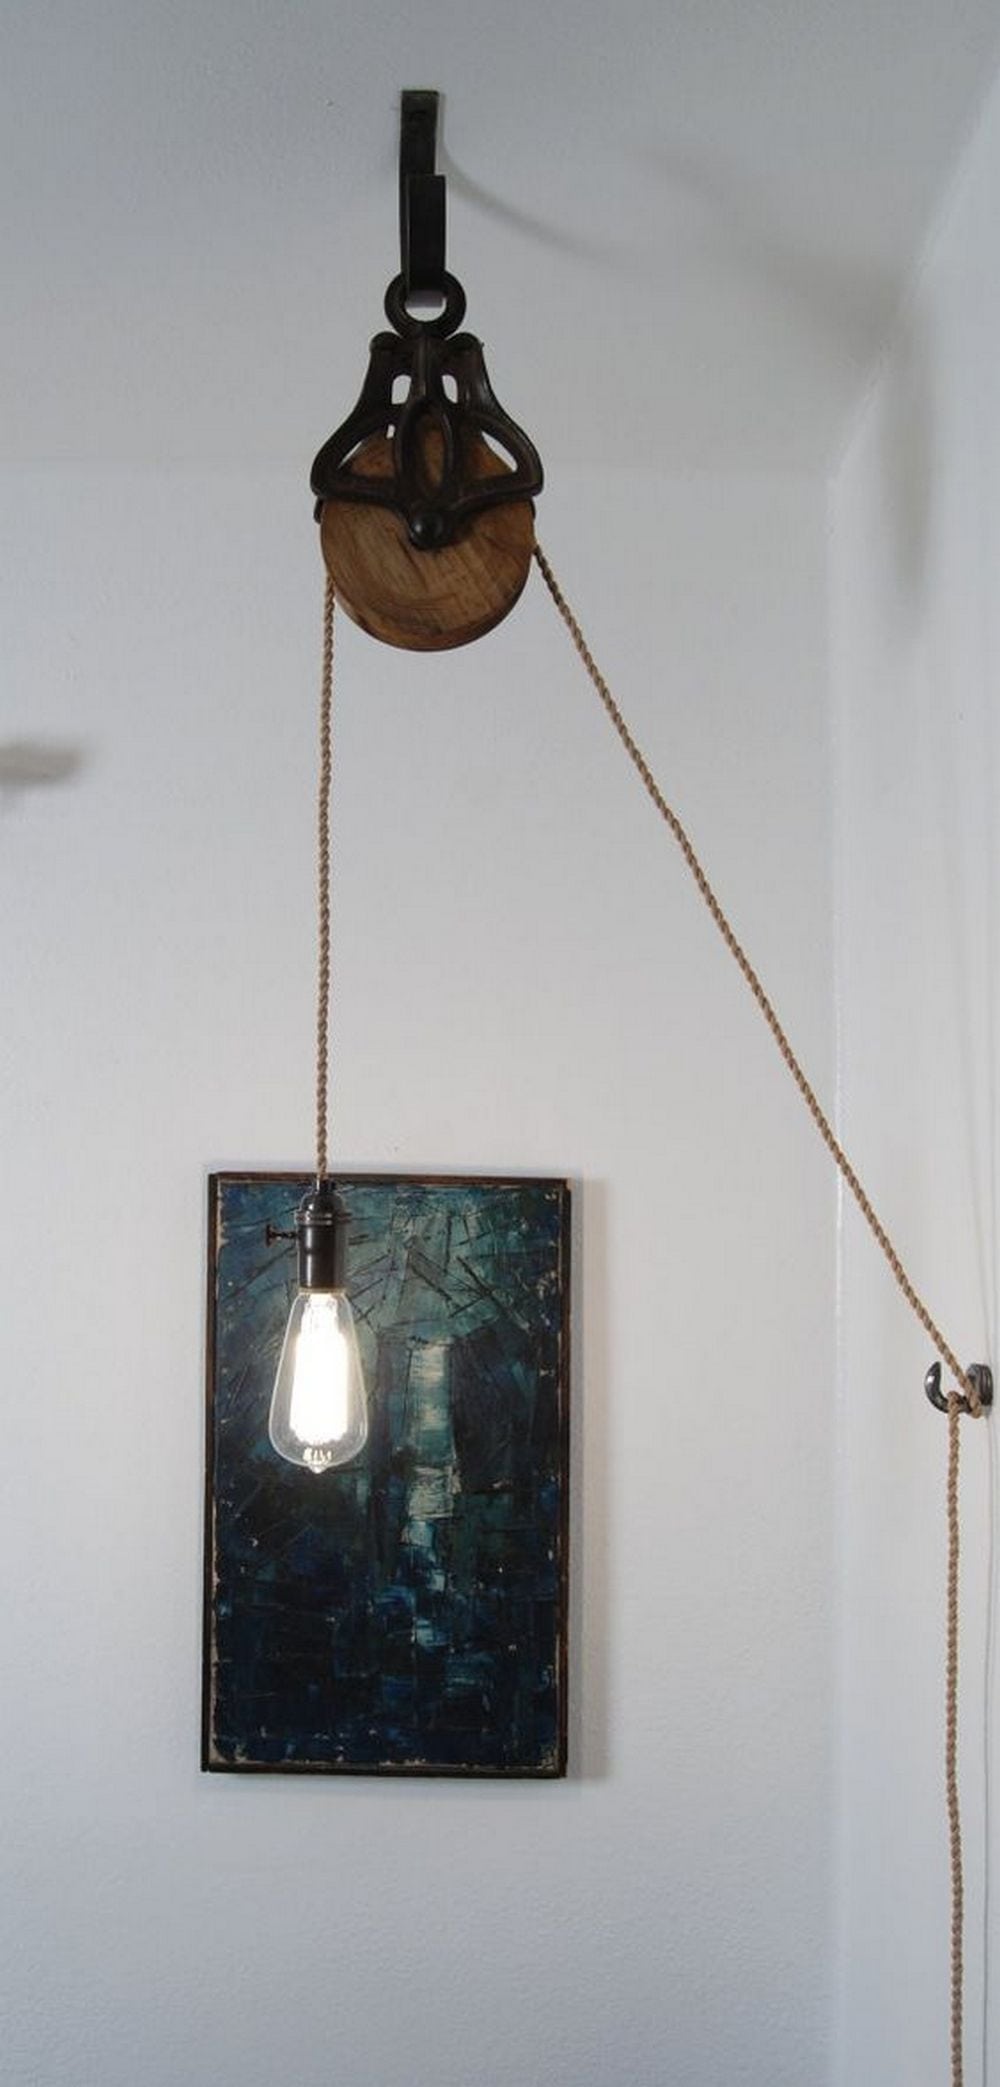

You can get more detailed step-by-step instructions here…
Installation Tips and Techniques
Installing your DIY pulley lamp can be a rewarding project that adds a unique vintage flair to any room. Proper installation not only ensures that the lamp functions safely but also enhances its aesthetic appeal.
Here are detailed tips and techniques to help you install your pulley lamp efficiently and safely.
Choose the Right Location
- Assess the Space: Before beginning the installation, choose a location where the lamp will be both functional and visually appealing. Consider the height at which the lamp will hang and the area it will illuminate.
- Check for Stability: Ensure that the ceiling or the wall where the hook will be mounted can support the weight of the pulley lamp.
Prepare the Mounting Area
- Locate Ceiling Joists or Wall Studs: Use a stud finder to locate joists or studs for a secure installation. This is crucial as the pulley lamp can be quite heavy, depending on its materials.
- Mark the Spot: Once you find a suitable location, mark it clearly. This is where you will install the hook that holds the pulley.
Install the Hook
- Drill a Pilot Hole: Drill a pilot hole at the marked spot to make installing the hook easier and to prevent the material from splitting.
- Secure the Hook: Screw the hook securely into place, ensuring it is tight and stable. If mounting directly into drywall, use appropriate anchors to ensure a secure fit.
Mount the Pulley and Lamp
- Hang the Pulley: Attach the pulley to the hook. Double-check that it swings freely and is well-balanced.
- Thread the Lamp Wire: Carefully thread the lamp’s wire through the pulley. Make sure there’s enough slack for the lamp to hang at the desired height but not so much that it droops unnecessarily.
Adjust the Lamp Height
- Fix the Position: Once the lamp is at the desired height, use the nipples and fender washers to fix the position of the wire at both ends of the pulley system. This prevents the lamp from moving or swinging too much.
- Secure Excess Wire: Neatly coil any excess wire above the pulley and secure it with a zip tie or similar fastener to keep it out of sight and well-organized.
Test the Installation
- Check Connections: Before plugging in the lamp, double-check all electrical connections to ensure they are firm and correct to avoid any potential hazards.
- Test the Lamp: Plug in the lamp and switch it on to test its functionality. Ensure the installation is stable and the lamp illuminates the desired area effectively.
By following these installation tips and techniques, your pulley lamp will not only be a charming addition to your décor but also a safe and functional light source. Enjoy the ambiance it brings to your space!
Electrical Safety and Compatibility
When constructing a DIY pulley lamp, ensuring electrical safety and understanding compatibility are crucial. These steps help prevent potential hazards such as electrical fires or equipment damage.
Below are essential guidelines to follow to ensure your pulley lamp is both safe and compatible with your home’s electrical system.
Understanding Wiring Standards
- Know Your Wiring Standards: Different countries have different electrical standards, including voltage levels and plug types. For example, most European countries use 220-240 volts, whereas the United States uses 110-120 volts. Ensure that the components you choose are suitable for your region’s voltage.
- Identify Wire Types: Recognize the type of wire needed for your lamp. In the U.S., wiring color codes typically include black (hot), white (neutral), and green or bare (ground). Make sure to match these correctly to prevent any electrical mishaps.
Checking and Preparing the Components
- Inspect Old Components: If you’re using vintage or reclaimed electrical components, inspect them thoroughly. Look for any signs of wear, such as frayed wires, rust, or brittleness. Replace any components that seem unreliable.
- Prepare New Wiring: Use a wire stripper to prepare your wires. Ensure that you have stripped enough insulation off the ends to make a secure connection, but not so much that it leaves a significant amount of wire exposed.
Making Safe Electrical Connections
- Secure Connections: When connecting wires to the socket and plug, ensure that the connections are tight. Loose connections can lead to arcing and overheating, which are major fire risks.
- Use Appropriate Connectors: Utilize wire connectors or terminal blocks to join wires. These should be suited to the wire size and type to ensure a safe, secure connection.
- Double-Check Polarity: Make sure to connect wires to the correct terminals—hot to hot, neutral to neutral. This is critical for the safety and proper functioning of your lamp.
Implementing Grounding and Protection
- Ground Your Lamp: If your lamp’s components allow for grounding, ensure that the ground wire is properly connected to prevent electrical shock. This is particularly important in metal-encased lamps.
- Consider a Fuse: For added protection, consider incorporating a fuse into the plug of your lamp. This will help protect against overcurrent, which can cause overheating.
By adhering to these electrical safety and compatibility guidelines, you can enjoy your DIY pulley lamp without worry, knowing it’s a safe and charming addition to your home.
Customization Ideas for Pulley Lamps
Pulley lamps are a fantastic way to add a unique and personal touch to your home’s décor. They combine functionality with style, offering endless possibilities for customization. Whether you’re aiming for a rustic, industrial, or modern look, there are several ways to tailor your pulley lamp to fit your space perfectly.
Here are some creative ideas to customize your pulley lamp.
Choose Distinctive Pulleys
- Vintage Pulleys: For a rustic or vintage aesthetic, select antique pulleys that have a naturally weathered look. These can often be found at flea markets or salvage yards.
- Modern Pulleys: If you prefer a sleek, contemporary style, opt for newer pulleys with clean lines and minimalistic designs. You can even paint them in bold colors to match your room’s palette.
Select the Right Cables and Wires
- Colorful Wires: Pulley lamps can be instantly transformed by using colored twisted cotton wire. Choose a color that complements or contrasts with your décor for a striking visual impact.
- Textured Cables: For added texture and visual interest, look for braided or fabric-covered cables. These can add a tactile element to your pulley lamp, enhancing its overall appeal.
Experiment with Different Shades and Bulbs
- Shade Varieties: Change the look of your pulley lamp by swapping out different lampshades. From metal cages to glass globes, each type of shade can significantly alter the lamp’s style.
- Light Bulbs: Choose from a variety of light bulbs such as Edison-style bulbs for a vintage feel or LED bulbs for a more energy-efficient and modern approach. The shape and color temperature of the bulb can affect the mood and functionality of the lamp.
Incorporate Unique Mounting Ideas
- Wall-Mounted Pulley Lamps: Instead of hanging your pulley lamp from the ceiling, consider a wall-mounted version. This can act as a movable wall sconce, adding flexibility in how you light your space.
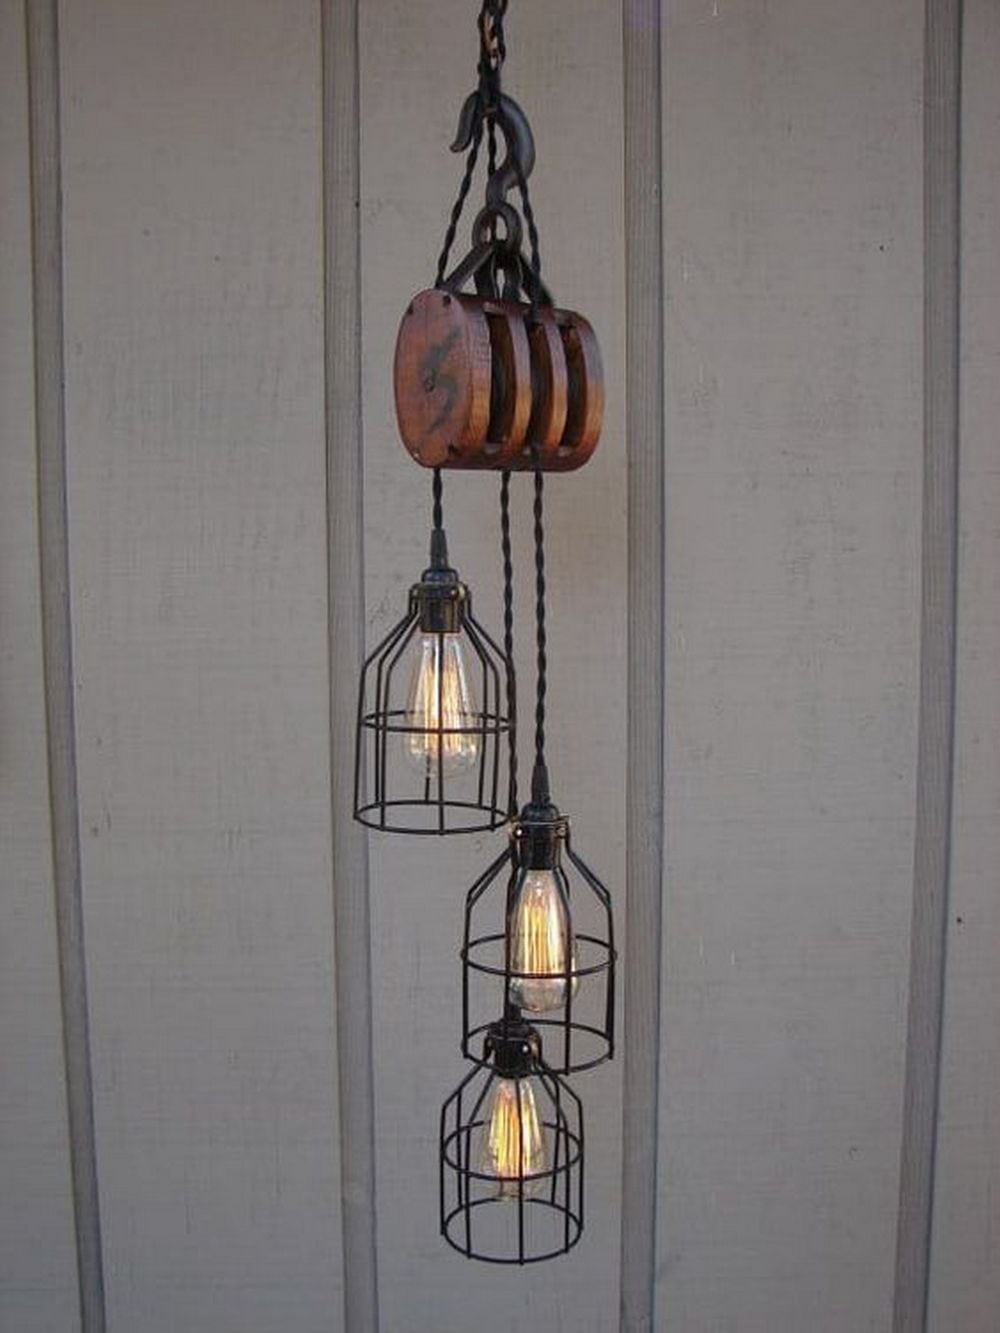
- Multiple Pulleys: For a more complex and industrial look, use multiple pulleys in a single lamp setup. This not only adds to the visual drama but also increases the lamp’s versatility.
Add Decorative Elements
- Decorative Fittings: Enhance your pulley lamp with decorative elements such as brass or copper fittings. These can add a touch of elegance and reflect your personal style.
- Custom Paint Jobs: Give your pulley and other metallic parts a custom paint job. This could be anything from a distressed look to match a vintage style, to bright and bold colors for a more eclectic or modern vibe.
Use Creative Supports
- Reclaimed Wood: Mount your pulley lamp on a piece of reclaimed wood for a warm, rustic feel. This not only adds character but also provides a sturdy base for your creation.
- Industrial Chains: For a more rugged look, use chains instead of wire for hanging the lamp. This can complement an industrial or steampunk-themed room beautifully.
By exploring these customization ideas, you can ensure your pulley lamp is not just a source of light but a centerpiece that reflects your personal style and enhances the ambiance of your space.
Conclusion
Building your own pulley lamp is not only a rewarding DIY project but also an opportunity to infuse your space with personalized charm and vintage flair. By carefully selecting materials and following detailed instructions, you can ensure both safety and style in your creation. This unique lighting fixture will not only illuminate your room but also serve as a striking decorative element that reflects your creativity and taste.
Still looking for interesting lighting? Check out our concrete pendant light project!

