Wouldn’t it be wonderful if you could move our garden around throughout the year? You could do it just because you need a change of scenery, or maybe you want your plants to catch the best sunlight all year round.
Planter boxes offer a number of advantages over ground planting. They allow you to better regulate the soil nutrients and water and move your plants as needed.
They are versatile, too. For instance, planter boxes that are equipped with brackets can be hung under windows or on patio and deck railings.
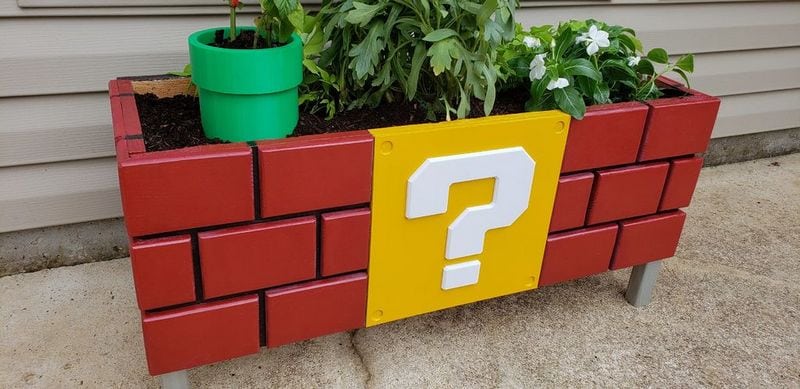
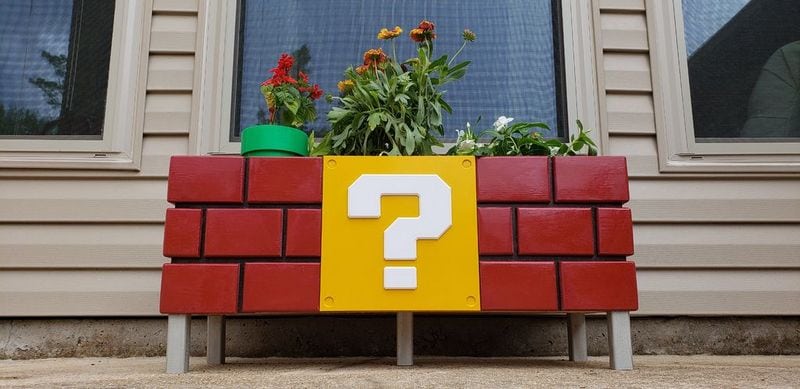
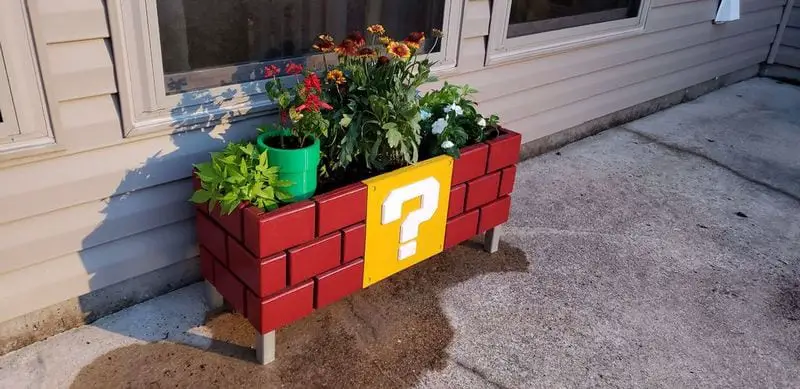
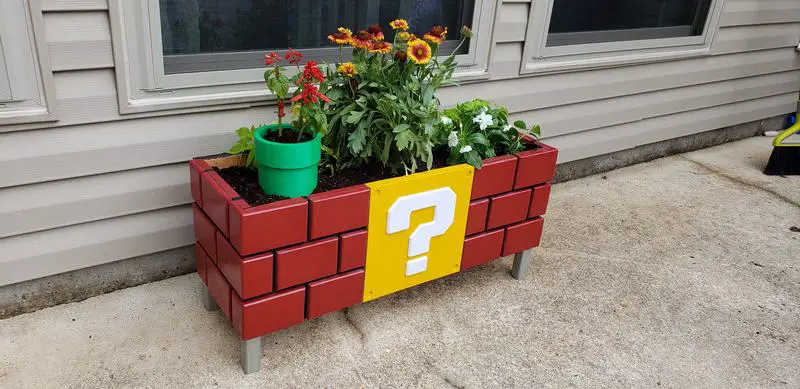
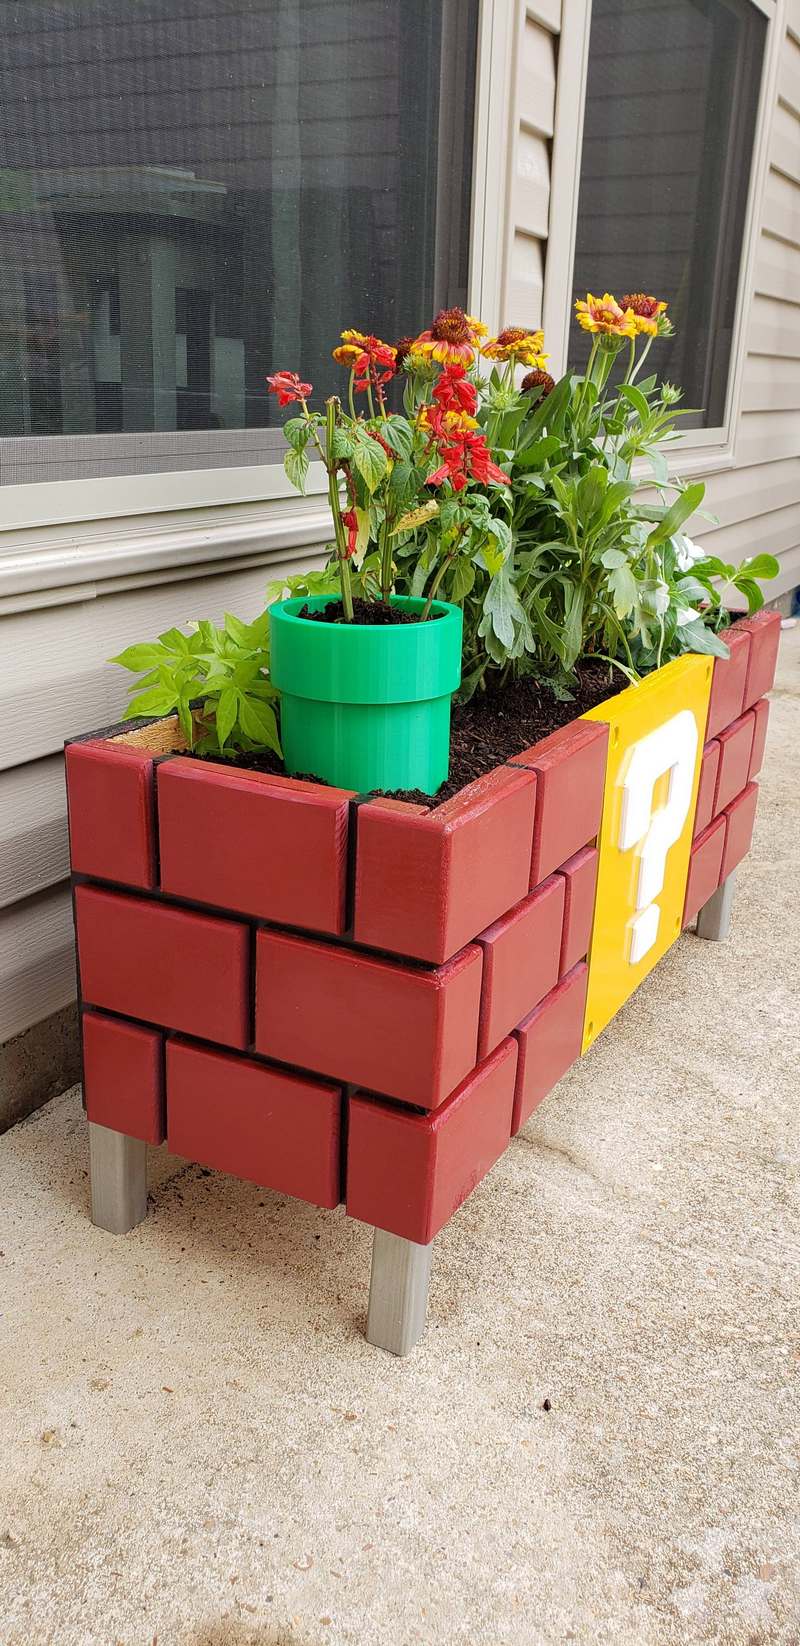
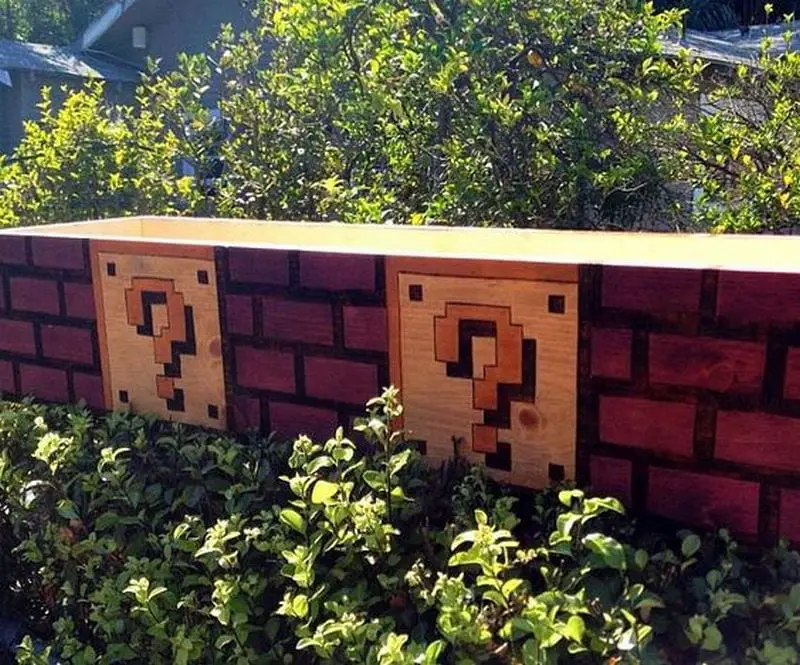
I found a planter box being sold online for US$80. It was just a plain wooden planter box. I knew I wanted something more so the DIY-er in me kicked in. I searched online and I came across this Mario planter box project. Being a huge Super Mario Bros fan, I was sold.

This project requires a lot of woodwork. It’s going to take time and effort but then again, Rome wasn’t built in a day.
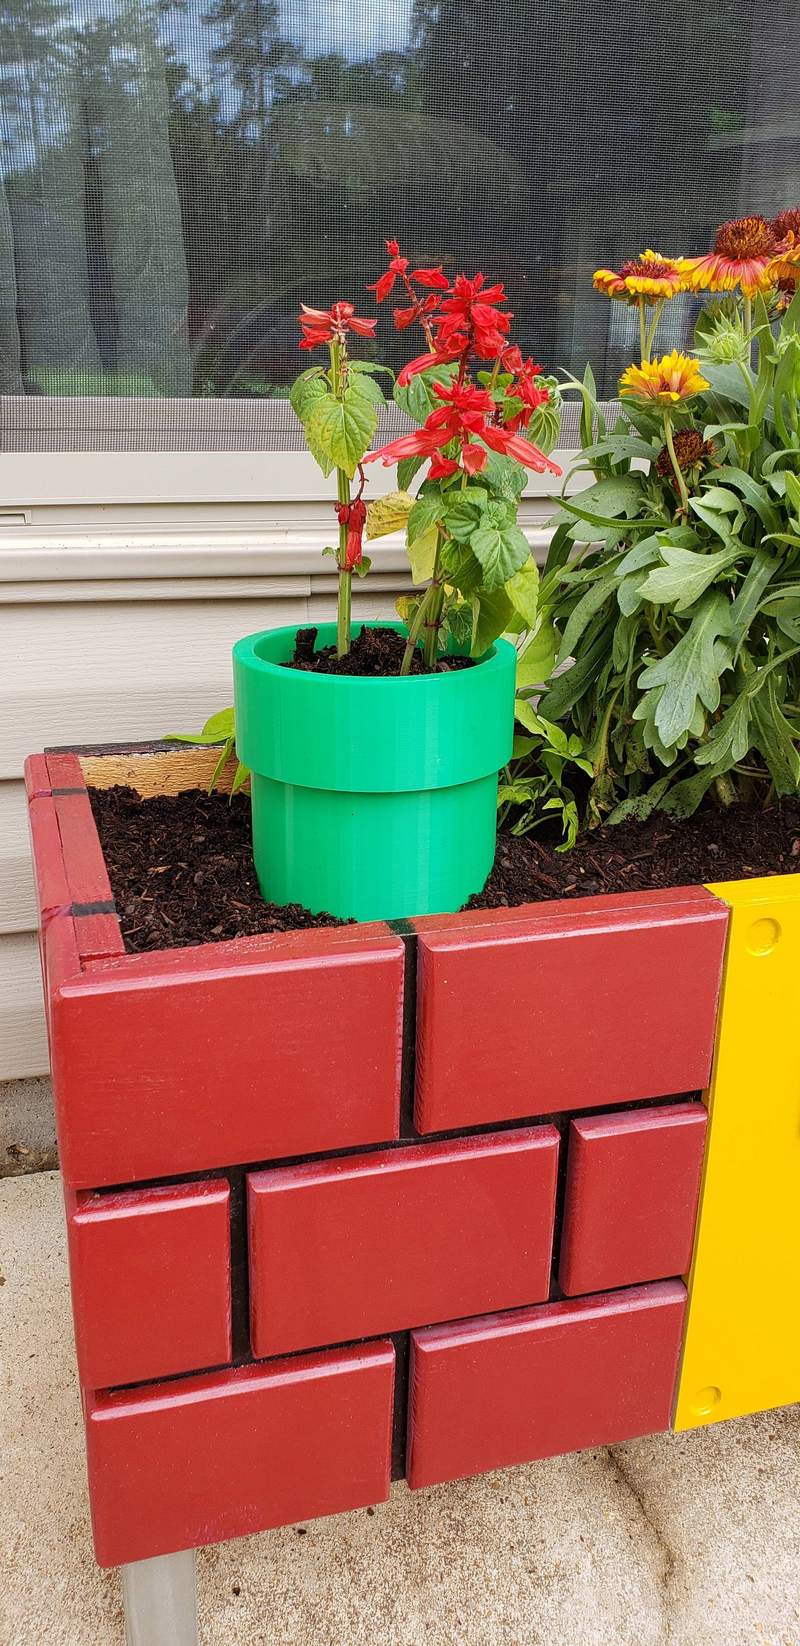
Put this under your window sill or any space that you think needs some sprucing up. It’s beautiful and functional – what more can you ask for from a DIY project?
What you’ll need to build a Mario planter box…
Materials:
- (1) 12″ x 8′ Cedar Board (box walls)
- (1) 2″ x 4″ Kiln dried after treated (For the bricks)
- (4) 2″ x 2″ x 42″ Pressure treated yellow pine baluster
- (1) 6 ft Cedar fence board
- (1) Red exterior paint
- (1) Yellow exterior paint
- (1) Dark exterior paint for the base color
- (2) Cans of spray on primer filler
- (1) Can grey spray paint (optional)
- (1) Roll on primer
- Exterior Screws
- 150-220 (or similar) grit sandpaper
- Wood Glue
Tools:
- Table saw
- Router with a round over bit
- 3D Printer (not required if you’re able to cut the question mark by hand)
- Miter saw
- Clamps (corner, regular and long)
- Paint brushes and rollers
- Belt Sander
Click on any image to start the lightbox display. Use your Esc key to close the lightbox.

Thanks to drickman156 for this great project. You can get step-by-step instructions here…
Here’s a quick video…