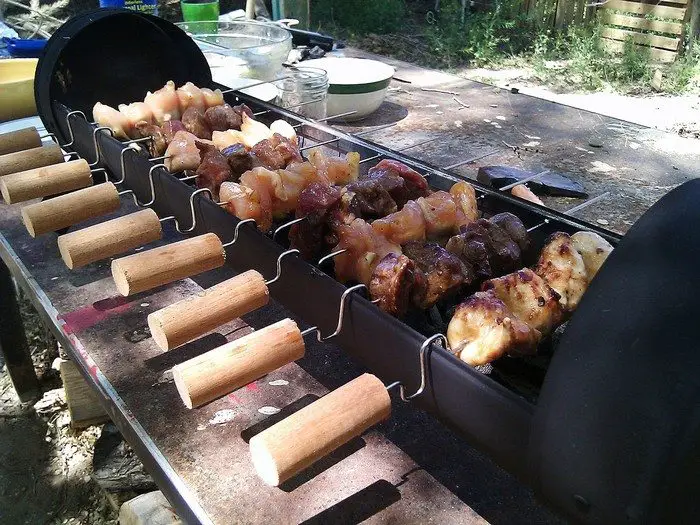
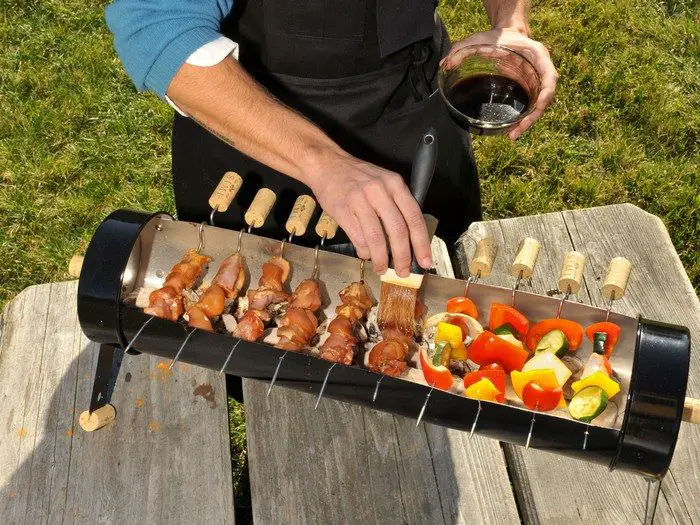
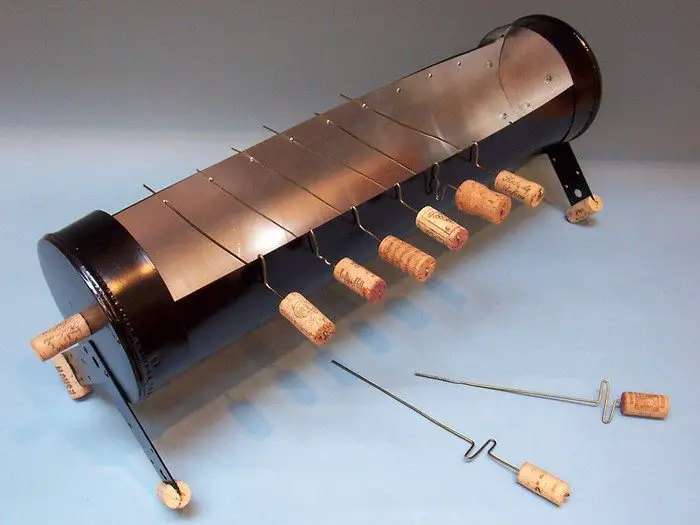
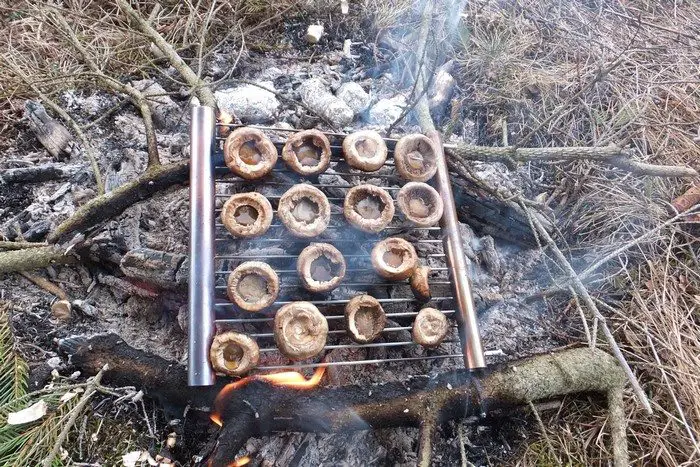
Don’t have a barbecue in your backyard but want one? Of course, you can always buy one but if you’re looking for a conversation starter then DIY-ing is the way to go. And if you have access to out-of-service beer kegs, this is the DIY grill beer keg project for you!
The theme is quite obvious. Barbecued food pairs famously well with beer, after all. There’s something especially appealing about drinking a cold beer with a plate of brisket, ribs, pulled pork, and the collards or cornbread that accompany them.
Now the first thing to be aware of when building a beer keg grill (or doing any project with beer kegs for that matter), is that you have to properly ask for an out-of-service unit from its owner. Beer kegs are part of breweries’ capital outlay and are very expensive, so it is illegal to get beer kegs without their permission. The breweries will decide if their beer kegs are good for scrapping and you will have to get a certification that proves the unit is no longer their property.
When you’ve finally acquired an out-of-service beer keg from your local brewery, the next thing to do is to make sure that the keg is depressurized. This is very important for your safety, especially since this project involves cutting the unit in half! If you do not know how this process is done, ask for help from someone who does.
Also be sure to wear proper, protective gear at all times.
Working with barrels/beer kegs is usually challenging, so it takes all the necessary precautions before actually doing the project.
For more step-by-step information on how you can turn a beer keg into this featured DIY grill, head over to the tutorial linked below!
Contents
Building a Grill Beer Keg
Materials
- Old Beer Keg
- Heavy-duty Steel Door Hinge
- Scrap Steel Stock
- Scrap Aluminum Plate
- Small Bolts and Washers (various)
- Store-bought Grill Grate
Tools
- Angle Grinder (with cutting wheel and bonded flexible abrasive wheel)
- Drill
- Manual Shear
- Files (for deburring edges, shaping wood)
- MIG Welder
- Bandsaw
- Welding Angle Magnets
- Vice Grips Pliers
Instructions
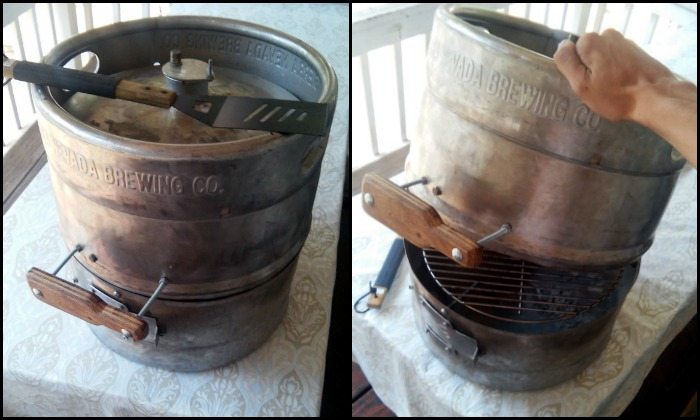
Step 1: Prepare the Beer Keg
- Safety First: Wear safety goggles, gloves, and protective clothing.
- Depressurize the Keg: Ensure the keg is fully depressurized before cutting. If unsure, consult a professional.
- Cleaning: Clean the beer keg thoroughly to remove any residues or contaminants.
Step 2: Cutting the Keg
- Marking: Use chalk or a marker to draw a horizontal line around the middle of the keg.
- Cutting: Using the angle grinder with a cutting wheel, carefully cut along the marked line to split the keg into two halves.
Step 3: Smoothing Edges
- Deburring: Use files to smooth out all cut edges to prevent injuries. Pay extra attention to ensure all sharp edges are made safe.
Step 4: Adding Hinges
- Positioning the Hinge: Attach the heavy-duty steel door hinge to one side of the cut keg using the drill and bolts to create a lid.
- Testing: Ensure the hinge allows the lid to open and close smoothly.
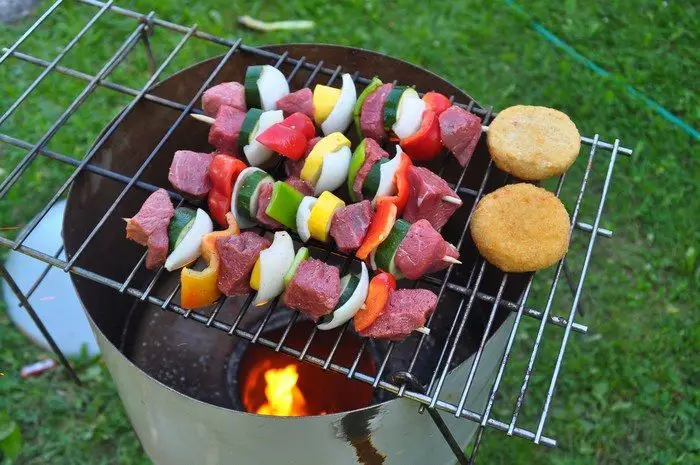
Step 5: Installing the Grill Grate
- Measuring: Place the store-bought grill grate inside the bottom half of the keg to check fit.
- Adjustments: If necessary, use scrap steel stock and the bandsaw to create supports for the grate.
- Securing the Grate: Weld the supports using the MIG welder. Attach the grill grate firmly onto these supports.
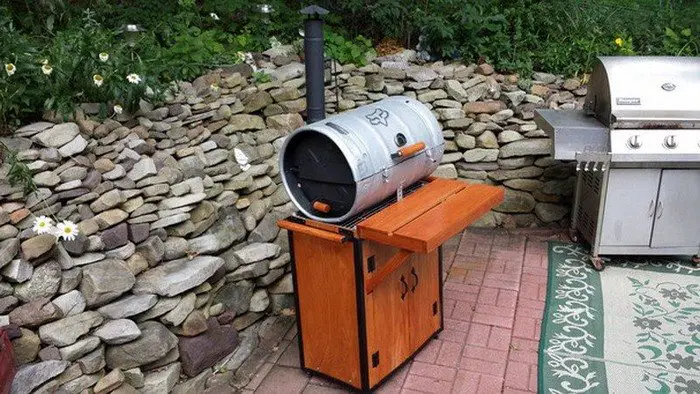
Step 6: Adding Legs
- Designing Legs: Cut the scrap steel stock into four equal lengths for legs using the bandsaw.
- Attaching Legs: Weld the legs to the bottom of the keg to ensure stability.
Step 7: Additional Features
- Heat Shield: Use the scrap aluminum plate to create a heat shield for the lid. Measure, cut with manual shears, and attach using the MIG welder.
- Handles: Attach vice grips pliers as temporary handles or create permanent handles using scrap steel stock, welding them securely.
Step 8: Finishing Touches
- Check Stability: Make sure the grill is stable on all surfaces.
- Final Inspection: Check all welds, bolts, and fittings to ensure everything is secure.
- Cleaning: Clean the grill thoroughly to remove any metal filings or debris.
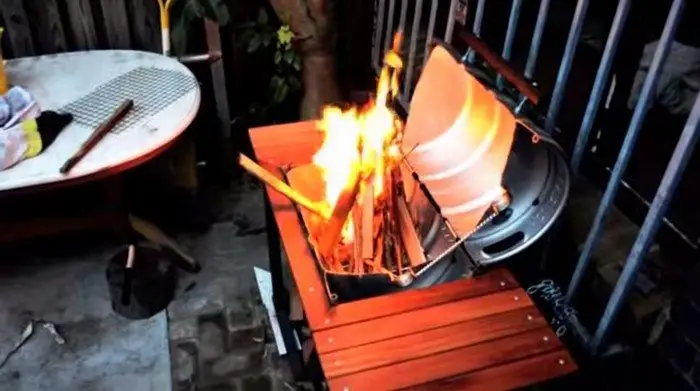
Step 9: Testing
- Safety Check: Perform a final safety check to ensure all parts are secure and the grill is safe to use.
- Test Run: Conduct a test run by lighting a small fire in the grill to ensure proper airflow and functionality.
Thanks to ilpug for this great project. You can get step-by-step instructions here…
Have a look at these other similar DIY grills that you can build:
Click on any image to start lightbox display. Use your Esc key to close the lightbox.
Beer Keg BBQ Grill Station


Design Variations and Customization Ideas
Creating a grill beer keg offers a unique opportunity to combine practicality with personal style. This DIY project not only results in a functional cooking appliance but also serves as a centerpiece for outdoor gatherings.
Below, explore various design variations and customization ideas that can help you make your grill beer keg uniquely yours.
Paint and Finish
Give your grill beer keg an eye-catching appearance with a custom paint job. Use high-temperature resistant paint to create designs that reflect your personal style or match your outdoor décor. From sleek metallic finishes to vibrant patterns, the right color can transform your grill beer keg into a work of art.
Thematic Decorations
Thematic elements can add a fun twist to your grill beer keg. Whether you’re a sports fan, love retro motifs, or prefer a rustic look, you can decorate your keg to reflect those themes. Consider using themed decals, or custom fabrications like a logo or emblem that represents your favorite team or hobby.
Lighting Additions
Incorporate LED lights to make your grill beer keg not only functional but also a standout feature at night. You can install waterproof LED strips under the lid or around the base to enhance visibility and add an ambient glow to your cooking area.
Additional Functional Features
Add functionality to your grill beer keg by incorporating a built-in thermometer, side tables, or tool hooks. These features increase the usability of your grill beer keg, making grilling easier and more enjoyable.
Custom Grilling Surfaces
Swap out the standard grill grate for something that suits the specific cooking style you prefer. Options like cast iron grates, griddles, or even a smoking rack can be fitted to your grill beer keg to accommodate different types of cuisines and cooking techniques.
Portable Designs
For those who love to grill on the go, consider modifying your grill beer keg for easy transport. Adding detachable legs, wheels, and a handle can transform your stationary grill beer keg into a portable barbecue companion for camping, tailgating, and beach parties.
Eco-Friendly Touches
Incorporate sustainable practices into your grill beer keg project by using recycled materials for parts of the grill. Additionally, you can design the grill to use less charcoal or adapt it for natural gas to minimize its environmental impact.
These customization ideas not only enhance the appearance of your grill beer keg but also improve its functionality and adaptability to your lifestyle and preferences. With a little creativity, your grill beer keg can become more than just a cooking device; it can be a statement piece that reflects your personal style and grilling needs.
Safety Precautions and Necessary Equipment
Building and using a grill beer keg involves several safety considerations, given the tools and techniques required for construction as well as the operation of the grill itself. To ensure a safe experience while creating and enjoying your grill beer keg, it’s crucial to follow specific safety guidelines and use the appropriate equipment.
General Safety Guidelines
Before beginning your grill beer keg project, familiarize yourself with the general safety practices necessary to handle tools and materials safely.
- Read All Manuals: Before using any tool, especially power tools like angle grinders and welders, thoroughly read the manufacturer’s instructions and safety warnings.
- Work Area: Keep your work area clean and well-lit to avoid tripping hazards and other accidents. Ensure your working area is well-ventilated, especially when welding or painting.
Personal Protective Equipment (PPE)
Using the correct protective gear is essential to safeguard against injuries when building your grill beer keg.
- Eye Protection: Always wear safety goggles or a face shield when cutting, grinding, or welding to protect your eyes from sparks and debris.
- Hand Protection: Use heavy-duty gloves to protect your hands. Gloves will prevent cuts, burns, and abrasions.
- Hearing Protection: Operations like grinding and cutting can be extremely loud. Wear earplugs or earmuffs while working on your grill beer keg.
- Respiratory Protection: When sanding, painting, or welding, use a respirator or a dust mask to avoid inhaling harmful fumes and particles.
- Protective Clothing: Wear fire-resistant clothing when welding and avoid loose clothing that could catch on tools or equipment.
Equipment Safety
Proper handling and maintenance of tools and equipment are critical to prevent accidents when making your grill beer keg.
- Secure Equipment: When using any power tools, ensure they are securely mounted or placed on a stable surface to prevent slipping or movement.
- Electrical Safety: Use grounded electrical outlets and keep cords away from heat, oil, and sharp edges. Disconnect power when not in use.
Handling and Assembly Precautions
When assembling your grill beer keg, specific precautions can prevent accidents and injuries.
- Heat Safety: Be mindful of the high temperatures involved in grilling. Allow your grill beer keg to cool down completely before attempting to move it or clean it.
- Ventilation: Always use the grill beer keg outdoors or in a well-ventilated area to prevent carbon monoxide poisoning.
By adhering to these safety precautions and using the necessary equipment, you can safely enjoy the process of building and using your grill beer keg. Safety is the foundation of any successful DIY project, ensuring that your grilling experience is both fun and secure.
Conclusion
Building your own grill beer keg is a rewarding DIY project that not only enhances your grilling experience but also sparks conversation at any outdoor gathering. With the right tools, safety measures, and a bit of creativity, you can transform an old beer keg into a functional and stylish centerpiece. Enjoy the satisfaction of cooking with a grill that you’ve personally crafted and customized to fit your outdoor living space.