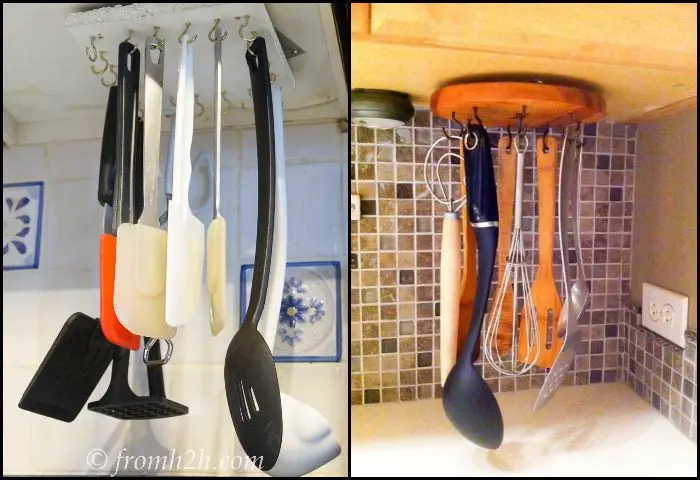
Need a space-saving yet easy-access storage for your kitchen/cooking utensils? Then this project is for you – a hanging lazy susan kitchen utensil storage.
This clever kitchen utensil storage idea is great for keeping the kitchen counter clear of items not being used at the moment. We also like that it can hold so many kitchen utensils all at once, but it’s very easy to find what you need!
It’s cheap and very easy to make – and use!
You can install it anywhere; underneath the overhead cabinet, underneath the kitchen island or even inside a cabinet. And keep it out of your children’s reach! :)
Do you need this clever idea in your kitchen?
Contents
How to Build a Kitchen Utensil Storage
Materials
- 6″ Lazy Susan Bearing
- 6×6″ 1/2″ Plywood
- Iron-on Melamine Edging (optional)
- 3/4″ #10 Wood Screws
- Pegboard (small piece)
- Hooks
Tools:
- Pencil
- Saw
- Drill
- Iron (optional for Iron-on Melamine Edging)
Steps:
Step 1: Prepare the Plywood Base
- Mark a 6×6-inch square on the 1/2-inch plywood using a pencil.
- Use a saw to cut along the marked lines. Ensure the edges are smooth and even.
- (Optional) If using iron-on melamine edging, heat up an iron and apply the edging around the plywood to give it a finished look.
Step 2: Attach the Lazy Susan Bearing
- Place the 6-inch Lazy Susan bearing on the bottom side of the plywood.
- Align the bearing in the center and mark the screw holes with a pencil.
- Use a drill to create pilot holes, then secure the bearing with 3/4-inch #10 wood screws.
- Ensure the bearing rotates smoothly before proceeding.
Step 3: Cut and Attach the Pegboard
- Cut a small piece of pegboard to match the size of the plywood (6×6 inches or slightly smaller).
- Position the pegboard on the top side of the plywood.
- Secure it using wood screws, making sure the holes in the pegboard are properly aligned for hanging utensils.
Step 4: Add Hooks for Utensils
- Insert hooks into the pegboard holes. Space them evenly to allow utensils to hang without overlapping.
- Adjust hook placements as needed to fit different utensil sizes.
Step 5: Install the Storage Unit
- Choose a mounting location—underneath an overhead cabinet, inside a cabinet, or under a kitchen island.
- Use screws to attach the Lazy Susan storage unit to the chosen surface.
- Ensure the unit rotates smoothly and that utensils are easily accessible.
Step 6: Organize Your Kitchen Utensils
- Hang frequently used utensils on the hooks for easy access.
- Rotate the Lazy Susan to ensure all utensils are within reach.
- Adjust hooks and placements as needed for maximum efficiency.
Drawer Organization: Maximizing Every Inch
Keeping kitchen drawers organized can be a challenge, especially when space is limited. Without a system, utensils, tools, and gadgets pile up, making it hard to find what you need. The key to maximizing every inch is using smart storage solutions that keep everything neat, accessible, and clutter-free.
Declutter and Sort First
Before organizing, empty all the drawers and go through each item. Remove anything broken, duplicated, or rarely used. Sort the remaining items into categories—cooking utensils, baking tools, cutlery, and miscellaneous gadgets. This step helps you see what you truly need and how much space you have to work with.
Use Adjustable Drawer Dividers
Drawer dividers create designated spaces for different utensils, preventing everything from shifting around when opening and closing drawers. Adjustable dividers work best because they can be customized to fit your storage needs. Arrange them to separate spoons, spatulas, and other tools while making sure each section is large enough for easy access.
Utilize Stackable Trays and Inserts
Stackable trays help maximize vertical space inside deep drawers. They allow you to store more items without making things hard to reach. Use tiered inserts for cutlery or smaller tools like measuring spoons and peelers. For even more efficiency, opt for trays with sliding sections that reveal additional compartments below.
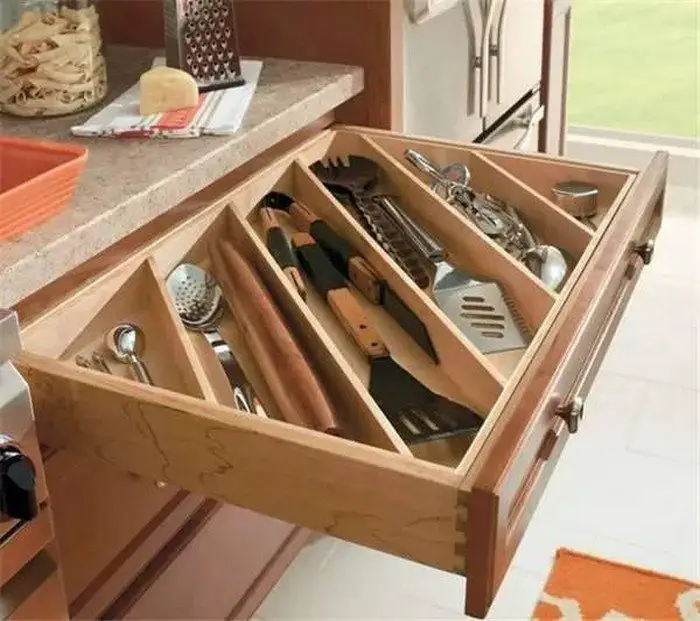
Go Diagonal for Long Utensils
Standard drawer dividers often leave long utensils awkwardly positioned. Diagonal dividers make better use of space by allowing larger tools, such as rolling pins and tongs, to fit comfortably. This setup not only looks cleaner but also prevents overcrowding.
Make Use of Custom Inserts
For a tailored storage solution, invest in custom drawer inserts. Many come with adjustable sections that let you modify the layout as needed. Some even have designated spots for knives, spatulas, and kitchen shears, making it easier to keep everything in place.
Keep Frequently Used Items at the Front
Store everyday utensils near the front of the drawer for quick access. Less frequently used items, like specialty tools or seasonal gadgets, can go toward the back or in a separate storage area. This simple habit saves time and prevents unnecessary searching.
Utilize Small Containers for Loose Items
Loose items like bottle openers, bag clips, and measuring spoons can create clutter. Use small containers or silicone cups to keep them organized. This prevents them from getting lost at the bottom of the drawer while making retrieval easier.
Try Tension Rods for Stand-Up Storage
For extra-deep drawers, small tension rods can help store items upright. This works well for cutting boards, baking sheets, and even spice containers. By keeping them vertical, you save space while improving visibility.
Label Sections for Easy Maintenance
Once everything is organized, add labels to keep the system intact. Labeling sections ensures that every item has a designated spot, making it easier for family members to follow the organization system. This reduces the chances of drawers becoming messy again over time.
Maximizing drawer space is all about efficient organization and strategic placement. By using dividers, trays, and custom inserts, you can keep your kitchen essentials tidy and accessible. A well-organized drawer saves time, reduces frustration, and makes cooking more enjoyable.
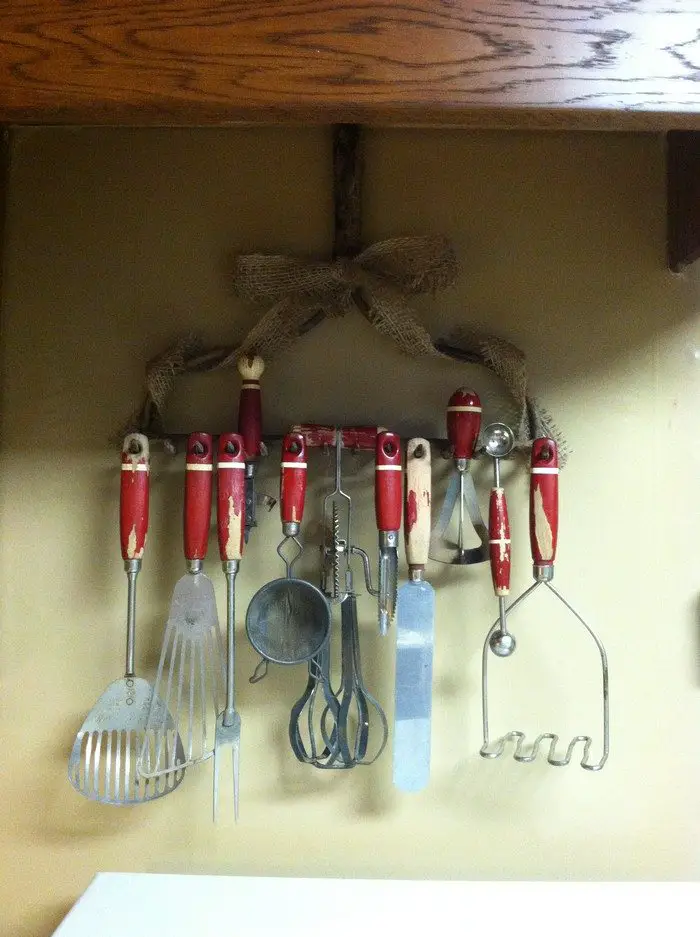
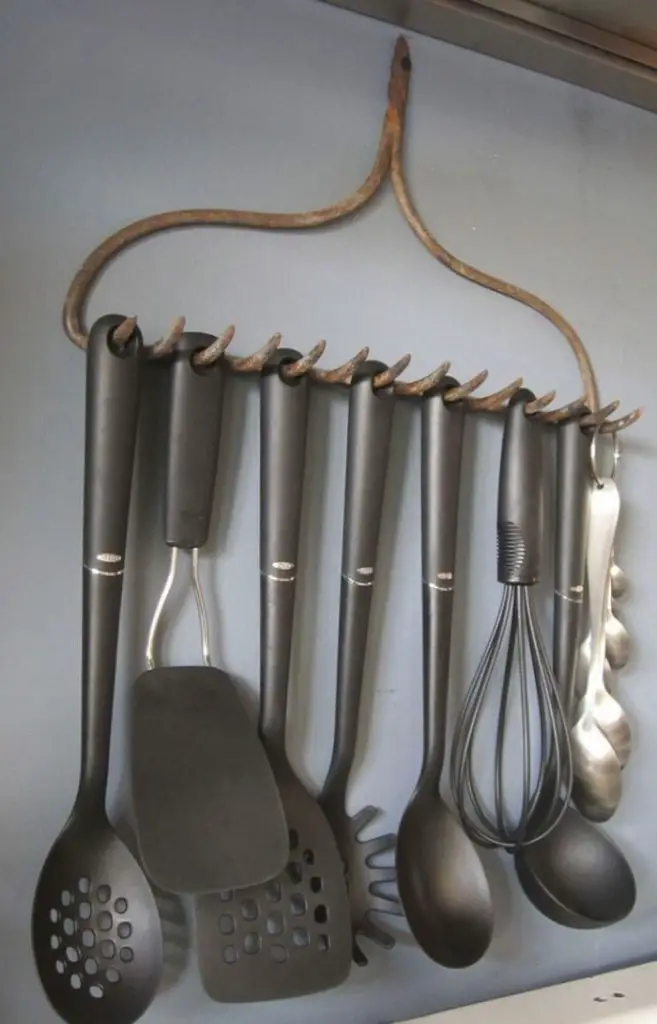
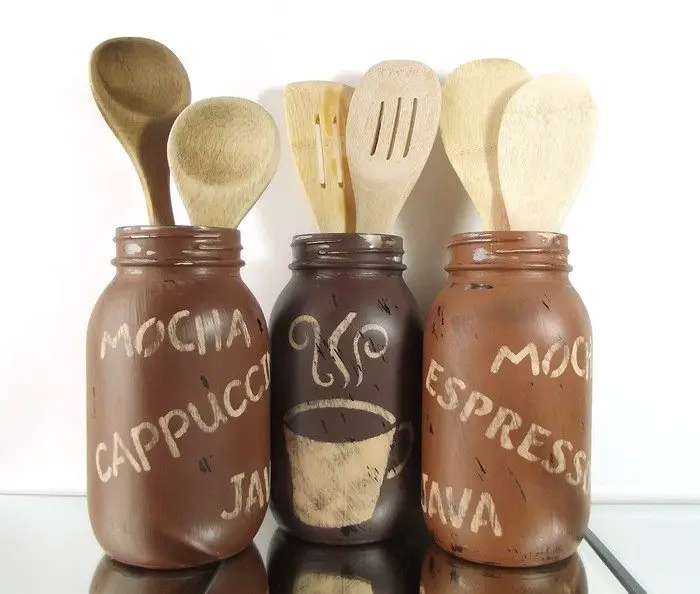
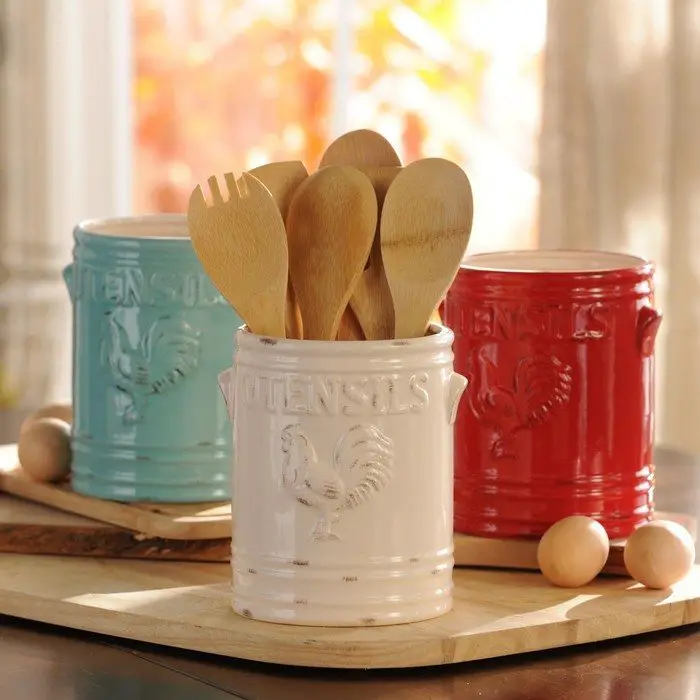
Kitchen Utensil Storage Ideas
Click on any image to start lightbox display. Use your Esc key to close the lightbox. ![]()
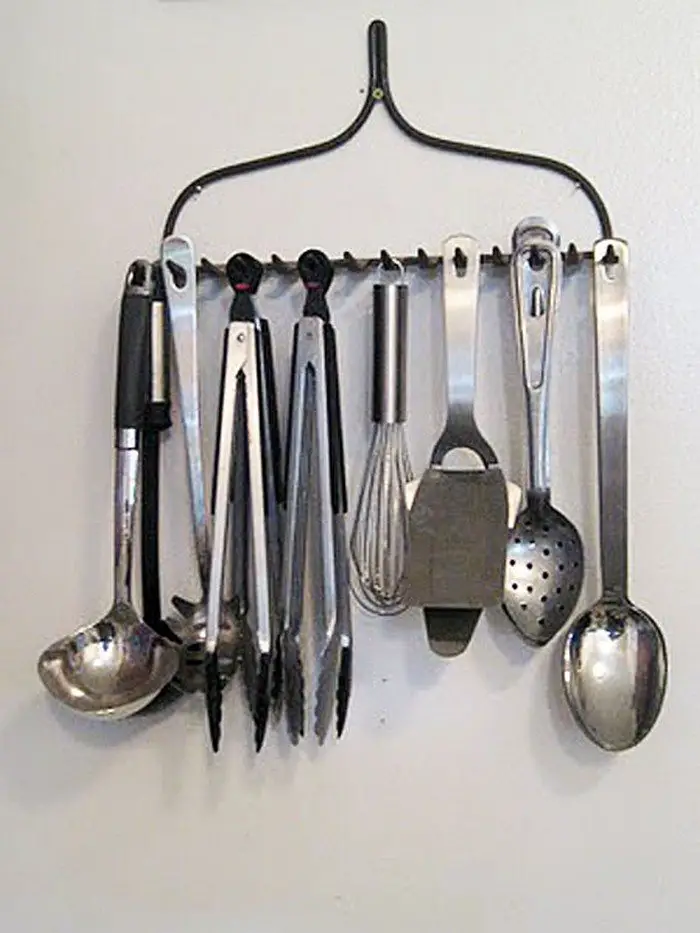
Upcycled Old Rake
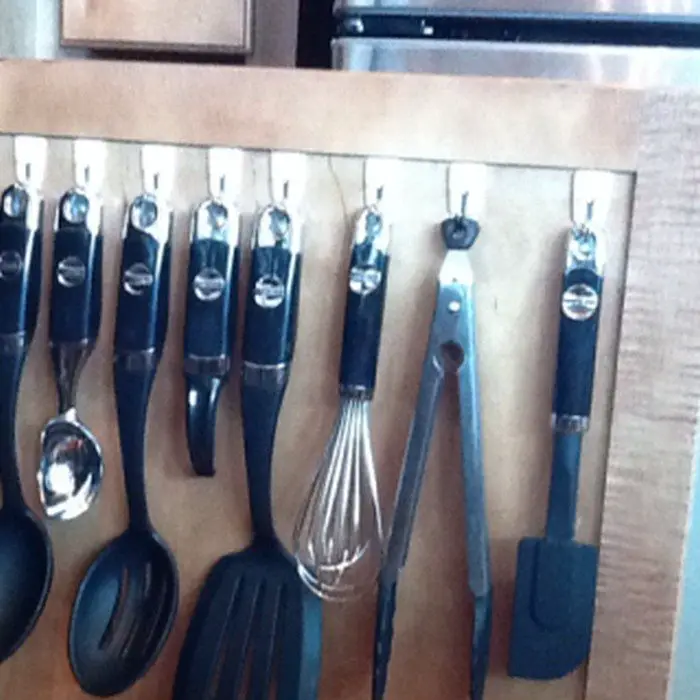
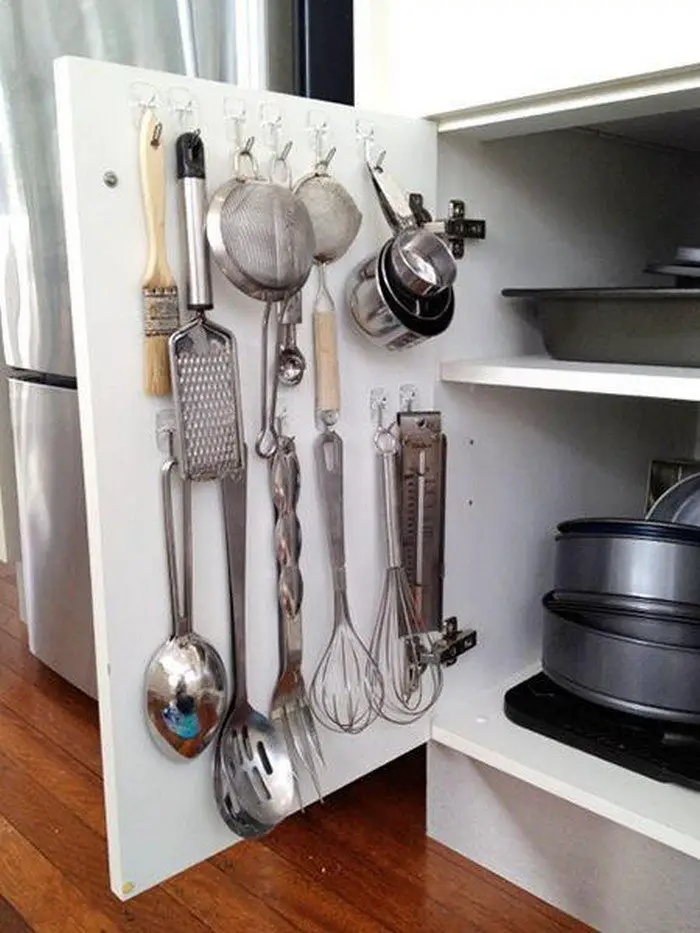
Hooks Inside Cabinet Door
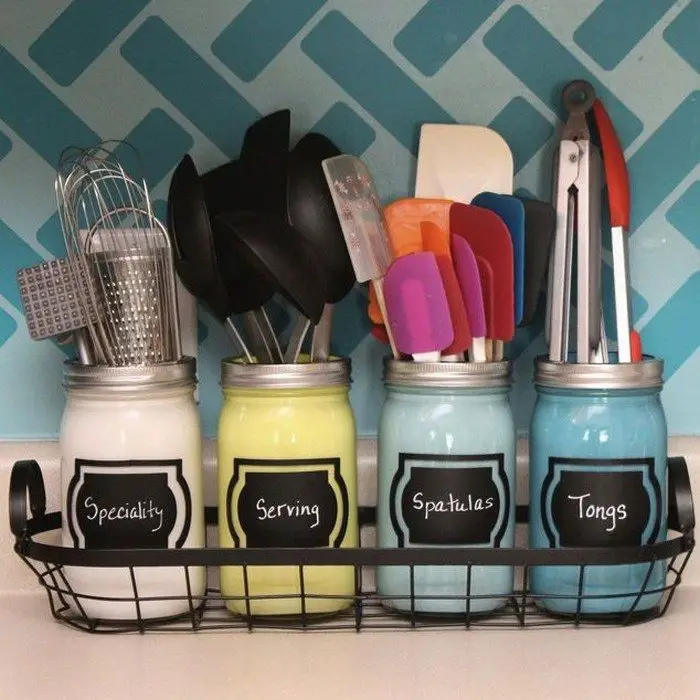
Labelled Containers
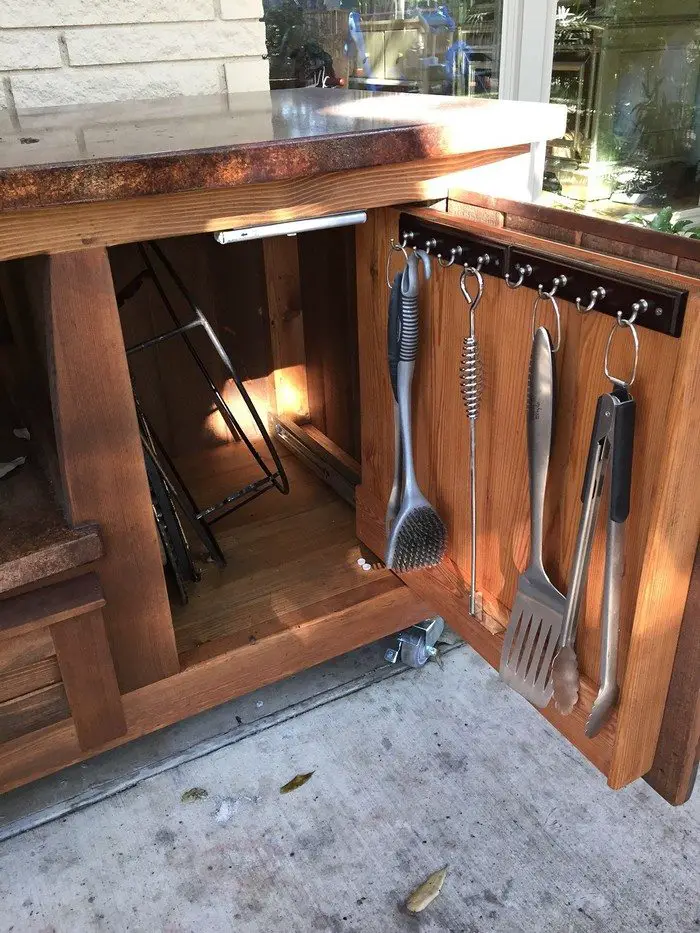
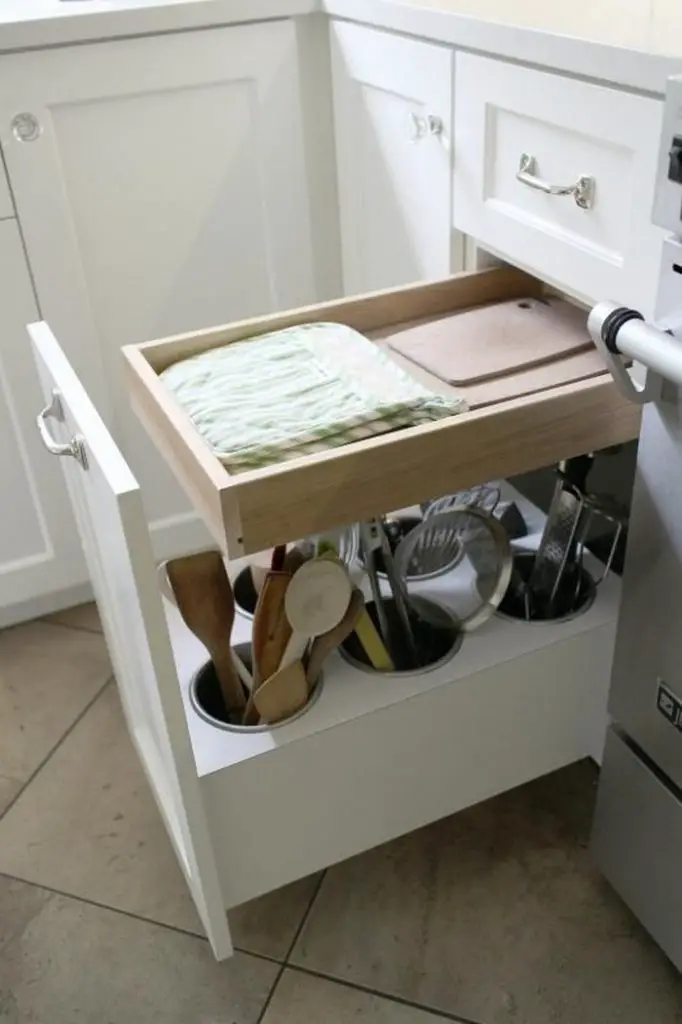
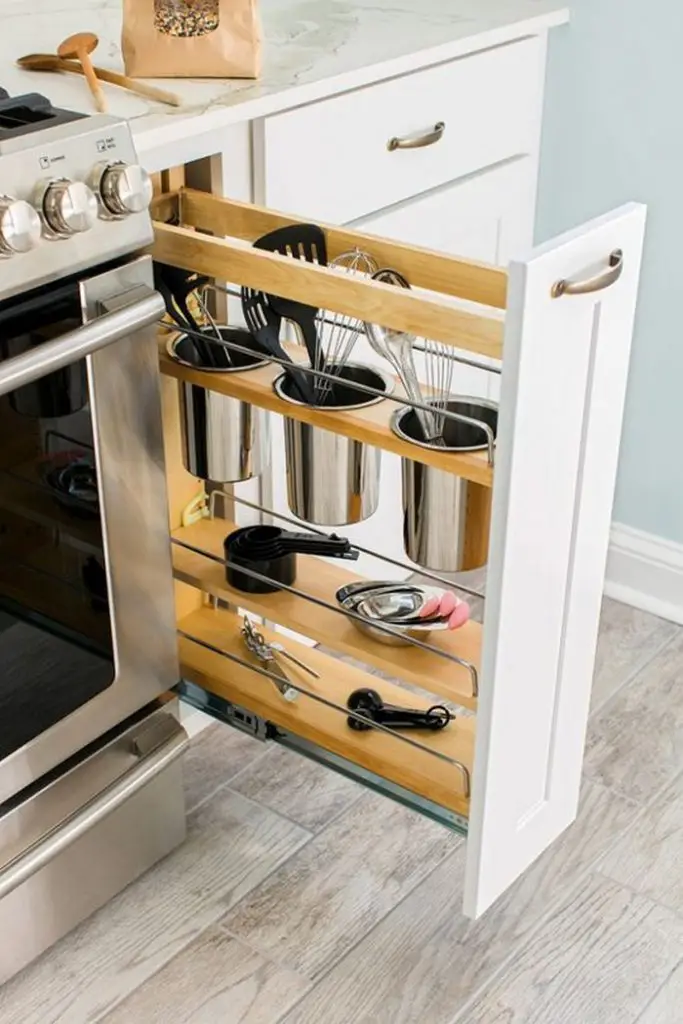
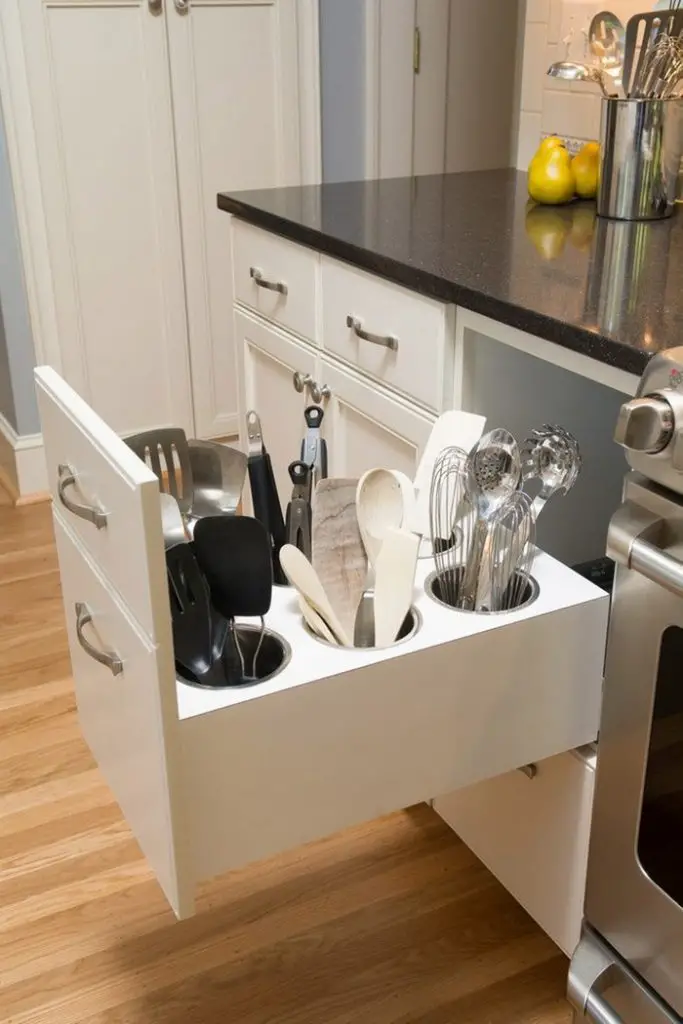
Pull-out Storage
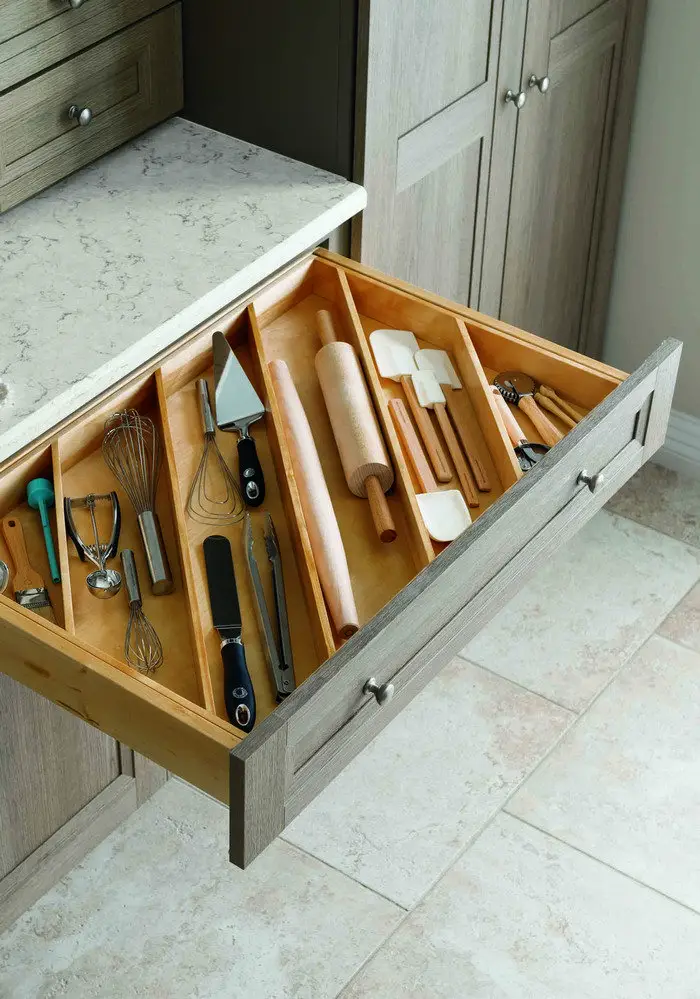
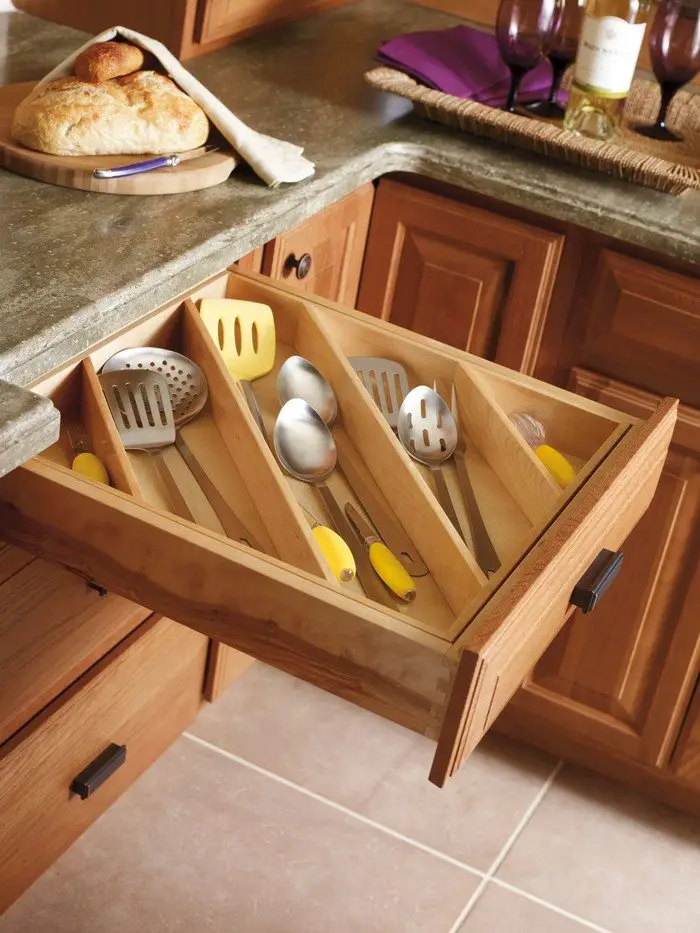
Drawer with Diagonal Dividers
How to Keep Kitchen Utensil Storage Clean and Hygienic
Kitchen utensils come in direct contact with food, making their storage areas a hotspot for bacteria and grime if not correctly maintained. Keeping utensil storage clean not only extends the life of your tools but also prevents contamination. Regular cleaning and smart organization can ensure a hygienic and clutter-free kitchen.
Wipe Down Drawers, Racks, and Holders Regularly
Dust, crumbs, and grease can accumulate in utensil drawers and on racks over time. Remove all utensils and wipe down storage spaces with a damp cloth and mild dish soap at least once a week. For stubborn grime, use a vinegar and baking soda solution to break down grease and disinfect surfaces.
Use Liners to Prevent Buildup
Drawer and shelf liners protect storage areas from spills and dust. Choose washable, non-porous liners that can be wiped down easily. Silicone or plastic liners work best as they prevent moisture buildup, reducing the risk of mold and bacteria growth.
Keep Utensils Dry Before Storing
Moisture can lead to bacteria and rust, especially for metal utensils. Always ensure utensils are completely dry before placing them back in storage. A drying rack or microfiber cloth can help absorb excess water, preventing contamination inside drawers or containers.
Rotate and Declutter Regularly
Over time, kitchens accumulate extra utensils that go unused. Go through storage areas every few months to declutter broken, redundant, or rarely used items. Rotating utensils ensures that nothing sits unused for too long, preventing dust accumulation and reducing overcrowding.
Separate Clean and Used Utensils
Never mix clean and used utensils in the same storage area. Have a designated space for freshly washed utensils to prevent cross-contamination. If using a utensil holder on the counter, clean it regularly to remove food residue and dust that may settle over time.
Disinfect Utensil Holders and Dividers
Because they collect moisture and crumbs, utensil holders, trays, and dividers provide a haven for germs. At least once a month, wash removable trays in warm, soapy water. For wooden holders, use a food-safe disinfectant and a wet cloth. Before you put them back inside, let them totally dry.
Store Utensils in an Airtight Container if Necessary
If bugs or dust abound in your kitchen, consider keeping utensils in an airtight container or covered tray. Measuring spoons, baking utensils, and other little objects not used every day greatly benefit from this.
Use Hooks for Better Airflow
By hanging utensils on hooks rather than stuffing them into packed drawers, ventilation is enhanced and moisture build-up is less likely. Wall-mounted storage options keep Utensils visible, orderly, and free from unseen pollutants.
Sanitize Wooden and Silicone Utensils Properly
To remain sanitary, wooden and silicone utensils need particular attention. Immediately after usage, wash them with warm, soapy water; then, let them dry totally. Long-term soaking of wooden utensils should be avoided as this could cause mold development. To kill germs, wash wooden spoons and spatulas once a month using a vinegar-water solution.
Food safety and kitchen effectiveness depend on a clea,n sanitary utensil storage system. Frequent cleaning, drying, and arranging your utensils guarantees a better cooking environment and helps your kitchen tools last longer.
Conclusion
Building a kitchen utensil storage system helps keep your cooking space organized, efficient, and clutter-free. Whether using a DIY Lazy Susan, drawer dividers, or wall-mounted racks, a well-thought-out storage solution makes utensils easily accessible while maintaining hygiene. With the right materials and regular upkeep, your kitchen will stay neat, functional, and ready for any meal prep.
We have more ways of decluttering your kitchen. Check out our guide to keeping your kitchen clean!


