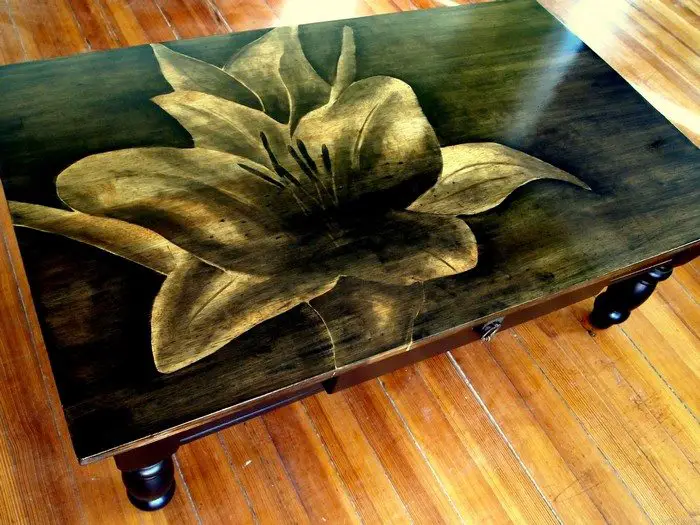
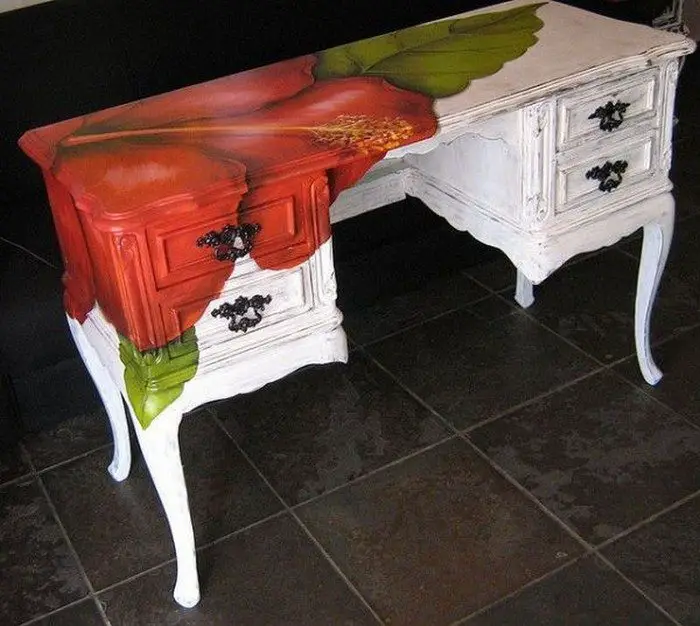
Bored of your plain wooden dining table? Then give it a makeover. If you want it to look really impressive, try this wood stain art!
Now before you say you don’t have the talent in it, the good news is that it’s not a requirement! You can have a finished product as beautiful as the tables featured here – with or without any skill in art. All you need are a piece of cotton rug, wood stain and your chosen design!
Feel free to draw your own floral design if you enjoy drawing. But if not, then simply copy an image that you like from the internet. You can even make use of tracing paper if you want.
Contents
Step-by-Step Guide to Creating Wood Stain Art
Wood stain art is a beautiful way to give wooden furniture a unique, artistic touch. Whether you’re a beginner or an experienced DIYer, this guide will help you create stunning designs using wood stain.
Materials and Tools Needed:
- Wood surface – Table, chair, dresser, or any wooden furniture
- Wood stain – Oil-based, water-based, or gel stain in your chosen colors
- Sandpaper – 120- and 220-grit for smoothing the wood
- Wood conditioner (optional) – Helps even out the stain on softwoods like pine
- Cotton rags – For applying and blending stain
- Foam or bristle brushes – For precise application
- Painter’s tape – To create clean lines or section off designs
- Stencil or tracing paper – Helps transfer designs easily
- Pencil or chalk – For sketching the design on wood
- Sealant (polyurethane, wax, or lacquer) – Protects the finished artwork
Step-by-Step Process:
1. Prepare the Wood Surface
- Sand the wood with 120-grit sandpaper to remove imperfections.
- Follow up with 220-grit sandpaper for a smooth finish.
- Wipe off dust using a damp cloth.
- Apply wood conditioner (if working with softwood) and let it dry.
2. Choose and Transfer Your Design
- Sketch your design directly onto the wood using a pencil or chalk.
- Use stencils or tracing paper if you prefer a guided pattern.
- Secure the stencil with painter’s tape to prevent shifting.
3. Apply the Wood Stain
- Dip a cotton rag into the stain and rub it gently over the wood.
- For detailed designs, use a foam or bristle brush to apply stain in layers.
- Wipe away excess stain with a clean rag to create depth and shading.
- Let the first coat dry completely before applying additional layers for a richer look.
4. Blend and Add Effects
- Mix different stain colors for gradients and shading.
- Layer darker stains over lighter ones to create contrast.
- Use dry-brushing techniques to add texture and depth.
5. Let It Dry Completely
- Allow the stain to dry according to the manufacturer’s instructions (usually 6-24 hours).
- Avoid touching the surface while it’s drying to prevent smudging.
6. Seal and Protect the Artwork
- Apply a clear sealant (polyurethane, wax, or lacquer) using a brush or cloth.
- Let the sealant dry, then lightly sand with fine-grit sandpaper for a smooth finish.
- Apply a second coat of sealant if needed.
Best Wood Stains for Wood Stain Art
Wood stain art brings out the natural beauty of wood while adding a personalized artistic touch. Choosing the right wood stain is essential for achieving the best results. Different stains offer varying levels of richness, depth, and blending ability, making some more suited for detailed designs than others. Below are the best wood stains for creating wood stain art, along with their benefits and ideal uses.
Oil-Based Wood Stain
Oil-based stains are one of the most popular choices for wood stain art. They penetrate deep into the wood grain, providing long-lasting color and a rich finish. These stains take longer to dry, giving you more time to blend colors and create depth. The slow drying time also allows for smoother transitions between shades, making oil-based stains great for artistic detailing. However, they do have a strong odor and require mineral spirits or paint thinner for cleanup.
Water-Based Wood Stain
Water-based stains are an excellent choice for artists looking for easy application and quick drying times. They produce vibrant colors and are available in a wide range of shades. Unlike oil-based stains, water-based stains don’t emit strong fumes and can be cleaned up with soap and water. They work well for layered designs since multiple coats can be applied without long wait times. However, water-based stains don’t penetrate as deeply into the wood grain, so they may not provide the same level of richness as oil-based options.
Gel Stain
Gel stains are thicker than traditional wood stains, making them ideal for controlled application. They don’t drip or run, which is helpful when working on intricate designs. Gel stains sit on the surface of the wood rather than soaking in, creating an even and consistent finish. This type of stain is great for artists who want to highlight certain areas with bold, opaque colors while still preserving the wood grain. The downside is that gel stains require more effort to blend smoothly, making them better suited for stencil-based or outlined designs.
Dye-Based Wood Stain
Dye-based stains are highly pigmented and offer intense, vivid colors. These stains can be mixed with water, alcohol, or lacquer to create unique effects and custom shades. They’re perfect for projects that require bright, eye-catching designs. Unlike traditional wood stains, dye-based stains don’t just enhance the wood grain—they can completely transform the surface with a painted-like effect. However, they are more prone to fading over time, so sealing them properly is essential.
Natural and Homemade Wood Stains
For those who prefer an eco-friendly option, natural wood stains made from household ingredients like coffee, tea, or vinegar can add soft, earthy tones to wood stain art. While they don’t provide the same level of color vibrancy as commercial stains, they create a rustic, organic look that complements farmhouse or vintage-style furniture. Homemade stains may require multiple applications to achieve deeper hues, but they offer a budget-friendly and chemical-free alternative.
Choosing the Right Stain for Your Project
The best wood stain depends on the effect you want to achieve. If you need rich, deep tones with smooth blending, oil-based stains are a great choice. For fast-drying layers and easy cleanup, water-based stains work well. Gel stains provide precision, while dye-based stains allow for bold, bright colors. Natural stains give a subtle, aged look for a more rustic appeal. Whichever stain you choose, always test it on a scrap piece of wood before applying it to your final project.
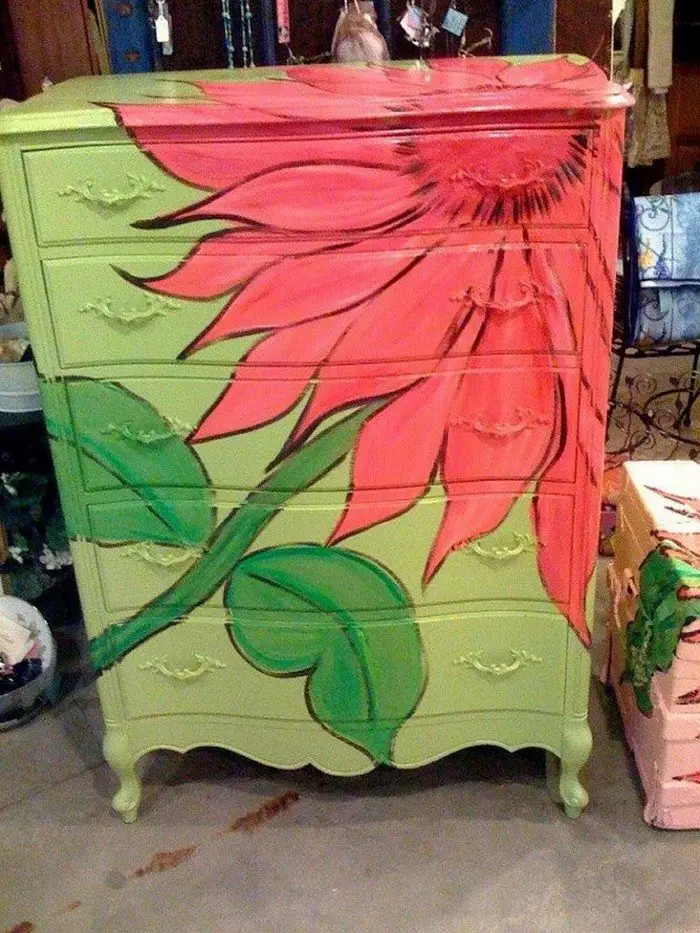
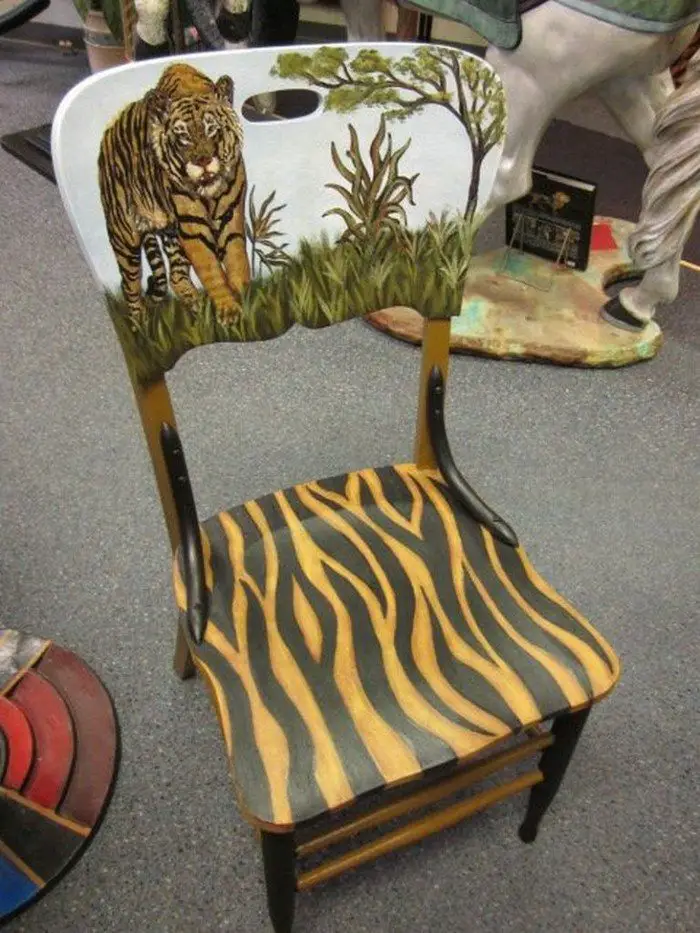
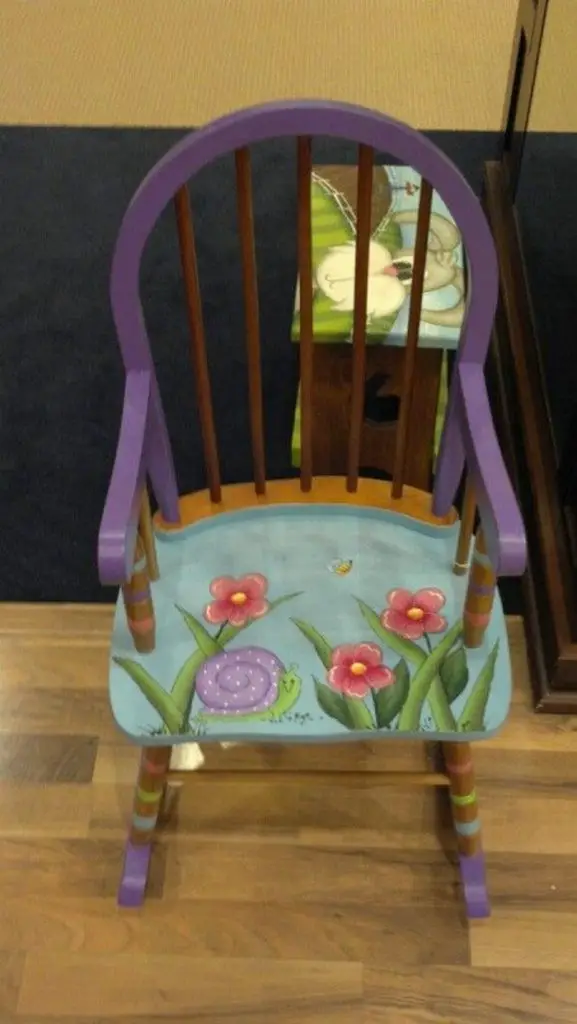
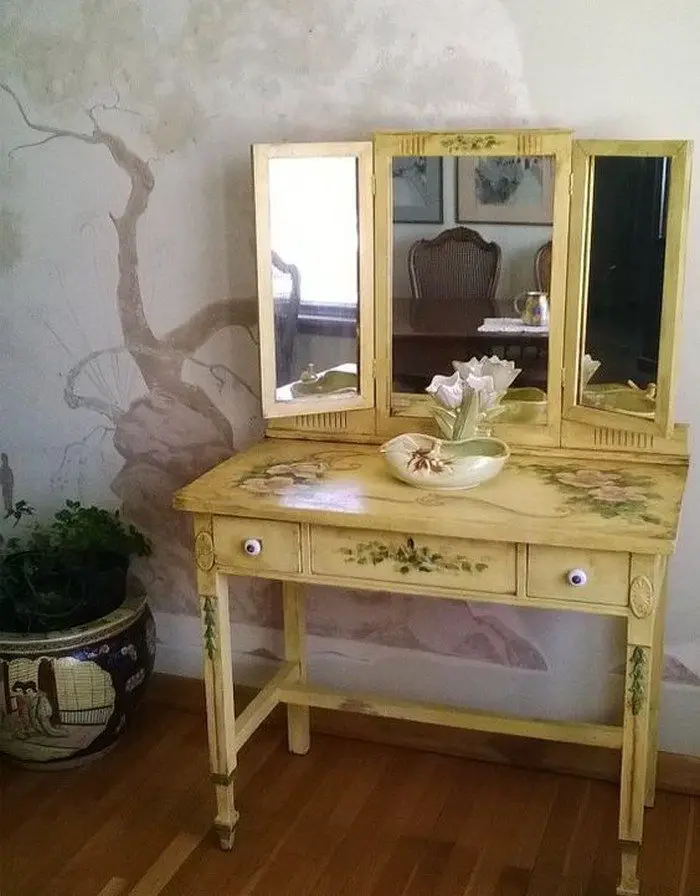
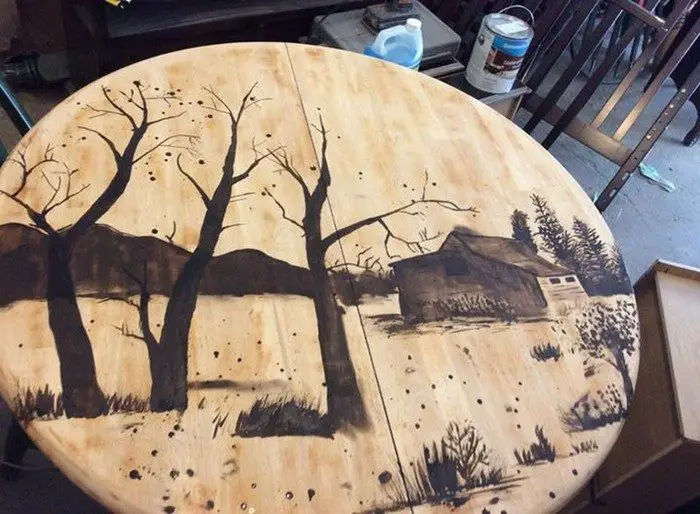
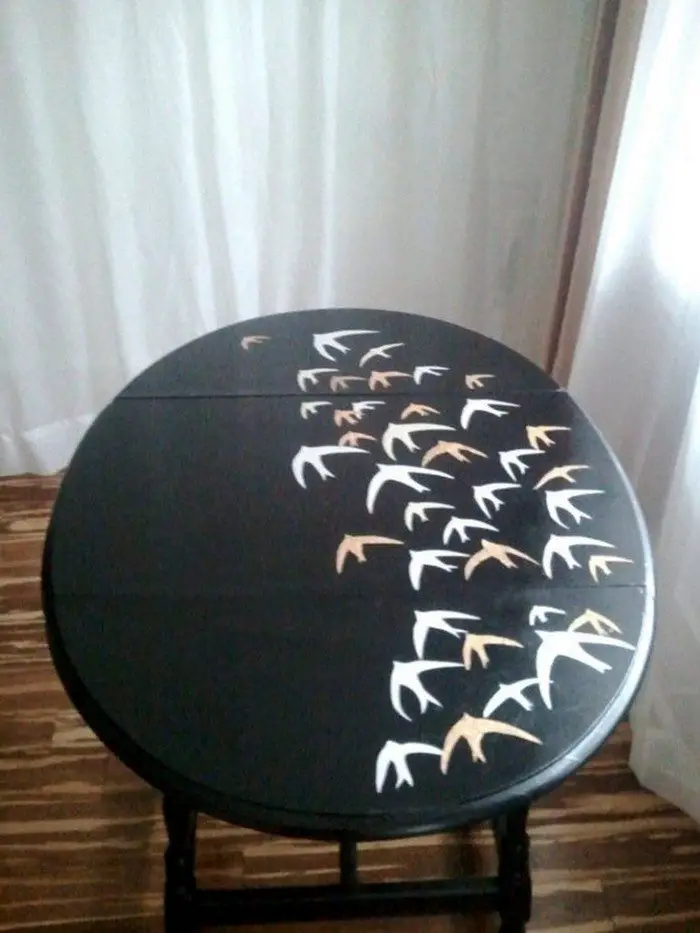
Wood Stain Art Furniture Gallery
Here are some other furniture items refurbished with artistic designs:
Click on any image to start lightbox display. Use your Esc key to close the lightbox.![]()
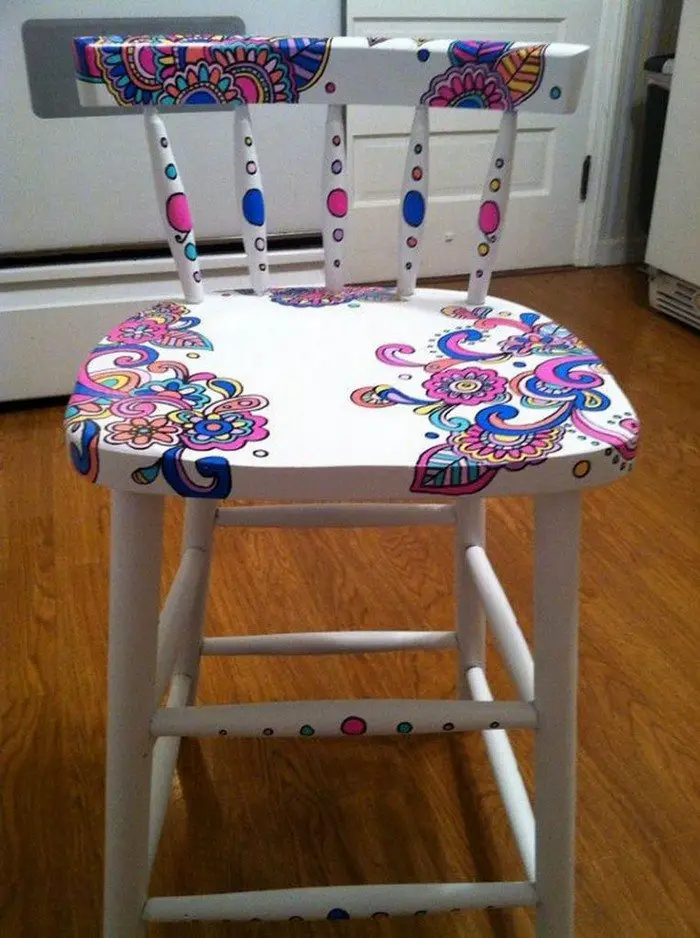
Chair
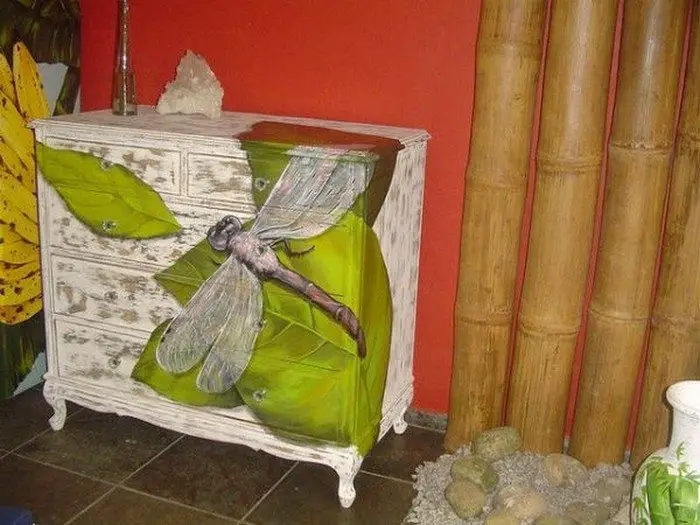
Dresser
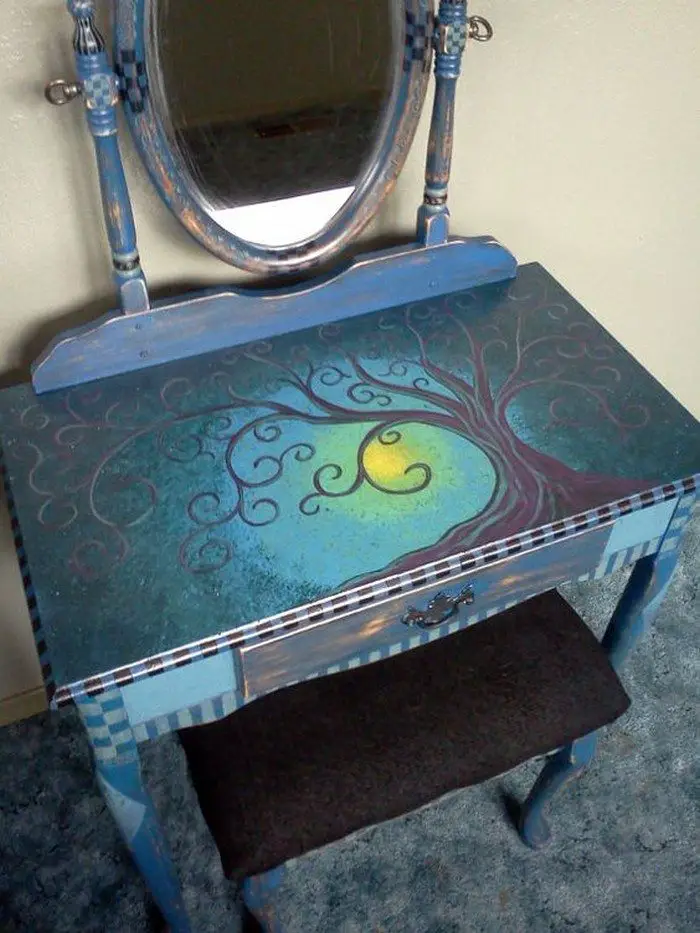
Vanity Table
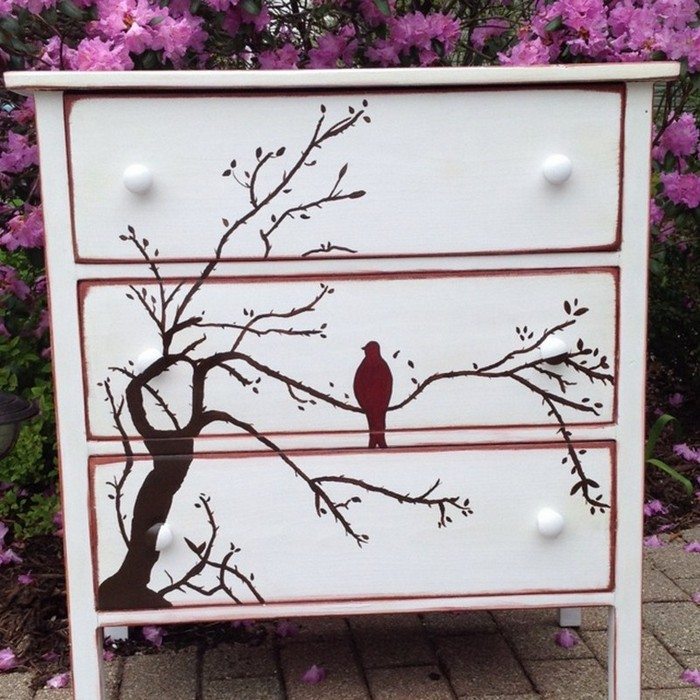
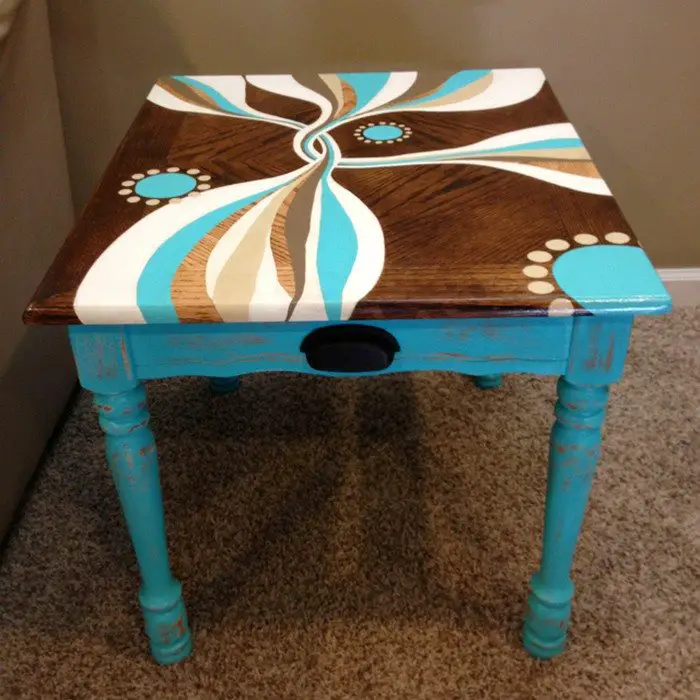
Small Tables
How to Maintain and Protect Wood Stain Art
Wood stain art adds character and beauty to furniture, but without proper care, the design can fade or become damaged over time. To keep your wood stain artwork looking vibrant and protected, follow these maintenance and preservation tips.
Seal the Artwork Properly
A protective sealant is crucial for preserving wood stain art. Without it, moisture, dust, and everyday wear can deteriorate the design. Choose the right sealant based on your needs:
- Polyurethane – A durable, clear coating that protects against scratches, stains, and moisture. Available in matte, satin, or glossy finishes.
- Lacquer – Provides a strong, glossy finish and dries quickly, making it ideal for high-use furniture.
- Wax – A natural option that adds a soft sheen and enhances the wood’s warmth. Best for decorative pieces with light use.
Apply the sealant with a brush or cloth in thin, even layers, allowing each coat to dry before adding the next. Lightly sand between coats with fine-grit sandpaper for a smooth finish.
Keep It Clean
Dust and dirt can dull the wood stain design over time. To keep the surface clean:
- Use a soft microfiber cloth to wipe away dust.
- Avoid harsh chemical cleaners that can break down the sealant.
- Dampen a cloth with mild soap and water for deeper cleaning, then dry immediately.
For tougher stains, use a small amount of vinegar and water but avoid excessive moisture, as wood absorbs water and can warp over time.
Protect from Sunlight and Heat
Prolonged sun exposure can cause wood stain to fade. To prevent discoloration:
- Place furniture away from direct sunlight or use UV-protective window films.
- Apply a UV-resistant sealant to outdoor furniture or stain art in sunlit areas.
- Use coasters or placemats on stained tabletops to prevent heat damage from hot dishes and mugs.
Avoid Excess Moisture
Wood expands and contracts with humidity changes, which can affect the stain and sealant. To minimize moisture damage:
- Keep wood stain art indoors or in covered outdoor areas.
- Use a dehumidifier in humid climates to prevent swelling or warping.
- Wipe up spills immediately to prevent water stains or fading.
Reapply Protective Coating Over Time
Over time, the sealant may wear down, especially on frequently used furniture. Refresh the protection by:
- Lightly sanding the surface and applying a new coat of sealant every few years.
- Using a wood polish or wax regularly to enhance the finish.
Handle with Care
To keep wood stain art in excellent condition:
- Avoid dragging sharp or heavy objects across the surface.
- Use felt pads on the bottom of décor items placed on wood-stained furniture.
- Rotate display items occasionally to prevent uneven fading.
By following these maintenance steps, your wood stain art will stay protected and maintain its beauty for years. Would you like recommendations for specific wood sealants or additional care tips?
Easy Wood Stain Art Techniques for Beginners
Wood stain art is a creative and rewarding way to transform furniture and home décor. Even if you don’t have experience with painting or woodworking, you can achieve beautiful designs using simple techniques. Below are some beginner-friendly methods to help you create unique wood stain art with minimal effort.
Stencil Method
Stencils make wood stain art easy by providing a guided design. This method is perfect for those who struggle with freehand drawing.
- Secure a stencil onto the wood surface using painter’s tape.
- Use a foam brush or cotton rag to dab or rub the stain over the stencil.
- Let the stain sit for a few minutes, then carefully remove the stencil.
- Allow the stain to dry, then apply a clear sealant to protect the design.
This technique works well for floral patterns, geometric shapes, or lettering on tables, signs, and wooden trays.
Tracing and Transfer Method
If you want a detailed design but don’t feel confident drawing freehand, tracing is a great alternative.
- Print or draw a design on tracing paper.
- Place the tracing paper on the wood and go over the lines with a pencil or chalk.
- Remove the paper and follow the traced lines with a small brush or cotton swab dipped in wood stain.
- Wipe excess stain away for cleaner edges and let it dry.
This method is ideal for personalizing furniture with names, nature-inspired designs, or intricate borders.
Negative Space Technique
Instead of staining the design itself, this method highlights the natural wood grain while staining the surrounding area.
- Draw or place a cut-out design on the wood.
- Use painter’s tape or adhesive vinyl to mask off the shape.
- Apply stain around the edges, blending outward with a rag or sponge.
- Once dry, remove the cut-out to reveal the unstained design.
This technique works well for silhouettes, monograms, or abstract patterns.
Layered Staining
Layering different stain colors can create depth and dimension in your artwork.
- Start with a light base stain and let it dry.
- Apply a darker stain in specific areas using a rag or fine brush to create contrast.
- Blend the edges by lightly wiping the stained areas with a clean cloth.
This method is excellent for creating shadows, landscapes, or aged effects on wooden surfaces.
Dry Brush Technique
For a textured and rustic look, try the dry brush technique.
- Dip a dry paintbrush lightly into wood stain.
- Remove excess stain by dabbing on a cloth or scrap wood.
- Lightly brush the stain across the wood grain for a streaked, weathered effect.
This works well for farmhouse-style furniture or distressed wood designs.
Blending and Fading
Blending different stain shades is a simple but effective technique if you want smooth color transitions.
- Apply a light stain in one section and a darker stain in another.
- Use a soft cloth or sponge to blend where the two colors meet.
- Wipe gently in circular motions to create a gradient effect.
This technique is useful for sunset-inspired designs, ombré effects, or multi-toned artwork.
Conclusion
Wood stain art is an easy and creative way to enhance furniture while highlighting the natural beauty of wood. With the right stain, tools, and techniques, even beginners can achieve stunning designs that last for years. By sealing and maintaining your artwork properly, you can enjoy a personalized and durable masterpiece that adds warmth and character to any space.
Does your small space still require a makeover? Make sure to follow our guide on decorating mistakes to avoid!


