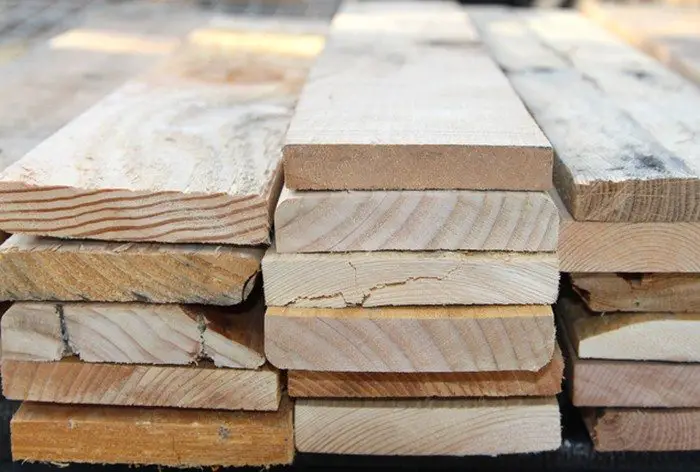
Make benches and table: For the bench and table top, select board of the same thickness. The sides can have more variations.
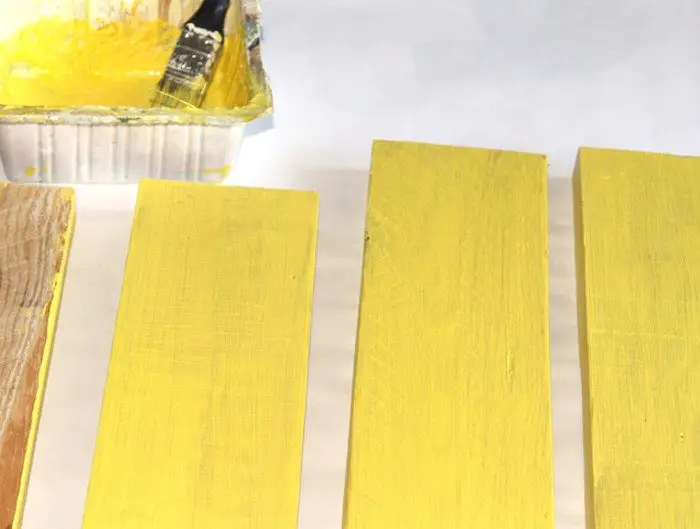
After all the pieces are cut and sanded, we painted the frames of the benches a lemon yellow to echo the gabion cage / metal shelving unit.

Next, drill pocket holes in the pieces the needs them, such as the bracing pieces under the table top and the bench top, and the frame around the table top.
To make the benches, the easier way would be to build the frame first with pocket hole screws, then glue or nail the side and top boards. But I somehow chose to do it the reversed order, only to learn a better way later!
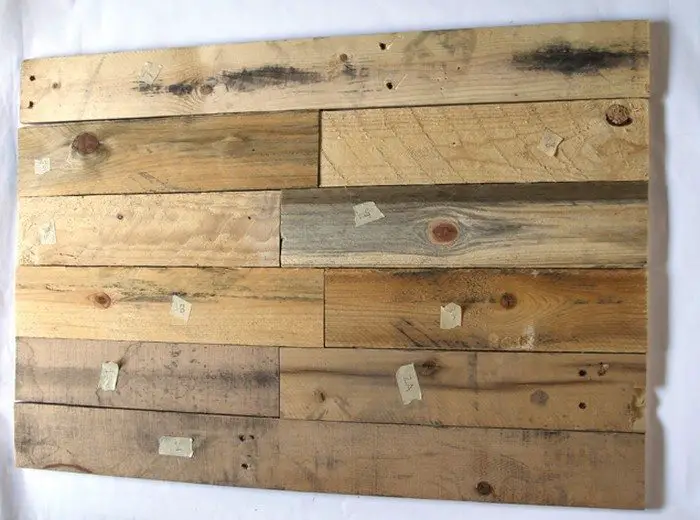
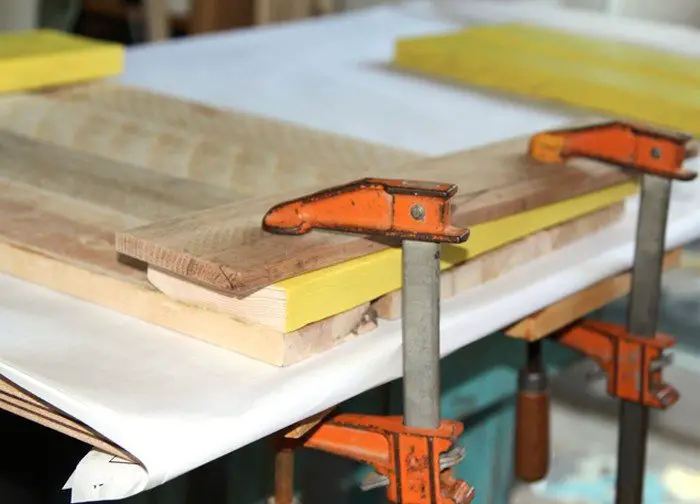
To make the tabletop, arrange the measured and cut boards in a way that accentuate the variations of the pallet wood, attach back brace pieces with glue or nails…
then attach the frame all around the 4 sides with pocket hole screws.
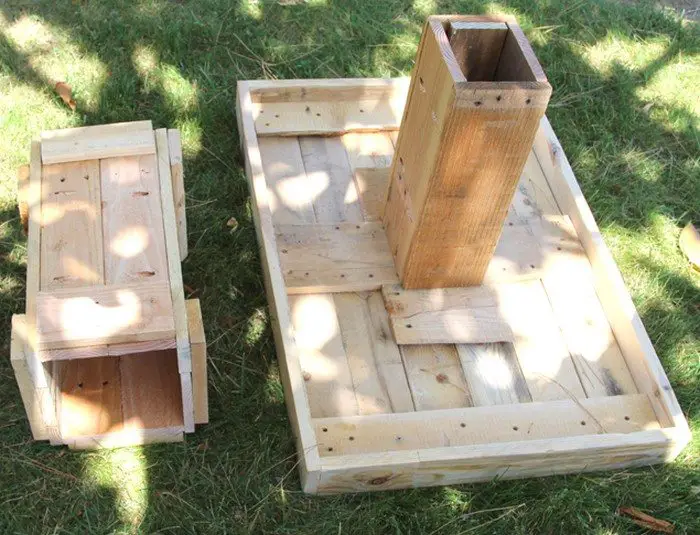
The base of the table slides into a hollow post stabilized by the metal cages filled with rock / pebbles. When making the base and the post, the most important thing to remember is that they should be the same height, and fit snugly. The dimensions shown in the diagram is adjustable depending on the size of your metal cage and the size of wood you are using. We made them with vertical boards joined together by horizontal braces, and pocket hole screws at right angles. There are about 2″ to 3″ of spacing all the way around between the cage and post for the pebbles.
And that took 50 lbs of pebbles to fill!
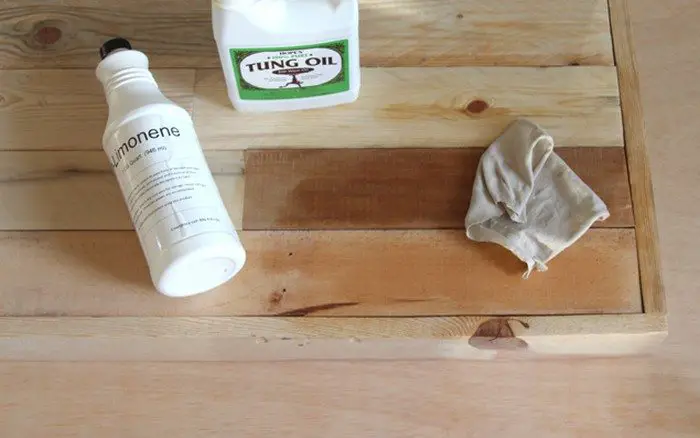
Non-toxic finishes: Before attaching the base to the tabletop, we applied wood finishing since it’s easier. The finishing oil recipe we used here is a 50% tung oil + 50% citrus solvent, to help the oil seep into the wood better. We got this already mixed.
After applying a coat of this finish and let it cure for a day, repeat this process 2 more times. In my woodworking class we used a ‘slurry method’ where we sand with 220 -400 grit sand paper and create a oil-fine saw dust slurry mixture, which fill in the pores of the wood and create a marble like finish after doing it daily for 7 days.
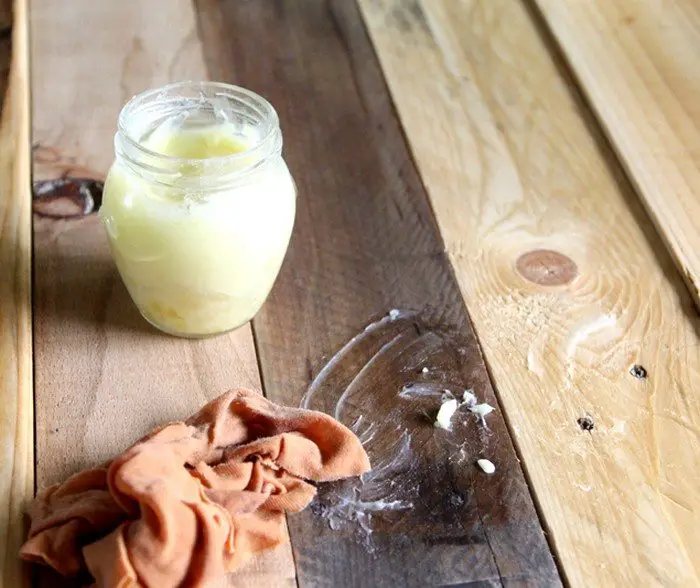
We did not do it here, not that we are lazy (well, hmm), but because we kept a lot of the surface character of the pallet wood. So we just wiped on the finish with a rag. Woohoo no long hours of sanding!
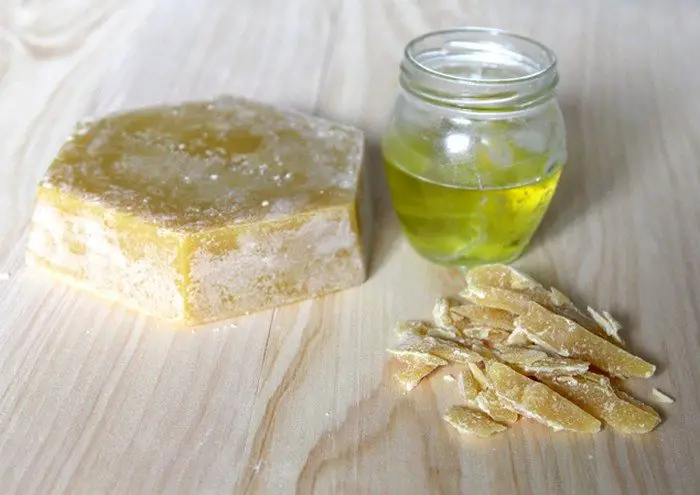
After the oil cures for a week, we applied a finishing wax. Melt 1 part beeswax to 4 parts olive oil in a double boiler, let cool, apply a generous amount onto the wood surface, and enjoy the delicious honey smell on your furniture!
There seems to be as many great wood workers as there are different recipes for wood finishes. You are welcome to share your favorites in the comment section!
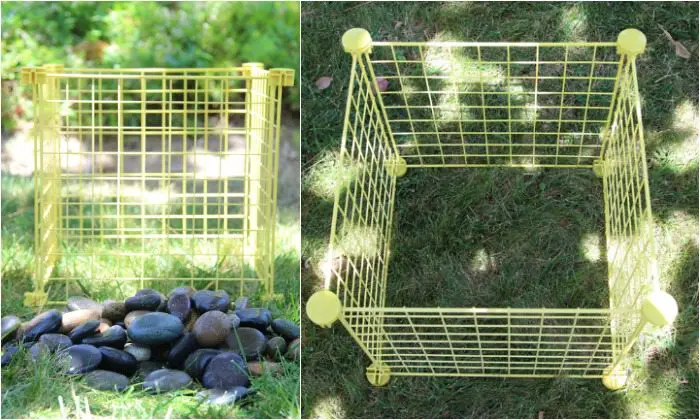
Assemble and enjoy the outdoors: To assemble the table, collect some pebbles or rocks from your mountains and rivers nearby. We used beach pebbles, which make us think of the ocean.
And these chubby little pebbles weighed 50 lbs!
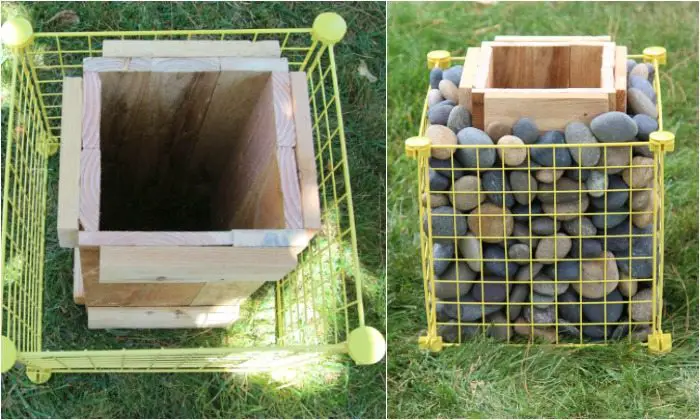
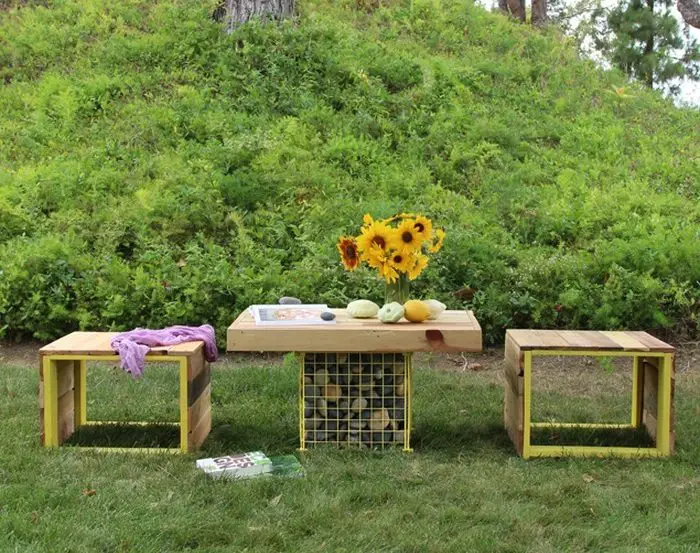
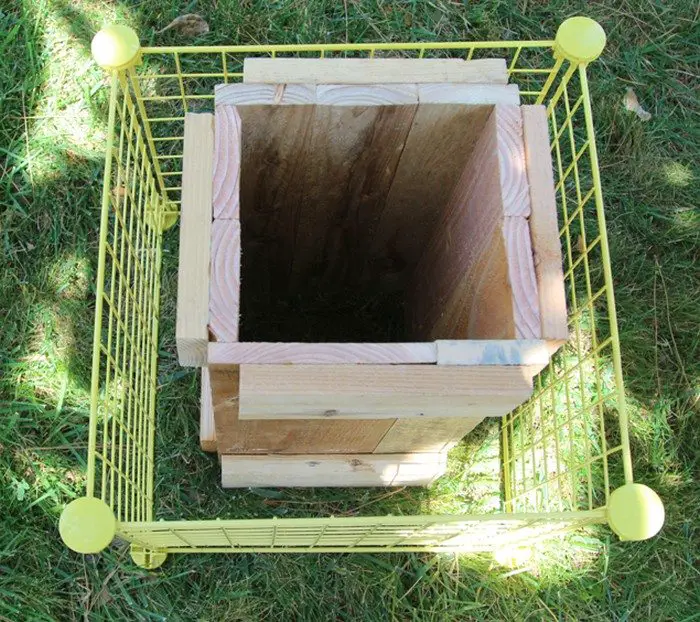
Center the hollow post inside the metal wire cage, fill pebbles all around the post to the top. Slide the table base inside the post. The pebbles heavy weight hold the post and table in place, and create a strong and sturdy base.
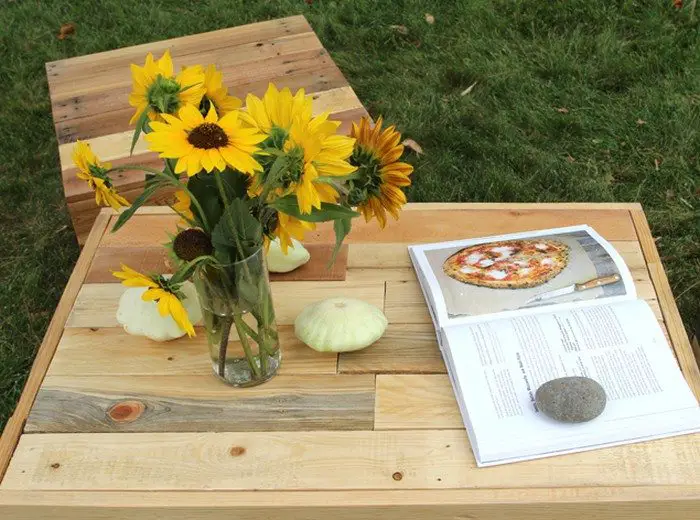
Now we can sit in the garden and enjoy a nice book outdoors accompanied by bird songs!
Thanks to blissful2015 for this great project!


