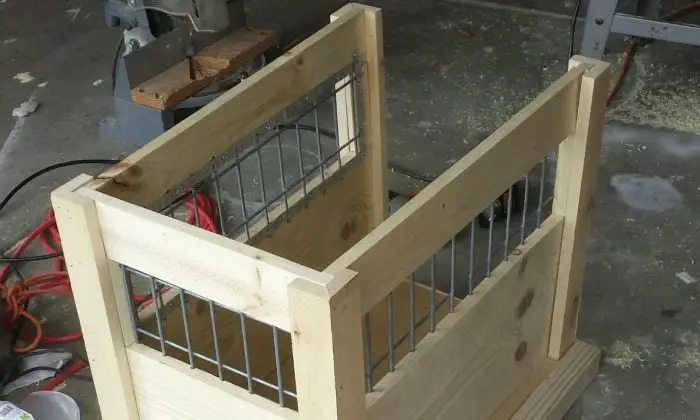
Once finished with each of the walls, I put them into place on the frame and nailed them in. (Side note: It is important to measure the bottom of where the wall sits to get the total measurement as the top will not be exact due to warping of the wood or things not being perfectly square. This all gets evened out once the walls are nailed in place.)
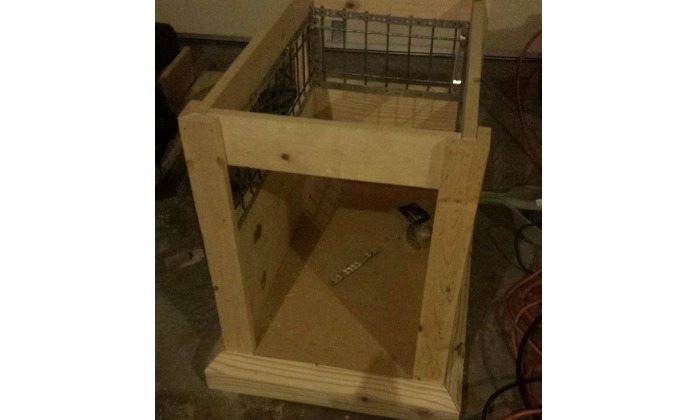
Make door: To start the door I had to frame out the top of the door. Again, as mentioned in the last step, measuring from the bottom is the key to getting things the right length, otherwise things would start looking weird. With the top support in place I was able to measure out the size for the door.
In order for the door to work smoothly, there needs to be some gaps between the door and the frame. I allowed 1/8″ on all sides for this. This meant I need to subtract 1/4″ from each of the measurements. That done, I cut out the frame for the door. I used the 1×4 for this cut down to 1.5″ width.
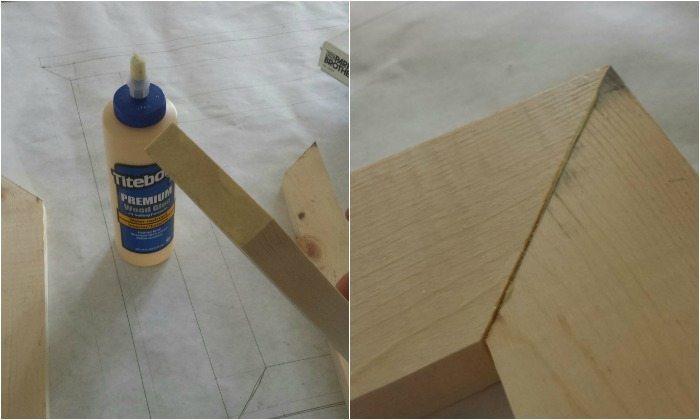
I didn’t feel comfortable using the nail gun for this, so I used the wood glue and clamped it all together overnight.
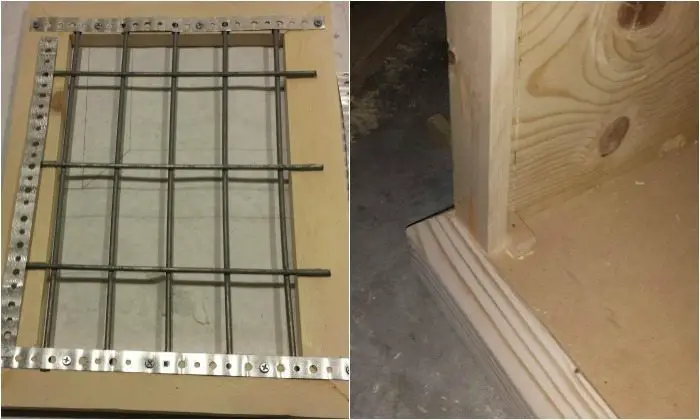
Once dry and sanded, I used the same process with the caging for the walls on the opening of the door.
Then, knowing that I didn’t want the door to swing inside the kennel, I put in a little door stop at the bottom to keep it from stressing the hinges.
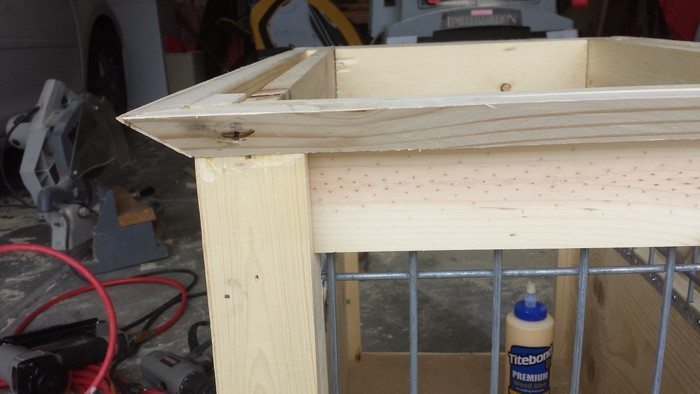
Add top and bottom trim: This is where the leftover scrap really shines. Using what was left from the 2×4 cut and the 1×4 cut I added trim around the top of the table…
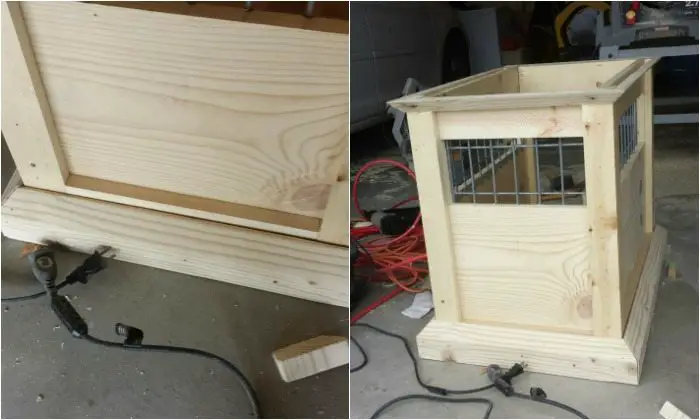
and at the base of the bottom. This really added to the overall look.
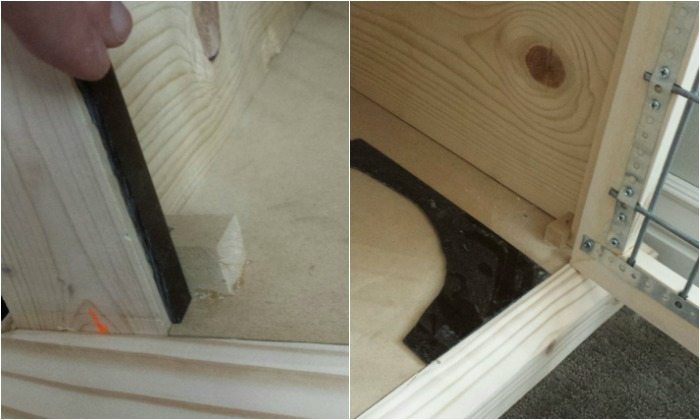
Install door and lock: Doors are fun to install… as long as it is done right. To make sure that the gap around the edge of the door was 1/8″ I placed some scraps of plexiglass I had left over from my monster costume on the edges and rested the doors on those while I screwed the hinges in place. This worked marvelously.
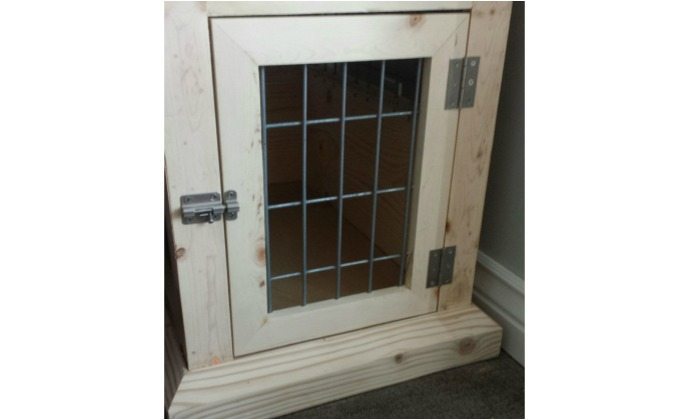
Then I placed the locking mechanism in place centered on the other side.
Put your top on: I don’t have any pictures of routering the table top. If you’ve ever done it, its rather simple and really makes it look more professional. My friend let me use his and it turned out great.
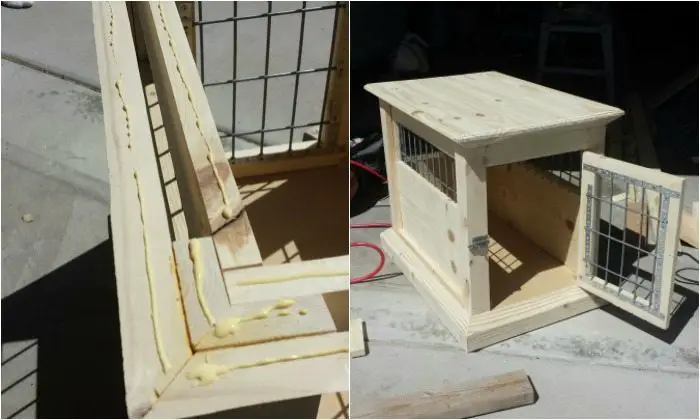
This is an important piece so make sure it’s secured firmly in place. Get the wood glue out and get some good coverage around the whole edge. Then, set the top wood down and make sure it is nice and centered before nailing it in place. This is where it really starts to come together and look awesome.
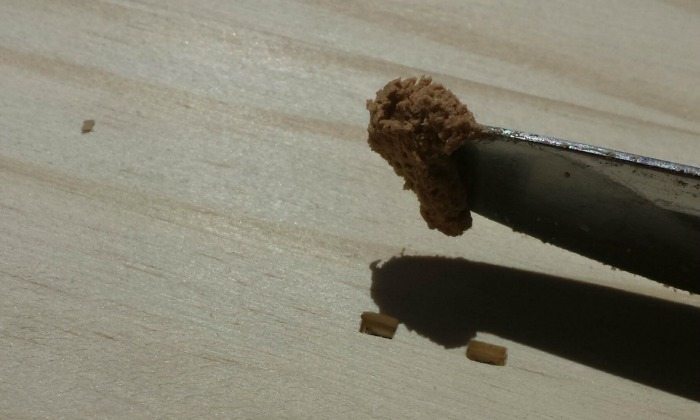
Putty nail holes and sand: Now you need to go through with good wood putty and fill all the nail holes. I also filled in the gaps of the wood on the post to make them invisible once stained.
Once the putty has dried, make sure to sand it down well. Left over putty (or wood glue for that matter) will really change the look of the stain.
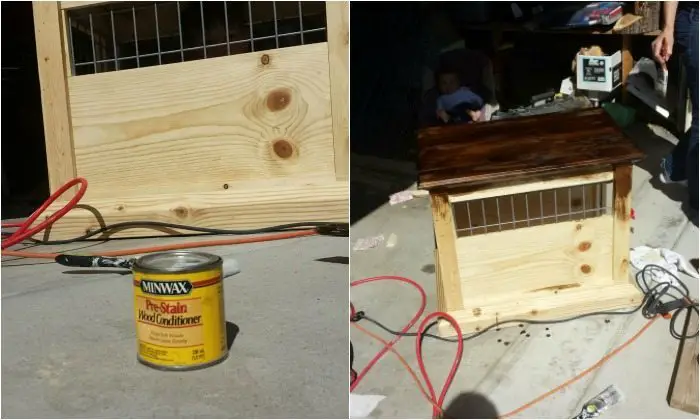
Wood condition and stain: Since I used pine (less expensive) for the whole project, I needed to condition the wood before staining. Without doing this, pine looks really splotchy as it absorbs the stain at different rates. The conditioner stops it from doing this. The stain needs to be applied within about an hour of the conditioner being applied.
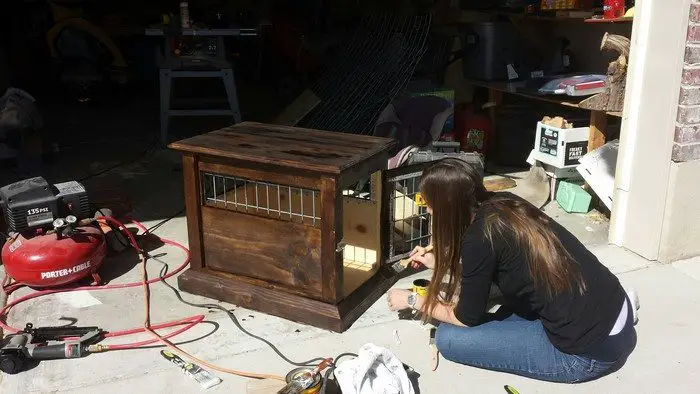
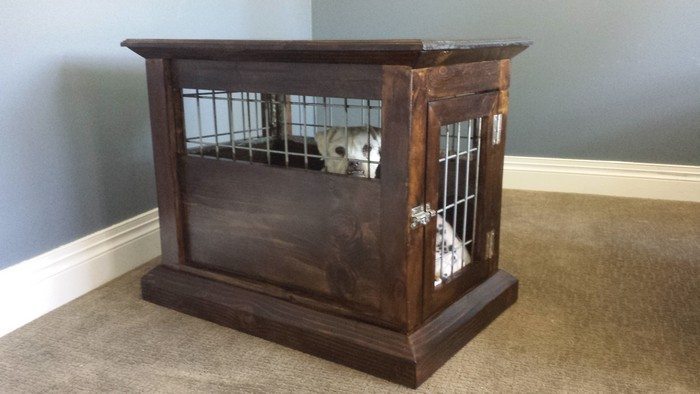
The dark walnut stain looked really great on this. The pine absorbed it really well too and so we only had to do one coat to achieve the darkness we were going for. We did end up staining the inside as well which will be obvious in other pictures.
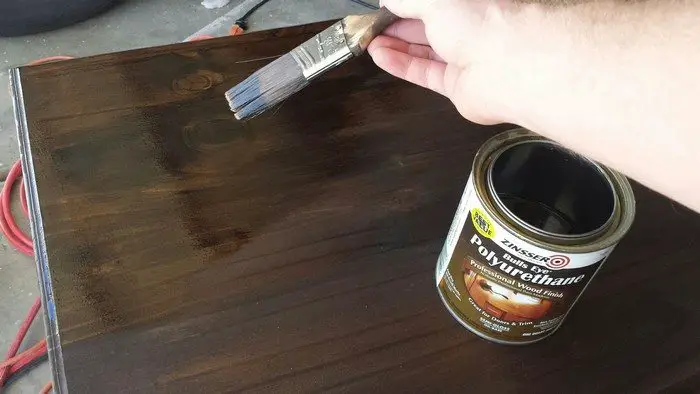
Coat of poly: To keep the stain and the wood protected, I applied polyurethane to the whole kennel/table. I used 2 coats everywhere except the top which got 3 coats. It can be helpful to do a light sanding between coats with a high grit (600) sandpaper.
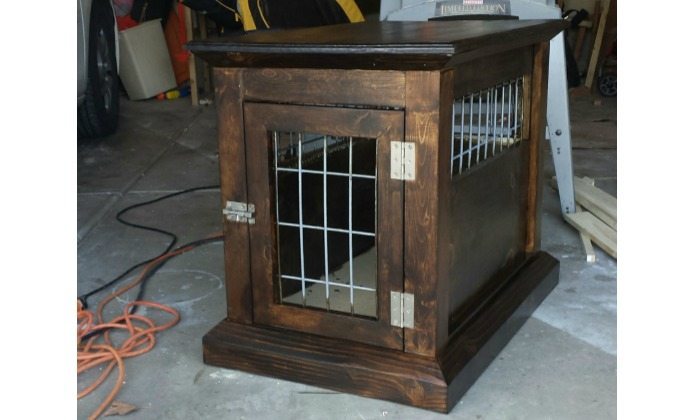
This keeps things nice and smooth.
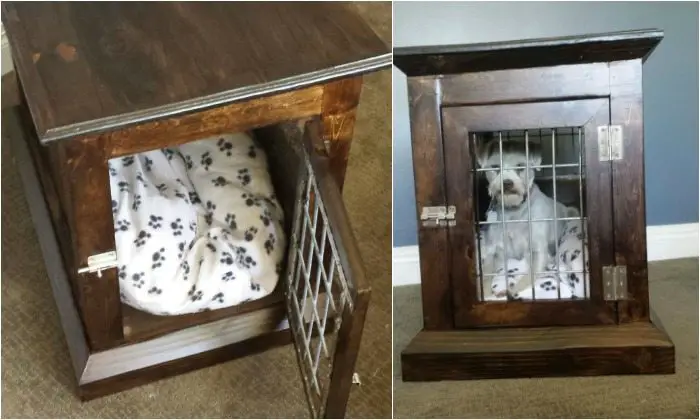
Put your animals inside: Now that it’s done, time to introduce the dog to it’s new home. She is a little anxious when it comes to change, so it may take her some time to get used to it. It turned out well and I’m pleased with how close it was to my initial brainstorming.
Thanks to NathanSellers for this great project!

