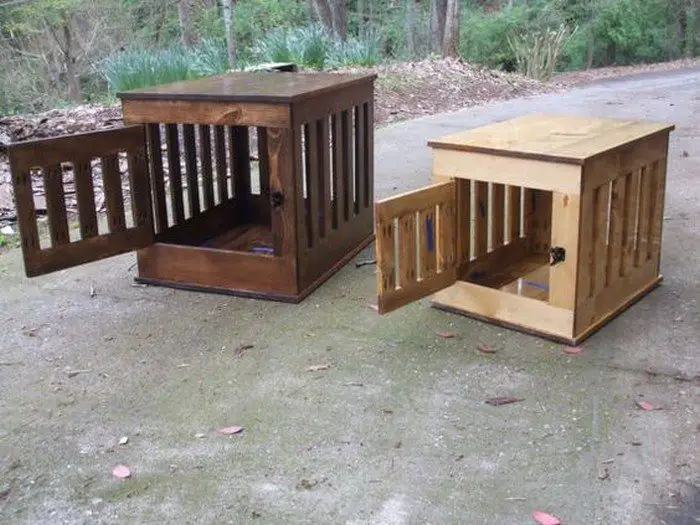
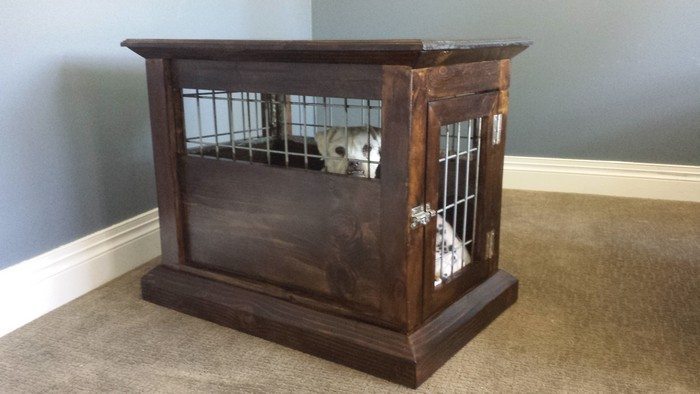
Do you want to provide your pet dog his own little space indoors but don’t have enough room for it? If your dog is of a small or medium-sized breed, then we suggest you build a dog kennel end table for him!
Dogs usually love to sleep and lounge around when it’s not playtime. And this space-saving dog kennel end table can serve as a nice cozy space for them to rest while their pet parents are busy with other things.
Now what’s great with this DIY furniture item is that you can also use it as a temporary crate if your dog gets aggressive when you have guests at home. But if you have a sociable pet, then you do away with a door and just leave it open.
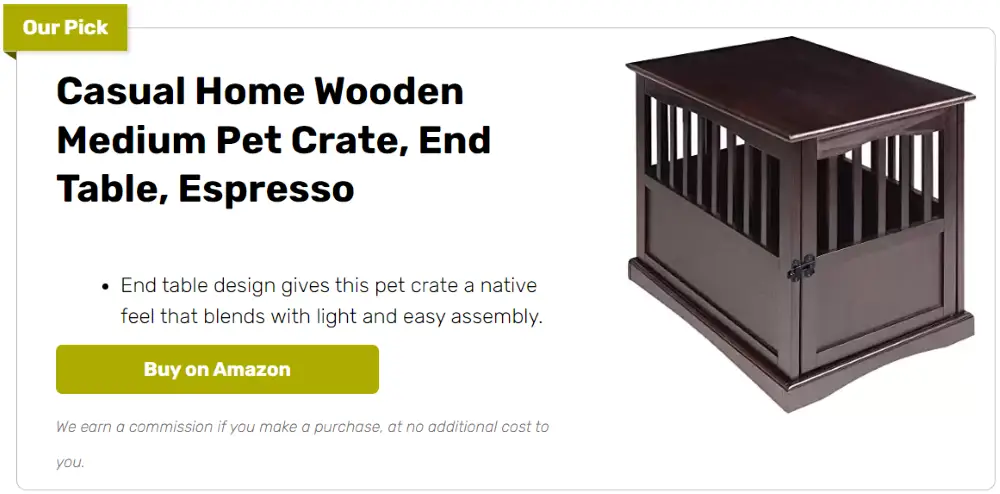
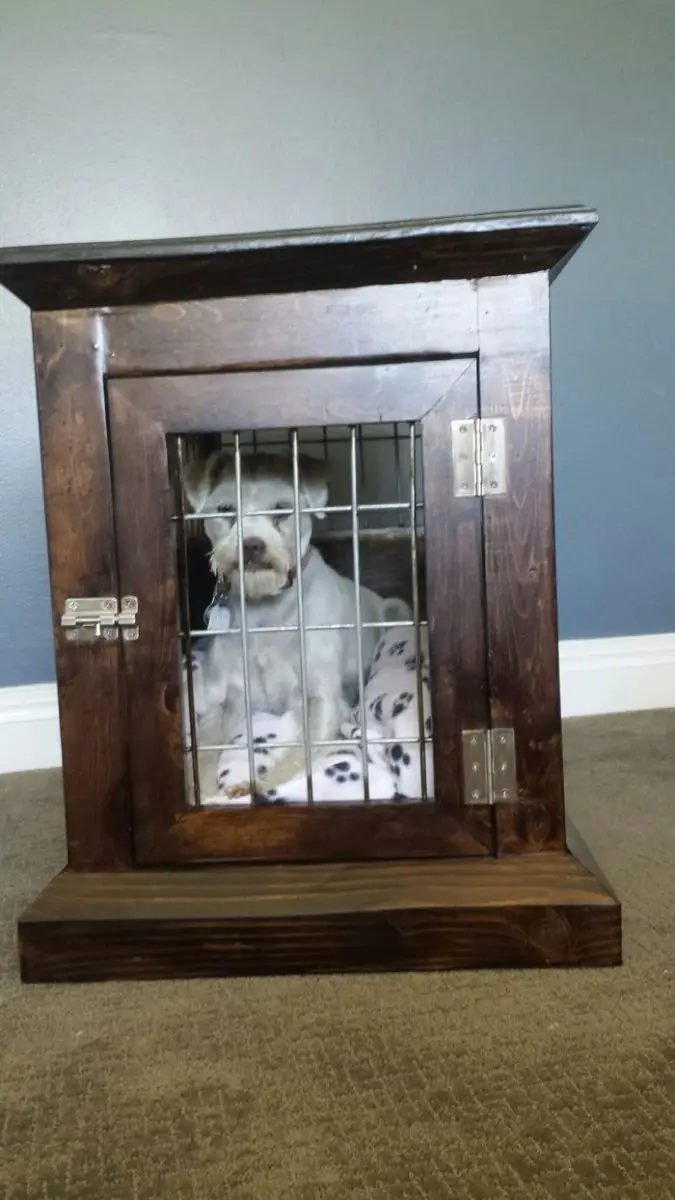
Is this the kind of indoor dog house you are looking for?
Build a dog kennel end table now by following the step-by-step tutorial below!
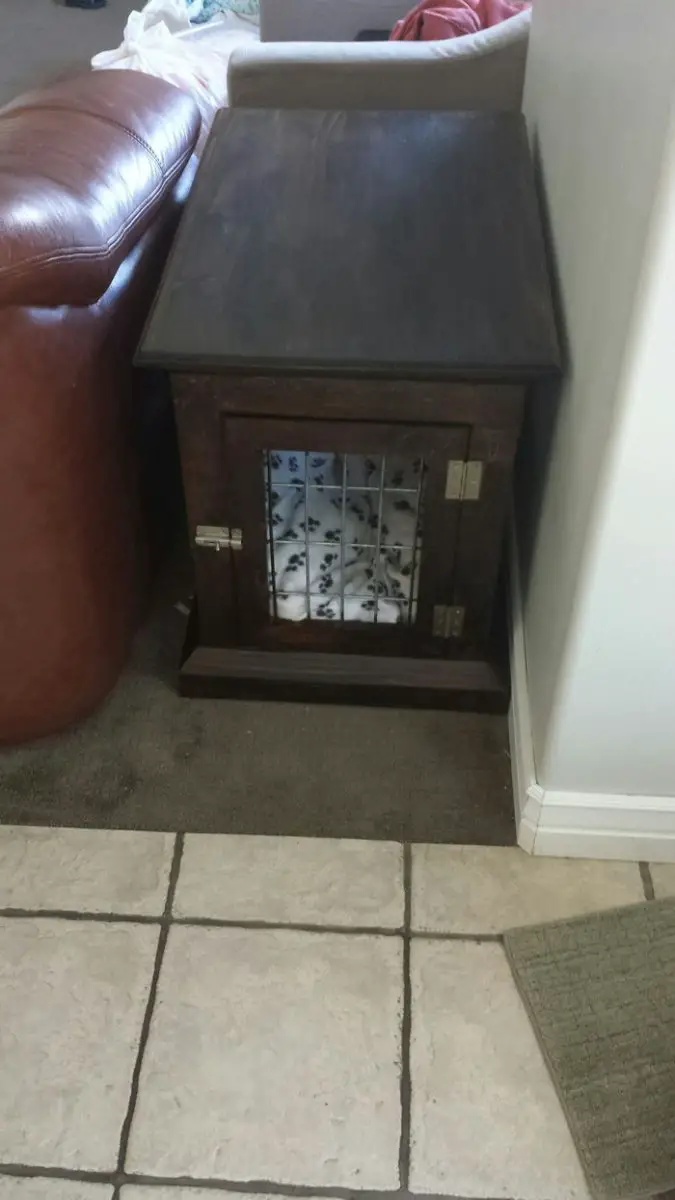
Click on any image to start the lightbox display. Use your Esc key to close the lightbox.![]()
Materials:
- 1 – 8′ 2×4 Timber
- 3 – 8′ 1×4 Timber
- 1 – 6′ 1×12 Timber
- 1 – 4′ 1×24 Pine Laminate
- Wood Glue
- 3/4″ x 25′ Steel Hanger Straps
- 100 – 1/2″ Screws
- Hinges
- Locking Mechanism
- Salvaged Horse Fence
- Wood Conditioner
- Dark Walnut Stain
- Polyurethane
Tools:
- Table Saw
- Circular Saw
- Chop Saw
- Hand Saw
- Sander
- Nail Gun
- Router
- Power Drill
- Angle Grinder
- Dremel
Steps:
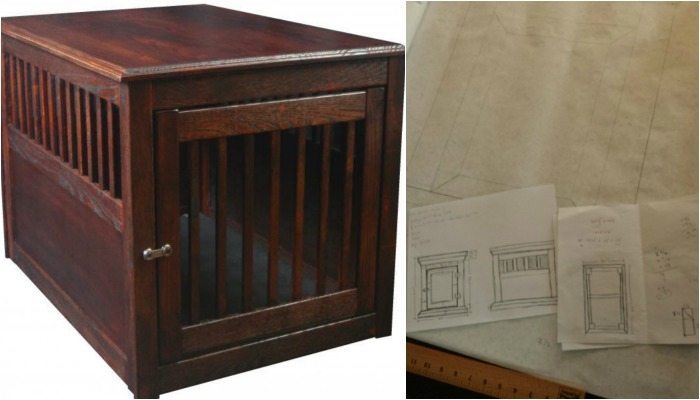
Figure out design: After looking at some other designs online (most were for larger dogs) I drew up a basic design of what I wanted to do. After the design passed the approval committee (wife), she suggested drawing up a blueprint to check if the dimensions I had mapped out would work.
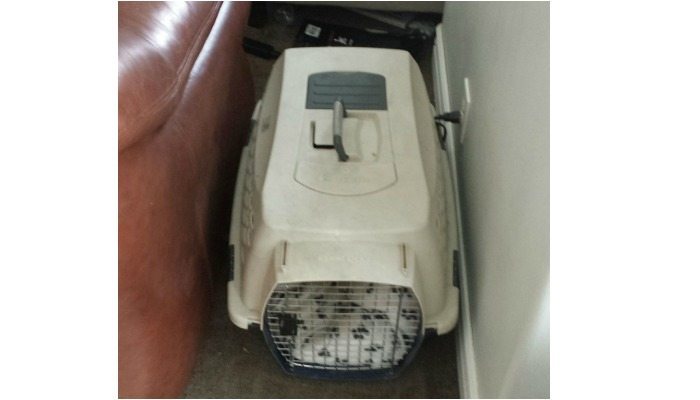
We didn’t want any part of the kennel to end up smaller than the plastic kennel she was already sleeping in. This proved to be very helpful in making sure the look of the thing wasn’t altered too much by the practical dimensions we needed for the space and the dog. I found we needed to take down some of the thickness to give the dog more space to look out of the kennel and to not have the whole thing become a big box with some occasional holes.
Because I drew this up more on the fly and only did a rough blueprint, I don’t have most of the design drawn on paper. Mostly I just took notes improvised as I went along. The overall size of the table/kennel is 24″ tall, 30″ long and 20″ wide. This put the top of the table just a couple inches below the armrest of the couch. This would be optimal for setting down drinks and the like while watching TV (though that might be cruel torture for the pooch underneath).
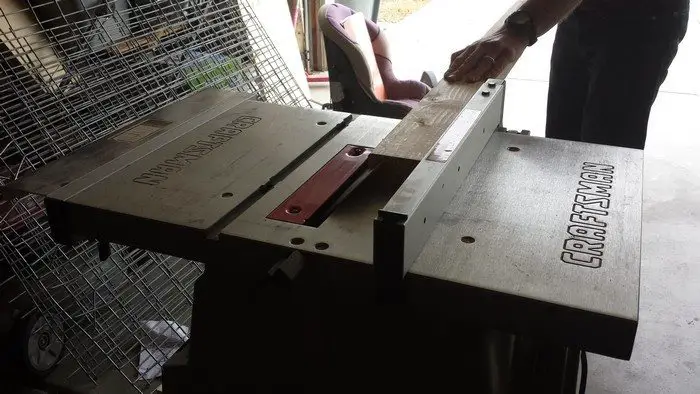
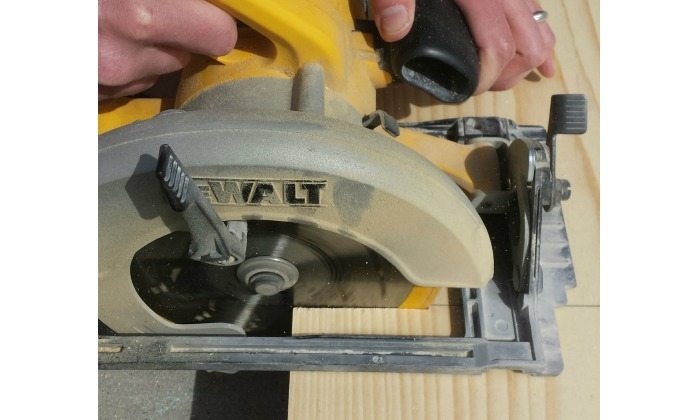
Cut lumber: I started with the base and the posts of the kennel as that would provide the overall framework to build everything else on. The base is created from the 2×4. I set my table saw up at a 45 degree. I wanted 2″ flat before the angle, so I measured my guide to the tip of the blade to allow this. This left the remaining 1.5″ to be cut perfectly at a 45 degree angle to the tip (high school math pays off). I ran this through with the saw and then saved the scrap to be used as trim of the table top later on.
Next, I used my chop saw to cut 45’s on the 2×4’s again to make more of the frame (more appealing and professional looking). Its pretty important to get these as exact and uniformly cut as possible because a crooked base does not a good build start.
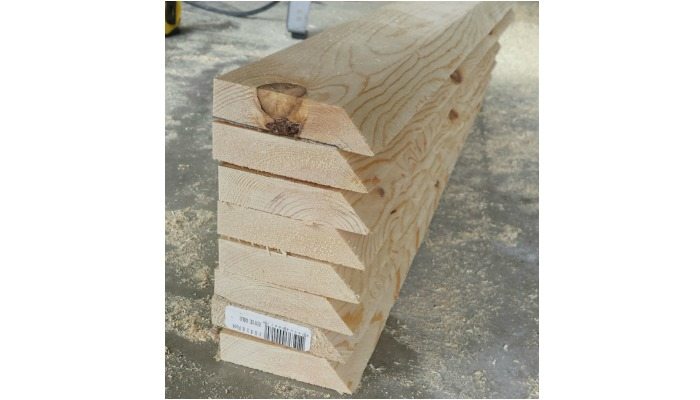
Then, using my 1x4s, I followed a similar pattern. However, knowing that I wanted these to be 2 1/4″ wide I also had to cut some off the back side. I saved that back cut too for the trim at the bottom.
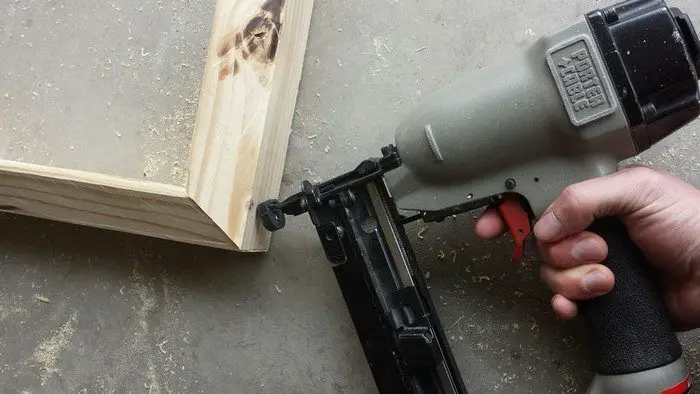
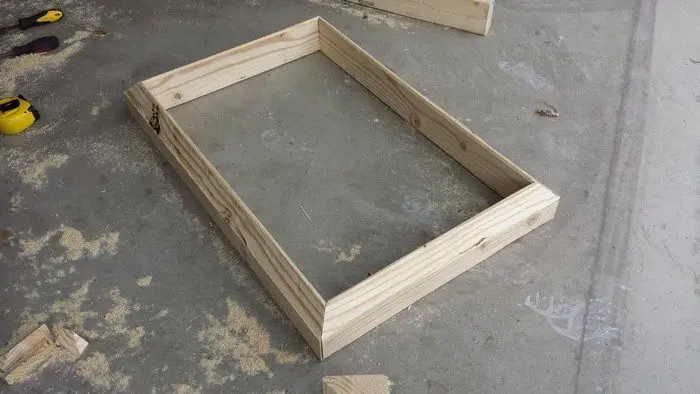
Build base and posts: Wood glue can be your friend when putting something together that needs to be solid. So, before getting the handy nail gun out, I put glue where the joints would all meet. Then I nailed it together.
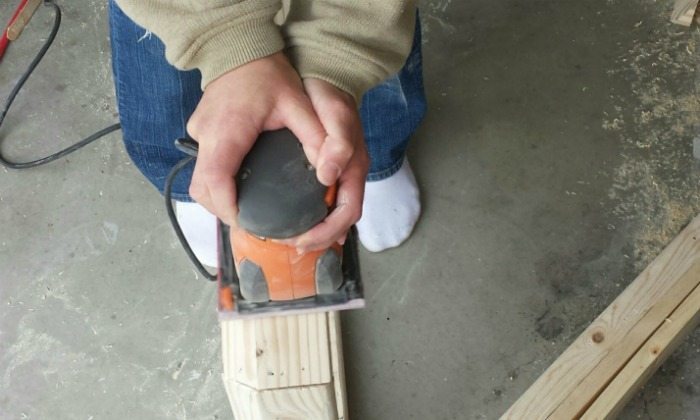
Once I had the base all solidly together (and let the glue dry a bit), I got out the trusty sander and got it to a nice smooth finish while it would be easier to access all the parts (a helpful wife idea).

With all that done I was ready to put the posts in place. I had decided to use the 1x4s on an angle like this for a few reasons.
1) cut down on the overall weight of the kennel/table,
2) maximize the amount of space in the kennel, and
3) I don’t really like the look of overlapping wood and I wanted a cleaner look overall. Hence, the design.
Putting it together was a little more challenging this way though. Luckily, I have a handy wife with an extra set of hands (for some reason I only have 2) and we were able to hold them in place while nailing them into the base and to each other. This worked really well and I am pleased with how it turned out. There were some small gaps, but I will get to how that was fixed later.
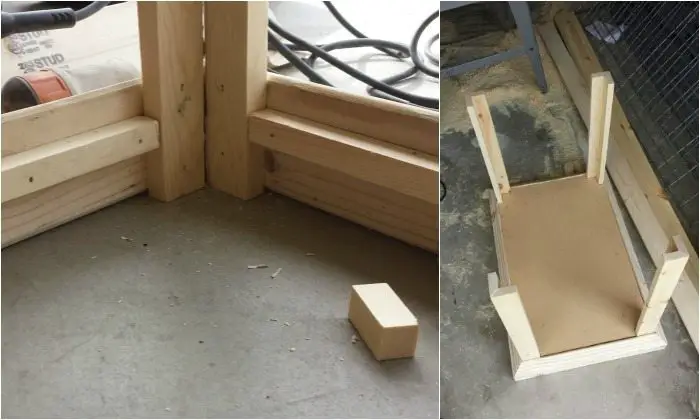
Next came the base board. I needed something for it to rest on. Luckily, I saved some of the scraps from the 1×4 cuts and this worked perfectly. I drew a level line around the entire inside of the base and then just nailed the support in place. Then, I grabbed a scrap of MDF board left over from a different project and cut it to shape. Then I just slid it down into place and nailed it in.
Build walls and add caging: Next, I needed to put each of the walls together before putting them in place. This actually required a bit more work than I thought it would. Using the 1×12 for the bottom part of the wall and the 1×4 for the top, I determined how big of a window there would need to be. Then, with that measurement, I cut out the size of caging from the horse fencing. (I used my angle grinder with a cutting disc for this, though bolt cutters would work just as easily for this.)
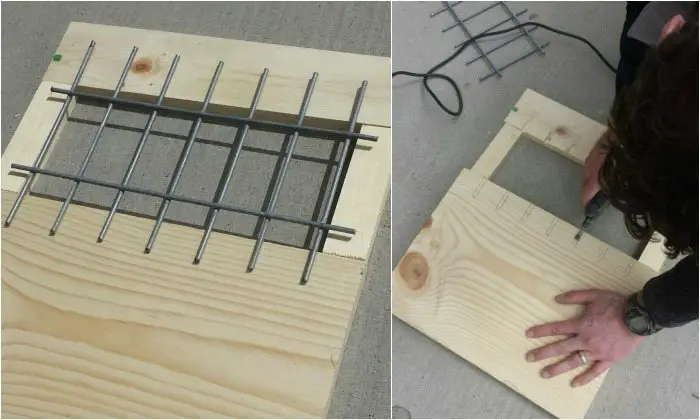
Then, I laid the caging on the wood and drew marks for where I would need to carve out to have the cage rest inside the wood. Using my dremel tool I carved out the wood so the cage would rest just under the surface of the wood.
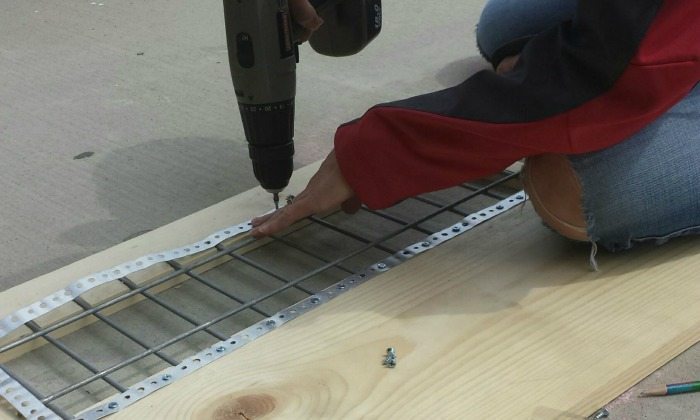
Then using the steel hanger strips (aka plumber’s tape) I screwed the caging into place.
Continued Page 2…


