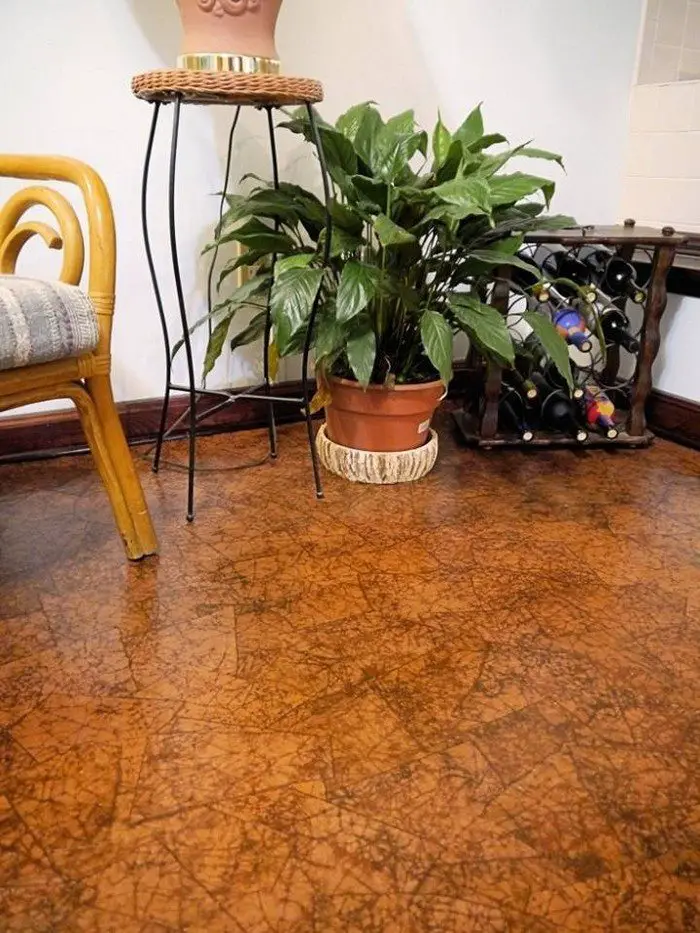
Have you been wanting to dress your floor with a new look? This DIY project just might be the answer to it. And it doesn’t require flooring experience!
If you enjoy découpage, you’re sure to have fun with this brown paper bag flooring project. :)
Yes – it’s basically just découpage on a larger scale!
Aside from being easy, this flooring idea is also inexpensive. Spend almost nothing by simply collecting brown paper bags from your grocery shopping or from friends!
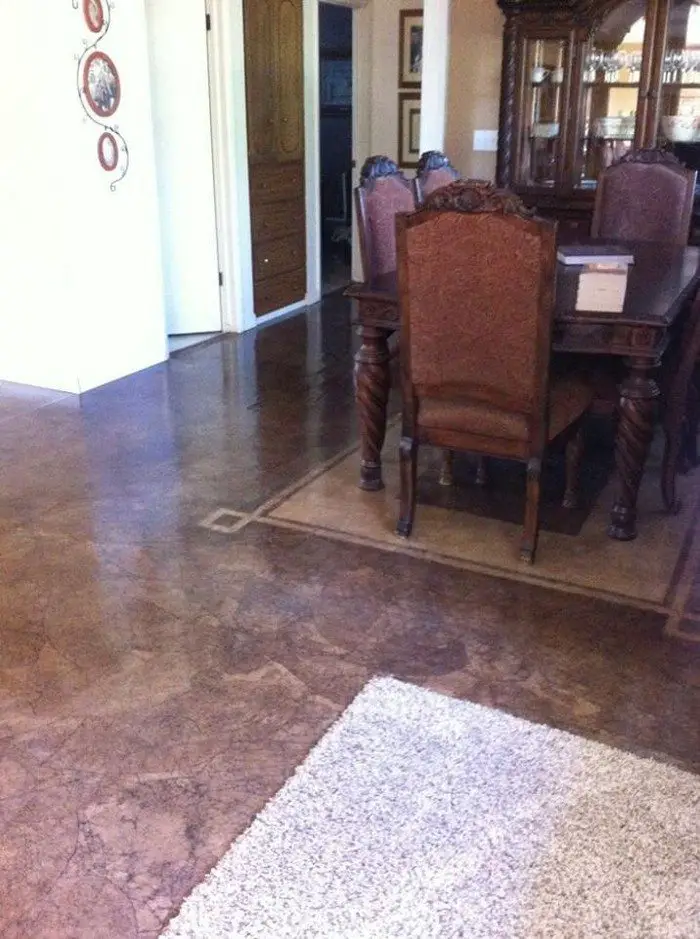
You can give it a more creative twist by using other types of paper, such as magazine pages or photocopied pictures. This would be perfect if you’re planning to do this DIY project in different rooms! You can use bright or colorful paper materials for the kids’ room, and the darker, more serious design for the adults’ room.

Does this floor design suit your taste? It’s so easy, you can learn how to do it yourself by following the step-by-step tutorial below!
Click on any image to start the lightbox display. Use your Esc key to close the lightbox.![]()

Contents
Making Brown Paper Bag Flooring
Materials
- Paper Bags
- Polyurethane
- White Glue
- Water
- Carpenter’s Tape
Tools
- Paintbrushes
Instructions
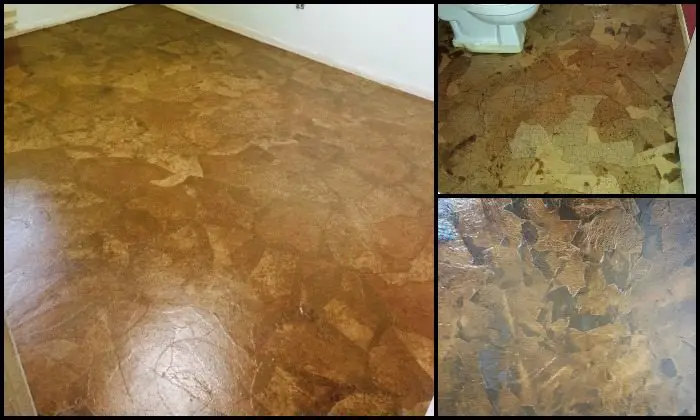
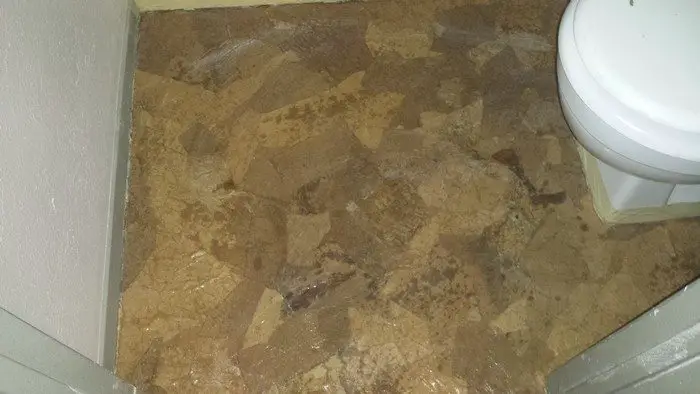
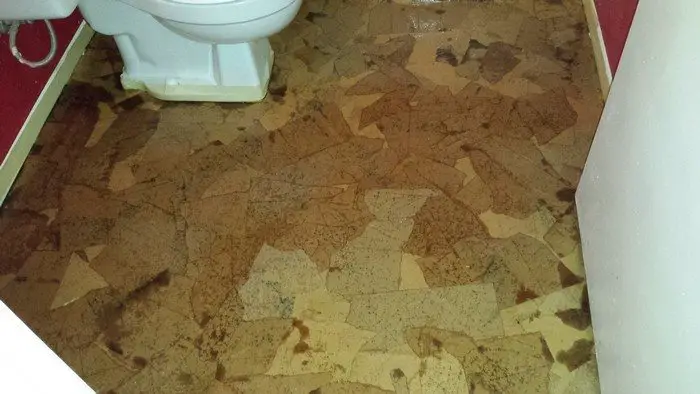
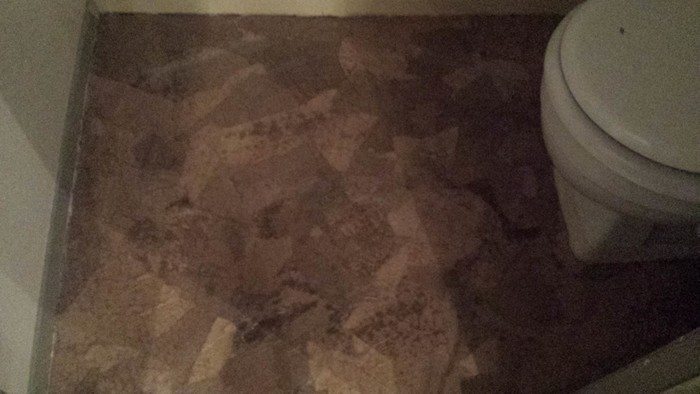
Prepare your surface: I did two bathroom floors. Fortunately, both were more along the lines of “water closets” so the space was fairly small.
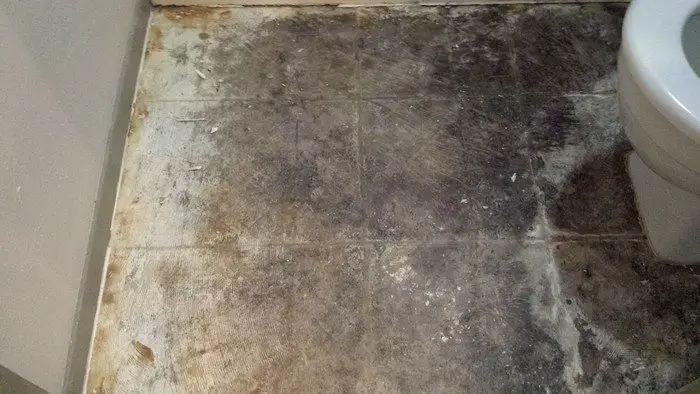
On the “taupe” floor, I removed the peel and stick tiles completely.
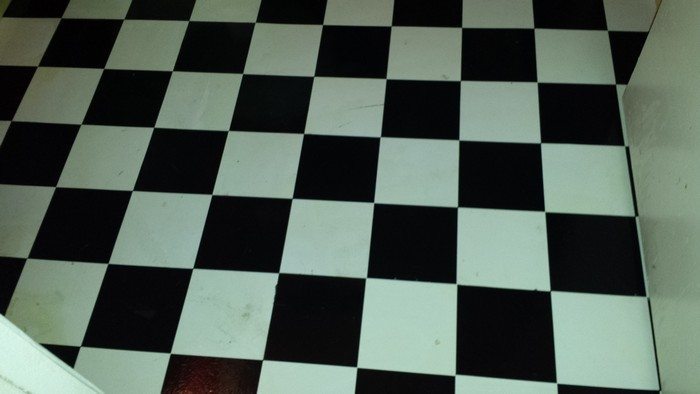
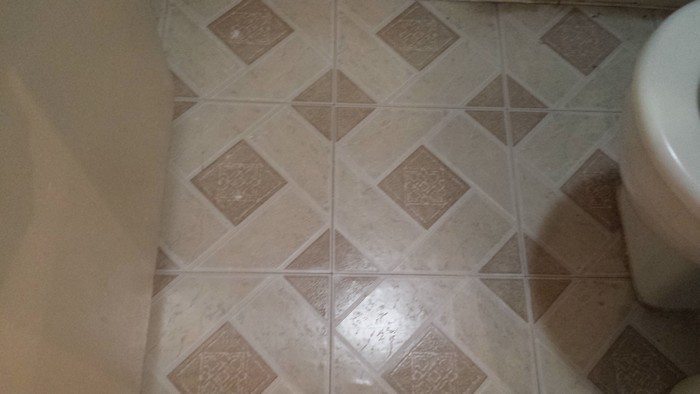
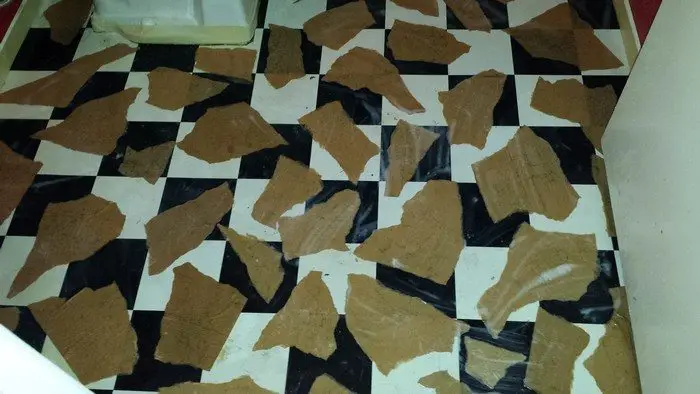
On the checkerboard floor (also peel and stick) I couldn’t get the tiles to come loose, so I went over the top of them. Fortunately, they were not “textured” tiles and the process worked well.
So, you can remove the tiles or not. Then clean your surface. When all is dry, cover the floor in a coat of polyurethane. Now you are ready to begin the tedious part.
(Pro Tip: DO NOT polyurethane the paper, it turns the paper “crispy” and translucent, and you don’t want that, just trust me.)
Prepare your paper: If you have Tendinitis or Carpal Tunnel Syndrome, enlist help. (I’m not kidding.)
- Rip your paper into small pieces. I tried to use the pieces that didn’t have any print or only had light print. (Be sure to put the print side down on your floor, unless you want it facing up.)
- Separate your pieces with straight edges from the pieces that are uneven edges.
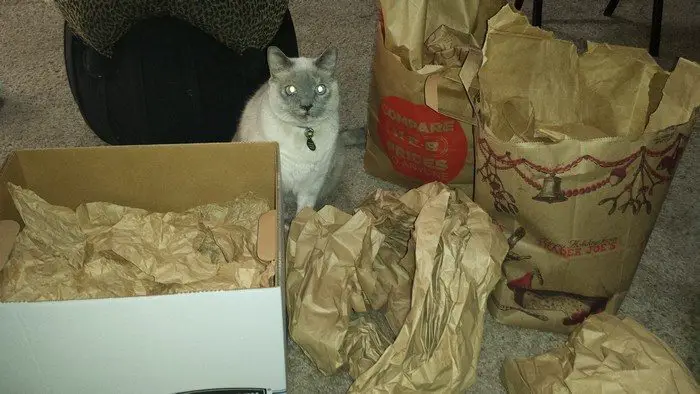
- Put on a show, or a movie, or better yet hit that entire season on Netflix you’ve been meaning to catch up on. (You’ll be here awhile, unless you can sucker in some minions. If you have kids, even better. I’ve found that the cats and the dog really don’t cooperate well when given tasks.)
- Crumple every piece.
- Straighten every piece out and then crumple it again.
- Straighten every piece out and then crumple it one more time, just for good measure.
- Massage your hands, you deserve it!

Remember how to découpage? This is where the fun starts!
Tape off your floorboards, counters, anywhere you DON’T want to get messy.
Take your white glue and mix it 50/50 with water (tap is fine) and blend it well. Using a paintbrush, “paint” the back of your first piece of paper with the glue (découpage) mixture. Don’t start with the edge pieces, start with the “floating stones” first.
Place your paper where you want it on the floor and paint over the top of it with the découpage mixture.
Repeat until you have covered the floor, but don’t have any overlapping “stones” on the floor.
Wait for it to dry.
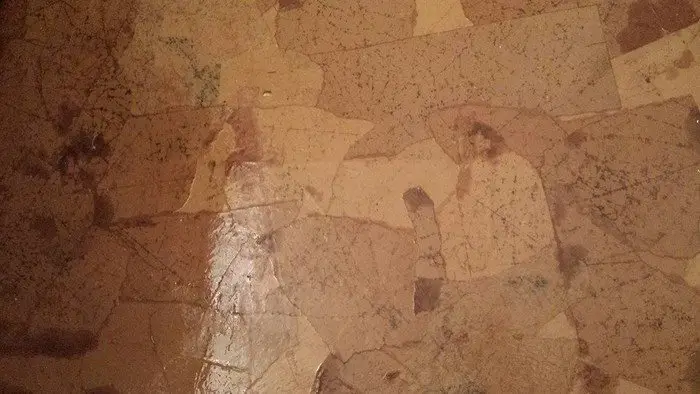
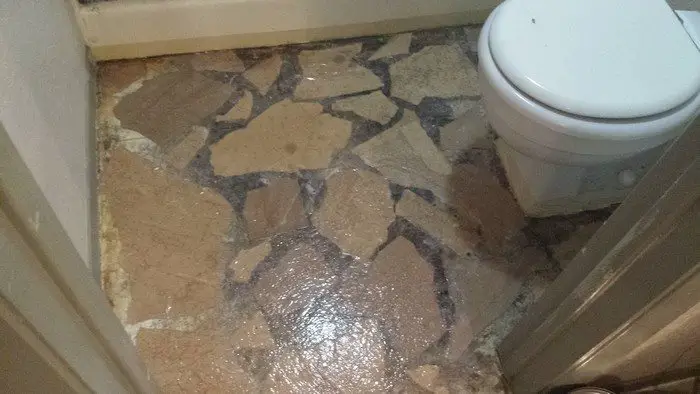
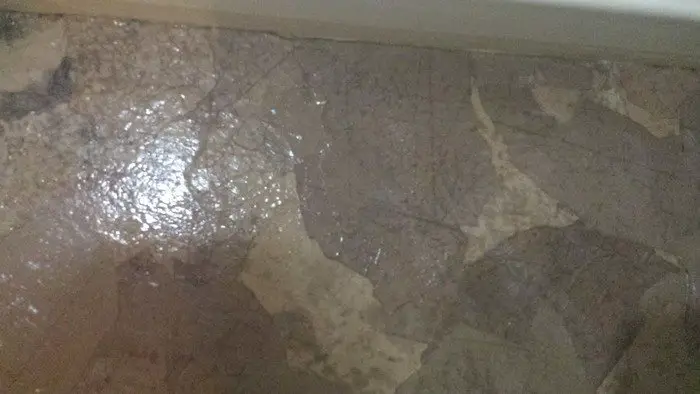
Once dry, give it a coat of polyurethane. Notice the “texture” the crumpling gives the “stones.”
(Pro Tip: Once again, DO NOT polyurethane the paper, it turns the paper “crispy” and translucent – you don’t want that.)
Let’s do the time warp again: So, that thing you did in the last step, without overlapping? Now that it’s dry, overlap it!
Don’t be shy with your glue mix!
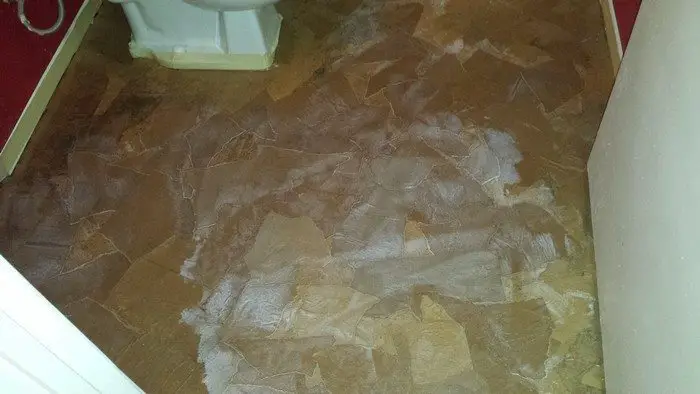
Let it dry.
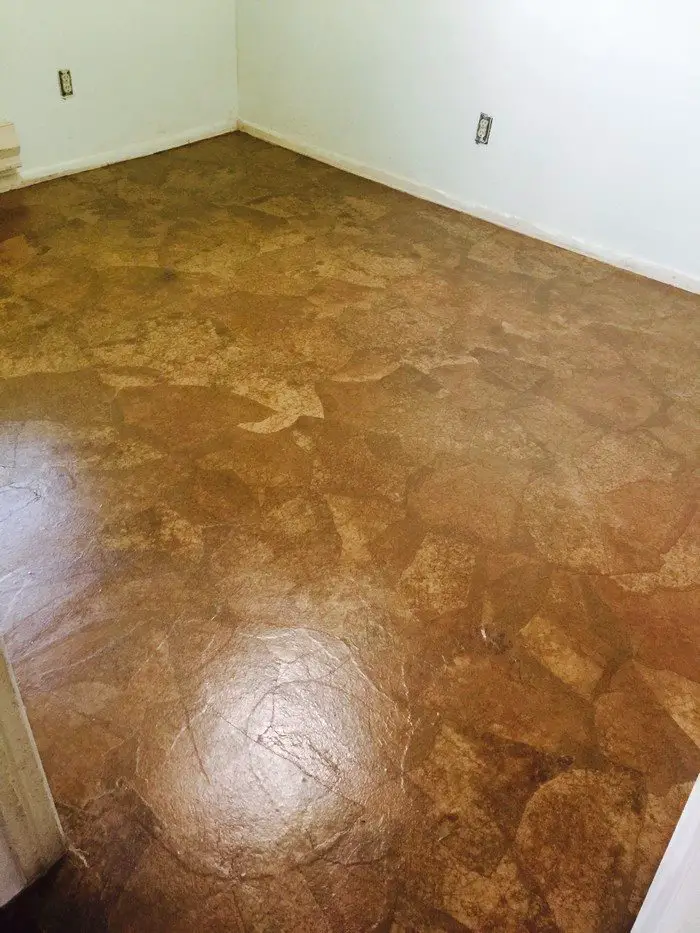
 Make that floor “shine like the top of the Chrysler Building: Polyurethane your (now dry) paper floor. When that coat is dry, do it again.
And then… When that coat is dry, do it again.
And, maybe, just for good measure… When that coat is dry, do it again.
Maybe even one more time, especially if you’re doing this in a kitchen or bathroom.
Also, just ONE additional coat; well, trust me when I say, it really wouldn’t hurt anything. ;)
Thanks to Spyridoula Nemesis for this great project!
Durability and Maintenance of Brown Paper Bag Flooring
Brown paper bag flooring is a stylish and economical choice for those looking to add a unique touch to their homes. With its surprisingly sturdy nature and easy maintenance, brown paper bag flooring can look great for years.
Here’s how you can keep your brown paper bag floors looking their best.
Longevity of Brown Paper Bag Flooring
You might be surprised by how tough brown paper bag flooring can be. With the right installation and a good few coats of polyurethane, your brown paper bag floor is equipped to handle the daily grind. This protective layer shields the paper from moisture and abrasions, much like other popular flooring options.
Everyday Care for Your Floor
Taking care of brown paper bag flooring is simple and doesn’t require any special tools:
- Daily Cleaning: A quick sweep daily will keep your brown paper bag flooring free of dust and dirt. For this, a soft broom or a vacuum with a soft brush attachment works best to avoid scratches.
- Washing Up: Mop your brown paper bag floor with a mix of water and gentle soap. Harsh cleaners can strip the polyurethane coating, so sticking to mild products is key.
- Handling Spills: If anything spills, wipe it up quickly. Although the polyurethane helps, you don’t want liquids sitting for too long on your brown paper bag flooring.
Repair and Refresh Tips
Over time, you might notice some areas of your brown paper bag flooring need a little extra care:
- Fixing Scratches: For small scratches, a little polyurethane can reseal the surface. If the scratch is deep, gently sand the spot before reapplying the polyurethane.
- Patching Damaged Areas: Should your brown paper bag flooring suffer more significant damage, you can patch it. Just apply new pieces of brown paper using the same method you used initially, then seal it once more.
Keeping It Sealed
Brown paper bag flooring benefits greatly from an occasional new coat of polyurethane, especially in busy areas. This not only revives the look of your floor but also strengthens its resistance to damage and moisture.
By following these tips, you can ensure your brown paper bag flooring remains a durable and beautiful feature in your home. Regular upkeep and a bit of TLC here and there will keep your floor looking fresh and distinctive, just like when you first laid it down.
Customization Options for Brown Paper Bag Flooring
Brown paper bag flooring isn’t just affordable and eco-friendly; it’s a canvas for your creativity. This flooring option lets you infuse your personal style into every room, making each space uniquely yours. Let’s dive into how you can customize your brown paper bag floors to perfectly match your vision.
Select Your Paper
Your choice of paper can transform the overall look of your floor:
- Color Variety: Don’t stick to just brown; mix in colored paper bags for pops of color throughout your floor.
- Decorative Touches: Adding wallpaper or craft paper with patterns can introduce subtle designs or bold statements.
- Personal Prints: For a custom touch, use pages from magazines or even photocopied personal photos. This can be especially playful in spaces like kids’ rooms.
Add Color and Effects
There are plenty of ways to enhance the natural shade of your paper:
- Staining: Brush wood stains onto your paper for a deep, rich color, or to mimic traditional wood floors.
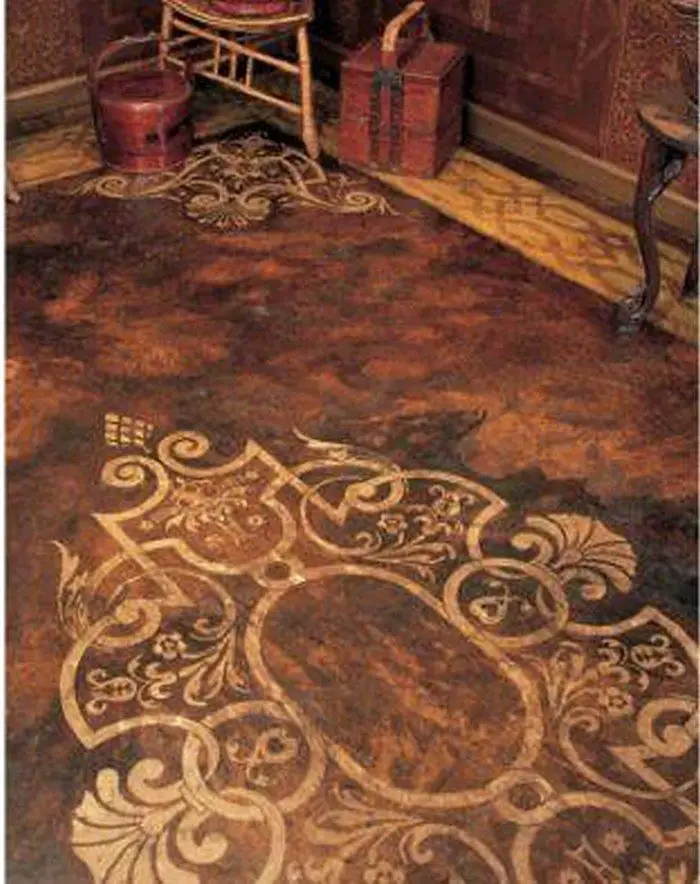
- Paint Techniques: Techniques like sponging or stenciling on top of your floor can add depth and intrigue.
- Metallic Highlights: A bit of metallic paint can give your floor a glamorous shimmer, perfect for adding a sophisticated touch.
Experiment with Textures
The texture of your floor can dramatically affect its look and feel:
- Crumpling Depth: Play around with how much you crumple your paper—more crumpling adds drama, less keeps it subtle.
- Overlapping Layers: Layering your paper can create a thicker, richer texture that feels more luxurious underfoot.
- Design Details: Use contrasting paper to create borders or decorative patterns that highlight areas of your space.
Choose Your Finish
The final sealant can greatly influence the final look of your floor:
- Glossy vs. Matte: A glossy finish will make your floor shine and reflect light, while a matte finish offers a more understated, classic look.
- Tinted Sealants: Some polyurethanes come tinted, allowing you to subtly alter the color of your flooring as you seal it, perfect for custom matching to your room’s color scheme.
With these customization options, your brown paper bag flooring can become more than just a surface to walk on; it can be a reflection of your personality and style. Whether you’re going for something understated or eye-catching, brown paper bag flooring offers the flexibility to make it happen.
Conclusion
Constructing brown paper bag flooring is a creative and cost-effective way to add unique charm to any room. This DIY project allows for extensive customization, enabling you to tailor the look and feel to match your personal style. With proper installation and maintenance, your brown paper bag floor will be both durable and distinctive, enhancing your home’s aesthetic for years to come.
For more flooring ideas, check out our post on deck flooring.


