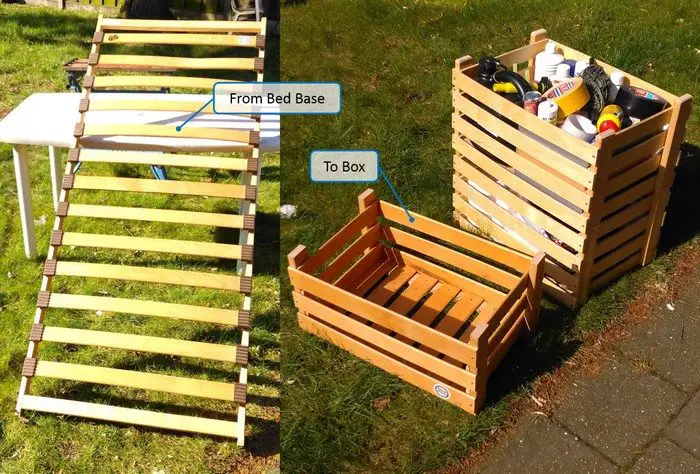
Are you planning to replace your current bed with a new one? Now before you throw out or give away that old bed frame, here’s an idea that you might find handy… Build a storage or toy box out of your old bed base!
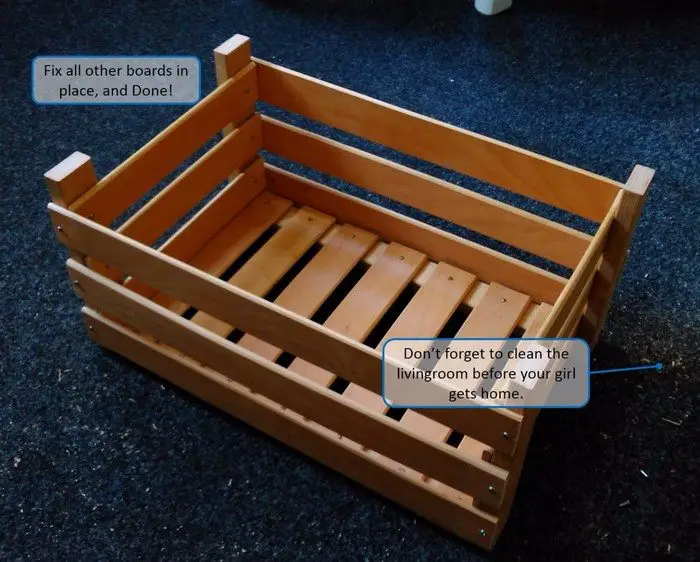
Because who can ever have enough storage? There are always things around the home that needs a storage space or box. These featured boxes can hold up to 15 kilograms of weight, making them very useful for many storage needs.
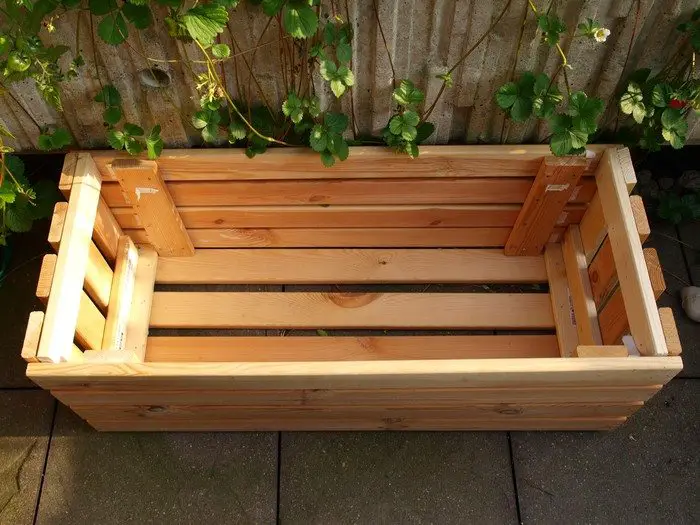
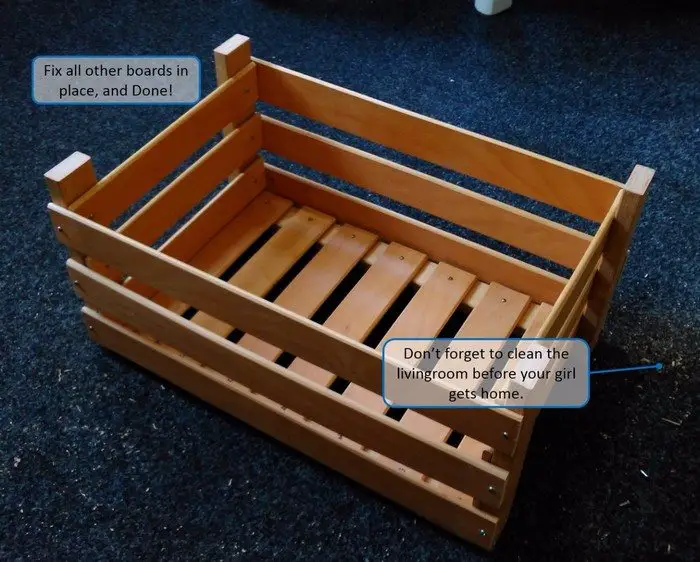
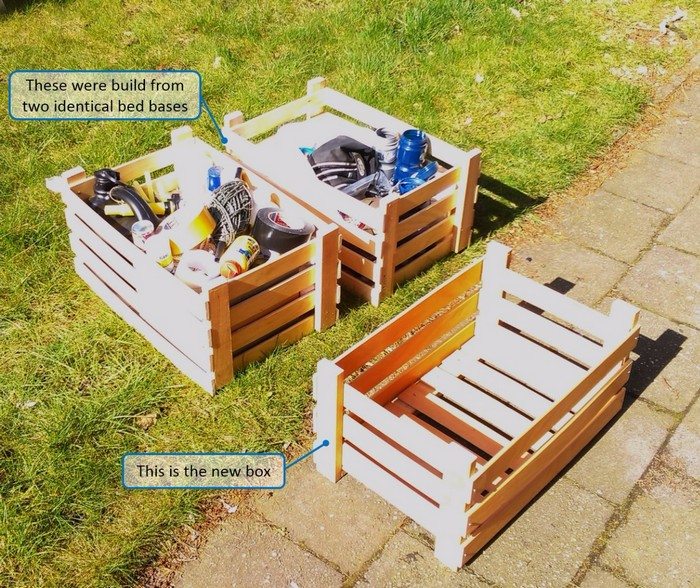
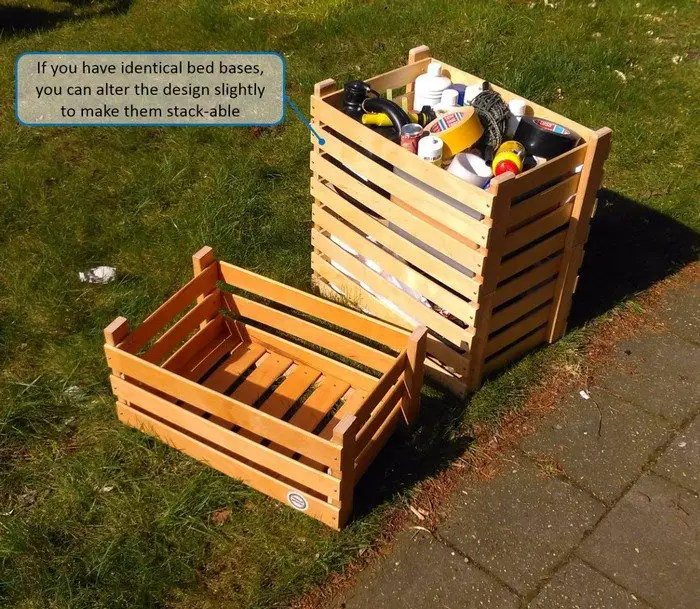
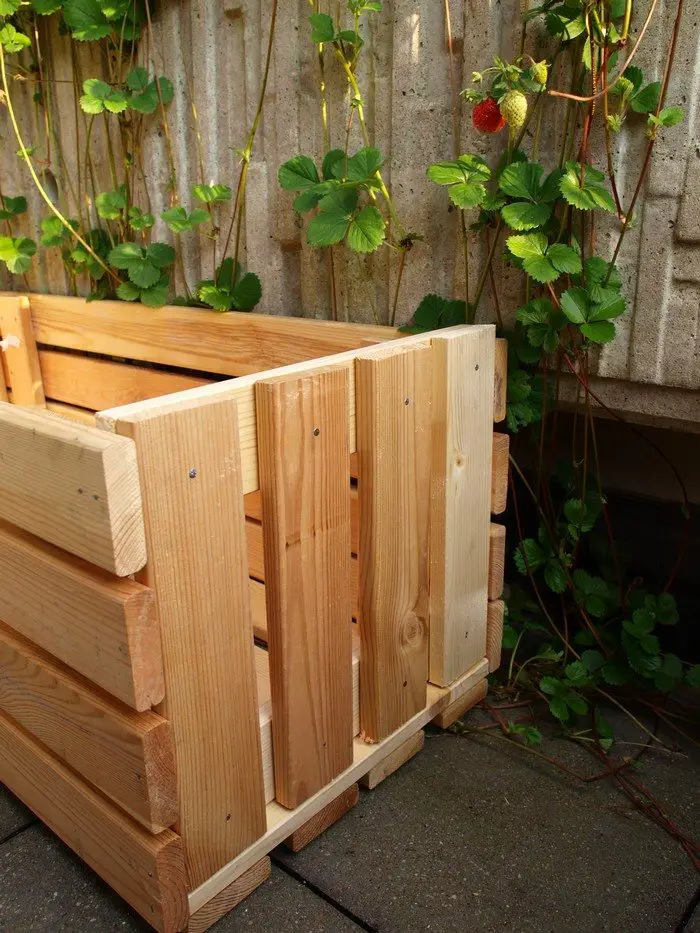
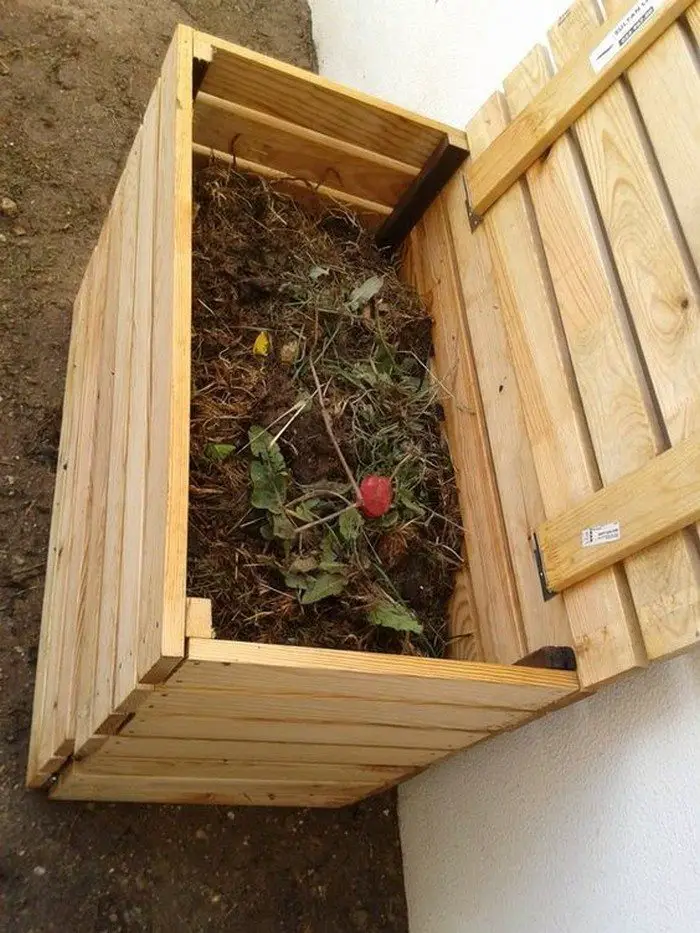
If you want, you can also use this idea to make a planter box or a compost bin! Take a look at some examples from our album below. :)
Do you have an old bed base that you would like to turn into a storage box, a planter, or a compost bin? Learn how by following the DIY-er’s step-by-step tutorial after the album!
Materials:
- Old Bed Base
- Wood Screws (some from the bed base)
Tools:
- Screwdriver
- Hammer
- Pliers
- Marker
- Measuring Tape
- T-Square
- Electric Wood Saw
- Wood File (or Sandpaper)
- Drill
- Piercer
- Wood Clamps
Click on any image to start the lightbox display. Use your Esc key to close the lightbox. ?

Steps:
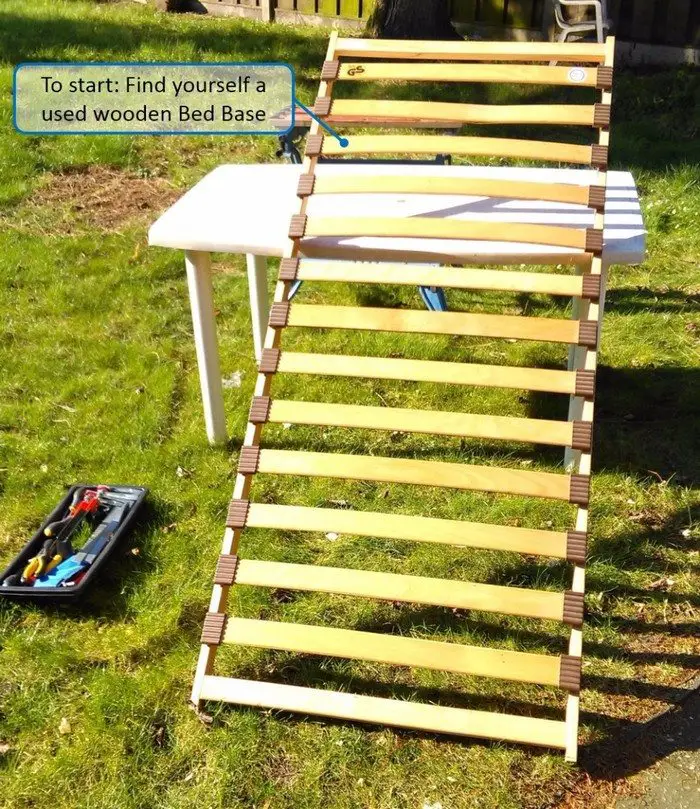
Disassembly: To be able to start building you need to get your building materials. That means the bed base has to be fully disassembled.
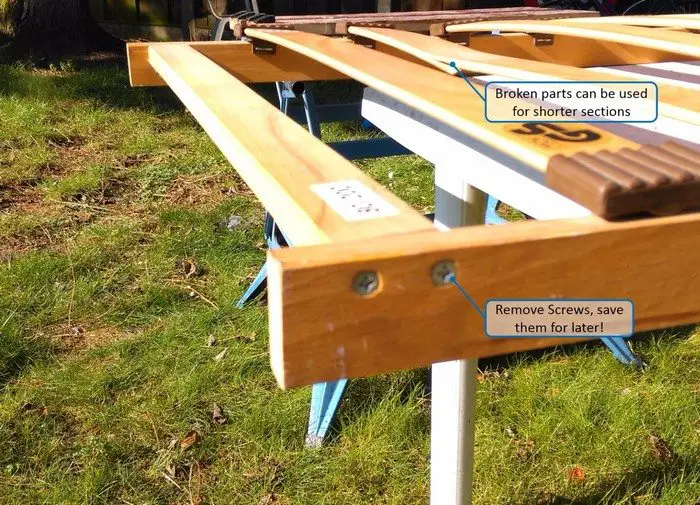
Start by removing the screws. Make sure to save them, they can be re-used later in the project!
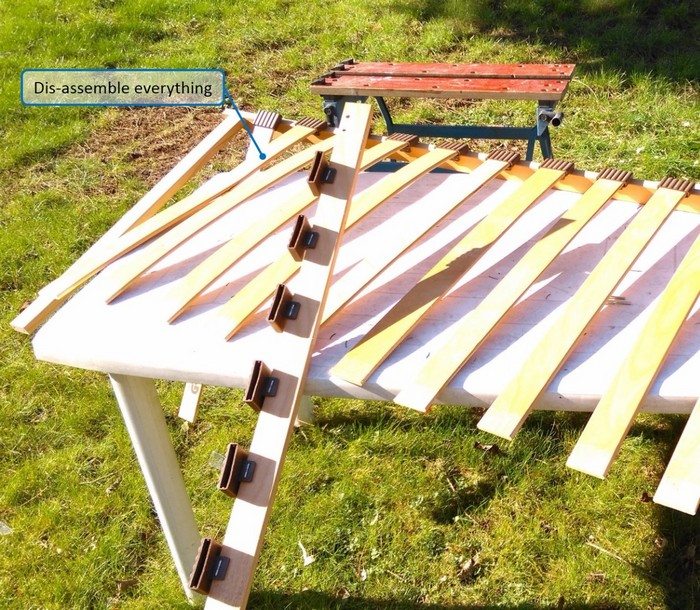
After removing the screws all the wooden boards should fall right out.
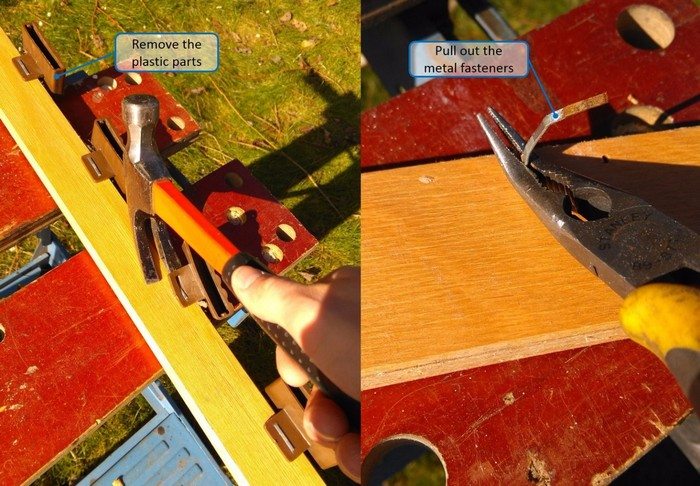
The plastic end-caps remain, they are a bit harder to remove since they are nailed to the wood. Wiggled them of with the claw of a hammer. If some of the nails remain in the wood, they can be pulled out using pliers.
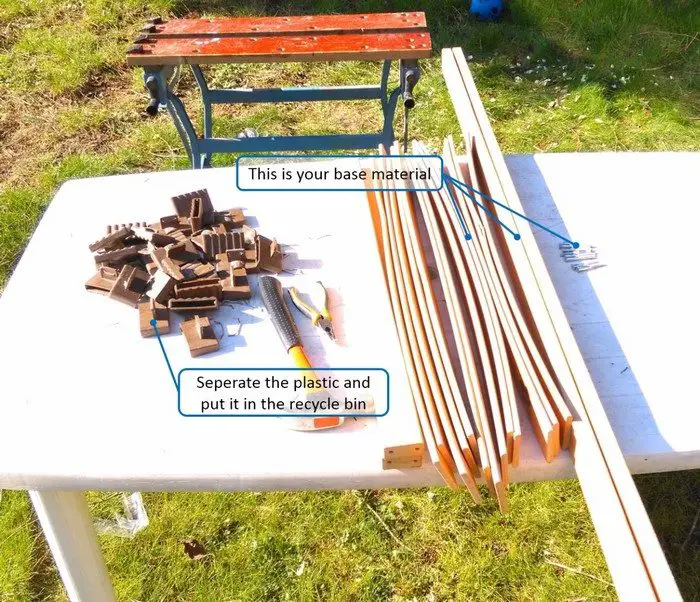
All done, now you have your stack of building materials ready! Make sure to dispose of the plastic parts and the nails appropriately.
The only other thing you will need is a bunch of old screws, approximately 50 pieces with a length of 20-25 mm. If you have the materials, start working on the design.
Box Design and Material Preparation: The design of the box is pretty straight froward, you need to determine the length, width, and height. Based on the dimensions of your bed base you are bound to maximum dimensions. The maximum length is the length of a wooden board. The maximum width is half of a wooden board. The height you should choose based on your preference, but try to avoid 30+cm since this will create large spacing in between the boards.
The design is a two-piece frame and boards for the floor and sides. The frame you will make from the thick beams of the bed base. The rest will be from the ‘flexible’ boards.
This bed base had 13 boards that were 78 cm long. I choose the length of my box to be 55 cm. I choose this because it has to fit on a 60 cm shelf for its intended use.
The width did not really matter, but I wanted in to be the same as previous ones I build, so I choose the inner width of 34 cm. The outer width is approximately 3 cm wider because of the design, so keep this in mind if you design your box! The exact box width will be determined by the curvature of the side boards, so it is hard to determine exactly.
I will use 3 boards on both long sides, which require me to use 1 board per piece. This leaves 7 boards, which will allow for 14 short side and floor boards.
For the height I choose 28 cm because it looked good.
So in total I had to prepare these material:
- 4 Vertical frame beams: 28 cm
- 2 Horizontal frame beams: 55-2*1.5cm = 52cm (the 1.5 cm is the thickness of the frame beam)
- 6 long side boards: 55 cm
- 14 short side/ floor boards: 34 cm
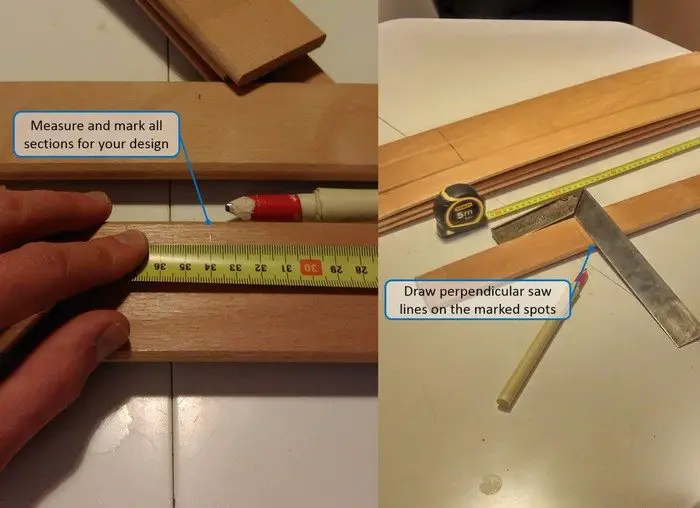 Mark all dimensions on your material.
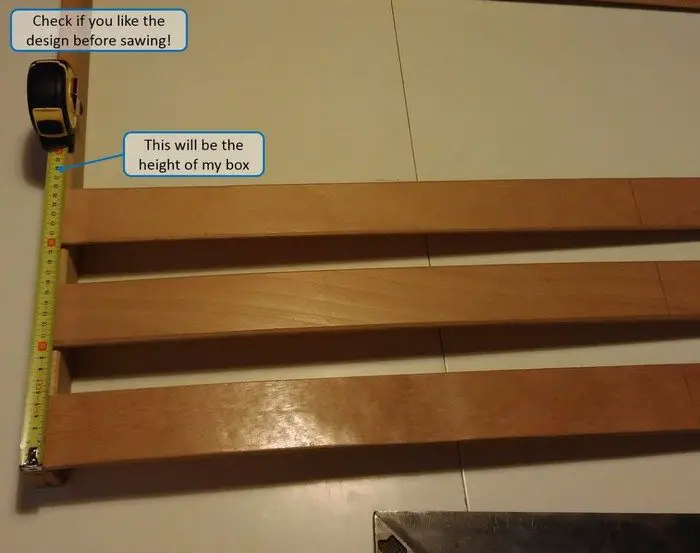
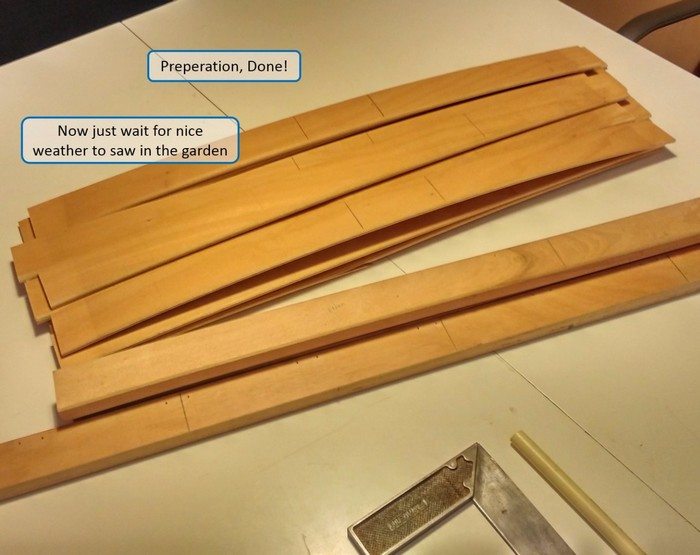
Check if your design looks good and check if you like the spacing in between the boards.
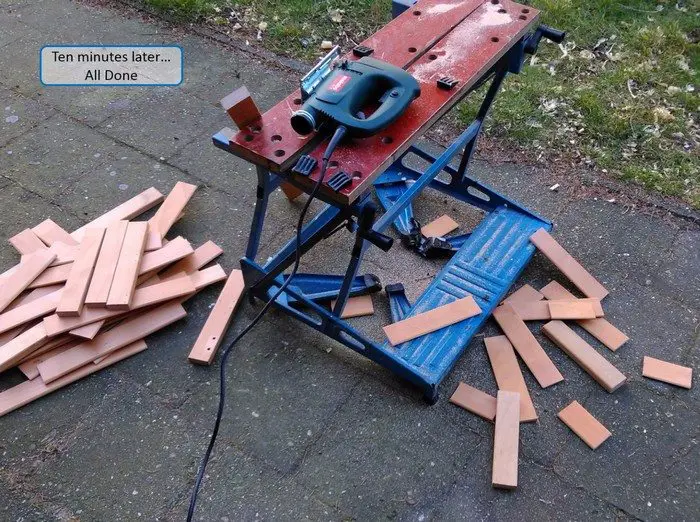
If you are 100% sure everything is OK, saw all beams and boards at the locations you marked.
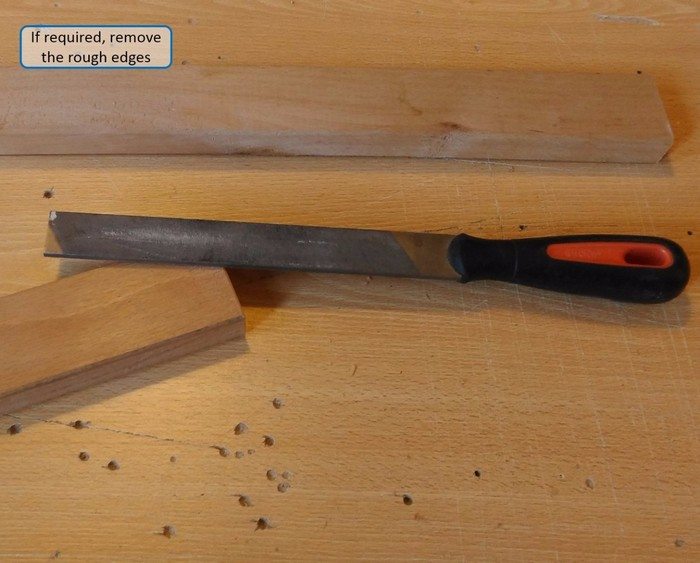
Clean up the rough saw edges using a wood file or some sanding paper.
All done, now we are ready for the assembly phase.
Continued Page 2…

