
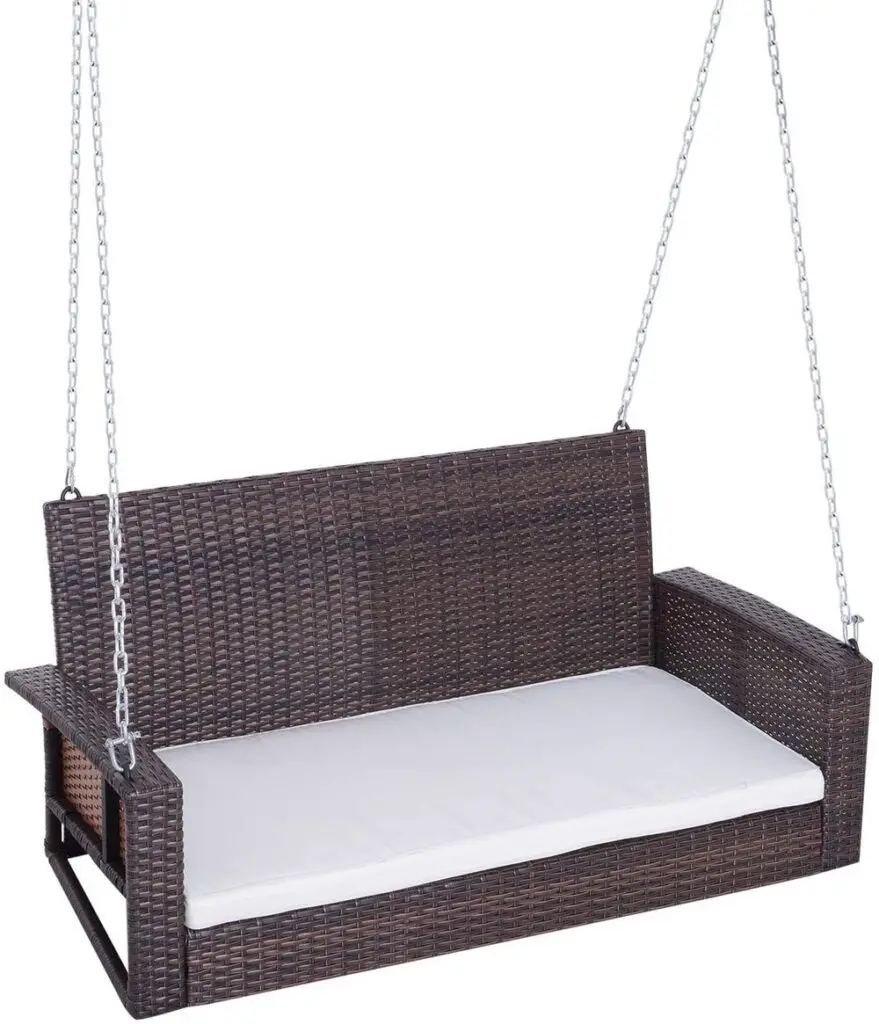
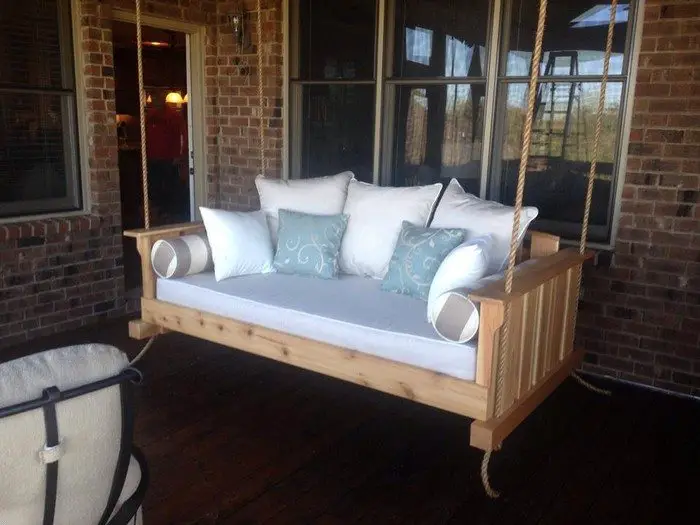
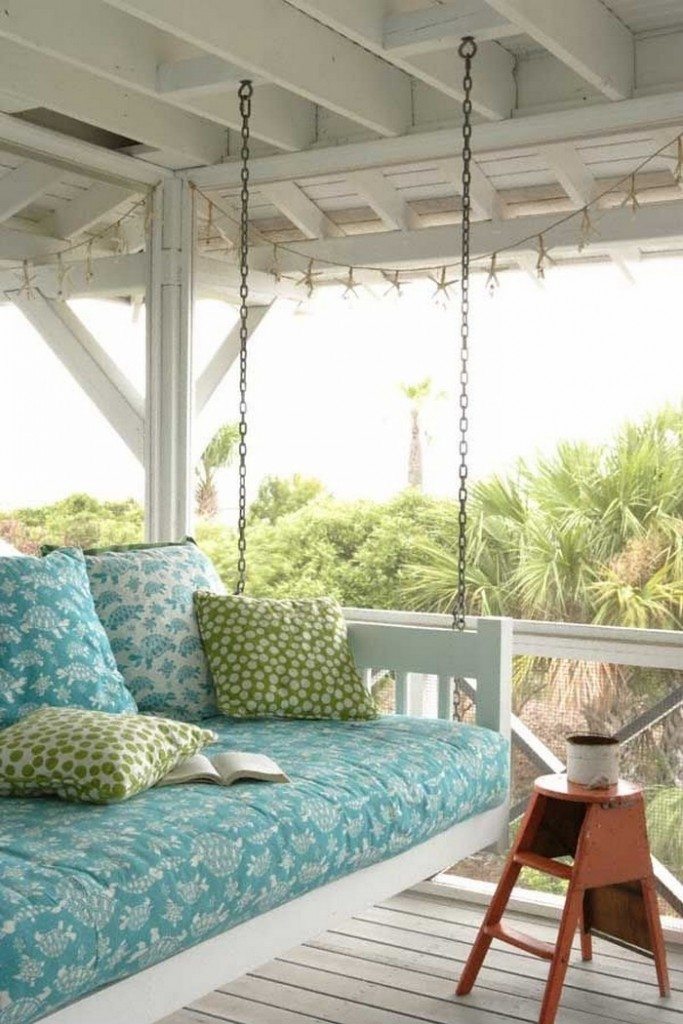
Ahh, a very relaxing hanging daybed! Is there anybody who doesn’t want to have this piece of furniture in their outdoor area?
Building a hanging daybed swing isn’t exactly a quick weekend project! But anybody who’s simply willing to squeeze in a couple of hours every day can make their own swing in a week! This DIY project doesn’t require any special tools or skills.
However, if you are thinking of taking on this project we recommend you consult a professional builder or carpenter (unless you already are one ;) ) to assess your ceiling joists first. It’s a necessary step to ensure that everything is strong enough to carry the weight of both the daybed and its occupants!
As long as you’ve sought advice from a professional and have taken your time in building a strong and sturdy daybed frame, you’ll be able to enjoy many relaxing and super-comfortable hours in your DIY hanging daybed swing.

Just imagine getting your much-needed afternoon nap or reading a great book on your hanging daybed! It sure is worth the time and all the work needed, isn’t it? :)
Be inspired by taking a look at our album of hanging daybed swings below.
Contents
Building a Hanging Daybed Swing
Materials
- 6 – 1 x 6 x 8 Pine Boards
- 8 – 1 x 4 x 8 Pine Boards
- 2 – 1/4″ x 3″ Carriage Bolts
- 2 – 1/4″ x 2″ Carriage Bolts
- 4 – 1/4″ Washers
- 4 – 1/4″ Nylon Nuts
- 2 – 3/8″ Eyebolts
- 2 – 3/8″ Nylon Nuts
- 4 – 3/8″ Fender Washers
- 2 – Large S Hooks
- 2 – Small S Hooks
- Paint
- 30′ Chain – rated at 340 lbs
Tools
- Measuring Tape
- Miter Saw
- Band Saw
- Jigsaw
- Cordless Drill
- Sander
- Paintbrush
- Router
- Wood Clamps
Instructions
Step 1: Prepare the Frame
- Measure and Cut: Using the measuring tape and miter saw, cut the 1 x 6 pine boards to the desired length of your daybed. Typically, this would be around 75 inches.
- Assemble the Frame: Lay out the cut boards side by side to form the platform of your daybed. Use the 1 x 4 pine boards to create supports underneath. Space these supports evenly along the length of the daybed.
Step 2: Build the Sides and Back
- Cut Additional Boards: Use the band saw to cut more 1 x 4 boards for the sides and back of the daybed. These should match the width of your daybed frame.
- Attach Sides and Back: Using the cordless drill and wood screws, attach these boards to the edges of your frame to create a lip around the edge and a backrest at one end.
Step 3: Sand and Finish
- Sand Smooth: Use the sander to smooth all surfaces of the wood, paying special attention to the edges and corners.
- Apply Paint or Stain: Paint or stain your daybed frame as desired. Use the paintbrush for an even coat and allow it to dry completely.
Step 4: Install Hardware for Hanging
- Attach Eyebolts: Drill holes at each corner of the frame and screw in the 3/8″ eyebolts with washers and nylon nuts.
- Prepare for Hanging: Attach the chains to the eyebolts using the large S hooks. Ensure that the chain is securely fastened and evenly distributed to support the weight.
Step 5: Secure the Daybed
- Select Location: Choose a sturdy overhead support like strong ceiling joists or a beam on your porch or patio.
- Install Ceiling Hooks: Securely install hooks into your overhead support. Ensure they are capable of supporting the combined weight of the daybed and its occupants.
- Hang the Daybed: Attach the other end of the chains to the ceiling hooks using the small S hooks. Adjust the chain length to get the desired height of your daybed swing.
Step 6: Final Touches
- Check Stability: Gently test the stability and security of your hanging daybed swing to make sure it’s safely installed.
- Add Cushions and Accessories: Finally, add cushions, pillows, and throws to make your new hanging daybed swing comfortable and inviting.
Click on any image to start the lightbox display. Use your Esc key to close the lightbox.![]()


You can watch the step-by-step instructions from April Wilkerson here:
Adjustments and Customization Options
Creating a hanging daybed swing is not only about following a set of instructions but also about tailoring it to your personal style and space. Here, we explore various adjustments and customization options that allow you to make your hanging daybed swing uniquely yours. Whether it’s adapting to different sizes or adding personalized touches, these ideas will help you craft a hanging daybed swing that perfectly fits your outdoor living area.
Adjust the Size
One of the easiest adjustments you can make to your hanging daybed swing is to change its dimensions. If you have a smaller patio, you might consider reducing the length and width of the bed to create a more compact version. Conversely, if you have a large space or want to accommodate more people, you can increase the size accordingly. Always ensure that the materials you choose can support the altered dimensions and additional weight.
Choose Different Materials
While pine is a popular choice for building a hanging daybed swing due to its affordability and ease of use, there are other materials you can explore. Hardwoods like teak or cedar are excellent for their durability and natural resistance to the elements, making them ideal for outdoor furniture. For a more industrial look, you could incorporate metal elements or use composite decking materials for enhanced moisture resistance.
Add Color and Finish
Painting or staining your hanging daybed swing is a fantastic way to add a splash of color or enhance the natural beauty of the wood. You can choose a paint color that complements your home’s exterior or opt for a stain that deepens the wood’s natural hues. Consider using outdoor fabrics and weather-resistant cushions in vibrant colors or patterns to bring comfort and style to your swing.
Incorporate Unique Features
Customizing your hanging daybed swing with unique features can increase its functionality and aesthetic appeal. Consider adding side tables attached to the frame for drinks and snacks, or incorporate built-in storage under the seat for cushions and throws. For evening use, integrate solar-powered LED lighting underneath the frame or around the edges for a cozy, illuminated retreat.
Choose Custom Hanging Options
The traditional method of hanging your daybed swing involves sturdy chains and hooks, but there are alternatives that can adjust the swing’s appearance and function. Stainless steel cables or marine-grade ropes can offer a different look and feel. Additionally, if ceiling support is an issue, consider using a freestanding frame to hang your swing. This option allows you to place the hanging daybed swing in various locations around your garden or patio.
You can make sure that your hanging daybed swing is not only a cozy addition to your outdoor area but also reflects your own style and practical requirements by taking these modifications and customizing possibilities into account.
Safety Considerations for Installing a Hanging Daybed Swing
Installing a hanging daybed swing is an excellent way to add a relaxing retreat to your outdoor space. However, ensuring it’s safely installed is crucial for both the longevity of the swing and the safety of its users. Below are some essential safety considerations to keep in mind when setting up your hanging daybed swing.
Assess Structural Integrity
Before you even start assembling your hanging daybed swing, it’s vital to assess the structural integrity of the area where you plan to hang it. This means checking the ceiling joists, beams, or branches (if hanging from a tree) to ensure they can bear the weight of the swing plus occupants. Consulting a professional builder or structural engineer is advisable if you’re unsure about the load-bearing capacity of the intended support structure.
Use the Right Hardware
Choosing the right hardware is critical for the safe installation of your hanging daybed swing. Ensure that all bolts, hooks, and chains are of high quality and rated for weight significantly greater than the expected load. It’s important to use weather-resistant hardware made from stainless steel or galvanized metal to prevent rust and degradation over time.
Proper Installation Techniques
When installing your hanging daybed swing, follow these steps to ensure it’s done correctly:
- Pre-drill Holes: Pre-drill holes for the screws and bolts to prevent wood from splitting.
- Secure Fasteners: Make sure all fasteners are tightened securely. Check them periodically for any signs of loosening.
- Even Weight Distribution: Hang the swing in such a way that weight is evenly distributed across all hanging points. This balance is crucial to avoid undue stress on any single point, which could lead to failure.
Regular Maintenance Checks
Once your hanging daybed swing is installed, regular maintenance is key to ensuring ongoing safety:
- Inspect Regularly: Check all parts of the swing, especially hardware like bolts and chains, for wear or corrosion.
- Look for Wood Damage: Inspect the wood for signs of cracking or rot, particularly if the swing is exposed to the elements.
- Test Stability: Occasionally sit on the swing to test its stability and make any necessary adjustments.
By adhering to these safety considerations, you can enjoy your hanging daybed swing with peace of mind, knowing it is securely installed and ready for many relaxing afternoons outdoors.
Conclusion
Building a hanging daybed swing gives any outdoor area the ideal fusion of cosiness and beauty. Years of tranquilly can be created with meticulous attention to materials, installation, and safety. Savour many quiet hours swinging softly in your new favourite place.
We have more ways to boost the look of your porch. Check out our guide on a porch glider swing!


