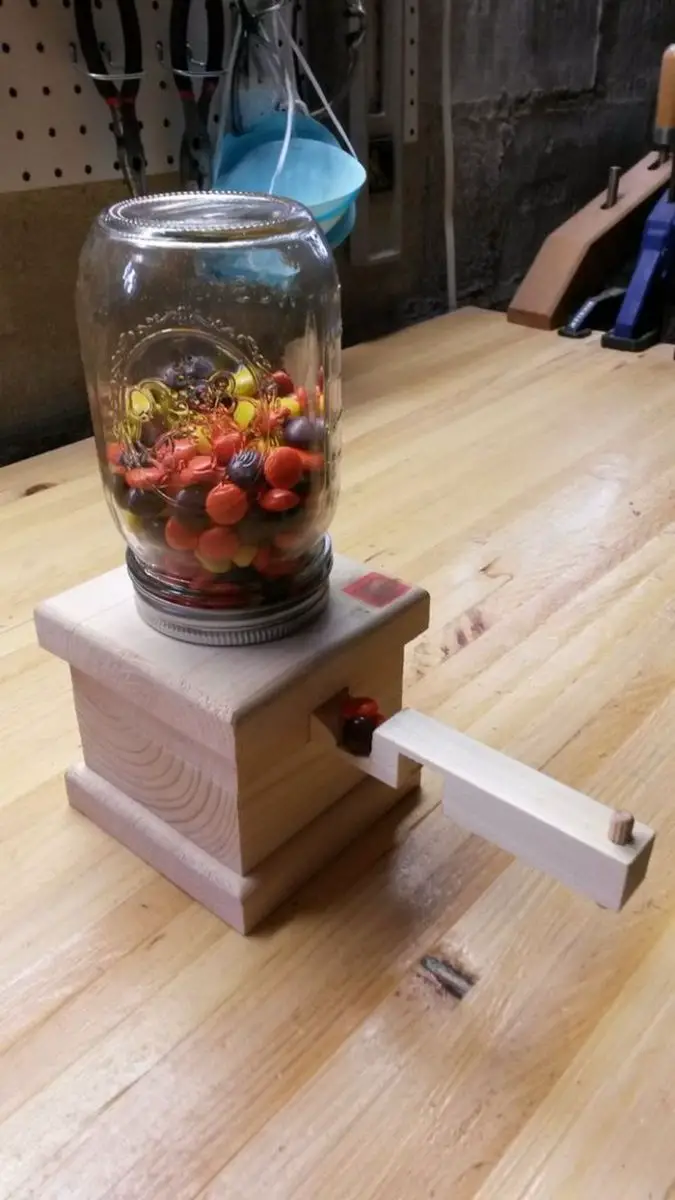
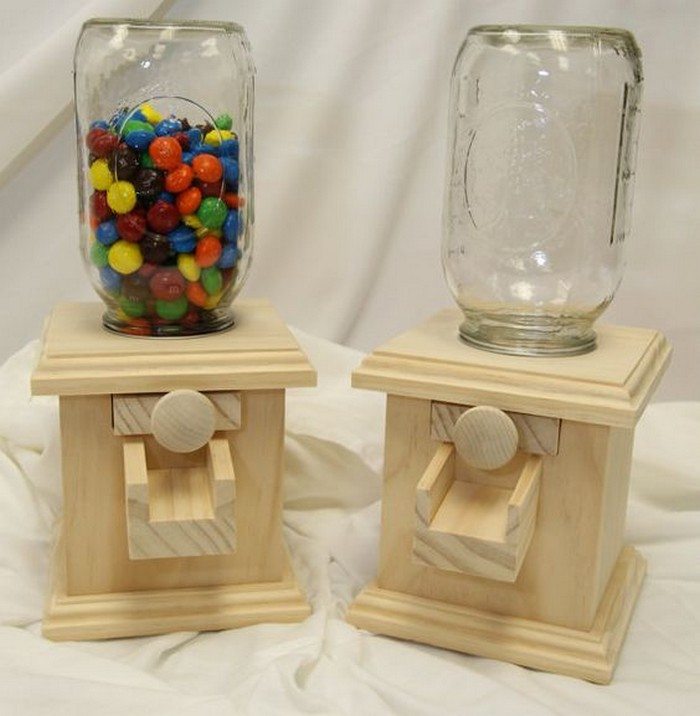
OK, so here’s a fun project you can make with your kids… a fun and cute jelly bean dispenser!
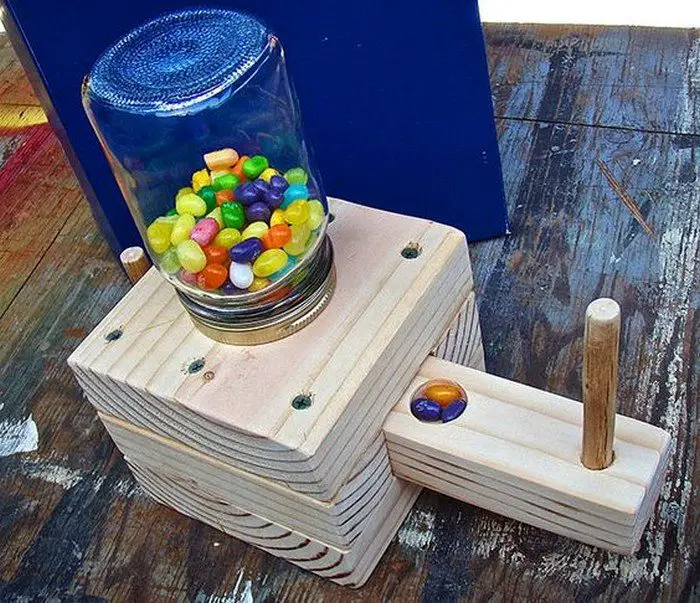
It’s a great DIY project that you can do with your scrap timber and finish in just a couple of hours. If you have the right tools, you can definitely do it in one hour. ;)
A DIY jelly bean dispenser is something your kids will surely enjoy. And it’s definitely a nice way to get some control over candy intake!
It’s also a great way to serve some treats if you love hosting weekend get-togethers. Or perhaps you’re looking for some easy DIY gifts for friends and family?
This DIY jelly bean dispenser works for M&M’s and other similarly sized hard candies, too!
Is this going to be your next quick project? :)
Contents
Making a Jelly Bean Dispenser
Materials
- 2 pcs of 4 x 4 x 7/8″ Timber
- 1 pc of 3-1/2 x 3-1/2 Timber (1-1/2″ thick)
- 1 pc of 3-1/2 x 3-1/2 Timber (1″ thick)
- 1 pc of 10 x 1 Timber (1″ thick)
- 1/4″ Dowel
- Thin piece of Wood (1-1/2″ long, exactly 1″ wide)
- Mason Jar with Screw-on Cover
- Wood Glue
- Small Nails
- Varnish, Paint or Polyurethane
- Mineral oil or Beeswax Finish (for wood parts that would be in contact with your candies)
Tools
- Measuring Tape
- Miter Saw
- Drill with various Bits
- Band Saw
- Square
- Hammer
- Punch
- Needle Nose Pliers
Click on any image to start lightbox display. Use your Esc key to close the lightbox.![]()


Steps
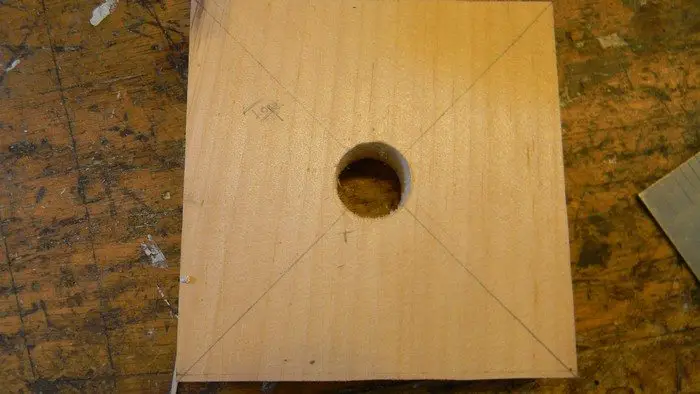
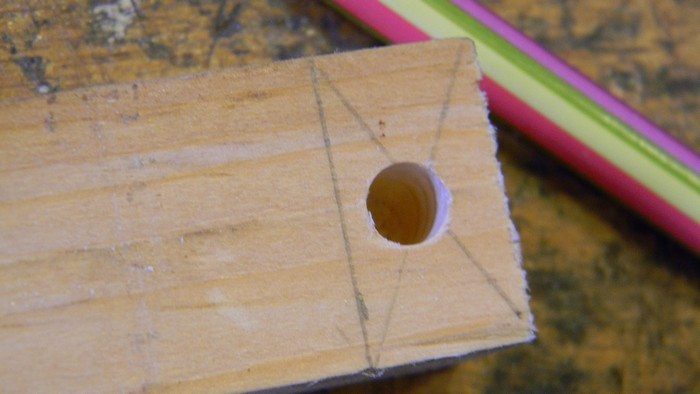
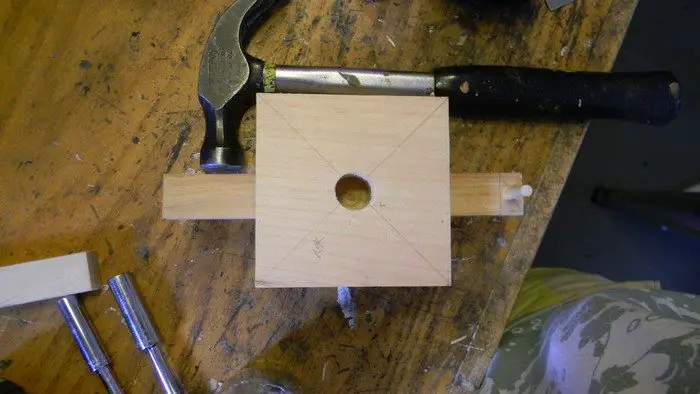
Cut and drill: Cut all your wood down to size, and then mark the two 4×4” top and bottom. Find the middle of the top block and drill a hole in it with the 3/4” or 15/16” drill bit. Set both pieces aside.

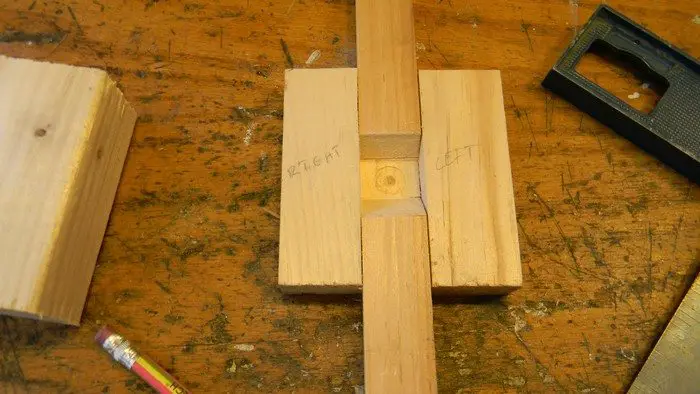
Take the thin 3-1/2” x 3-1/2” piece, and the long piece of wood of the same width. (1”) Put the top 4×4” piece and place it atop the thin 3-1/2”x3-1/2”. Using a pencil, put a dot into the 3-1/2” piece through the hole, so you know where to place your long piece. Center the long piece of wood over the dot, and mark where it is with a pencil. Make the lines you just made about 1/16” bigger, and cut out on any saw, just make sure it is even.
After this, carefully glue and nail down the wood you cut onto the thicker 3-1/2″ x 3-1/2” piece.
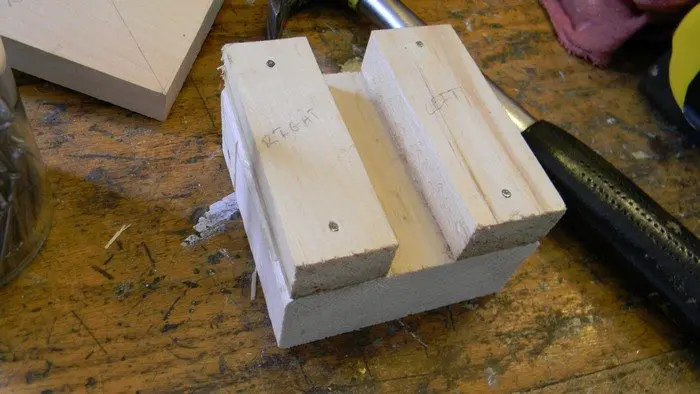
More cutting, drilling and gluing: Take the long piece of wood, and make a line 1/2” down. Find the middle of this new, smaller section, and with the 1/4” bit, drill a hole in the center. Do not drill through the wood, but go far down.
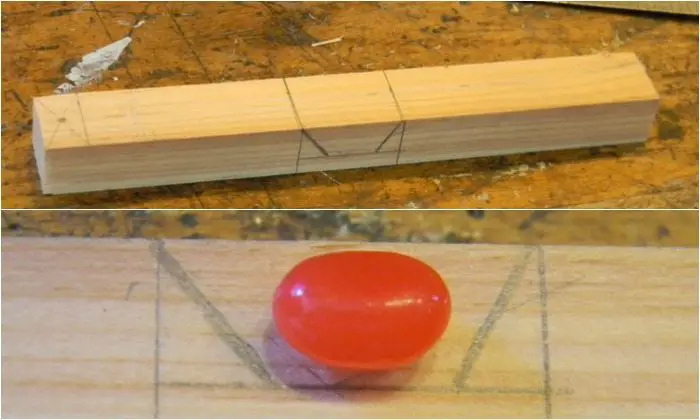
About 3” down from the hole you just made, mark a 11/4” space. Turning it on its side, mark a line that is 1/6” above the bottom. From there, make two 30 degree angles that go down to just a bit more than the length of a regular m&m or jelly belly jelly bean.
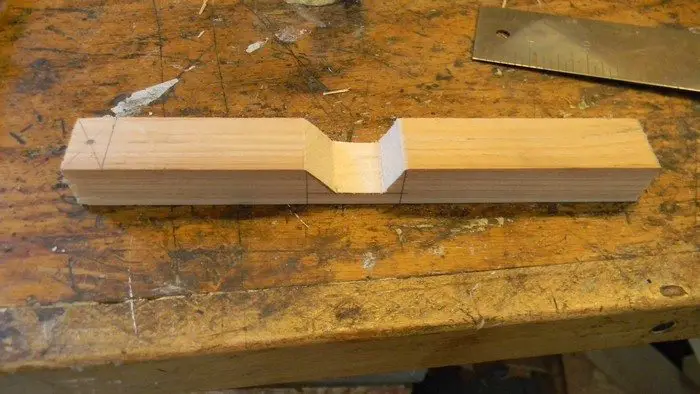
Cut out this space.
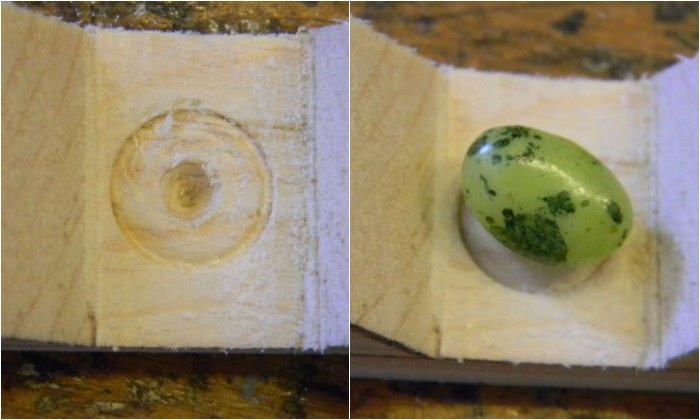
Take the 1/2” drill bit, and drill a small circle into the slot you just made. this will make it so the jelly bean will not fall out of the slot as easily.
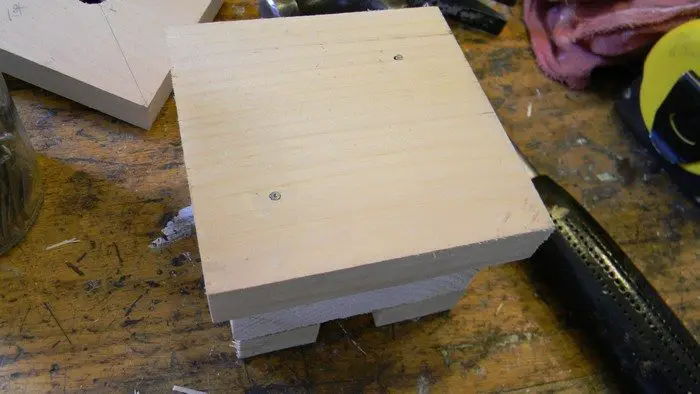
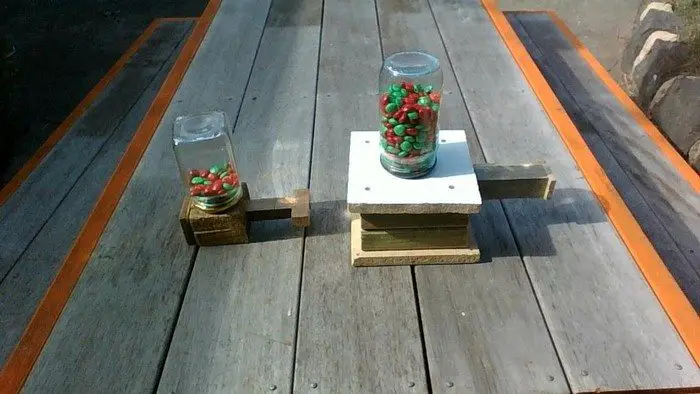
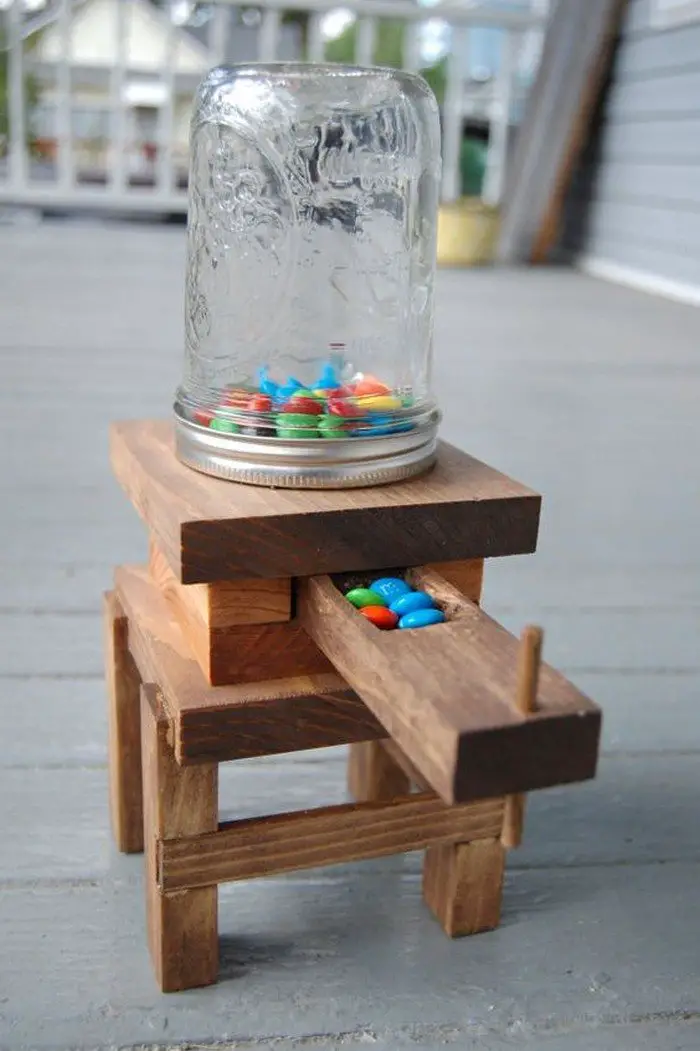
Putting it all together: Take the 3-1/2” blocks that you put together, and center, glue, and nail the top and bottom 4×4” pieces to it. Make sure the hole in the top piece is directly above the opening in the pieces of wood (smaller 3-1/2” that were cut earlier).
Once this is done, take the long piece of wood and place it inside the opening. It should fit snuggly, but slide easily. If it does not, sand or cut out more from the sides.
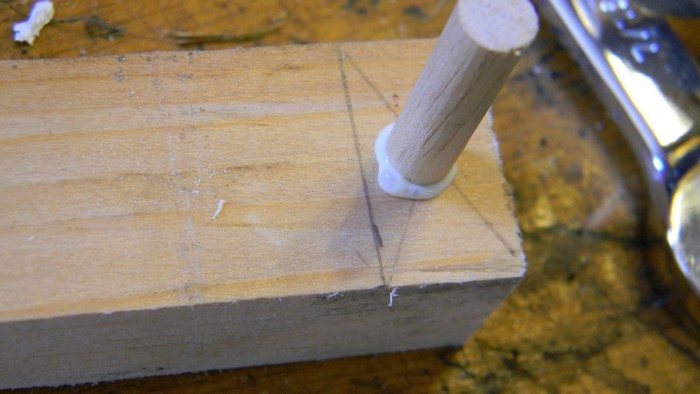
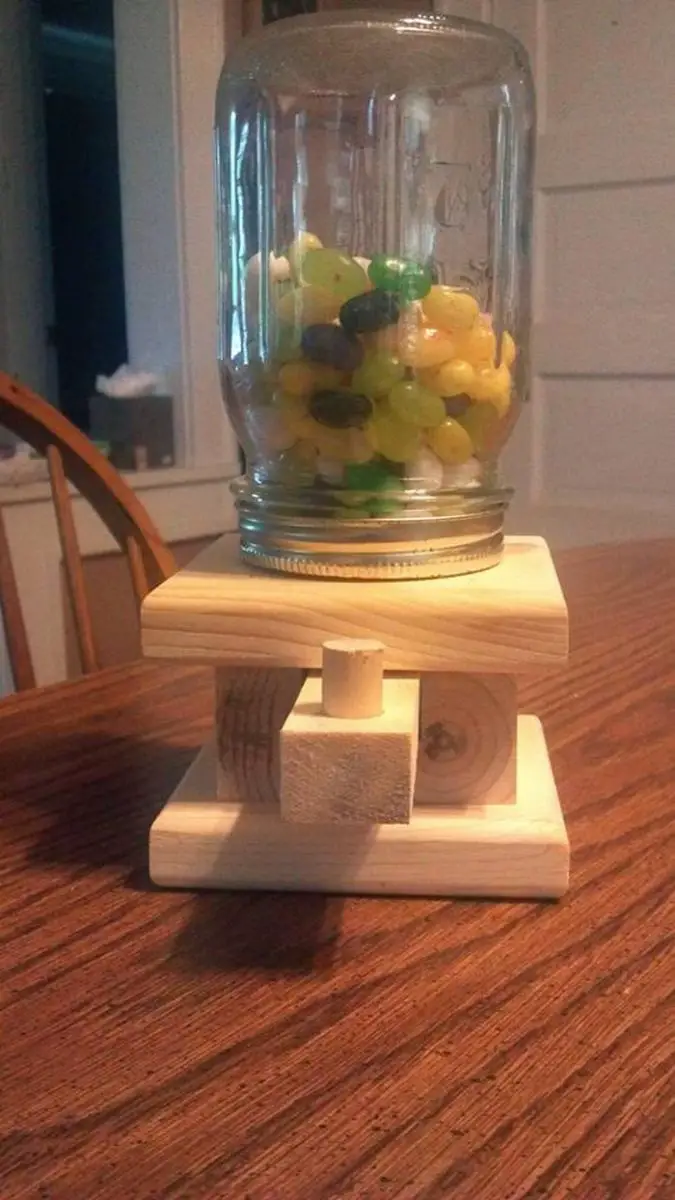
Once you do this, get the 1/4” dowel, and put it in the small hole in the mechanism. (long piece of wood) mark the dowel so just a small bit goes above the top 4×4” piece. Cut and glue inside the hole.
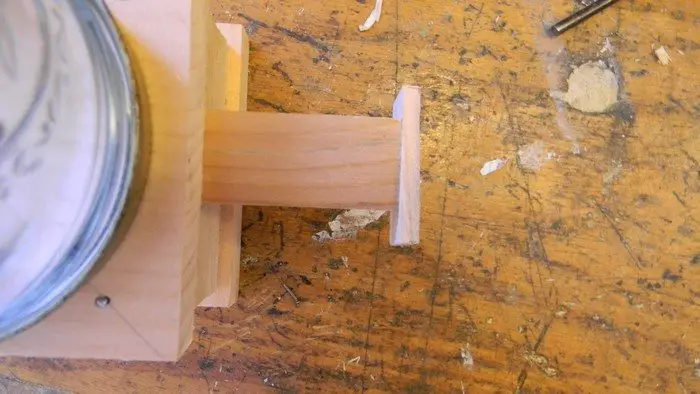
Now take the thin scrap wood and cut a piece that is about 1/2” bigger than the back of the mechanism. Making sure the wood is inside the opening, glue to the back, and add a small nail if you wish.
You should now have a working dispenser, with out the jar on top.
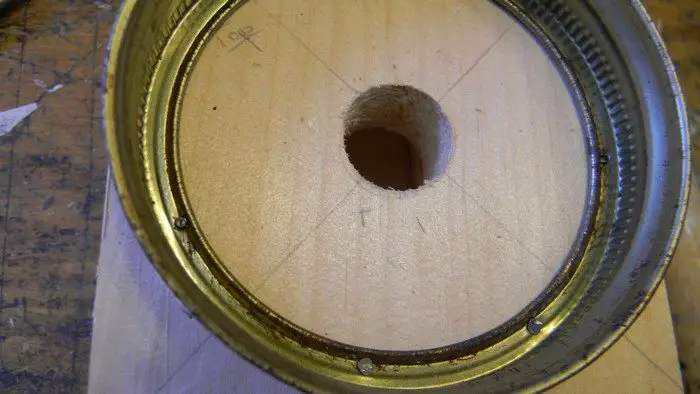
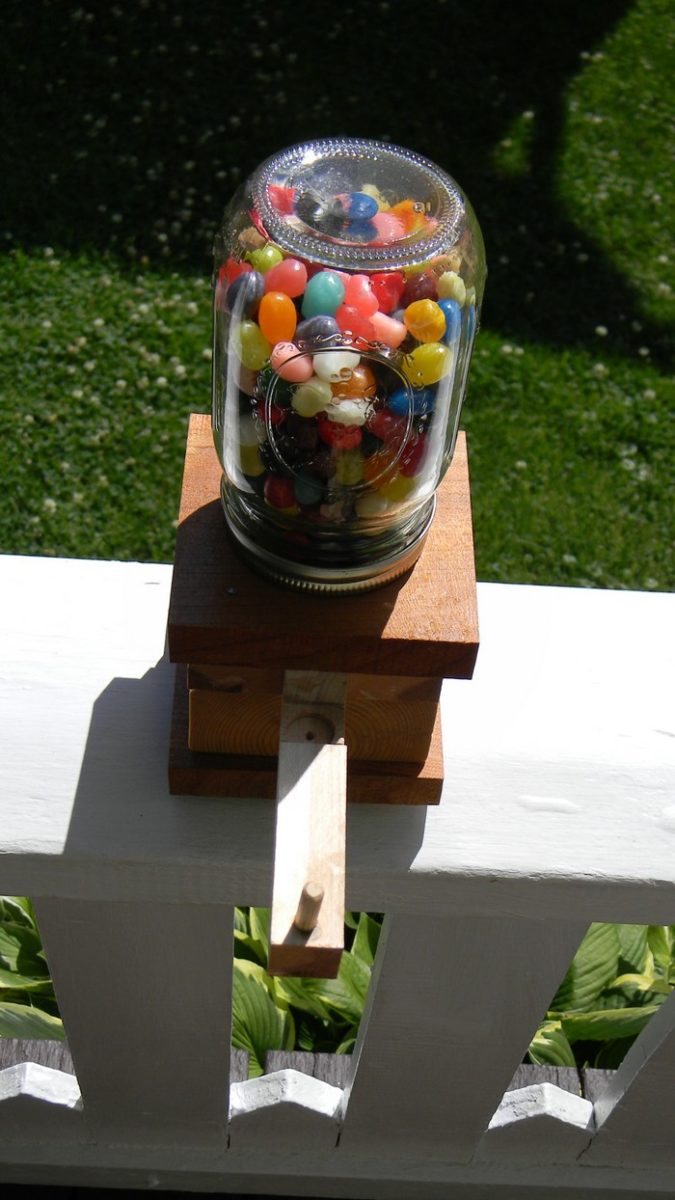
The jar: Take the lid to your jar. Make sure it has a hole in it bigger than the hole in the top piece of the wood…
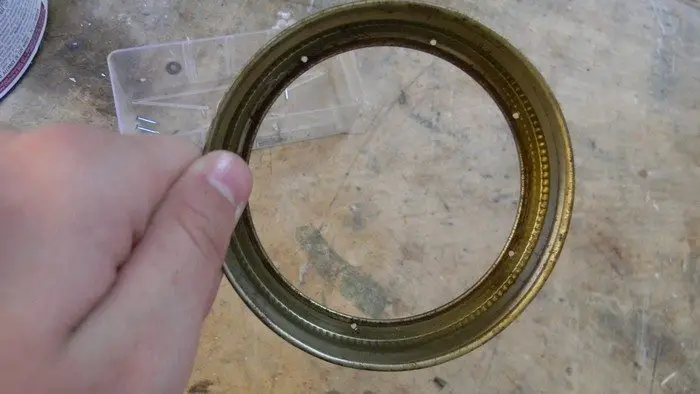
and carefully drill about six holes in it that are the size of your very small nails.
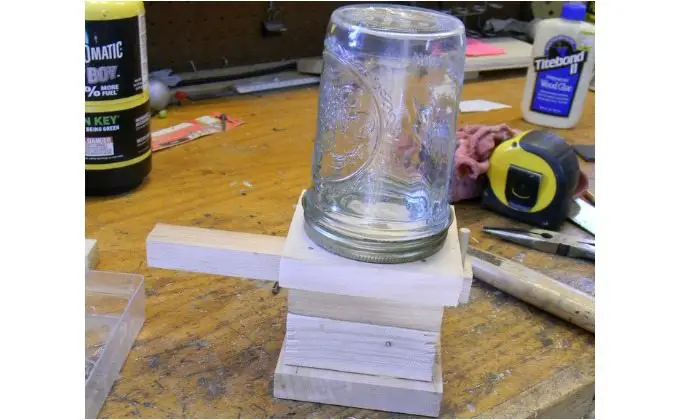
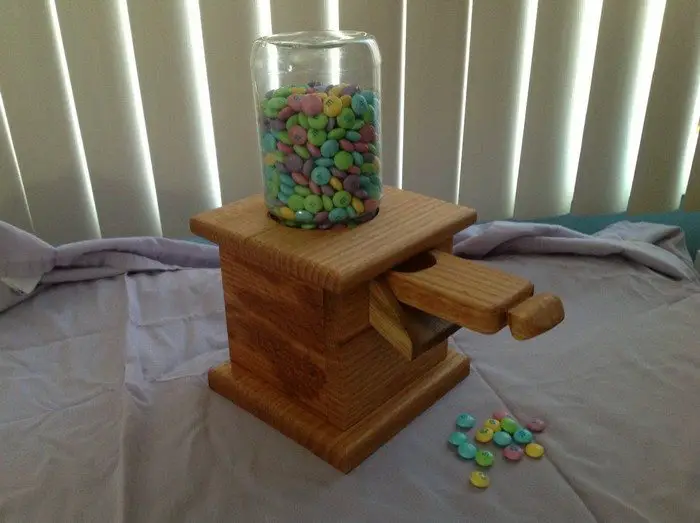
Center the lid on the top of the dispenser, and using a hammer and punch, carefully nail it in place. put on the jar, and voila, you have an almost finished jelly bean dispenser!

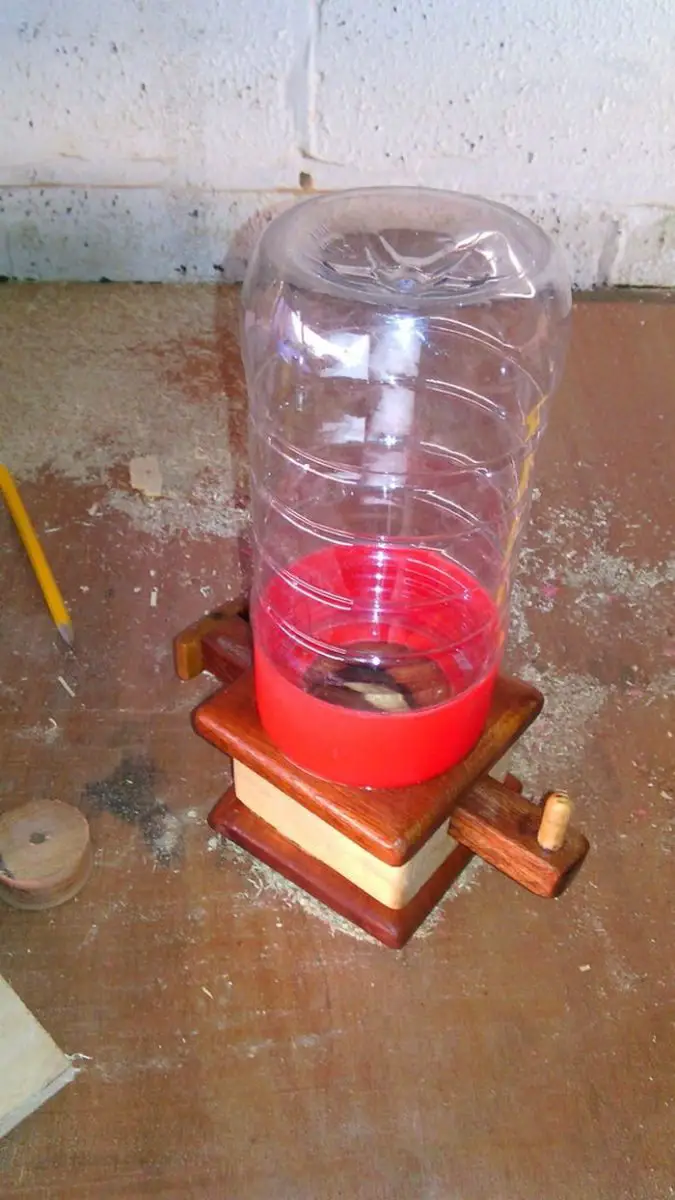
Erase any pencil marks, add a coat of varnish, paint, or polyurethane, and you have a finished jelly bean dispenser! For a cooler design, you could try using an old lightbulb for the jar, or even a tree stump instead of the wood!
Thanks to OutdoorGirl16196 for this great project.
Creative Customization Ideas for Your Jelly Bean Dispenser
Though making a jelly bean dispenser is enjoyable, adding your own touches can make it quite unique. The following inventive personalization ideas will help you create a distinctive and striking jelly bean dispenser. These suggestions will enable you to personalize your dispenser for usage personally or as a gift.
Paint and Stain Choices
Your jelly bean dispenser can be transformed only by changing the colour. For children’s appeal, use vivid, playful colours; for kitchen design, match it. Paint might not be as rustic as wood stain. To produce a lively, whimsical look, you can also mix and match the colours for various dispenser components.
Decorative Elements
Make your jelly bean dispenser stand out by including decorative components. Paint designs or forms onto the wood using stencils. Fix little ornamental pieces like stickers, buttons, or wooden cutouts. Use little bits of cloth or metallic embellishments for a more put together appearance.
Personalization with Names and Messages
Your jelly bean dispenser may be made much more memorable by adding names or other messages. Add a heartfelt message or paint or etch the recipient’s name. As such, the dispenser is a considerate and original present for holidays, birthdays, and other significant events.
Themed Designs
Plan the theme of your jelly bean dispenser. Decorate and colour a dispenser with Easter, Halloween, or Christmas themes. Themes centred on interests or pastimes, such as a favourite character, movie, or sports team, are also available.
Alternative Containers
Give other containers for the candy some thought instead of a regular mason jar. Your jelly bean dispenser might have a distinctive spin from an old lightbulb, an antique glass bottle, or even a little beautiful vase. Check that the container you select can be fastened to the dispenser and is safe for food.
Engraving and Woodburning
Adding engraving or woodburning to your jelly bean dispenser will make it look both professional and personal. Use these methods to paint on the wood elaborate patterns, designs, or even beautiful artwork. While this approach calls just a little more expertise, the end product is exquisitely personalized.
Functional Additions
Added features will improve the operation of your jelly bean dispenser. Include a tiny chalkboard or whiteboard area for notes or candy refill tracking. A tiny shelf or drawer can be attached as well to store more sweets or little toys.
Eco-Friendly Options
For the environmentally concerned, think about building your jelly bean dispenser out of salvaged or reused materials. Make an eco-friendly and distinctive dispenser using leftover wood, old jars, or other recycled materials. This offers your creation a story in addition to revitalizing aged materials.
Incorporating Lights
Add LED lights to your jelly bean dispenser for a fun, glowing effect. Use battery-operated string lights or small LED strips. Attach them inside or around the dispenser to make it attractive, especially in low light conditions. This can create a festive ambiance for holidays or parties.
Magnetic Decorations
Use magnets to attach decorations to your jelly bean dispenser. This allows you to easily change the look of your dispenser based on the season or your mood. Magnetic decorations are easy to make and can be swapped out quickly, providing a dynamic and versatile design.
Adding a Handle
Attach a decorative handle or knob to the side of your dispenser. This makes it easier to move and adds a unique touch. Choose a handle that matches the style of your dispenser, whether it’s vintage, modern, or whimsical. It can also serve as a talking point for guests.
Creating a Viewing Window
Cut a small window in the side of your jelly bean dispenser and cover it with clear acrylic or glass. This allows you to see the candy inside and adds an interesting visual element. Be sure to sand the edges smooth to avoid any sharp edges, ensuring safety and aesthetics.
Incorporating Fabric
Wrap parts of your jelly bean dispenser with fabric to add texture and color. Use patterned fabric, burlap, or even lace. Secure the fabric with glue or small tacks for a snug fit. This can create a cozy or rustic look, depending on the fabric chosen.
Using Decoupage
Apply decoupage to your jelly bean dispenser using decorative paper, tissue paper, or even fabric. This technique allows you to add intricate designs and patterns without painting. Seal with a clear varnish to protect the surface, ensuring durability and a polished finish.
Attaching Small Hooks
Add small hooks to the side or back of your jelly bean dispenser. These can hold mini scoops, keys, or even small notes. It’s a functional addition that adds convenience and style, perfect for keeping things organized and accessible.
Adding a Base
Attach a decorative base to your jelly bean dispenser. This could be a small wooden stand, a ceramic plate, or even a metal tray. A base adds stability and can enhance the overall look of your dispenser, giving it a more finished and professional appearance.
These inventive customizing ideas will help you make your jelly bean dispenser genuinely unique. Enjoy the creative process and the happiness it brings you and others.
Conclusion
Creating a jelly bean dispenser is a fun and rewarding project that offers endless customization possibilities. Adding personal touches ensures your dispenser is unique and special. Enjoy crafting it and sharing sweet treats with family and friends.
We have more candy-related ideas for your kids. Check out our custom pinata project next!


