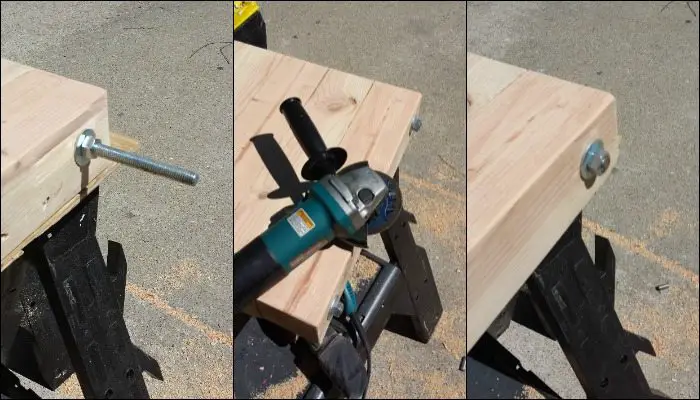
I then put bolts and washers on the threaded rods for my no-weld tire rim grill and then grinded off the extra piece of threaded rod. Then I drilled (and sanded) holes to accommodate the lag bolts on top and the wheels on the bottom.
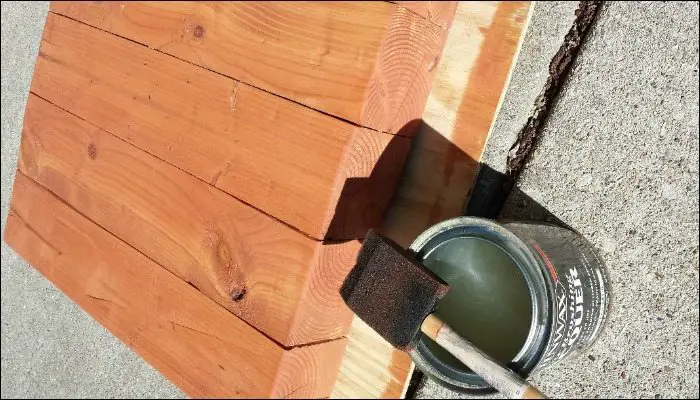
The final step for the no-weld tire rim grill’s base was a coat of stain and lacquer.
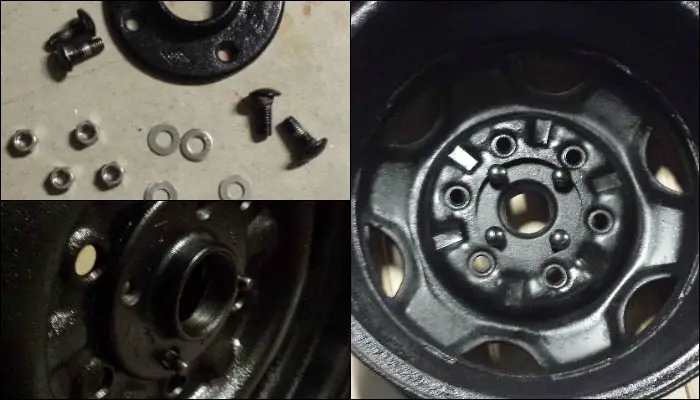
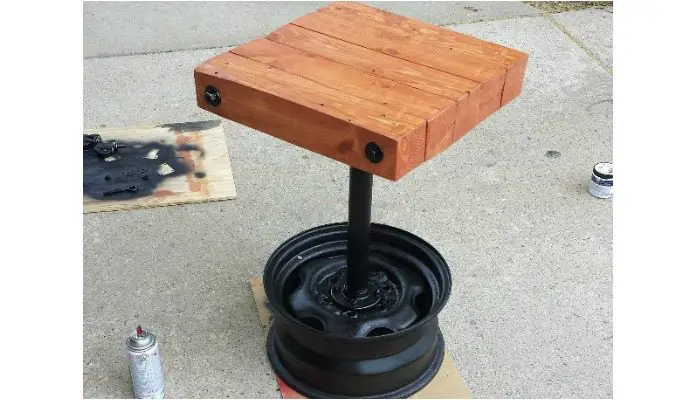
Rim to Pipe to Base: To attach the steel pipe flange to the rim I used smooth top bolts (with the widest possible heads). Simply insert the bolts into the flange while making sure the lip of the bolts make maximum contact with the lip of the rim’s center hole of my no-weld tire rim grill. It may not seem like much contact but once tightened I was able to attach the steel black pipe and pick up the rim by the pipe without any give whatsoever.
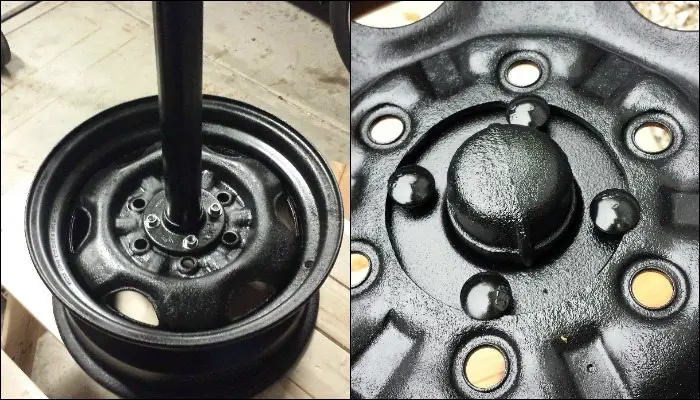
I covered the hole of the pipe with a 1″ cap which fit nicely on top (so ash wouldn’t get in). I painted it with high heat paint also.
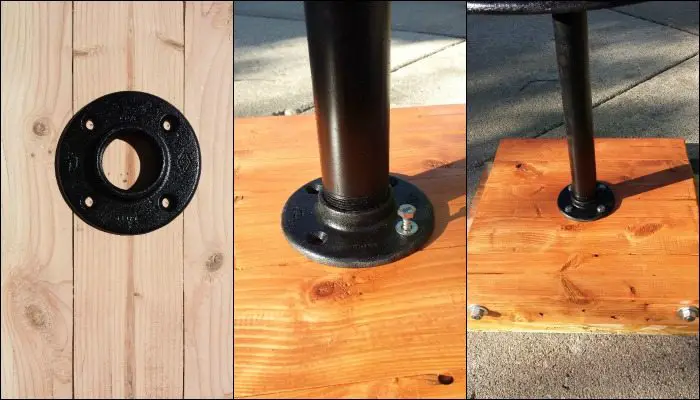
The pipe screws into the flange of the rim on one end and the flange of the base on the other. The base flange of my no-weld tire rim grill is secured by lag bolts and washers. These I also painted.
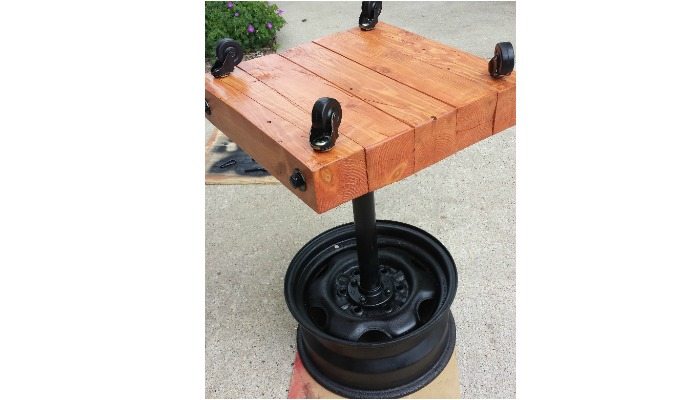
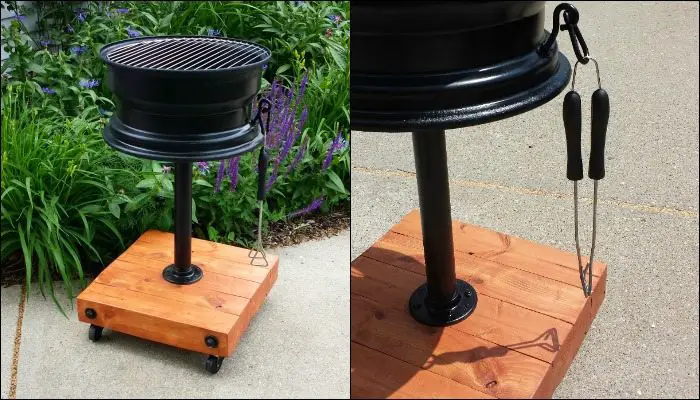
Finishing touches: The no-weld tire rim grill is on the heavy side so I inserted wheels into holes on the underside of the base for easier movement.
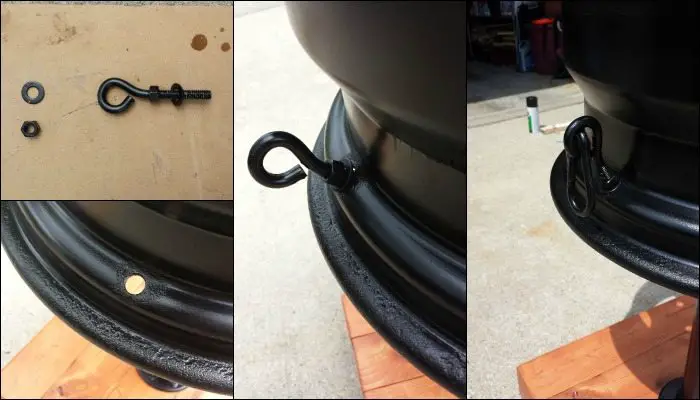
I used the hole from the valve stem to attach an eye hook with a couple of nuts and added a carabiner clip so I could hold all my grilling implements (tongs, brush, spatula).
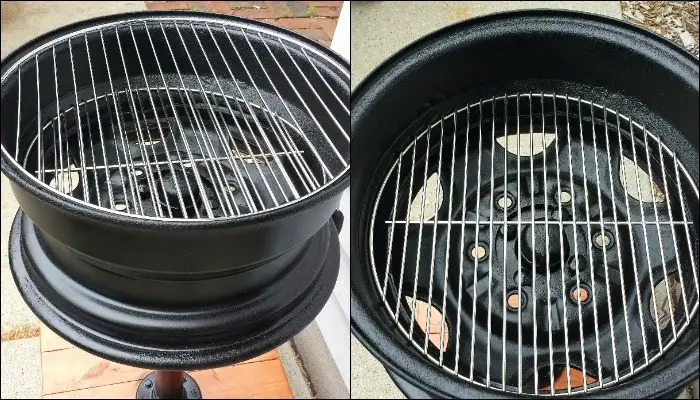
Finding appropriate sized grates was tricky but with some internet searching I found a grate that would fit low in the grill to hold the charcoal and another to fit on top to hold the food. One grate could suffice as the coals could be placed directly into the rim without any hazard (only stainless or raw steel was used as opposed to zinc or galvanized metal) but I felt that coals may fall through the outer grill holes and land on the wood below if left uncovered.
Conclusion: I am very satisfied with my grill both in looks and functionality. As someone who has not yet learned how to weld (but would like to!) it was a challenge to think of a way to make a secure metal structure but I believe I succeeded.
Also if the wheels are removed and the grill is flipped upside down it makes a pretty stylish table. :)
Thanks to AmateurHour for this great project!
Safety Precautions and Considerations
Taking on a DIY no-weld tire rim grill project is both rewarding and fun, but it’s crucial to keep safety at the forefront. Here’s a straightforward guide to ensure you handle the process safely and enjoy your homemade grill without any hitches.
Cleaning Up the Tire Rim
First things first, make sure the tire rim is squeaky clean before you start assembling your grill. Old tire rims can be coated in oil or bits of rubber, which can give off nasty fumes when heated up. I recommend taking the rim to a professional for sandblasting if possible. Always do this outdoors or in a well-aired space to avoid breathing in any harmful particles.
Doing the Initial Burn Right
Once your no-weld tire rim grill is assembled, you’ll need to do an initial burn. This step is vital to burn off any leftovers from the cleaning process. Make sure you’re outside in a clear area away from anything flammable. Keeping a fire extinguisher on hand is a good idea just in case things don’t go as planned.
Choosing Safe Materials
When it comes to painting your grill or adding any modifications, stick to materials specifically designed for high heat. Regular paints or materials might not only wear out quicker but can also be toxic at high temperatures. Always double-check the labels to make sure they’re safe for use on a grill.
Tool Safety
Building your grill requires tools like drills, saws, and grinders. It’s essential to wear protective gear such as gloves, safety goggles, and ear protection when using these tools. If you’re not already familiar, take some time to read through the user manuals to avoid any mishaps.
Check Your Workspace
Before you dive into building your no-weld tire rim grill, it’s crucial to organize your workspace. Ensure that your working area is free from clutter and has enough space to move around safely. A tidy workspace will help prevent accidents, especially when handling large or sharp tools.
Handling Heavy Components
The tire rim itself can be quite heavy and awkward to maneuver. When moving the rim or assembling the grill, make sure to lift properly, using your legs rather than your back to avoid strain or injury. If possible, have someone help you with the lifting and assembly to make the process smoother and safer.
Regular Inspection During Use
Once your no-weld tire rim grill is up and running, regular checks are important. Before each use, inspect the grill for any loose bolts or signs of wear and tear. Make sure that everything is secure to prevent any parts from becoming hazardous while the grill is hot.
Safe Lighting Practices
Always use the right lighting supplies, such matches or a long lighter, when it’s time to light your no-weld tire rim grill. Avoid utilizing combustible liquids that can ignite dangerously, such as alcohol or gasoline. When lighting, keep your face and any combustible objects away from the grill.
Disposal of Ashes
Let the ashes cool fully after grilling before discarding. To make sure the ashes are out of the way and not a fire hazard, transfer them to a metal container and spray them with water. The ash canister should be kept outside and away from any combustible objects until you’re ready to properly dispose of it.
Keeping these safety tips in mind, you’ll be better prepared to tackle your DIY project safely and efficiently. Remember, taking the necessary precautions not only ensures your safety but also extends the life of your no-weld tire rim grill. Enjoy building and grilling!
Conclusion
Building a no-weld tire rim grill is a rewarding DIY project that combines creativity with practicality. By following detailed safety guidelines and using the right materials, you can create a durable and stylish grill that enhances your outdoor cooking experiences. Remember to regularly maintain your grill to ensure it remains safe and functional for years to come.
We have more incredible cooking solutions for your Sunday barbecues. Check out our brick BBQ and pizza oven project next!