Pour concrete: Once everything is all prepared, mix up 1 part cement to 3 parts sand and mix well. Add water until the texture of thick oatmeal is achieved. Carefully plop into form. Add until about halfway full, and spread mix up sides. Vibrate VERY well to gt rid of air bubbles. Now mix the same concrete mix ratio but add a good amount of glass fiber, and fill mold up the rest of the way. Screed over the top with a straight 2×4.

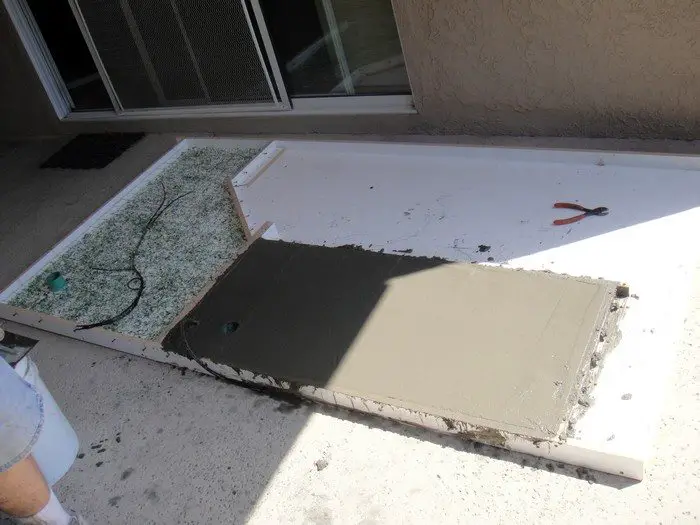
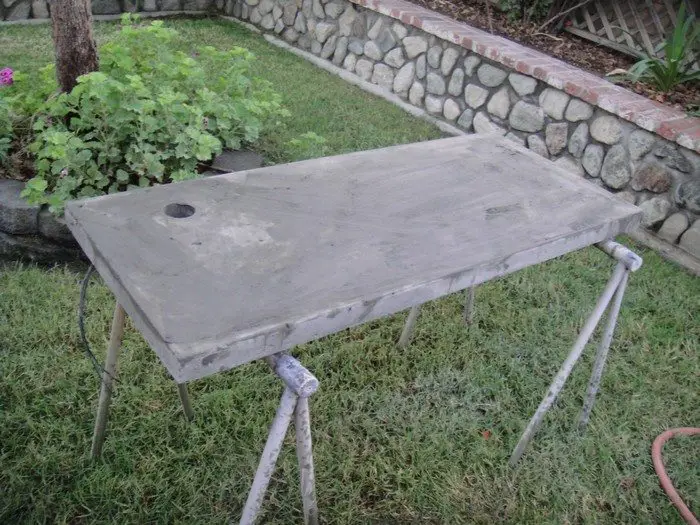
After a day of drying, cover with wet towels to slow the curing process and increase strength. It is safe to unmold after at least 2 days, preferably three. Unfortunately i didn’t vibrate nearly well enough and got some major holes in mine, but all is not lost
To unmold, I took off the sides, then use a shovel and some bricks as a lever to lift some sides. This caused it to peel off enough to get my fingers under the lip and peel it off the rest of the way.
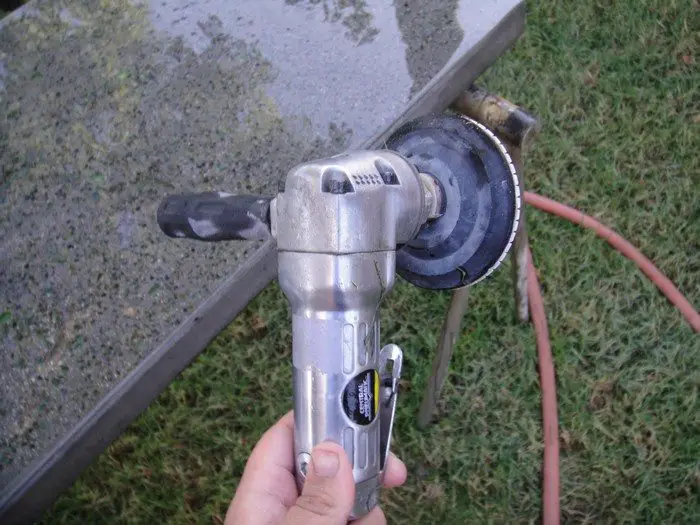
Grind and fill holes: Even if your slab has as many holes and voids as mine, the first thing you need to do is grind away the surface and expose the glass and embedded objects. The point of this is to get rid of the spry adhesive residue and stuff on the surface and to open up the tops of the holes to make it easier to fill them. Don’t wear anything you don’t want to get covered with concrete mud!
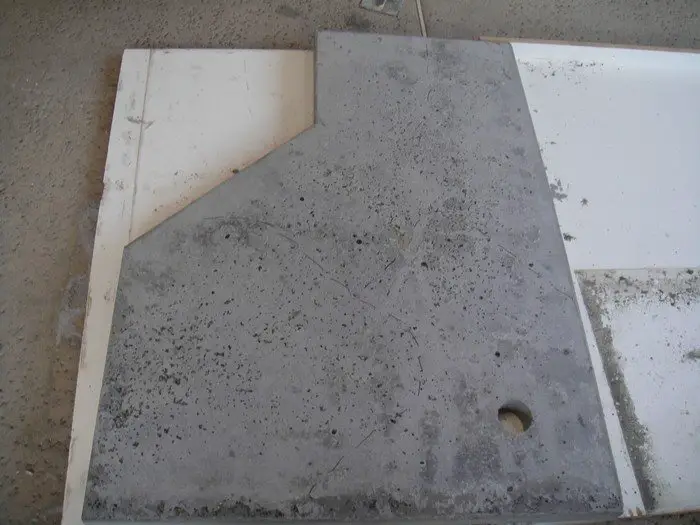
Next, let the slab dry and mix up some pure cement with some pure acrylic fortifier, until it is smooth and about the consistency of a shake. If it doesn’t pour easily it is too thick. I found doing it in three stages worked best, as the stuff likes to shrink as it dries. spread one coat evenly over the surface, working it into the holes and voids. Let it dry a bit until it has set up pretty well, then scrape all of the extra off of the surface. now repeat this process, filling in any holes you missed or holes that didnt fill all the way.
Lastly repeat again, but do not scape off the extra. Leave a layer of the mix on the surface in case it shrinks more than expected. Let this cure overnight,then grind it off with the roughest polishing pad, probably 50 or 100 grit. Inspect for any holes that didn’t take the patch material well, and repeat the process if necessary. Surface should feel smooth, and the filled holes may be darker.
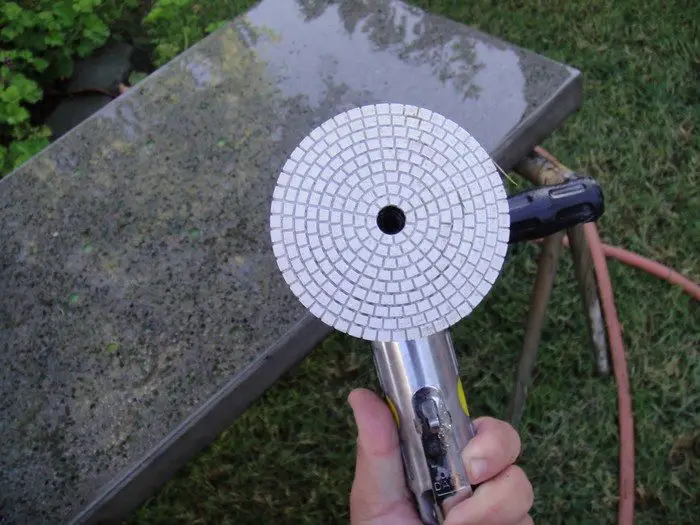
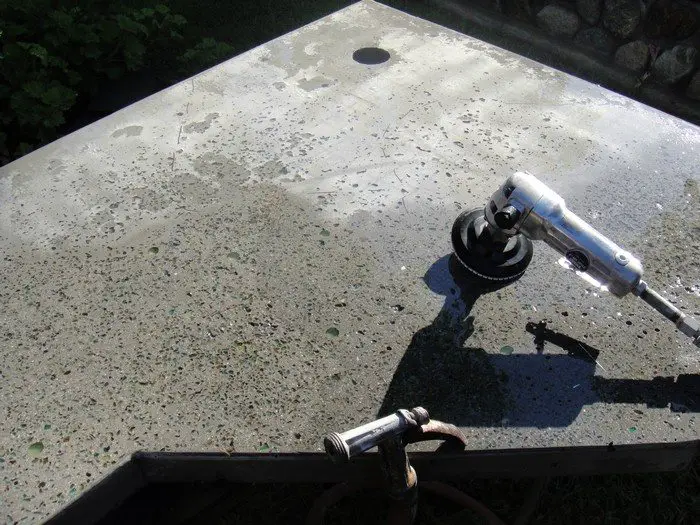
Polish: I don’t have many pictures of this step since it is hard to hold the grinder, spray the hose, and take pictures simultaneously, but what you want to do is keep the polishing pads wet at all times, and slowly and evenly polish the whole surface with each pad until you reach 1500 grit. The polish pad set comes with a 3000 grit pad, but the sealer needs a small amount of roughness to adhere well.
Be careful not to gouge the surface with the grinder or you will be able to tell in the shiny surface when you have finished.
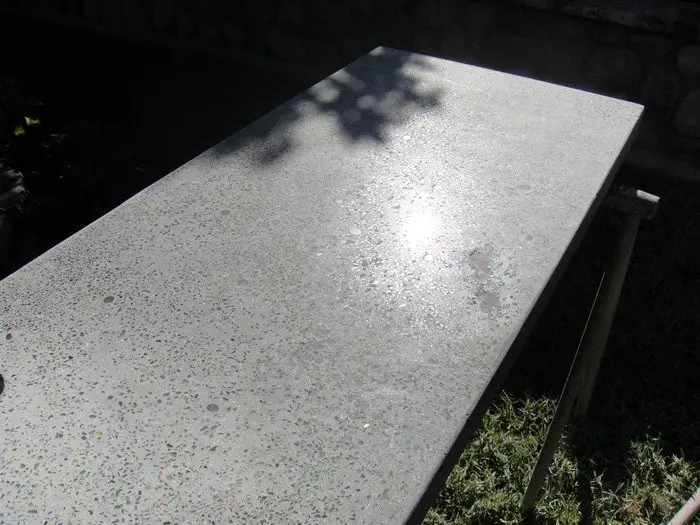
When it has been polished completely, apply sealer to the surface and let dry. A few coats may be desired. Buff the surface with paste wax and wipe off with a soft clean cloth or towel when dry.
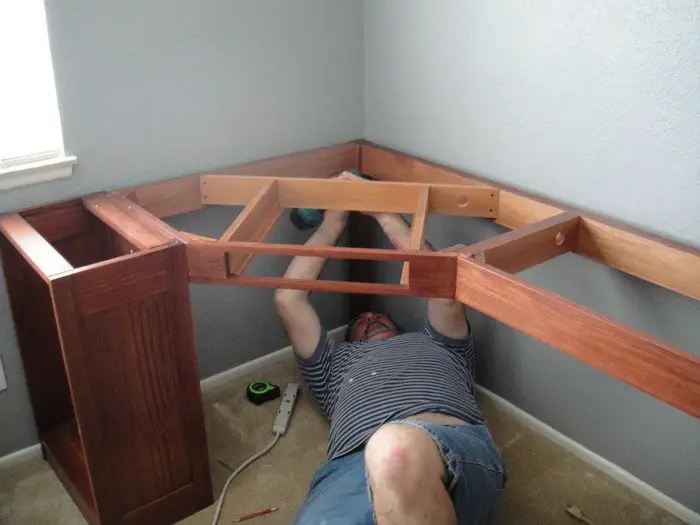
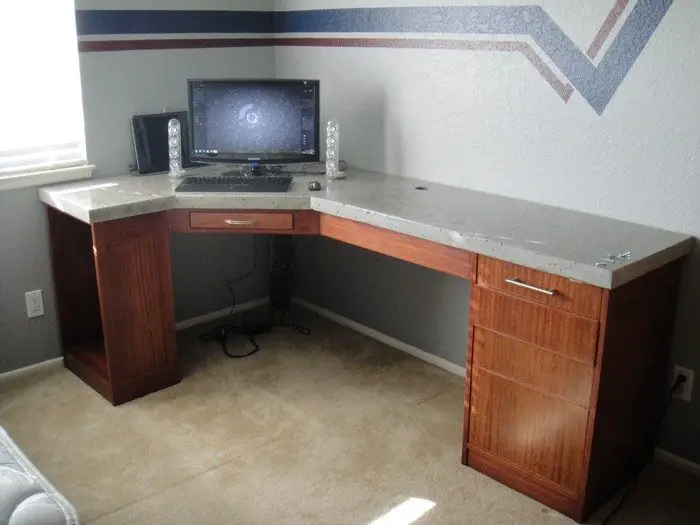
Assemble: Assemble the desk with bolts to hold the pieces together.
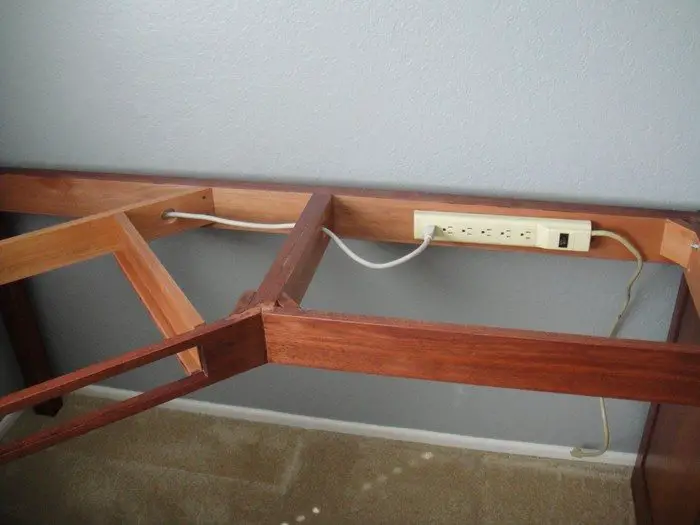
Use zip ties to route wires.
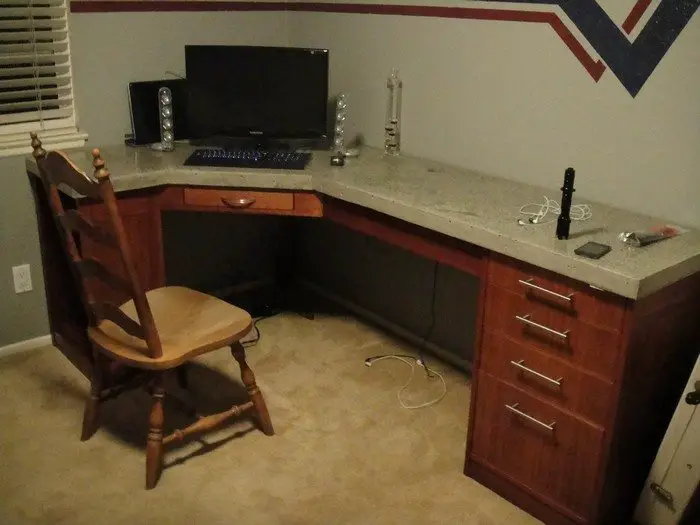
Set the concrete carefully on top, and add any drawer pulls, power strips, or other things to finish it off.
Thanks to hivoltage for this great project!


