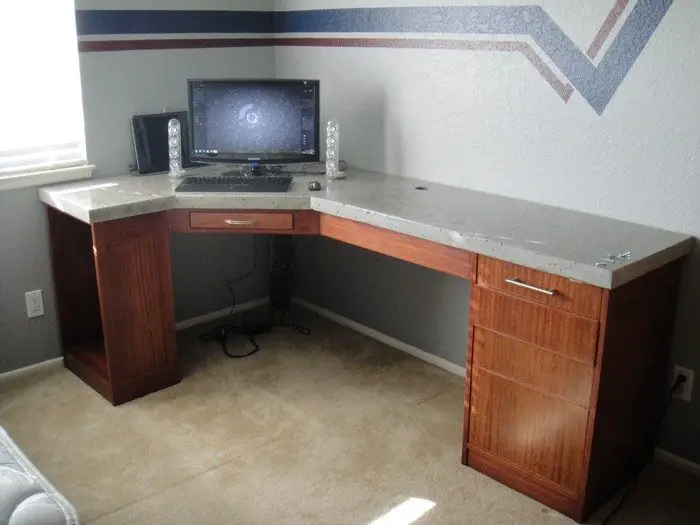
This DIY project will guide you on how to make a polished concrete desk embedded with crushed glass ornaments.
Most of us spend a lot of time responding to emails, reading, and writing everyday correspondences even when we’re at home. The fact is, modern information technology has created a new work lifestyle that demands a home office.
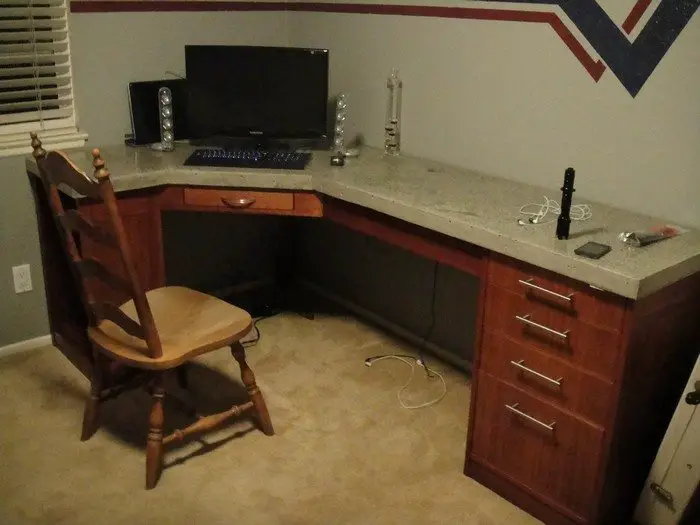
Of course, your home office should have a personal computer and some space for file storage. You will also need a good, spacious desk.
Ever wanted a work/study desk that exactly fits your space and needs? You don’t have to spend money on one. You can design and build your own! Why not make it a concrete top, too, so that it’s a heavy-duty desk? It’s not a very hard DIY project… :)
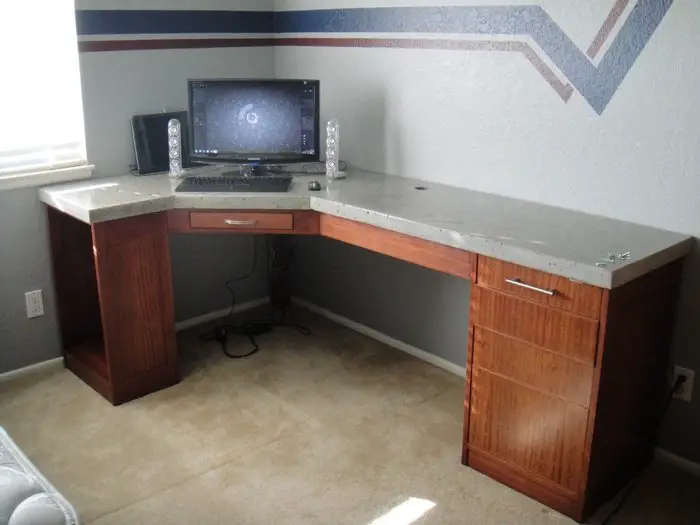
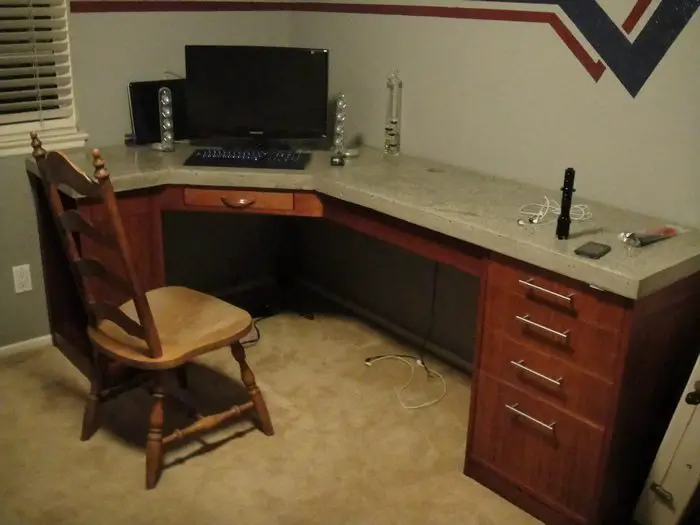
The desk featured is custom-designed to suit the room it’s placed in. So if you’re planning to make your own polished concrete desk, feel free to change the layout and measurements according to your space. Its features and look should cater to your specific usage requirements and taste!
You can use other types of wood and embed a different type of decorative material in your concrete top. The possibilities are endless when designing your own DIY desk!
Read on to see how this DIY-er made his custom concrete desk and be inspired to build yours!
Does this kind of desk suit your needs?
Materials:
- 30-35 board-feet of Lyptus Wood
- 1 sheet Lyptus Plywood
- Birch Plywood
- 2 sheets of 3/4″ Melamine
- 2 94lb bags Portland Cement
- 6 50lb bags Washed Plaster Sand
- Glass Fiber
- Spray Adhesive
- Acrylic Concrete Fortifier
- Tube of Silicone Caulking
- Drawer Slides
- Drawer Pulls
Optional:
- Crushed Glass
- Fiber Optic Cables
- Other Decorative Elements
Tools:
- Air-powered or Waterproof Angle Grinder
- Polishing Pad Set
- Concrete Working Tools
- Woodworking Tools
Click on any image to start the lightbox display. Use your Esc key to close the lightbox. 8-)

Steps:
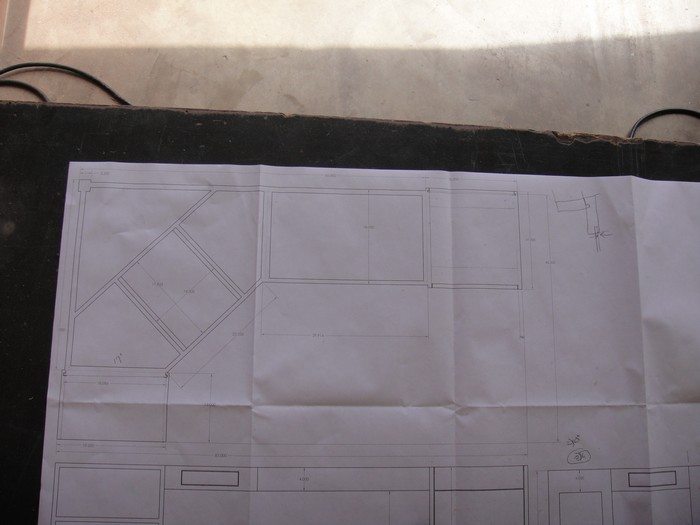
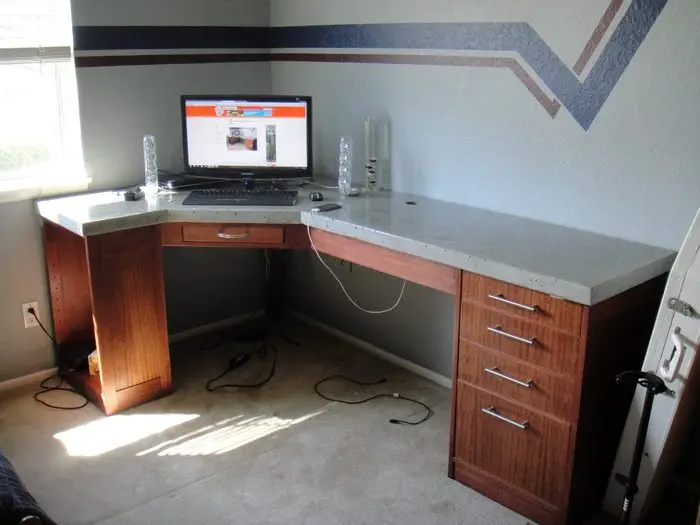
Plan and layout the desk. Take measurements of the location you plan to place it. Nothing is worse than building something you wont be able to use. Make sure the concrete is broken up into manageable pieces both to prevent fractures, and to make sure that it is humanly possible to carry it to its final location! Also consider styling and other design elements. I decided to build a relatively minimal and modern corner desk.
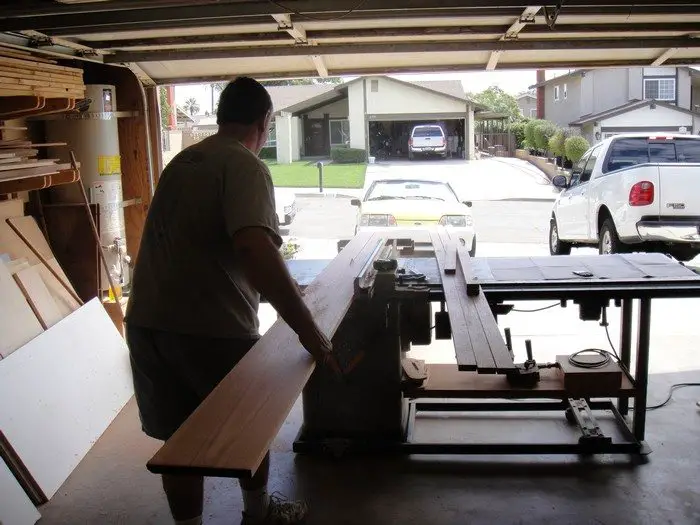
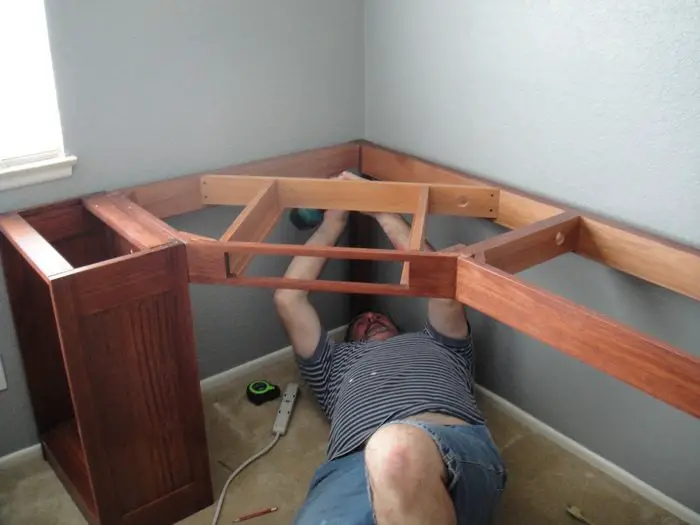
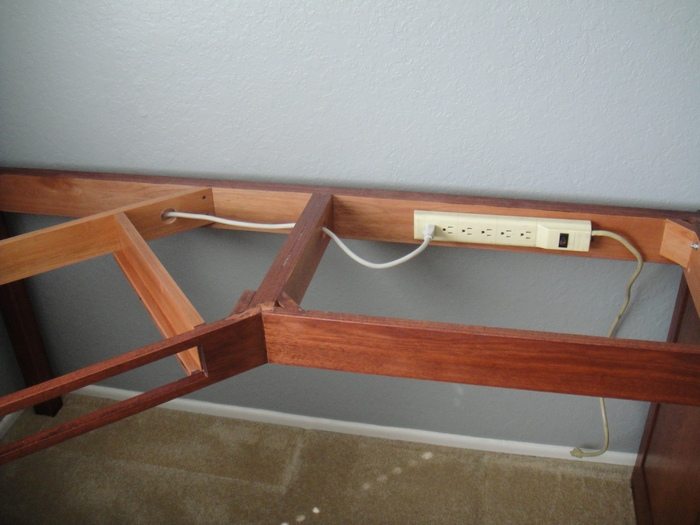
Build the wood desk frame: I am not going to describe in depth this part, partly because I did not take enough pictures and partly because my dad mostly did this part. My desk is constructed of lyptus, which i found out is a genetically modified combination of Eucalyptus and Mahogany.
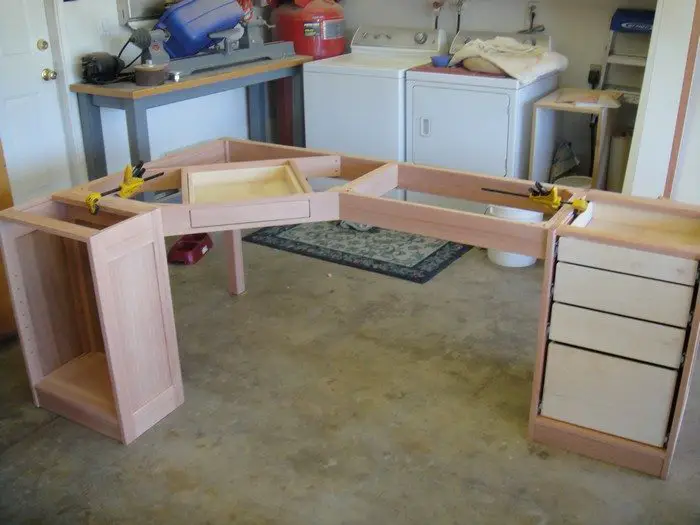
It has two shelf/drawer cabinets ant the ends supporting a center frame with a pencil drawer. The main structural parts of the desk are double thicknesses of solid wood. The cabinets are made of panels holding a piece of plywood to cut down on the amount of solid wood necessary for this project.
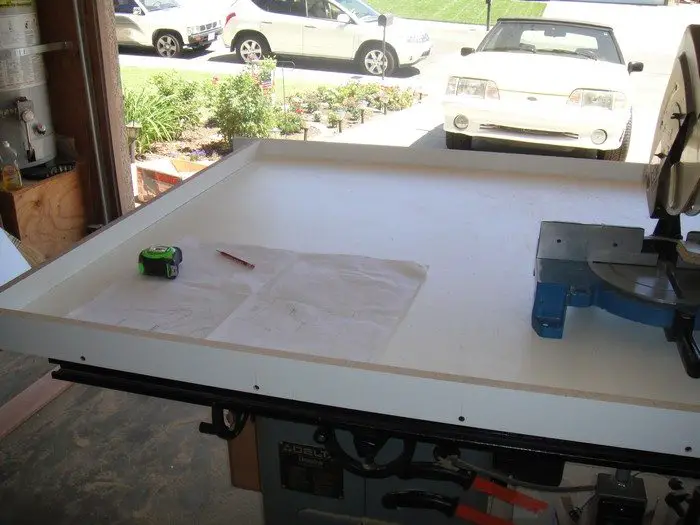
Build concrete form: For the concrete portion of this project I followed doubleabattery’s excellent concrete counter top tutorial.
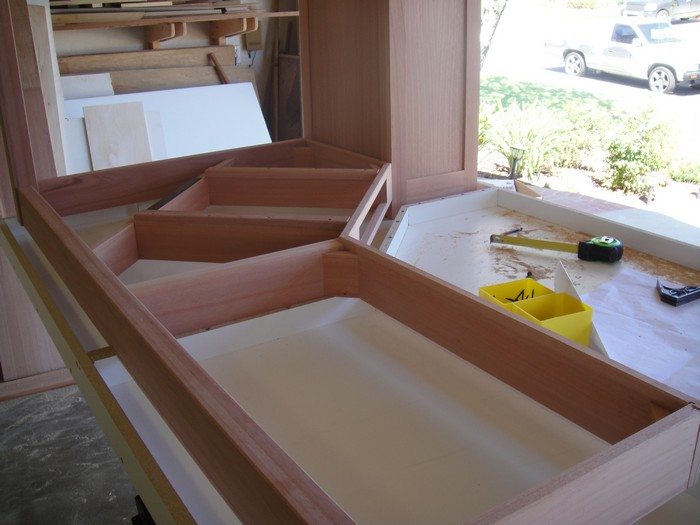
The form was constructed out of 3/4″ melamine sheet, with sides 2″ high to ensure the concrete is strong enough. measure your desk frame and make the mold accordingly. make sure to test fit your desk before casting the concrete! It is easier to make changes now than later when it is literally set in stone. Use silicone in the corners to radius the edge of the concrete when it comes out of the mold.
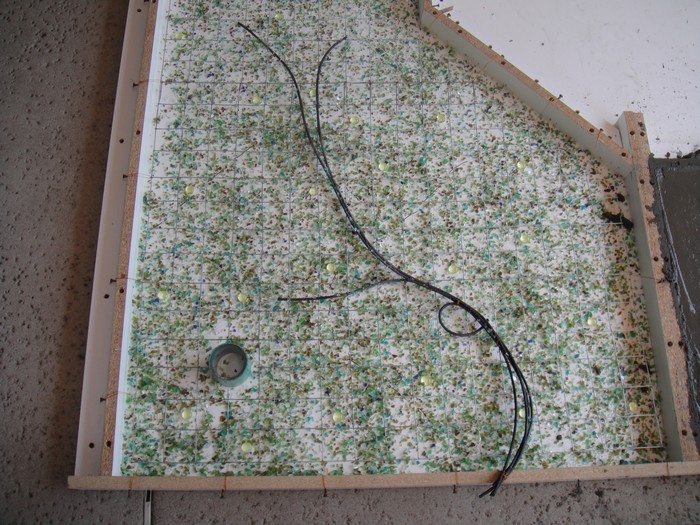
Add support and embedded objects: Now is the time to add both the wire mesh support (I used K-lath) and any decorative crushed glass or embedded objects you wish to be exposed in the surface of the desk later! Also place any holes you want in the desktop later. Wrap a piece of PVC pipe with some thin foam, then cover with packing tape to make a hole form.
The pipe will tap free of the foam, then you can peel the foam/tape away. Use wire to suspend the mesh 1″ above the surface of the form. This will place it exactly in the middle of the concrete. I wanted some crushed glass, so I bought some green, brown and clear glass, as well as uranium glass blobs. Recycled bottles could be a good idea. Any other rocks or other coins or other interesting objects can also work well! The possibilities are endless.
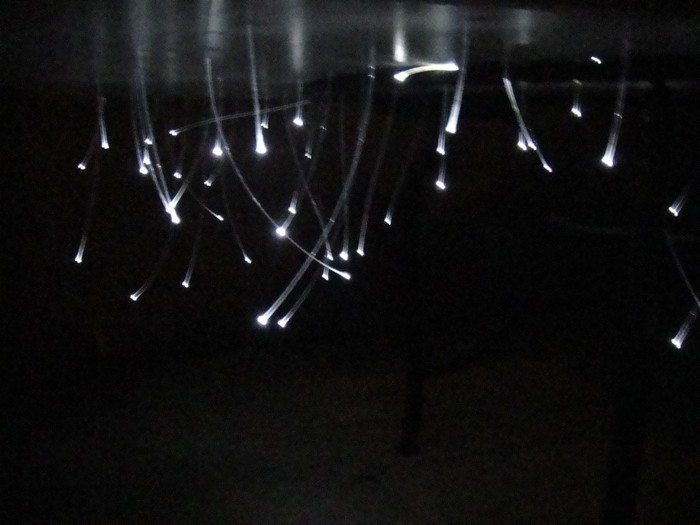
I also bought some fiber optic cables to embed into the desk. I drilled some small holes through the melamine, inserted a fiber, then hot glued it on the other side. wire down the fibers and cables before pouring. bring the bundle of fibers together at the other end to go into a light box later. when unmolded and polished they will look like stars in the surface of the desk. Use spray adhesive to hold the glass in place in the mold so they dont get pushed around by the concrete.
Continued Page 2…

