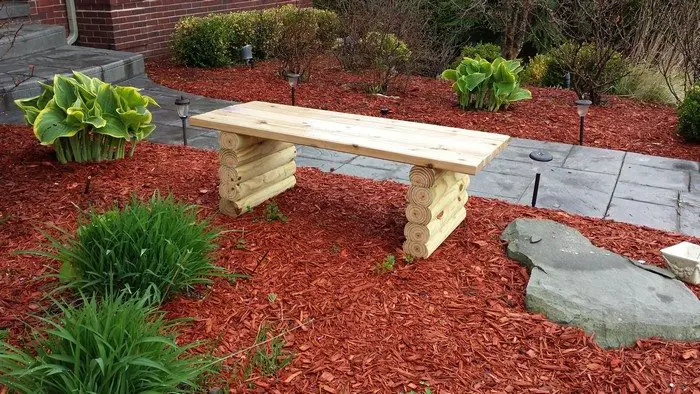
Does your garden or outdoor area need more seating? Here’s one good-looking DIY bench you might like… And it’s easy to do!
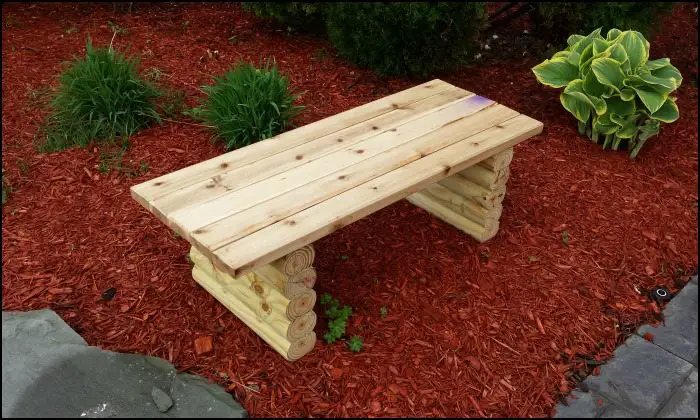
This garden bench is made with cedar and landscaping timber, making it look sophisticated in a rustic manner!
But it’s an easy furniture project which you can finish over the weekend. As you can see it has a very simple design and the building is just as simple. :)
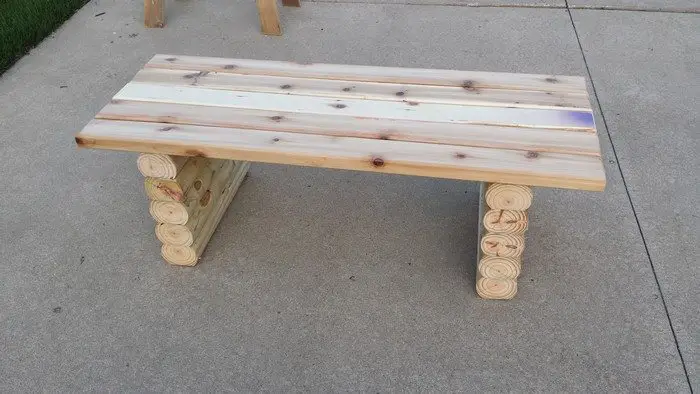
This cedar garden bench proves to be sturdy and long-lasting. But to make this outdoor bench even more secure, we suggest using a threaded rod to bring them together or adding a cross beam support to the legs.
How about you, what are your thoughts on this cedar garden bench?
Is this going to be your next weekend project? :)
Building a Cedar Garden Bench
Materials:
- 2 – 8′ Landscaping Timber
- 3 – 8′ Cedar 2 x 4 Timber
- 1 box – 2″ Deck Screw
- Outdoor Poly Finish
Tools:
- Miter Saw
- Router
- Drill
- Paintbrush
- Ruler
- Square
- Wood Clamps
Steps:
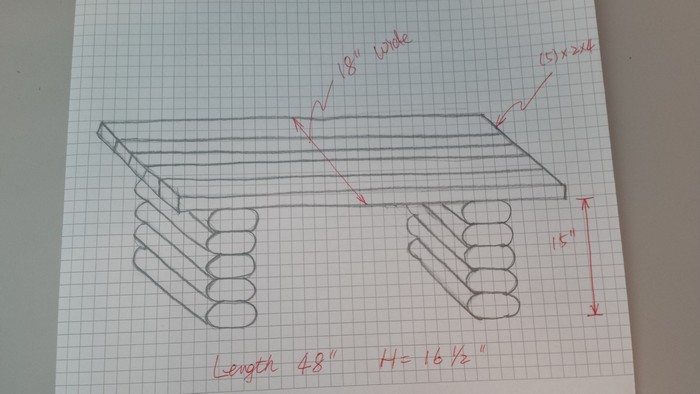
We measure all the chairs in the house, and they are about 17″ to 18″, and that’s a fairly comfortable height for us but we have two kids, in that regard, we want to create something they can enjoy as well, so the garden bench would be something at 15″-16″ in height.
The rest of the dimensions are just the reference, it should be based on the space that the bench will be placed, and the total look of the bench at individual preferences. In our case, it is 48″ (L) x 15 1/2″ (H) x 18″ (W).
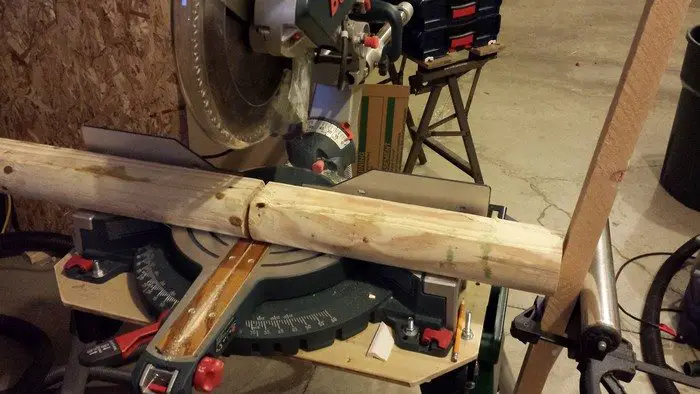
Cut landscaping timber into 18″ long sections. In order to make the identical cuts, I set a stop for my miter saw and ensure the cut length stays the same. One 8′ timber should yield (5) pieces plus a little extra, that will be one side of the bench support.
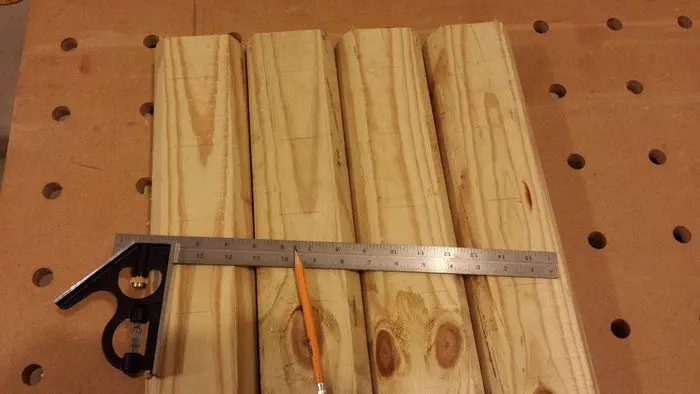
Put (4) of the support pieces side by side and draw five lines on them as pictured. The 5th piece will have to be processed in later step.
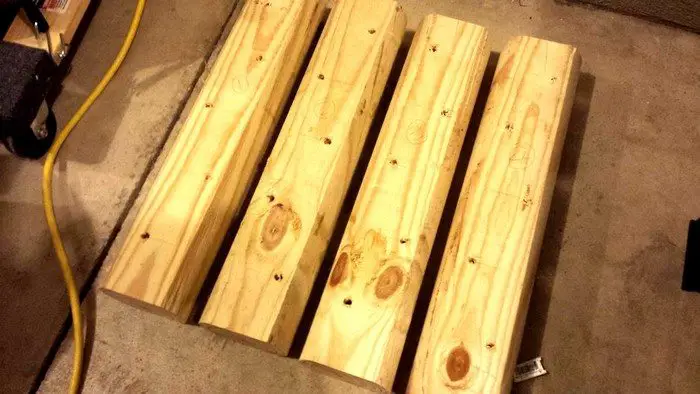
Use drill with 3/8″ drill bit to drill holes that are off-set to each other as pictured. The holes should be about 1″ from the bottom (drill about 1 7/8″ into the timber).
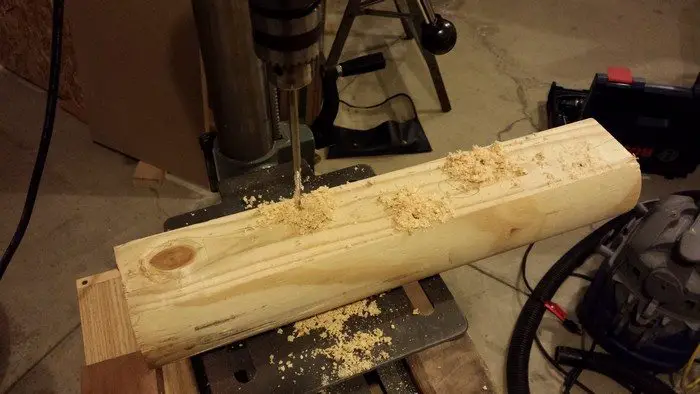
I used drill press with a depth stop, or a piece of tape on the drill bit can be used to indicate the 1 7/8 drill depth.
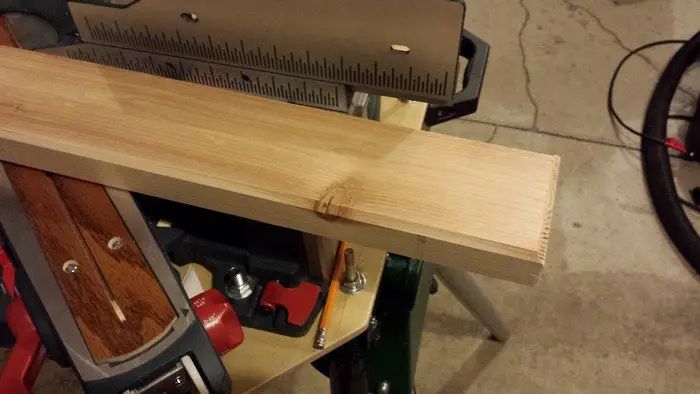
Cut ceder 2 x 4 into 48″ sections. I use router to cut a champfer on the sides, as it looks more “finished” than just use the ceder as it is with the round over edges.
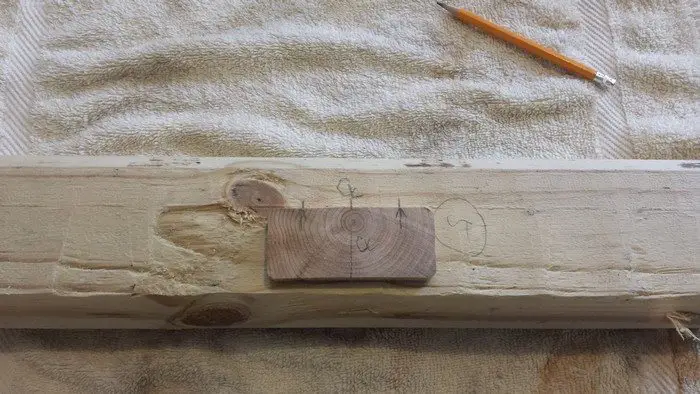
Now go back to the 5th piece of the landscaping timber, which would be the piece that all the ceder top mounted to. Use a piece of cut-off from the ceder top as template, mark two points where you would like to have the screws going to be (go through and screw into the ceder top).
Continued Page 2…

