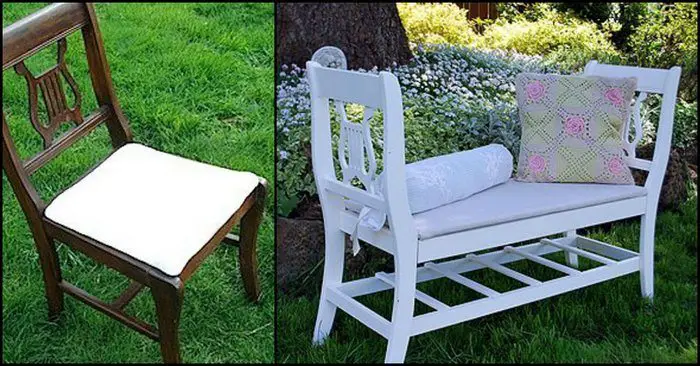
Got old and worn-out chairs you’re thinking of replacing? Go ahead, but don’t throw them out just yet! Here’s a great project to give them new life…
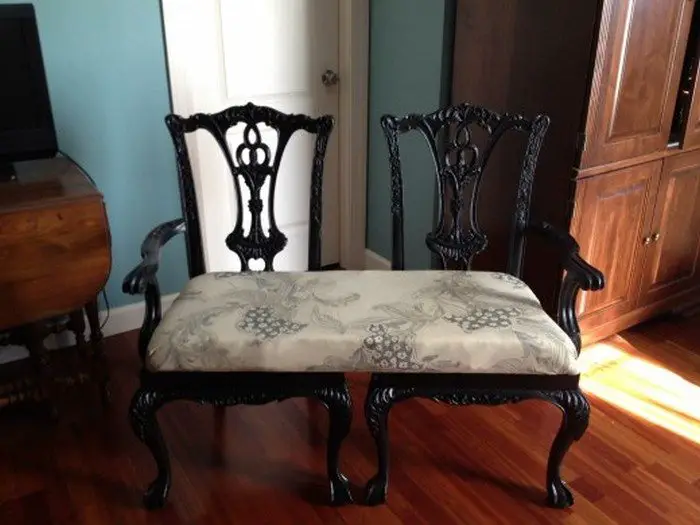
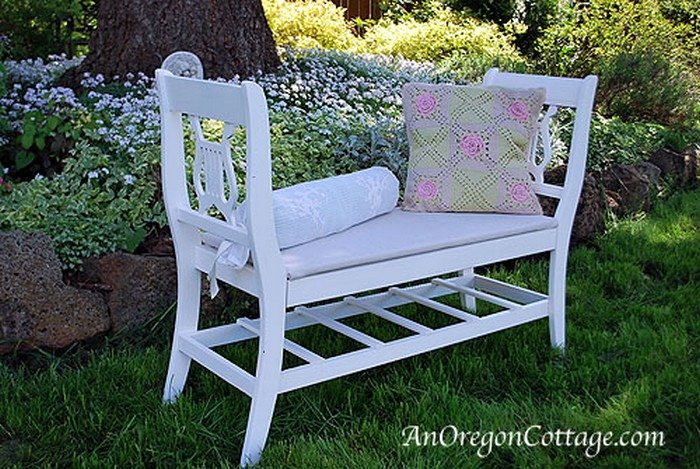
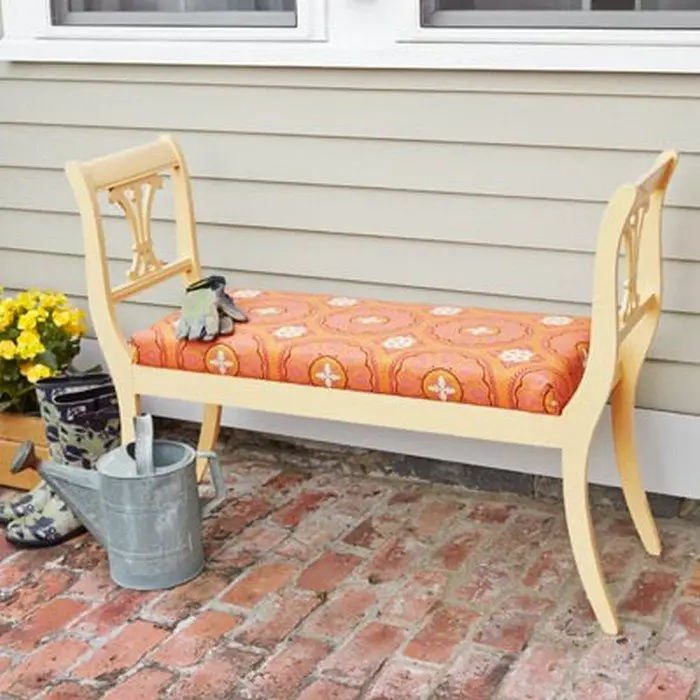
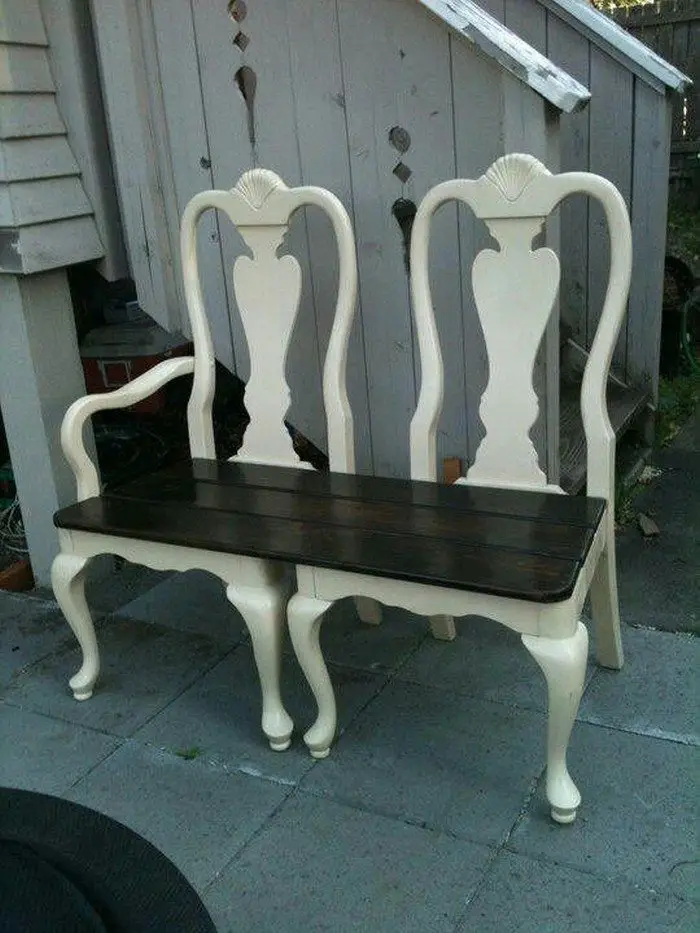
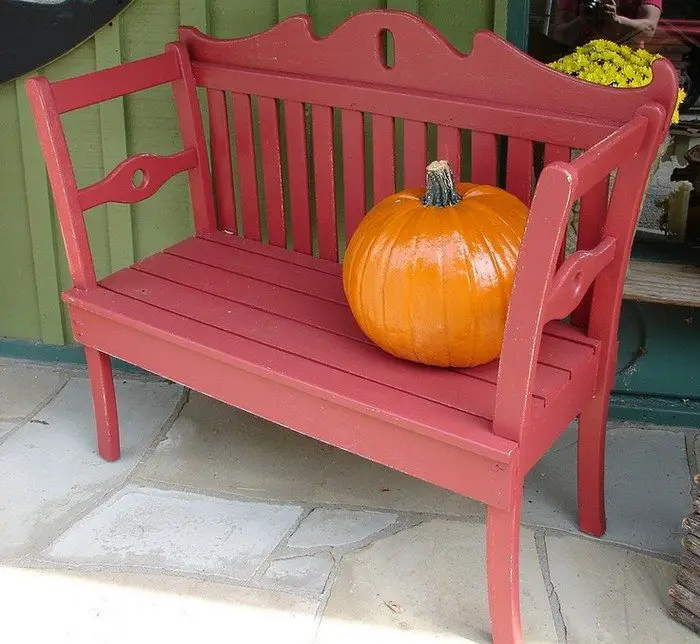
From seating furniture to another seating furniture! All you need is two chairs, and just by looking at them, we’re sure you’ve already figured out how to turn them into a garden bench!
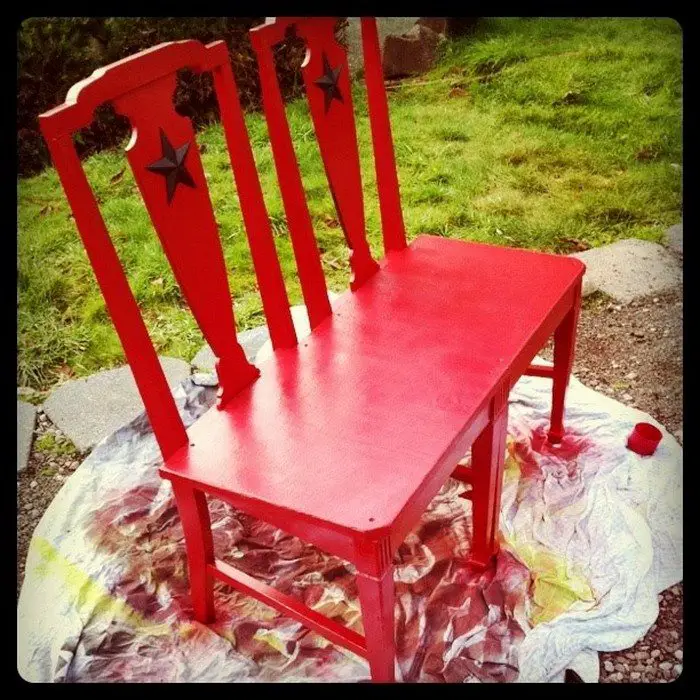
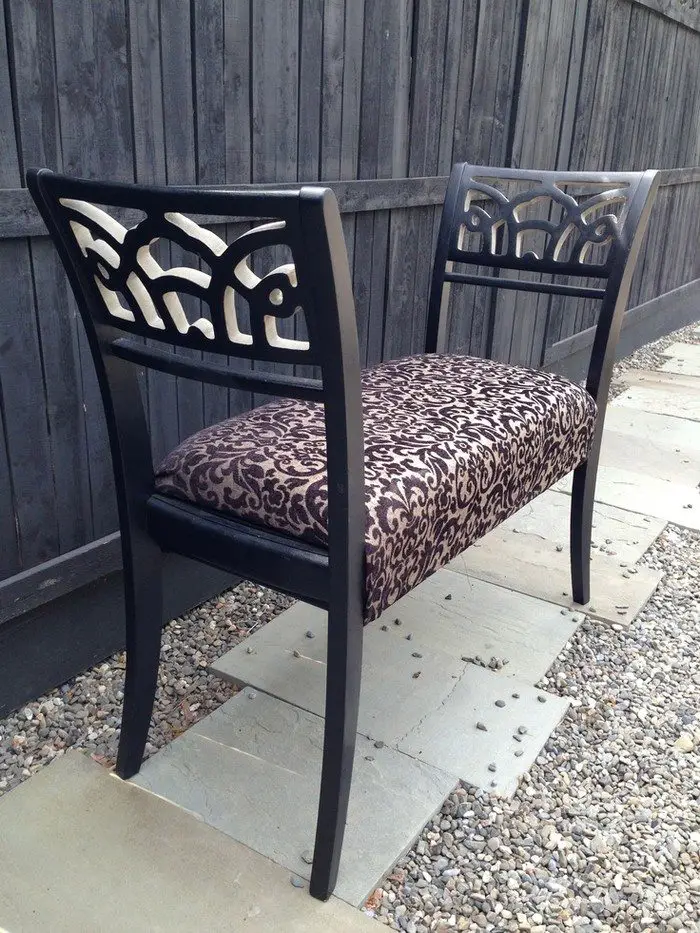
If the chairs are starting to wobble, all you have to do is attach some reinforcements — just like in the picture shown above. And if your chairs are wooden, you can choose to maintain their old rustic look or you can repaint them with a bright color. Both are good choices, it’s just a matter of taste!
 This DIY bench is perfect for gardens or any other outdoor area. With its creative and unique features, it’s impossible not to get noticed by anyone looking at your yard.
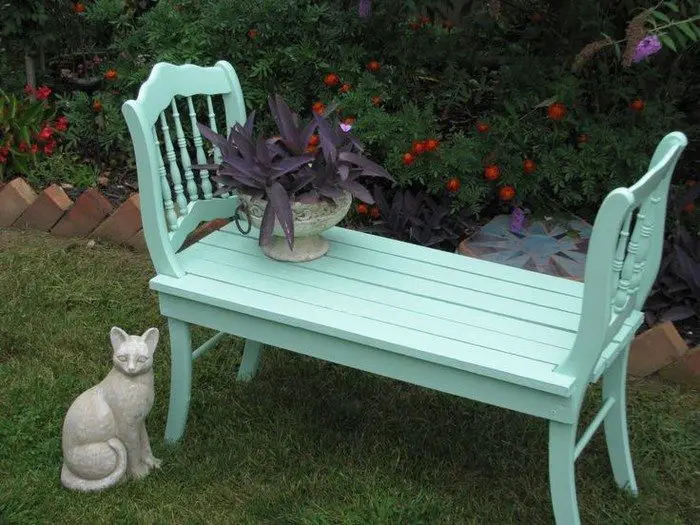
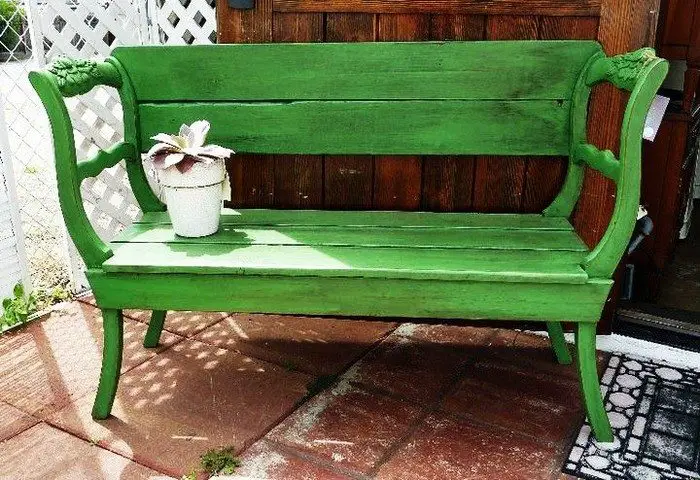
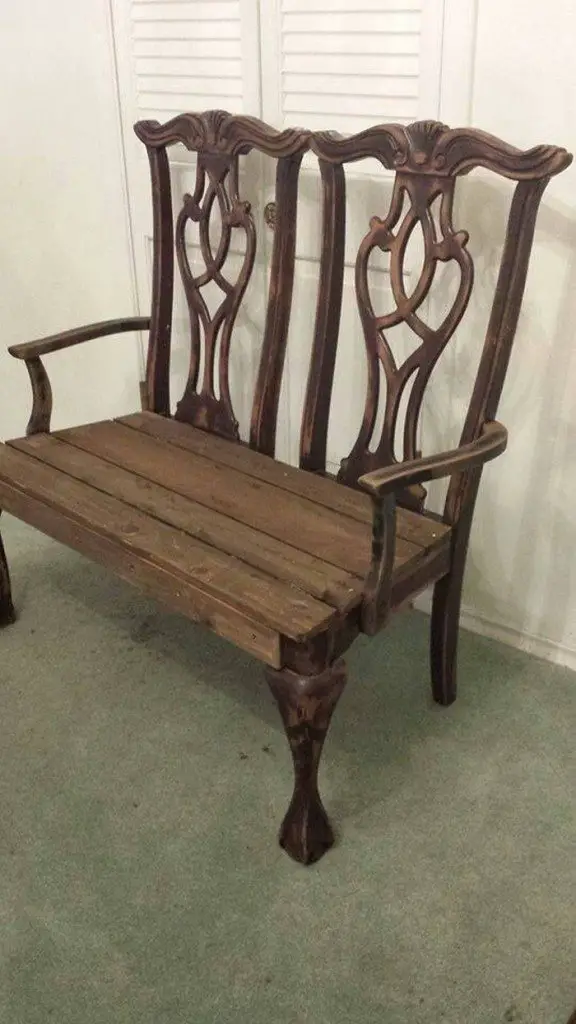
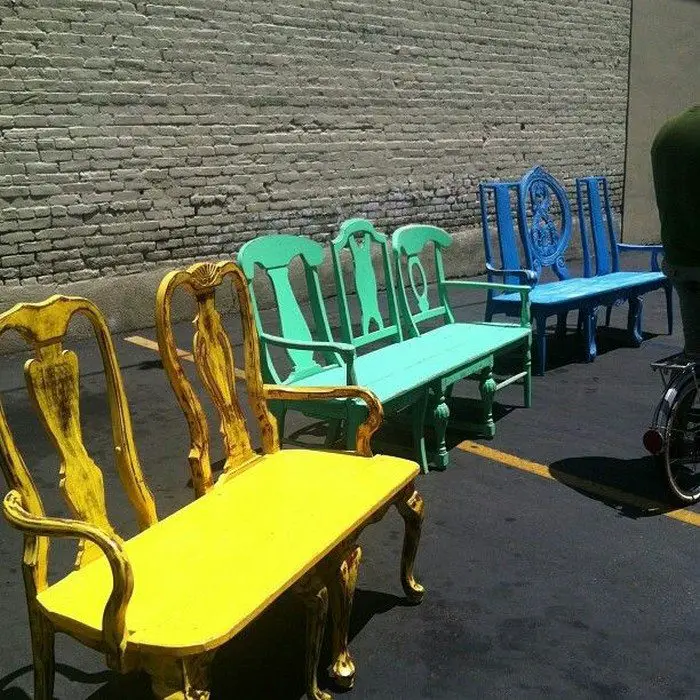
Got three or more chairs? You can use them all to create a single bench. Or why not create two garden benches? View the album below to know the different versions of this creative idea and see the link to the tutorial!
Inspired to make your own garden bench?
Contents
Building a Garden Bench
Materials
- 2 Used Chairs
- 1/2″ Plywood
- 1×2 Timber
- 1×2 Stock Pine
- 3/4″x1 Molding
- Wood Screws (different sizes)
- Finish Nails (small)
- Wood Filler
- Primer
- Quilt Batting
- Dropcloth
- L-Brackets
Tools
- Circular Saw
- Cordless Drill
- Sander
- Paint Sprayer
- Staple Gun
Instructions
Prepare the Chairs
- Inspect and Clean: Start by inspecting your chairs for any damage. Clean them thoroughly to remove dirt and debris.
- Disassemble: Carefully disassemble the chairs, removing the seat and backrest. Preserve the back legs and backrest structure as these will form part of your new bench.
Design the Seat Frame
- Measure and Cut Plywood: Measure the total width needed for the bench seat, which should span the width of both chairs placed side by side. Use the circular saw to cut your 1/2″ plywood to these dimensions for the seat base.
- Attach 1×2 Timber: To reinforce the plywood seat, cut 1×2 timber to fit the perimeter of the plywood and attach using wood screws.
Construct the Bench Frame
- Secure Chair Frames: Position the back of each chair so they are parallel and the desired distance apart. Connect them using 1×2 stock pine along the bottom and top of the frames where the original seats were attached.
- Add Molding: Cut the 3/4″x1 molding to fit around the edges of the bench for a finished look and attach it with finish nails.
Attach the Seat
- Fit Plywood Seat: Place the plywood and timber seat frame atop the connected chair backs. Ensure it is centered and flush with the chair frames.
- Secure Seat: Use wood screws to secure the seat to the chair backs and the added timber support.
Upholstery
- Prepare Batting and Dropcloth: Cut quilt batting to match the size of the plywood seat plus extra for padding. Cover with dropcloth or any suitable fabric for outdoor use.
- Staple Upholstery: Using the staple gun, tightly secure the batting and dropcloth to the underside of the seat, neatly folding corners.
Finishing Touches
- Fill Gaps: Use wood filler to fill any gaps or screw holes in the bench. Allow to dry and sand smooth.
- Prime and Paint: Apply primer to the entire bench, including the new wood additions. Once dry, use a paint sprayer to evenly coat the bench in your chosen color.
- Install L-Brackets: For additional stability, install L-brackets under the seat connecting it to the chair backs.
Final Setup
- Check All Connections: Ensure all screws and staples are secure. Touch up any areas with additional paint or finish as needed.
- Place in Garden: Choose a spot in your garden and enjoy your new bench!
Click on any image to start the lightbox display. Use your Esc key to close the lightbox.![]()

Design Variations for Garden Benches
Design variations for garden benches can significantly enhance the look and functionality of your outdoor space. Whether you’re aiming for a rustic vibe or a modern aesthetic, the right design can make a substantial difference.
Here’s a look at some creative and practical garden variations that can help you tailor your garden bench to suit your personal style and garden layout.
Classic Wood Slat Bench
The classic wood slat garden bench is a timeless choice that fits well in virtually any garden setting. Use long, narrow slats of cedar or teak to create a simple yet elegant bench. This design can be adapted with a high back or armrests for added comfort, and it’s perfect for enjoying a peaceful garden retreat.
Modern Minimalist Bench
For a sleek, contemporary look, consider a modern minimalist garden bench design. Use clean lines and smooth surfaces, incorporating materials like polished concrete or painted metal. This style often features an understated frame with a focus on functionality and simplicity.
Curved Bench
A curved bench is ideal for surrounding a fire pit or hugging the edges of a circular garden. These benches can be crafted from stone, wood, or a combination of materials. The curvature adds a welcoming, communal feel, making it a great spot for gatherings.
Convertible Picnic Table Bench
A convertible picnic table bench is a versatile and practical choice for those who enjoy dining outdoors. This design seamlessly transitions from a picnic table with bench seating to a comfortable garden bench with a backrest. It’s ideal for smaller gardens where space-saving furniture is essential.
Bench with Planters
Integrate greenery into your seating with a bench that includes built-in planters at either end or even along the backrest. This type of bench is perfect for those who love gardening and can be made with wood or stone. Fill the planters with colorful flowers or aromatic herbs to enhance both the beauty and functionality of the bench.
Cottage-Style Bench
Embrace a quaint, charming aesthetic with a cottage-style bench. Typically made of wood, these benches often feature intricate details such as carved armrests, a scalloped back, or decorative painting. They are perfect for a garden with a country or vintage theme.
Storage Bench
Maximize your space with a storage bench, which offers additional seating while providing a place to stow garden tools, cushions, or toys. This functional design can be built with a lift-up seat or drawers beneath the seat, keeping your garden tidy and organized.
Each of these design variations can be customized to fit the specific style and needs of your garden, ensuring that your garden bench is not only a functional piece but also a highlight of your outdoor decor.
Choosing the Right Materials
Choosing the right materials for your garden bench is crucial for ensuring durability, aesthetic appeal, and ease of maintenance. Different materials can dramatically affect the bench’s look, feel, and lifespan, especially when exposed to outdoor conditions.
Here’s a guide to help you select the best materials for your garden bench based on these factors.
Wood
- Advantages: Wood offers a classic, natural look that can fit into almost any garden style. It’s relatively easy to work with if you’re planning a DIY project. Common choices include teak, cedar, and redwood, which are naturally resistant to rot, decay, and insect damage.
- Considerations: Wood requires regular maintenance, including sanding, sealing, and staining, to maintain its appearance and durability.
Metal
- Advantages: Metals like aluminum and wrought iron are popular for their strength and durability. Aluminum is lightweight, rust-resistant, and easy to move around, while wrought iron is heavier and ideal for windy locations.
- Considerations: Metal can heat up in the sun or rust if not properly treated. Cushions might be necessary to improve comfort for metal benches.
Composite Materials
- Advantages: Composite or synthetic materials, such as recycled plastics or synthetic resins, are becoming popular due to their durability and minimal maintenance needs. They resist weather, stains, and fading.
- Considerations: While highly durable, composites may lack the natural aesthetic that wood offers and can be more expensive.
Concrete
- Advantages: Concrete is extremely durable and offers a modern, minimalist look. It’s perfect for permanent installations and can be molded into unique shapes and designs.
- Considerations: Concrete is heavy, making it difficult to move. It can also be cold and hard, so placement and additional cushions should be considered for comfort.
Stone
- Advantages: Like concrete, stone benches add a timeless, durable element to garden settings. They can blend seamlessly with natural surroundings and are available in a variety of types such as granite or slate.
- Considerations: Stone is also heavy and hard, and it may require a sturdy foundation depending on the size and design of the bench.
When selecting materials for your garden bench, consider the climate of your area, the desired maintenance level, and how the material complements your garden’s design. By carefully selecting the right materials, your garden bench will not only look great but also stand the test of time in your outdoor space.
Conclusion
Building a garden bench offers a creative way to repurpose old furniture and enhance your outdoor space. Carefully selecting materials and following detailed steps ensures your bench is both beautiful and durable. This DIY project not only adds charm to your garden but also provides a comfortable spot to enjoy nature.
We have more ways to improve the look of your garden. Check out our garden bridge project next!


