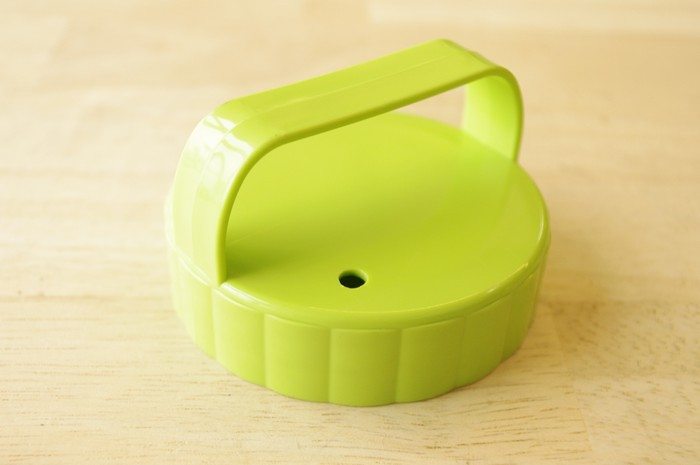
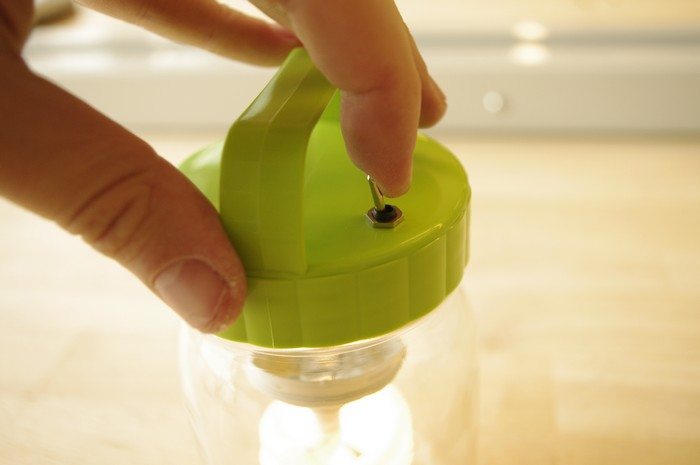
Drill the lid: Drill a 3/16″ hole near the outer part of the lid for mounting the switch.
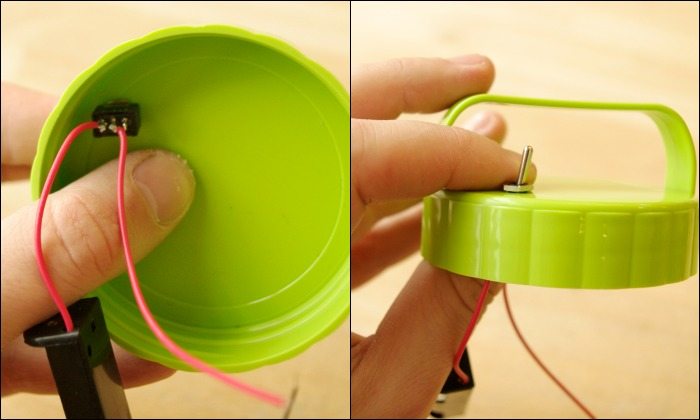
Mount the switch: Pass the switch up through the underside of the lid and lock it in place with its mounting nut.
Connect power to the camera flash: Solder the red wire from the switch to the spot on the camera flash circuit board where the positive terminal of the battery was connected.
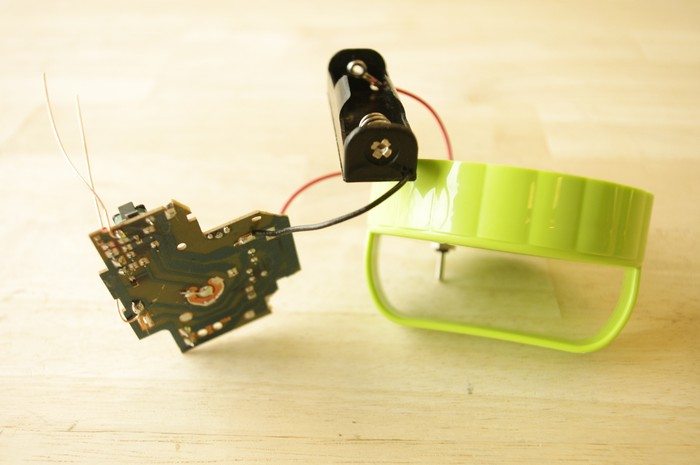
Solder the black wire to ground.
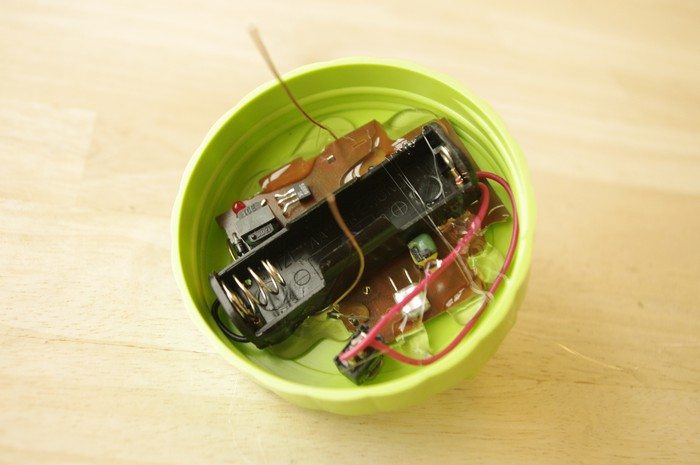
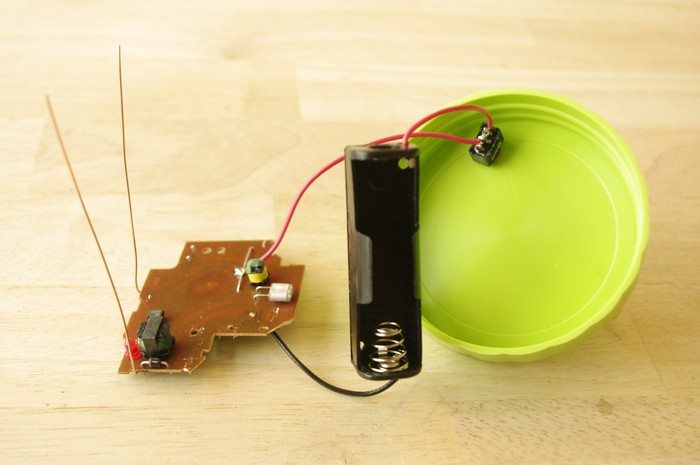
Hot glue: It’s the perfect adhesive for connecting the circuit board and battery holder to the inside of the lid.
Center them inside the lid and then glue them in place as flush to the lid as possible.
Use a generous amount of glue, but be mindful of not getting any on the lid’s inner edge, or it will no longer twist shut.
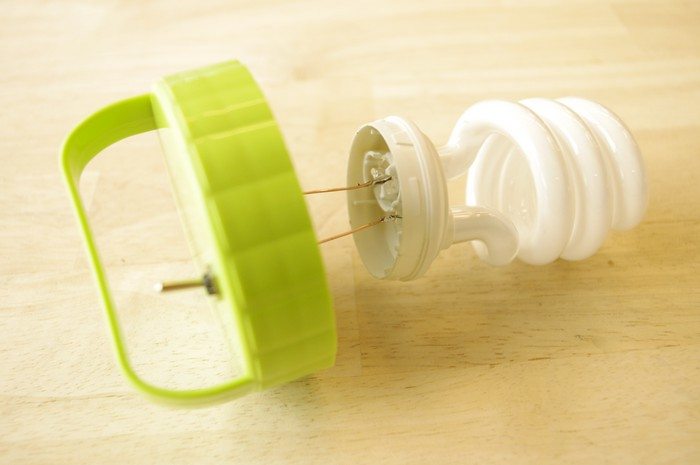
Connect the bulb: Solder one of the magnet wires to each of the CFL bulb’s leads.
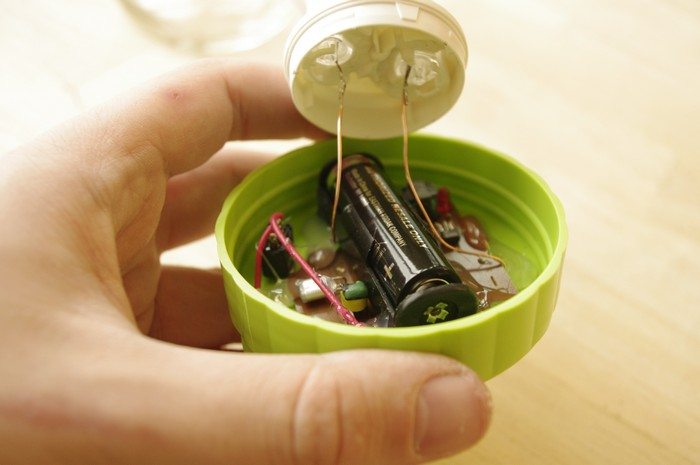
Insert the battery into the battery holder.
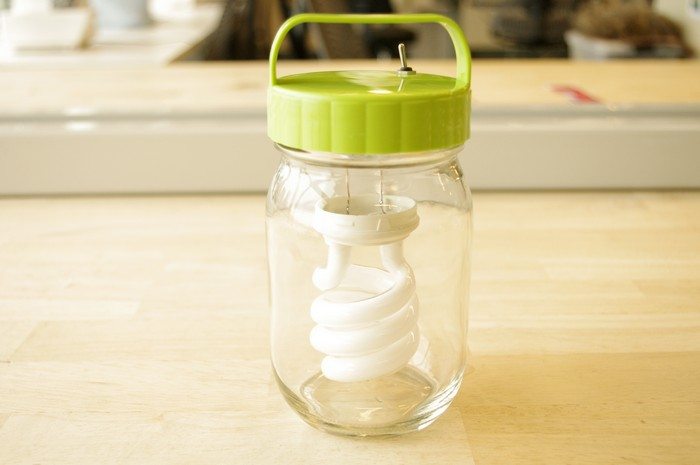
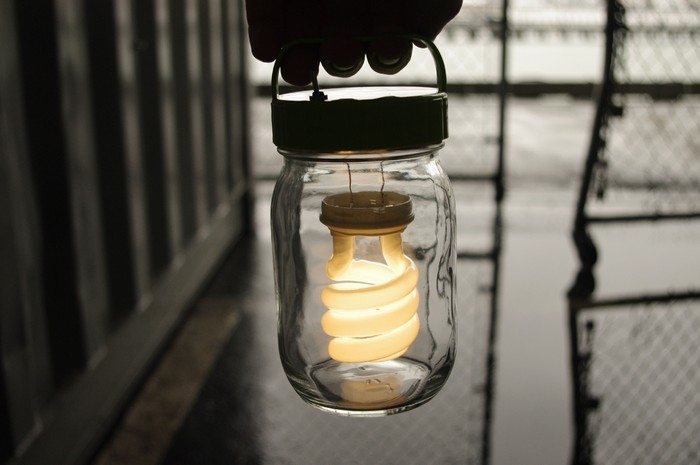
Twist the lid onto the jar.
If the lantern is not already on, power it up by flicking the switch.
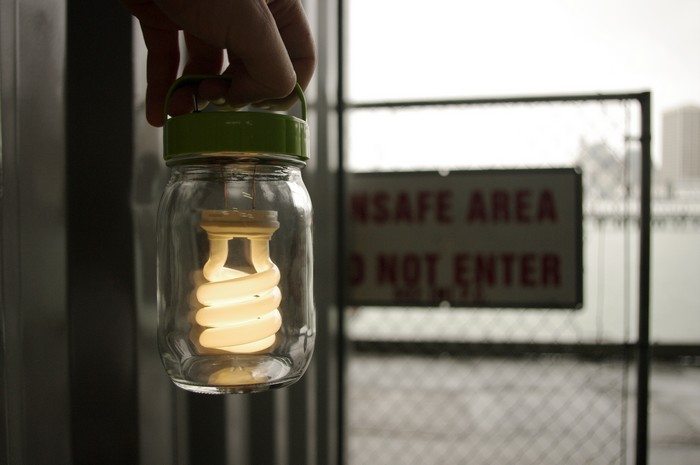
Go forth and make good use of your new lantern.
Thanks to randofo for this great project!


