Here are the reasons why you should consider building a house from plastic bottles and other structures…
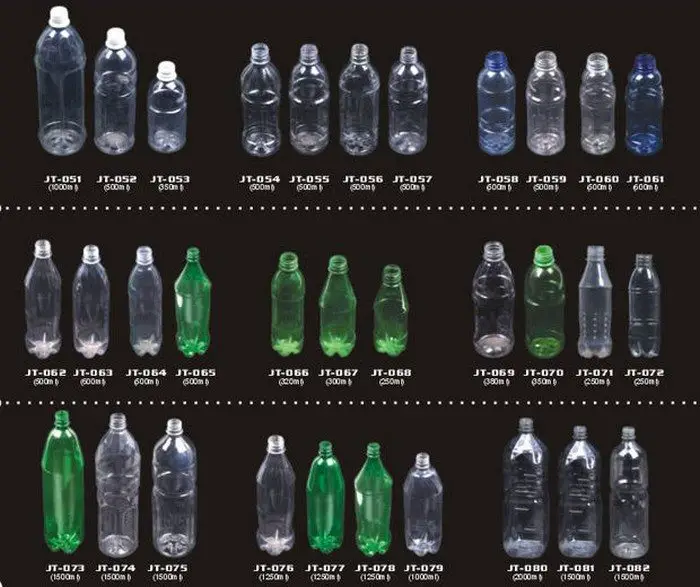
Plastic bottles are probably not top of mind when you think of building materials. But this recyclable material actually has a number of advantages that make them better than bricks!
First, and the most obvious reason, is that a house from plastic bottles is both low-cost and abundant. How abundant? Well, the average American – man, woman, and child – consumed 34 gallons of bottled water in 2014 and 80% of those bottles ended up in landfills! Now add the 39 gallons of soda every person drank. That’s one heck of a lot of empties! Just look around and you’ll find all the bottles you can ever use. And America isn’t alone as empty plastic bottles are a global nightmare.

Second, they’re tough. I mean really tough! Empty they’re pretty much indestructible let alone full. Try throwing a full bottle of water at a brick wall. The bricks will be damaged before the bottle bursts! They can absorb sudden and extreme loads.
And don’t forget that plastic bottles take hundreds of years to disintegrate. By building a house from plastic bottles you get to help mother nature while building a very long-lasting structure.
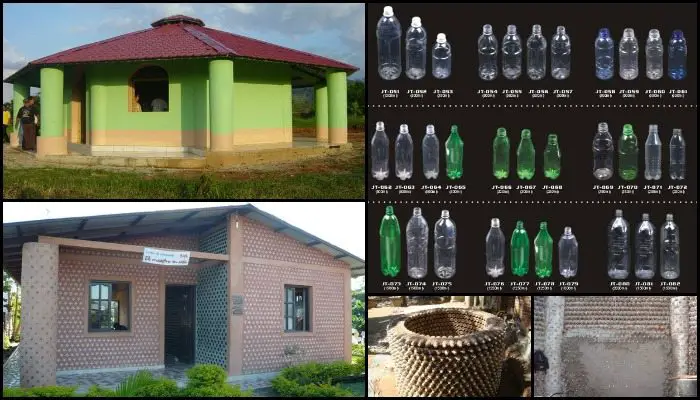
Building a house from plastic bottles is easy to do too, with less construction material to use. From the quick tutorial below you’ll see why this is so.
This particular project was part of a college activity that our source participated in. They have taken their project idea from Andreas Froese who is also the founder of ECO-TEC.
The company has already done more than 50 projects in Honduras, Columbia, and Bolivia, and has won several awards for environmental innovation.
This idea has proven to be perfect for building everything from houses to classrooms, sheds, and storage rooms.
Do you have any building projects you want to tackle soon? Learn how you can use plastic bottles for it!
Click on any image to start the lightbox display. Use your Esc key to close the lightbox. 8-)
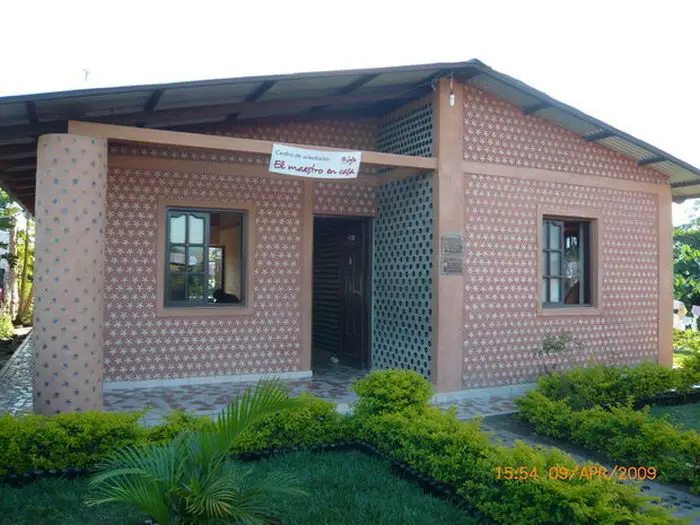
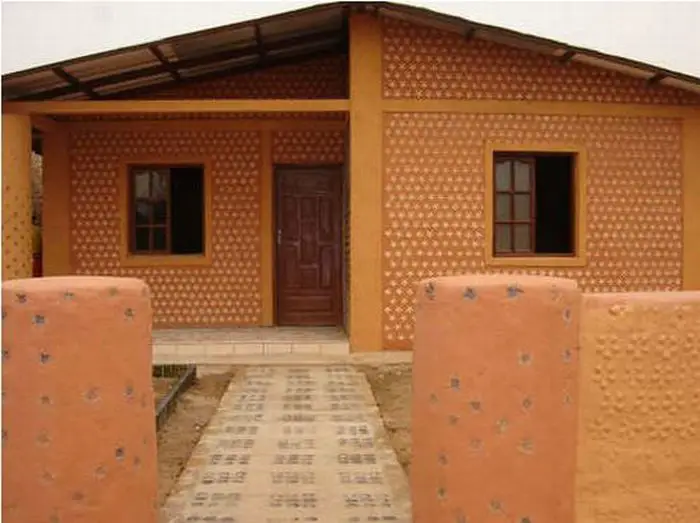
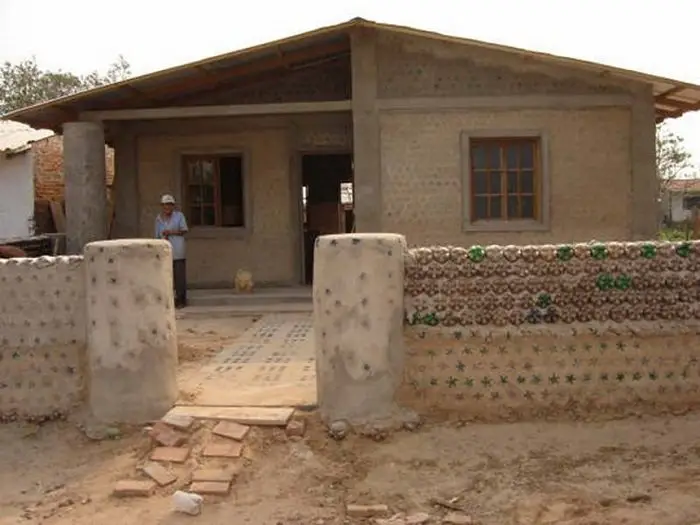
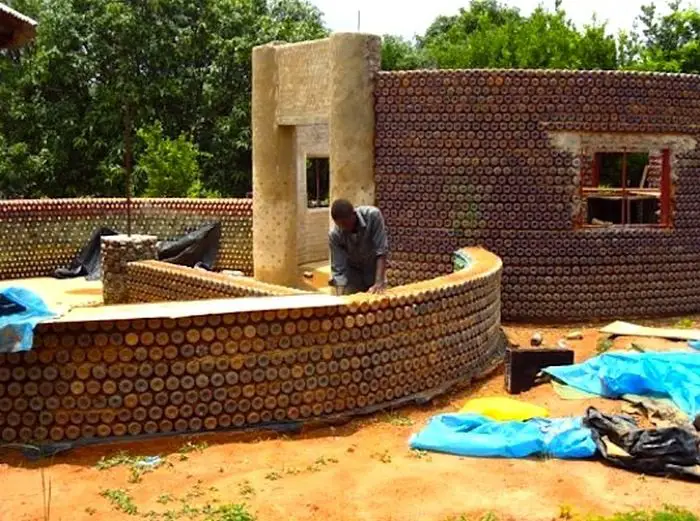
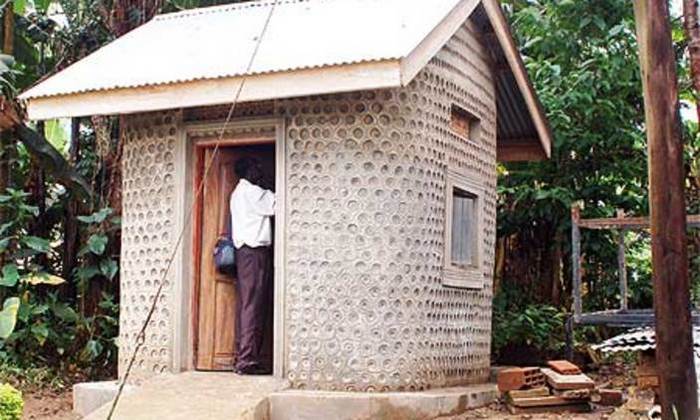
Building a House From Plastic Bottles
Materials
- Lots of Plastic Bottles
- Dry Sand
- Sawdust
- Clay
- Iron / Steel Rods
- Cement
- Rolls of Thick Thread
Instructions
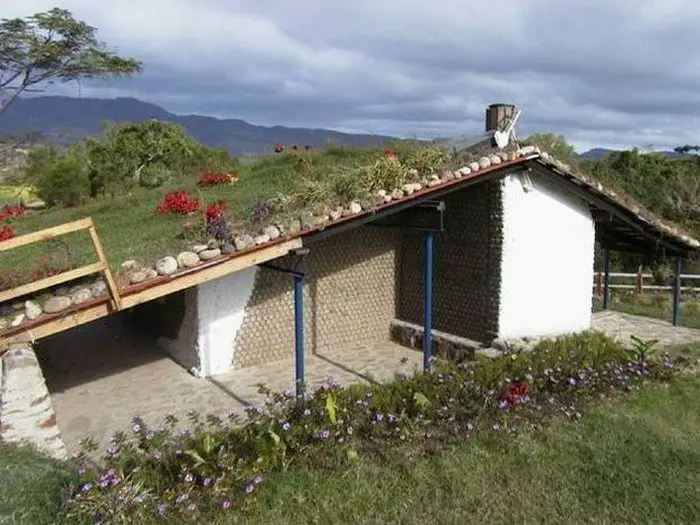
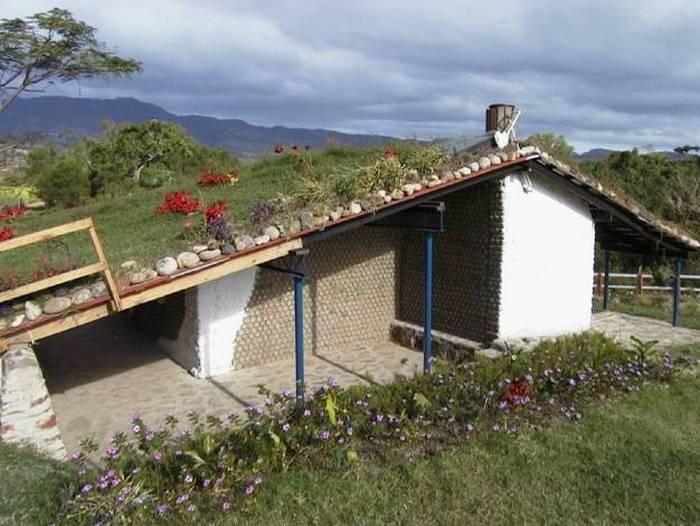
The picture above is of an ecological house constructed in Honduras using some 8,000 PET bottles, in the process freeing up an estimated 12 cubic meters (m3) in the local landfill.
The house also features a living roof (sometimes called a green roof) of sod and turf. Such roofs not only have aesthetic appeal but tend to insulate the house better than conventional roofs, lowering heating and cooling costs. They are also cheaper than conventional roofs.
When wet, the 102 square meters (m2), the living roof of the casa ecol? can weigh as much as 30 metric tons (Mt, toneladas). The PET bottle walls can support the weight.
Your first step for your house from plastic bottles is to collect as many discarded plastic bottles as you can. They can be of various capacities.
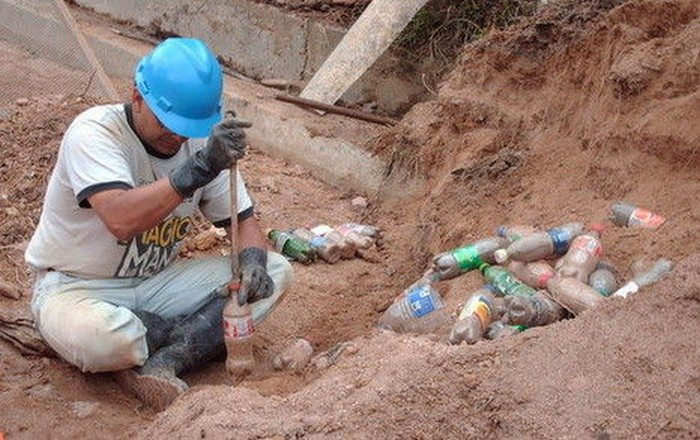
The next step for your house from plastic bottles is to find a place where you can get a hell load of dry sand (the finer, the better).
Take the bottles, fill them with sand, seal and then paste them with a mixture made of earth, clay, sawdust, and a little cement to provide additional strength and durability. The following video shows how to fill the bottle.
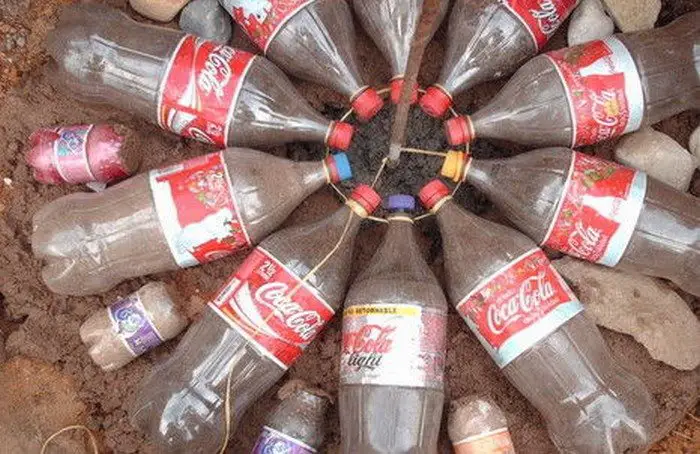
Now you are all set for your house from plastic bottles. Always start with the pillar. You can have as many pillars as you want, but not less than three.
Dig a cylindrical pit about 60 cm in depth. The radius should be at least 10 cm more than the length of the bottle that you are going to use for constructing the pillar.
Make a cement bed (about 4 cm thickness) in the pit of your house from plastic bottles. Insert a long iron/steel rod at the center. Tie a long and strong thread to the rod. Now we are going to lay 10 or 11 bottles around this rod. For this, first lay a bottle on the bed such that the bottle is radially oriented towards the center. (i.e., the cap is oriented towards the rod).
Take the thread and make a knot around the neck of the bottle you just laid. Put the next bottle in a similar way keeping in mind that the caps of the 2 bottles touch each other. Make a knot around the 2nd bottle also. Repeat the steps until you lay all the 11 bottles. You have made your first course of bottles.
Fill in the gaps between the bottles with rubble and cement. Make the next bed and continue this process till you fill the entire pit. Hurray! Your foundation is complete. Leave it for a few hours so that the cement will solidify.
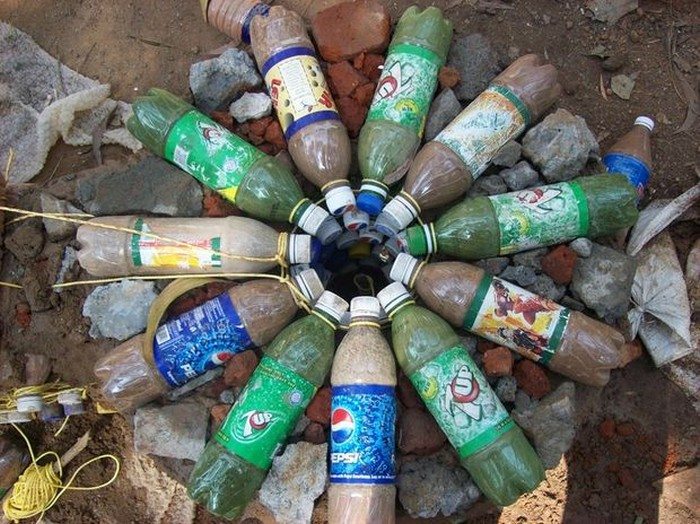
After you have made the foundation for all your pillars, you can start building the pillar. Lay the bottles as you did for the foundation, and you will see your pillars rising. You can put broken bricks or other construction wastes between the bottles so that they don’t move.
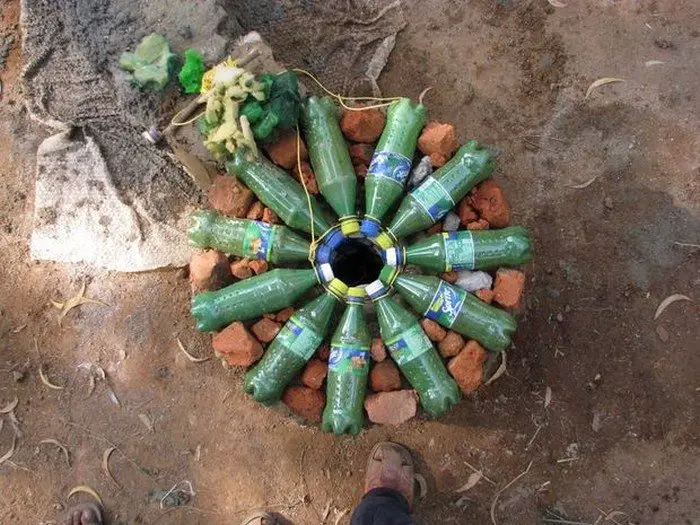
Now if you want you can plaster your pillar with cement. This pillar is many times stronger and much cheaper than an ordinary pillar made with bricks.
Continued Page 2…


